


Hello everyone! I know it hasn’t been long since the Lennart Show Site Build post.. But I had so much fun writing it I just couldn’t wait much longer for the next one! So here I am with the Kennet Log Cabin.
For those who have been to our showsite, you should remember the Stig Gazebo Log Cabin that was to your left. We’re giving this area an upgrade by replacing it with the Kennet Log Cabin! (It fitted well with our current base and decking). Unfortunately our apprentice sales assistant Andrew was needed in the office for this build, so its all up to our experienced installers Wayne and Phillip to install this beauty!
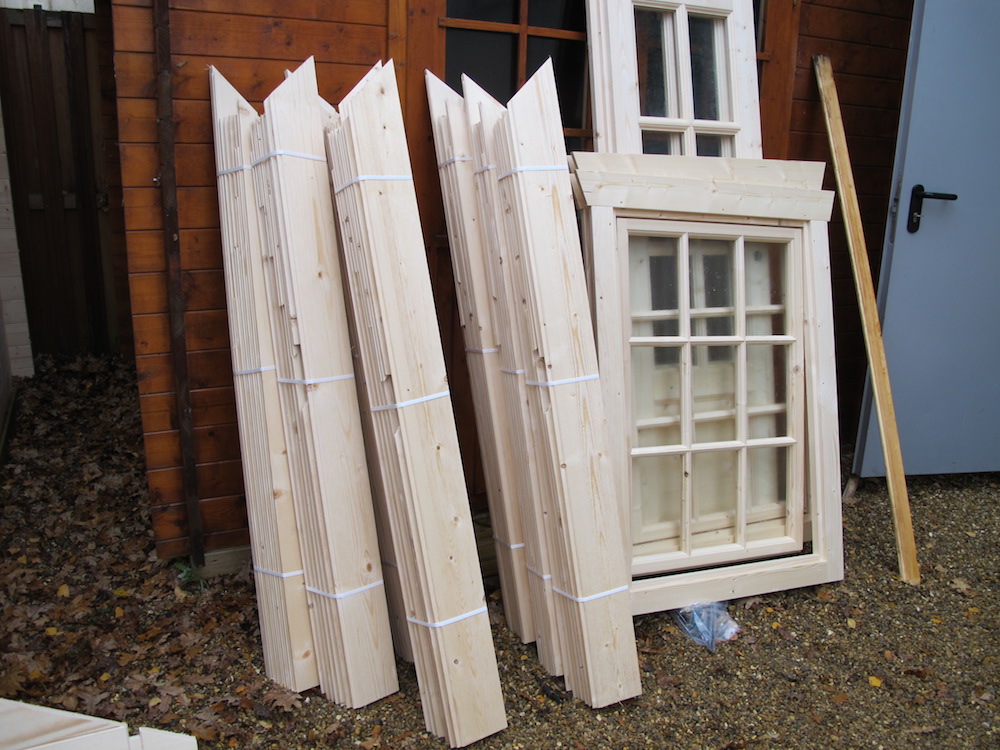
Preparation
As I like to stress in my posts, organisation is very important. It saves time when building a Log Cabin. So I was more than willing to help organise and lay out the parts needed to start installing the Kennet Log Cabin.
The Build – The Beginnings
Now these two didn’t waste any time with installing this cabin, they headed off to an amazing start. Leaving no log behind! (even the small ones at the end of the gazebo that I found amusing).


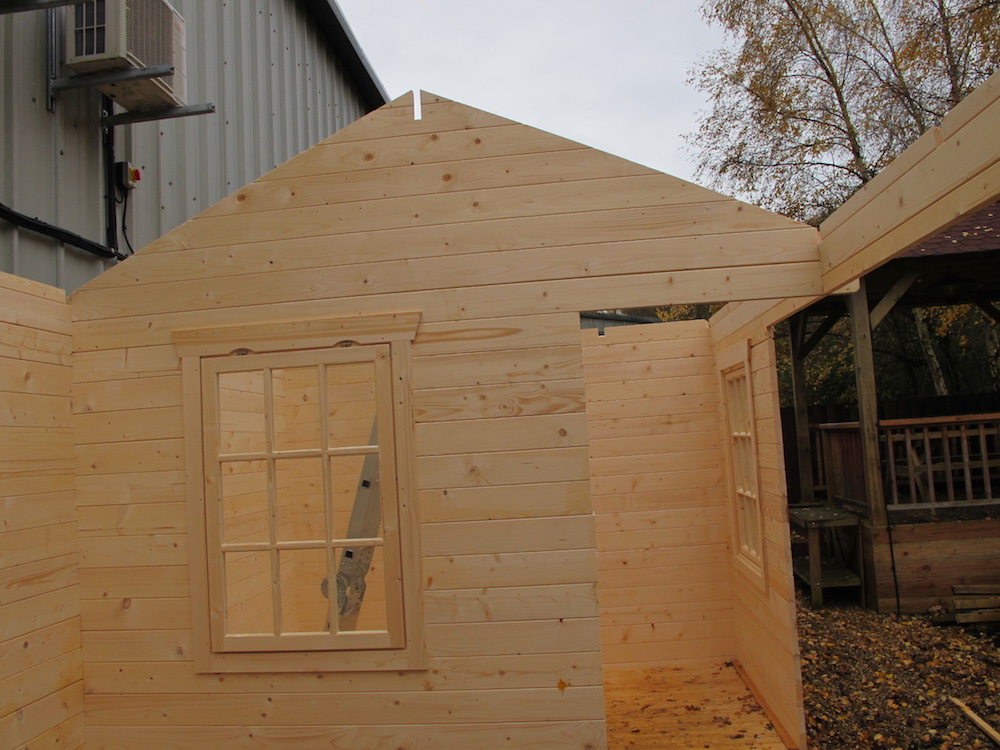
The next thing I knew the windows were fitted and the walls were getting taller than me!


Most of the time the installers didn’t even need to talk. One turns around and the other has a mallet ready for them, it was almost magical? If you have heard of a bromance, this is what I call the true sight of it.
Once the walls reached the last log, the long 5m log was installed to the front of what will become the Gazebo. To keep this log up there is a post that’ll go to the other end to hold everything up (no pressure, support post). And this is where things turned technical… As you can see from the first image below, the decking is too high. This is because the decking was laid for the Stig Log Cabin, which is shorter in height.
Moving on up
There were spirit levels, a state of “Up a bit.. No, too high..!”. A chisel involved with resolving this problem, but not too long after the boys managed to do it! And now the gazebo will be level with the Log Cabin.


The next step was installing the apex, which from writing the last post I was thoroughly educated on.
Then the guys stopped for a break, which is great until.. It sunk in that all I have done during these stages was organise the logs, stand under the Lennart and take photos. Which in their eyes, immediately made me the delegated coffee maker. (I made the coffee a little weaker than usual so I wouldn’t have to do another coffee run anytime soon hehe).
The Build – The Corner Section
With coffee consumed and plans revised they were once more at it again. Showing no signs of slowing down anytime soon! Their next plan of action was the continuation of the Gazebo.. Now at the beginning of this I was confused by the cut of this corner section. They’re very slanted and I was concerned there would be issues with interlocking them.. However it turns out I was wrong. Just a few seconds longer than any other log to make sure it was all aligned!


The Build – Roofing
The purlins for the Kennet were ones I’ve never seen before. They had two circular ends on either side of the wall. The rest of the purlins were installed by interlocking one end to the wall, and screwing the other end to the circular pieces:


Then, you guessed it.. The installation of the roof boards. This seemed to me like it would take longer to complete compared to the Lennart. So I left the guys in peace while they started the roof. In the meantime, I was writing the Lennart Show Build post.
With a few breaks away from the computer every now and then. I was successfully able to capture their progress on the roof boards:


Now, the part where I learnt some things.. Number one, the smell of timber is very pleasant (no lie). Number two, the small nails in your general fixing kit are called Clout Nails.. And are for fixing the shingles to the roof boards! For the Kennet we decided to use the Brown Rounded Shingles from our shingle selection. In order to save time (and build the bromance). Wayne started securing the shingles while Philip finished up the rest of the roof boards, then finished off the shingles.


Unfortunately the guys ended up finishing the cabin in my absence for writing (“Let me know when you finish the roof and start the doorframe and overhand thingy” I said.. But noo”) But I did get Wayne to go through the process of how they finished the cabin off: They installed the door frame the same way they did with the Lennart, and installed the triangle overhang by placing it down from above and screwing it to secure it:

And with those last two pieces to the puzzle, everything tied in together beautifully! All ready for treatment.


In Conclusion
Amazing work guys.. The Kennet Log Cabin was slightly more complex to install in my opinion (with the gazebo being a main aspect of the install), but definitely not impossible! I wonder what the next show site cabin will be..
To become thoroughly prepared for your Log Cabin Install, I highly recommend that you read Richard’s Fitting Advice Pages. You will also find more specific articles that may help when you look at the ‘Important Information’ tab on our Log Cabin pages.
If you haven’t read my first post about the Lennart Show Site Build Andrew and myself went though, you should certainly do so!
For more posts like this, from a customer’s point of view check out our selection of Customer Pictorial Reviews.