


So as you may or may not know, I (Megan), haven’t been a member of Tuin for very long. This means my knowledge of Log Cabins and installing them are limited to the posts I’ve read made by Richard.
He often mentions about how easy it is to install a log cabin but honestly, I thought it was mostly him talking from experience, so when I was asked to capture the new show site buildings being installed- I decided to take this opportunity to learn as much as I could to improve my blogs and hopefully show you how I have evolved from a DIY newbie to a little less of a newbie. I’m considering making this a series of all the new show site buildings that will be installed in the upcoming months. Maybe we should call it ‘Megan learns some things’ or ‘From DIY newbie to not so newbie’. Obviously those titles are very bad, maybe you could leave a comment for your ideas below.
And also I must disclose, I am not a physical/manual labour type of girl. So my report on this will be through watching the installs, not partaking in them.
So, to get things started…
The Beginnings
The first new Log Cabin on the Show Site will be an updated Lennart Log Cabin to replace the previous one, we’ve even managed to persuade one of our apprentice sales assistants Andrew to join in with the installation, as this will be a great learning experience for him too.
Now, Andrew and I are very similar.. Both at the age of 18 with little DIY experience and always on a keyboard, we were definitely are out of our comfort zone.. Wish us luck!
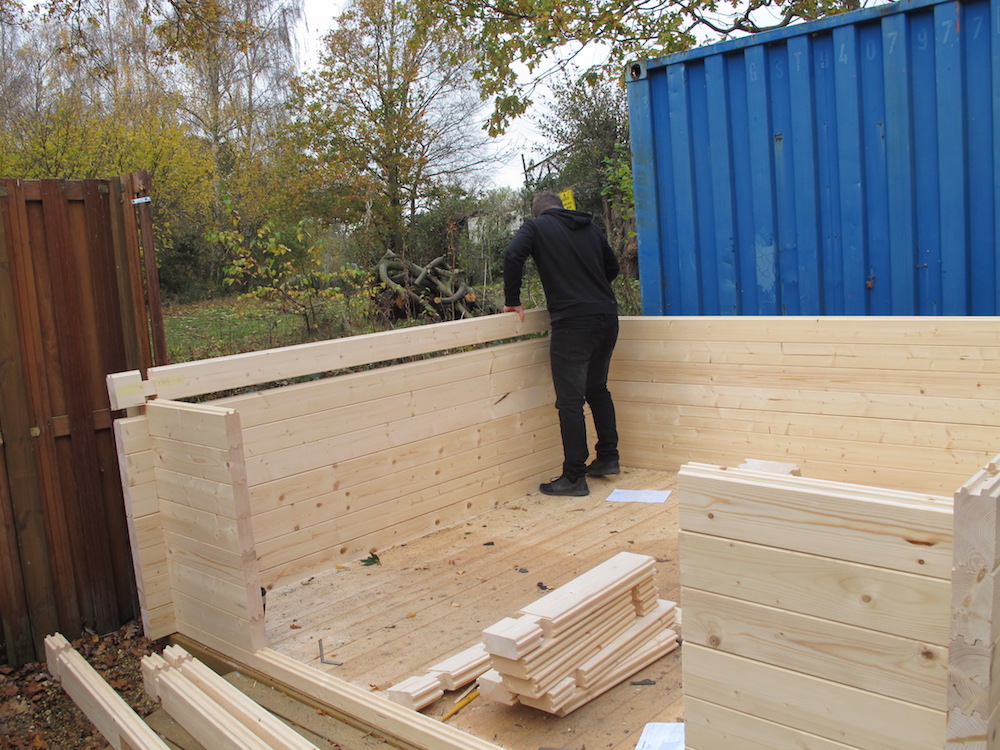
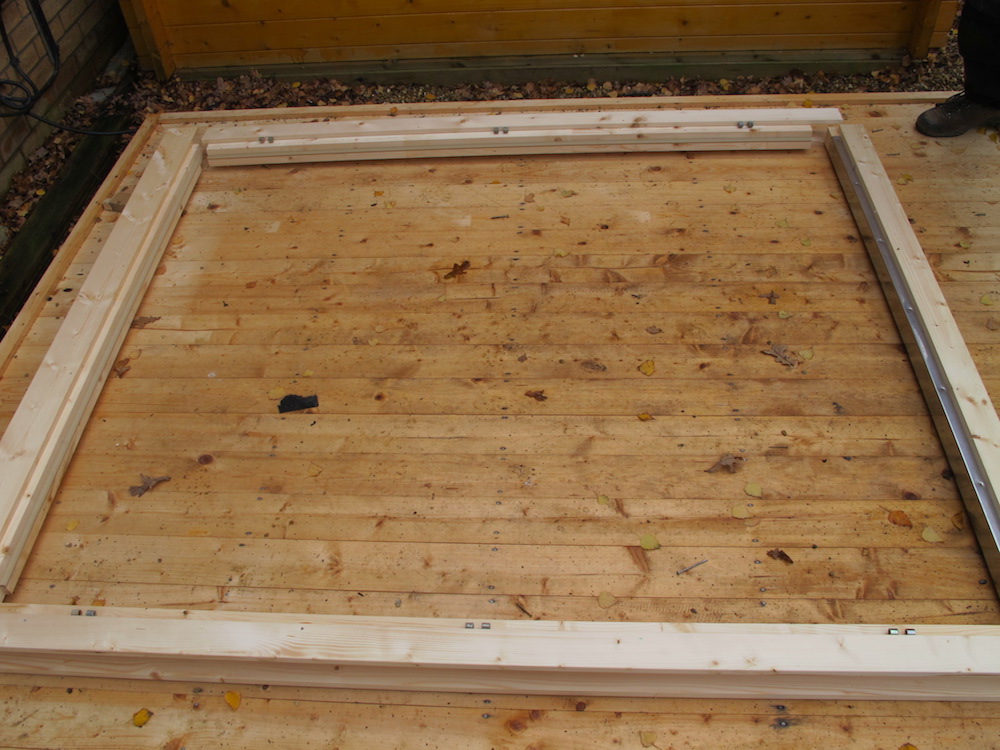
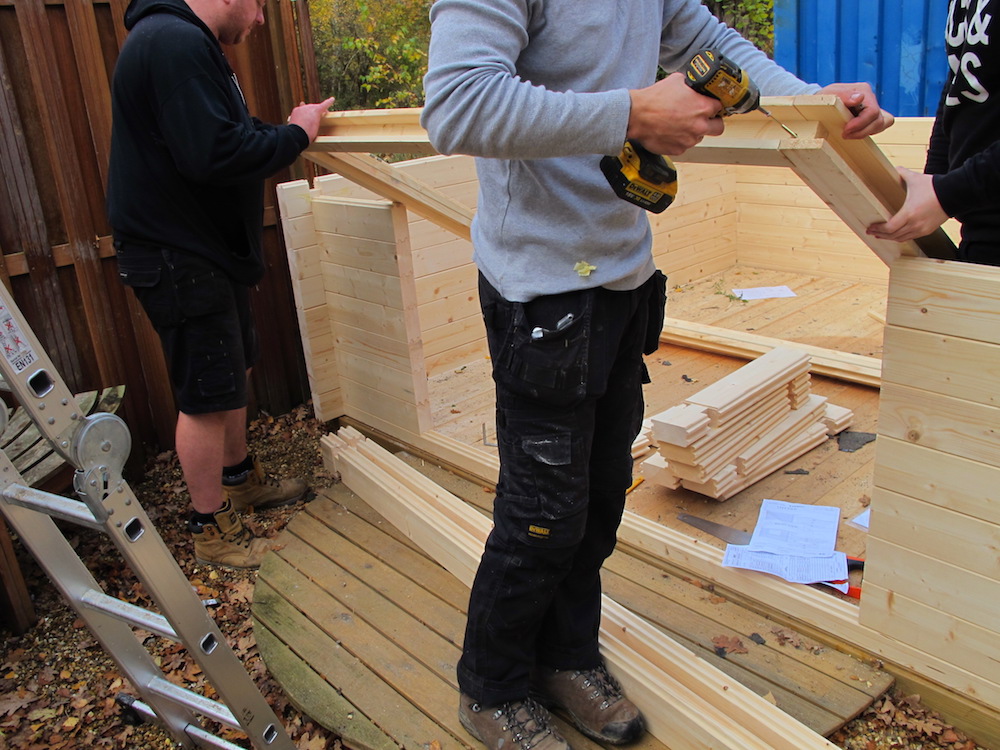
Now Andrew started off confident with this project With the help of our two experienced servicemen. We were confident that the Lennart will be installed by the end of the day! With the base already been made from the previous Lennart, it started off smoothly with Andrew going around in a square to fit in the wall logs.
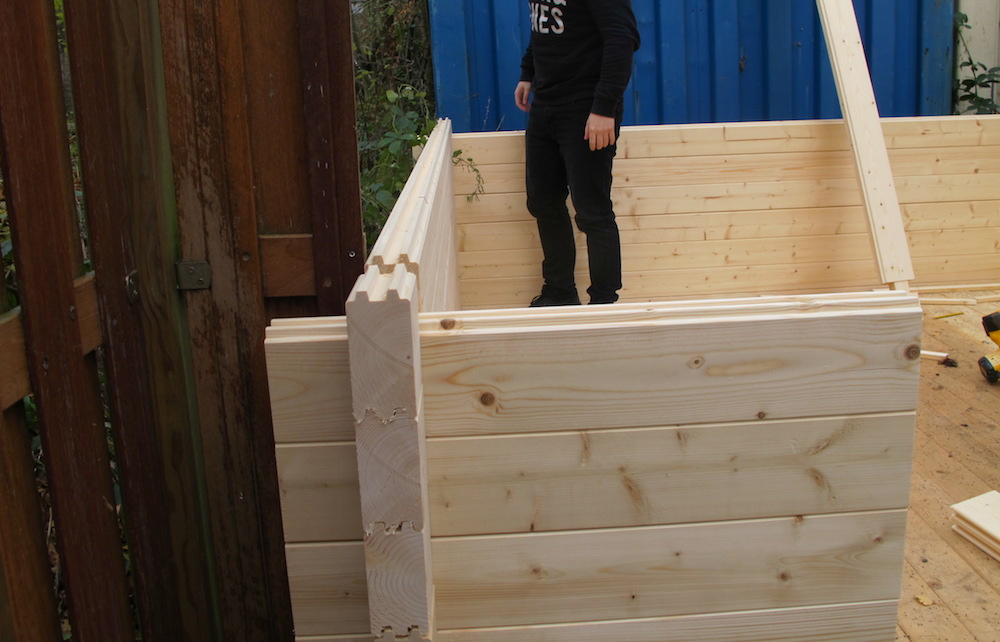
Moving on up
-
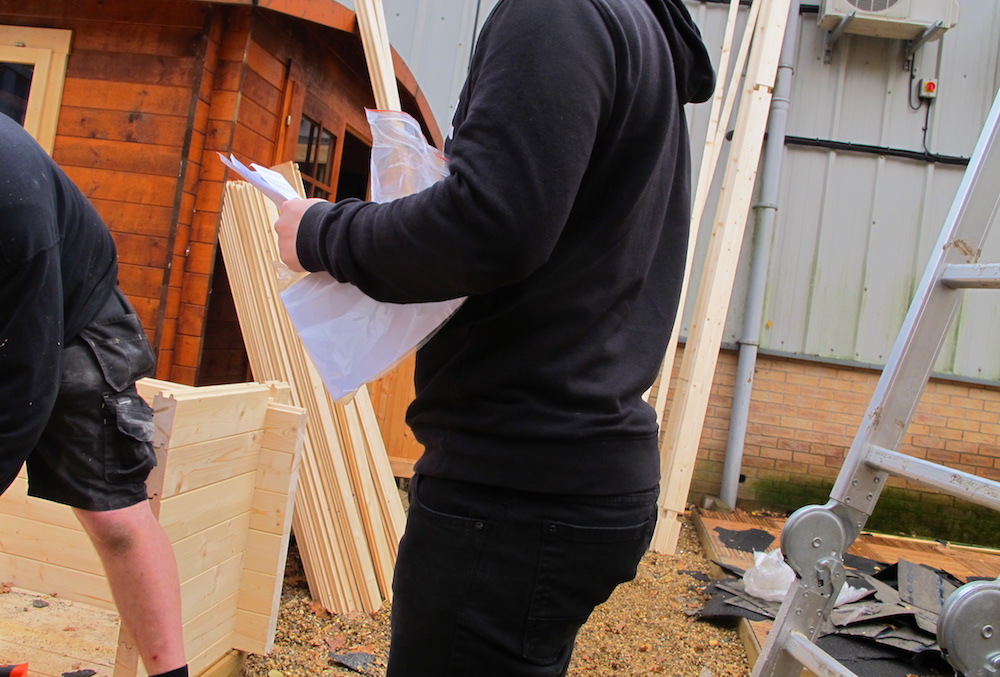
- If you looked at the log and looked at the plans..
With only minor mistakes (such as almost putting in one of the incorrect logs at the front of the building till he soon figured afterwards why I was giggling on the sideline) he was doing well! Maybe he would of been better and avoided this by frequently referring to the Log Cabin plans. Although our experienced men found this progress rather slow. So they soon started to help and the walls were quickly heightening.
If you looked at the log and looked at the plans.. That wouldn’t of happened..
Windows & Doors
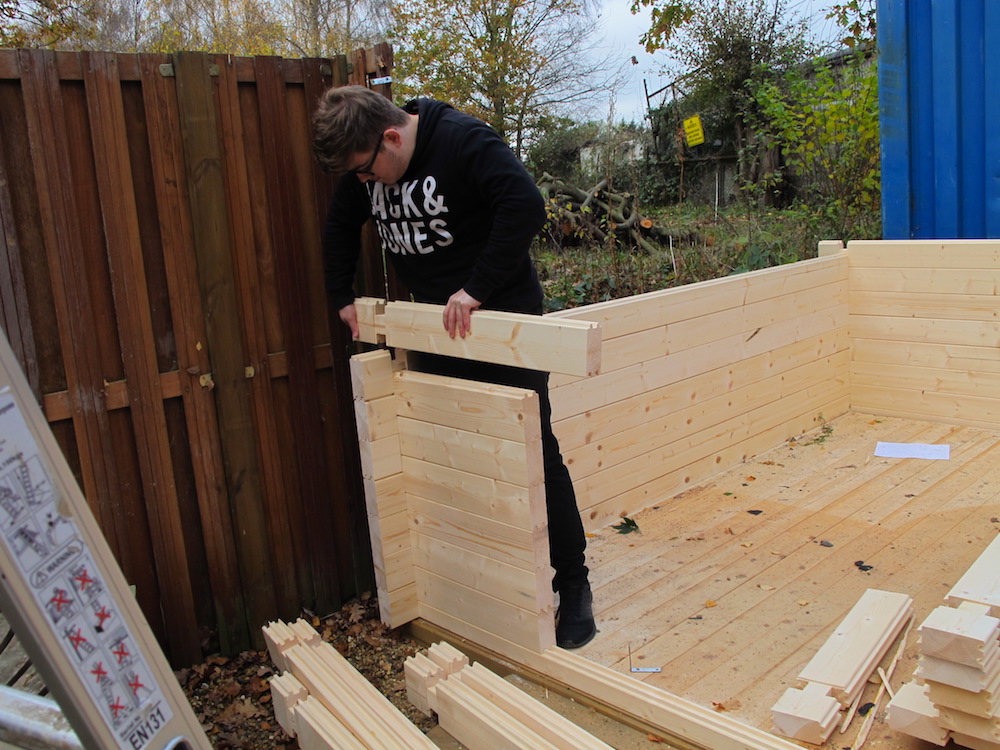
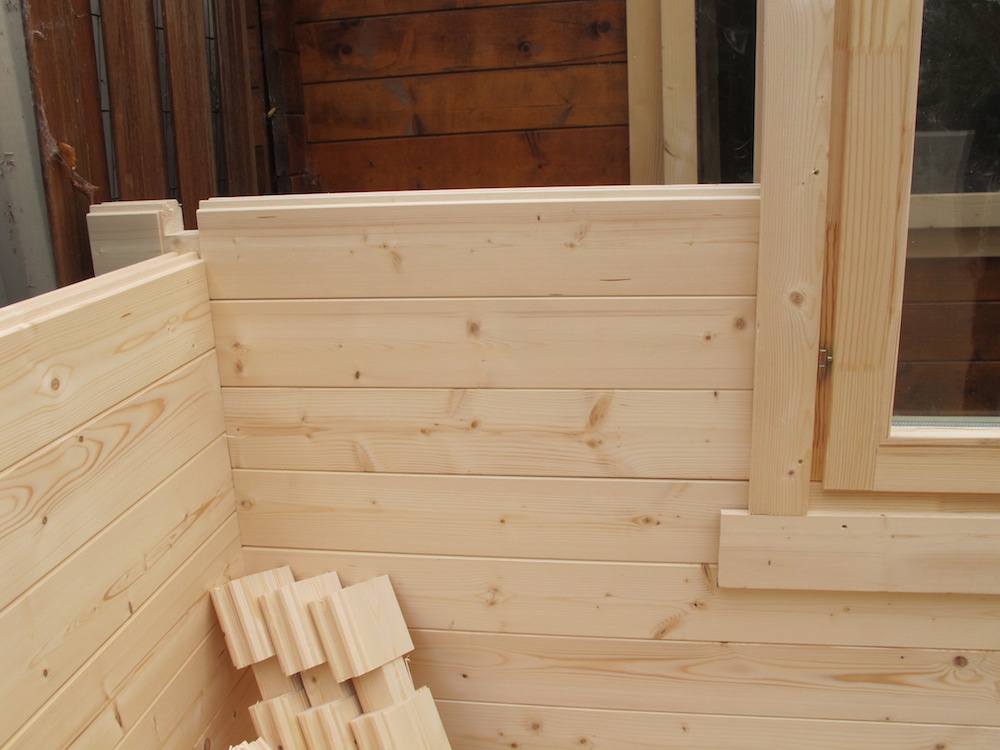
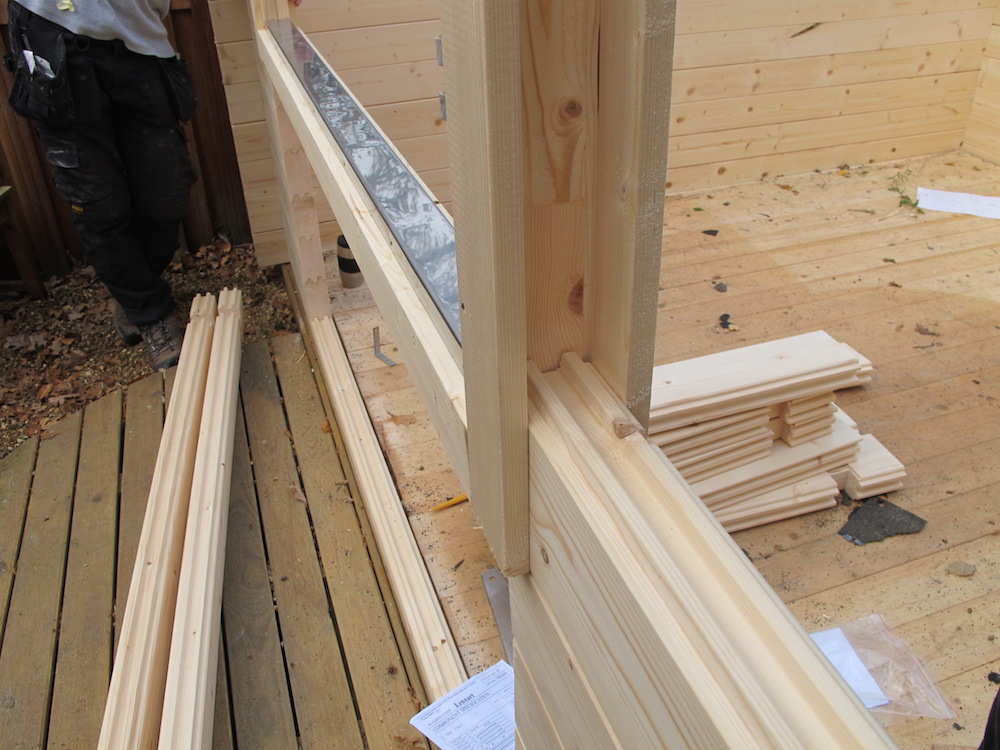
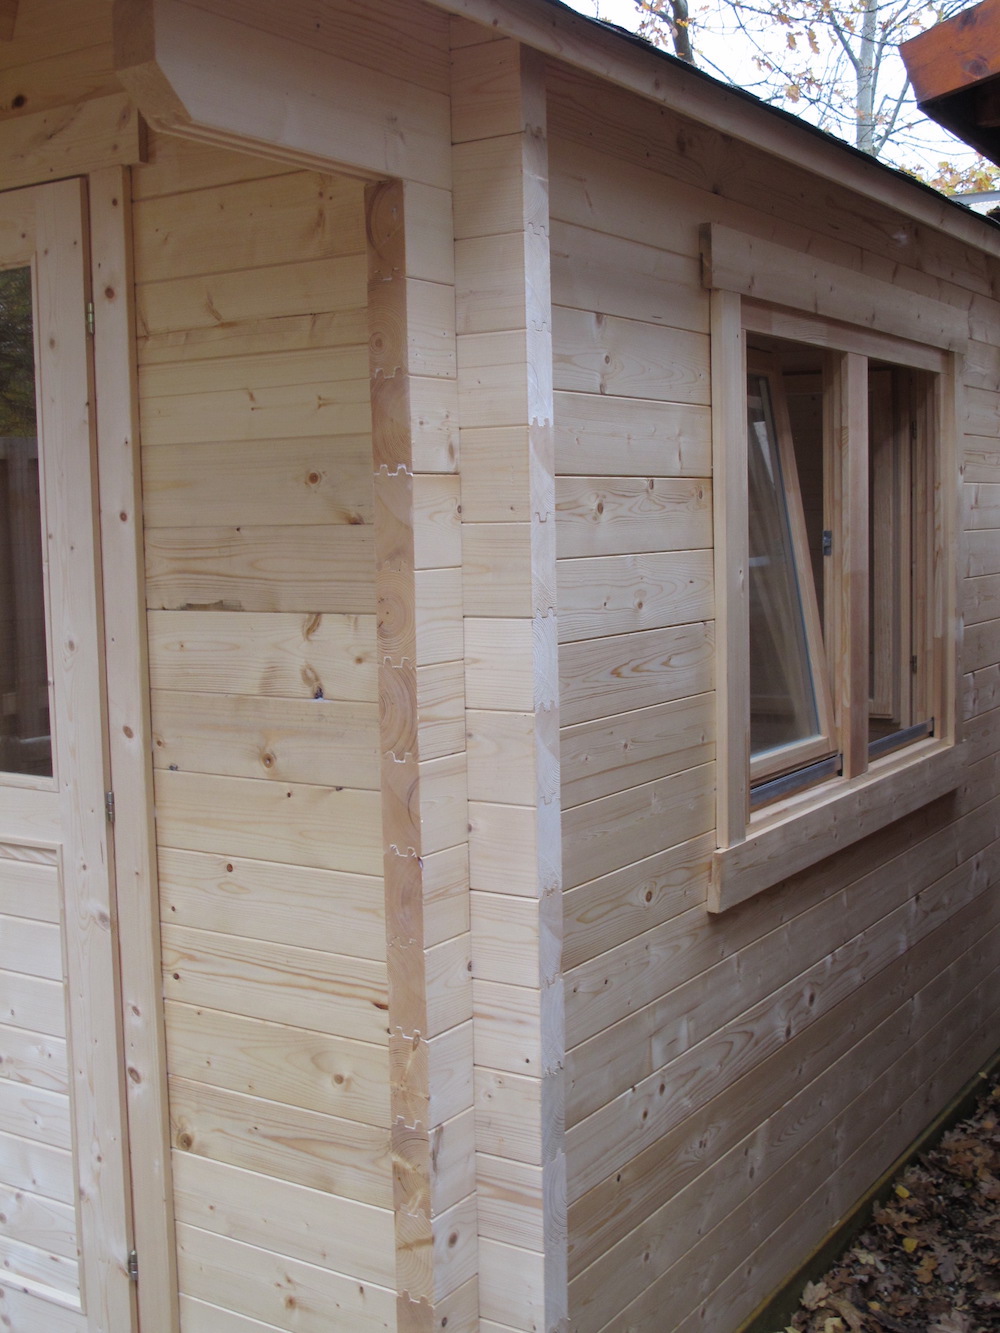
As they reached seven logs (I believe) high, they installed the ‘half log’ for the window. Which turned out to be as simple as sliding the window into the grooves of the half log. When doing this I recommend to add a few of the smaller logs on either side of the designated gap to ensure that the window slid in straight, see below:
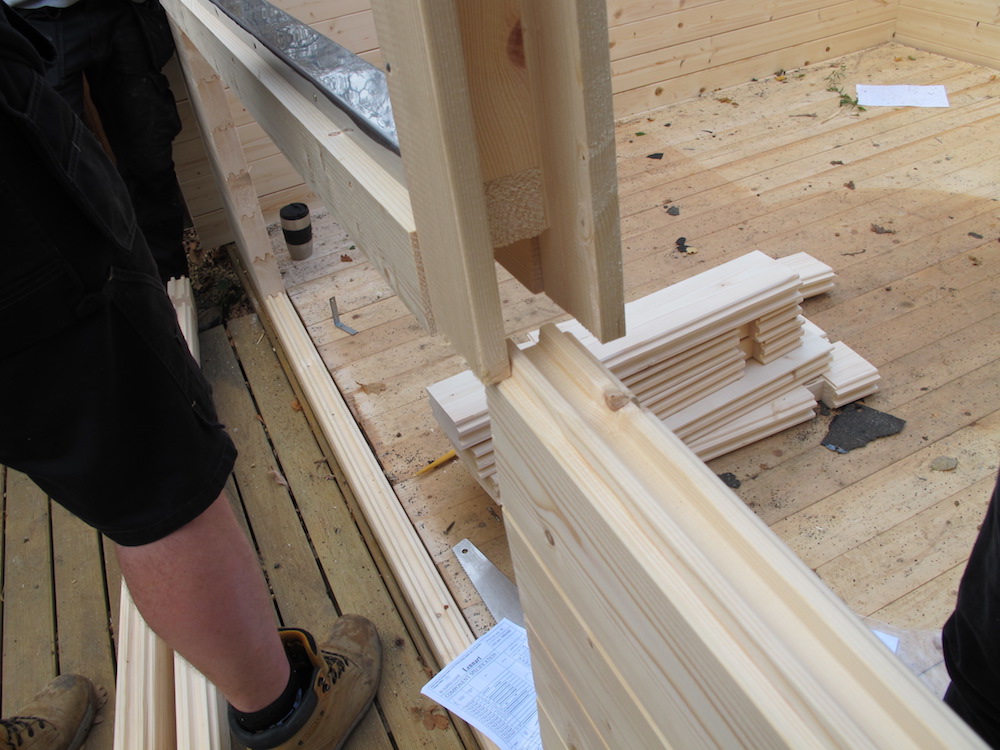
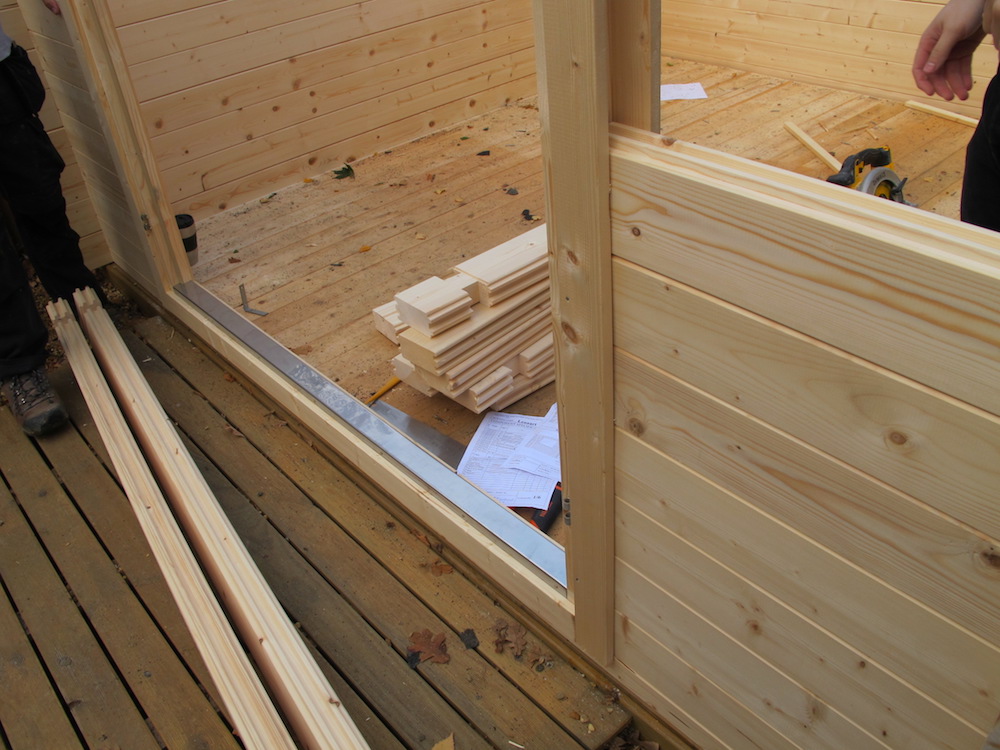
Around about this time, Andrew began to structure the doorframe. Please note: That this actually was done the wrong way round (again, might of been avoided with the assistance of the Cabin plans..). Hopefully what I captured should explain what happened and how we resolved it, also take note of the captions of the images for more detail:
-
- On an open space, the door sections were laid out in the position ready to be screwed and secured. Though in this example it turned out that the door threshold was the wrong way around!
-

- This step is simply the process of aligning the threshold and the door sides into place using the pre drilled holes.
-

- This is the screw used for the door frame.
-
- Notice how the U section doesn’t align? At was at this point we realised where Andrew went wrong..
-
- But its not too bad- It only took a minute to unscrew and turn it the right way around!
-
- See how it’s aligned perfectly? Much better!
-
- Voila!
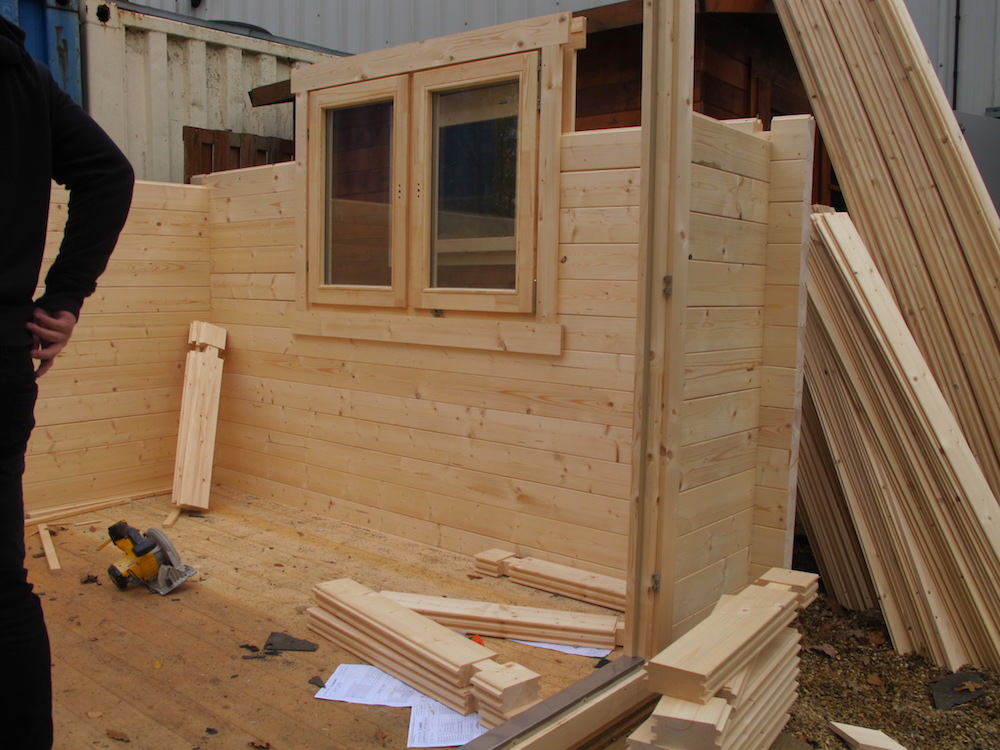
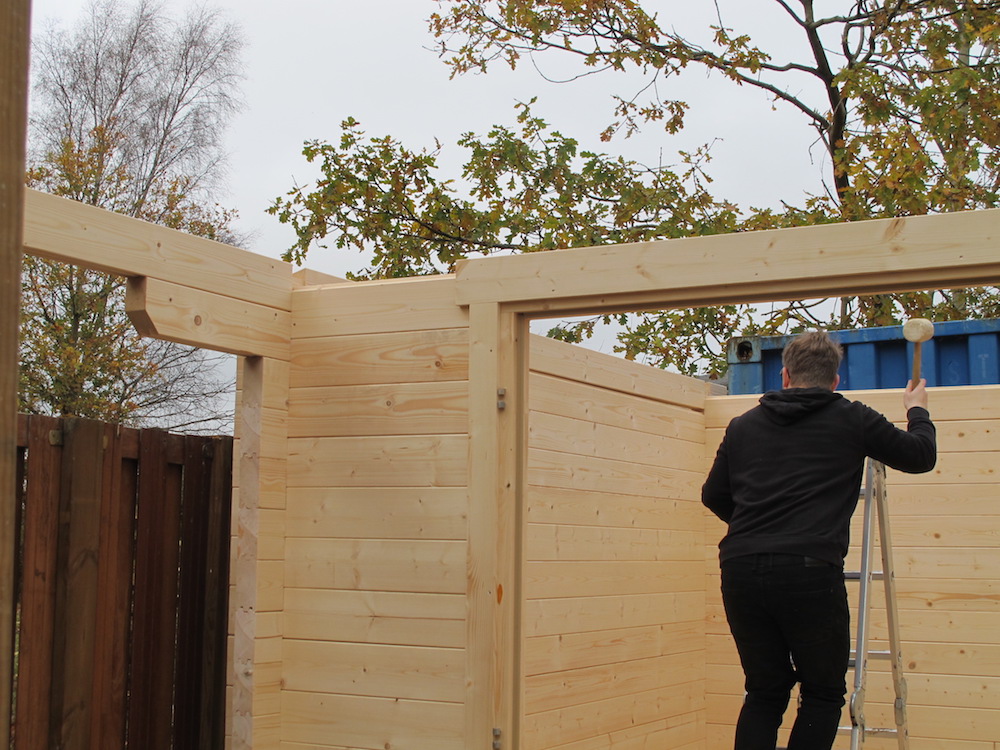
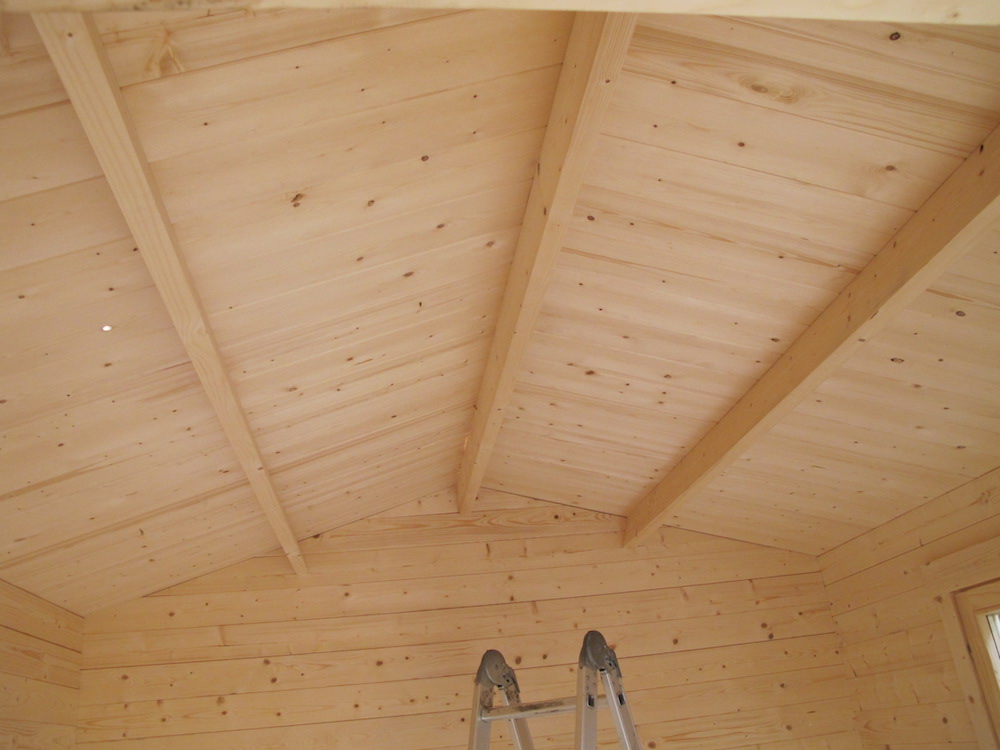
With the doorframe in and a coffee consumed, it didn’t take long at all for the three guys to finish installing the walls of the Lennart Log Cabin, then straight onto the Apex. Now, admittedly I thought apex referred to a different material type, but it seems to be the triangular shape (in this case) that connects and supports the wall logs to the roof logs/purlins. Also, I have just been informed that I was likely getting it mixed up with perspex!
-
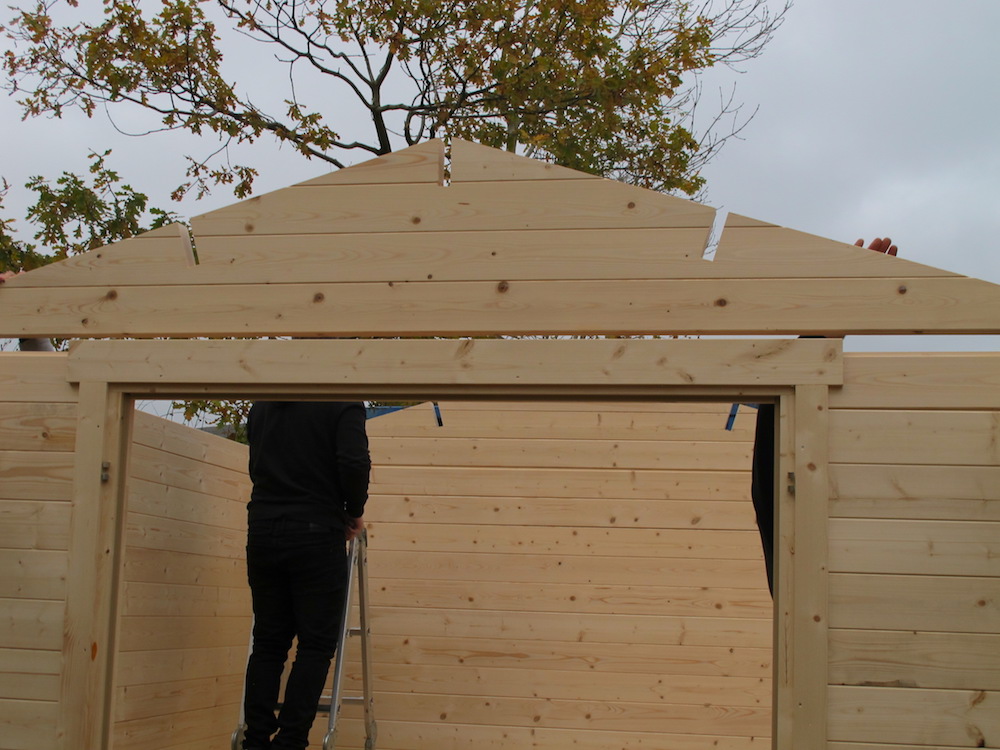
- This is the apex!
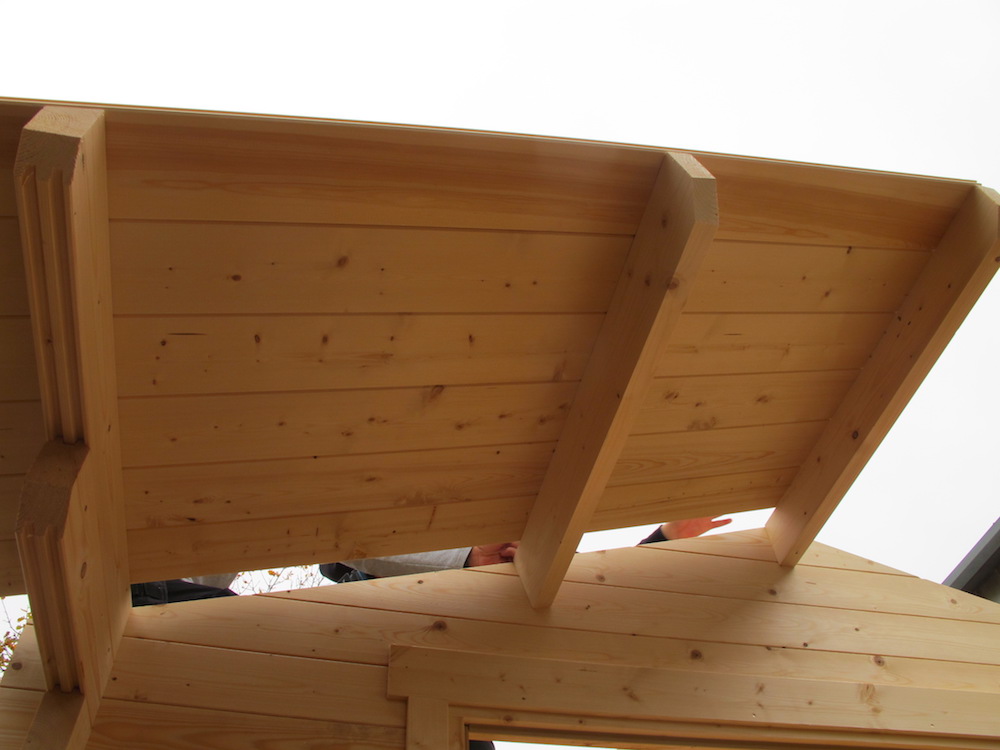
As you can see above, the ‘slanted slots’ (as I call them) are cut out for the purlins on both sides. So all you will have to do is simply slide the purlins into both ended slots. We prefer to screw down the purlins into the apex for more security, it’s not strictly required.
Roofing
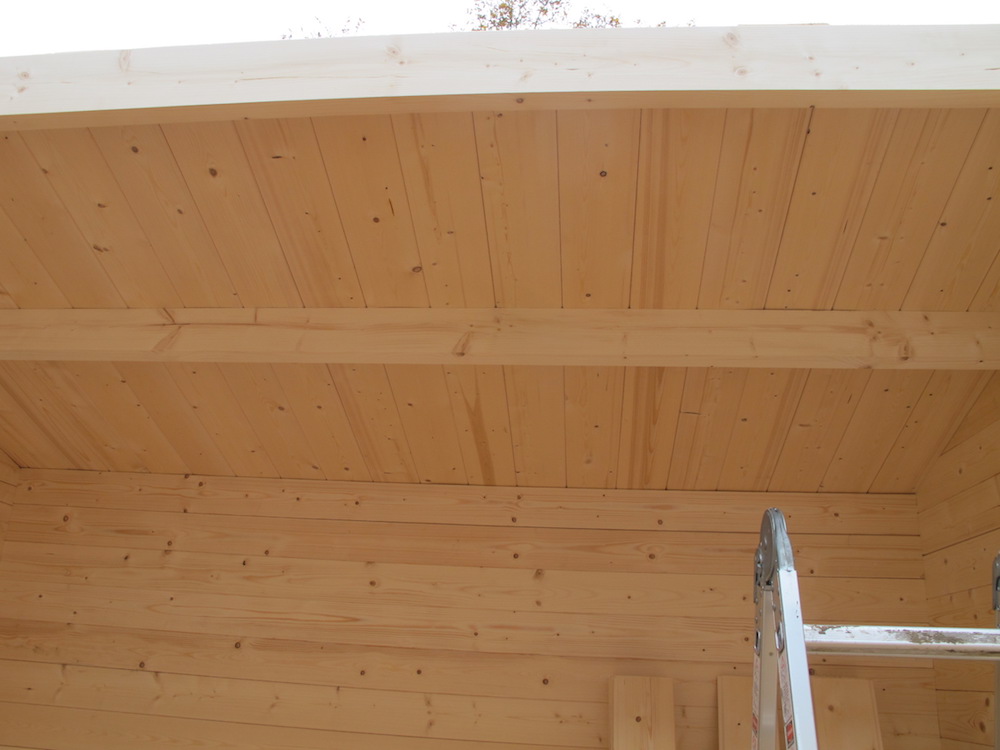
Now… This is where things got repetitive (and slightly boring to watch). The guys then took the first roof board (for the overhang), ensured it was level and used the clout nails to secure the roof board at the top, middle and bottom of the board. Lining up to be nailed on the center purling, the middle/support purling and the cabin wall.
Our roof boards are also made with interlocking timer. So its a fairly simple process to side the next roofboard in place, make sure its align with the previous one and nail it down. The interlocking process kind of reminds me of how you would install laminate flooring. Then you go onto the next one.. Than the next one.. Etc.

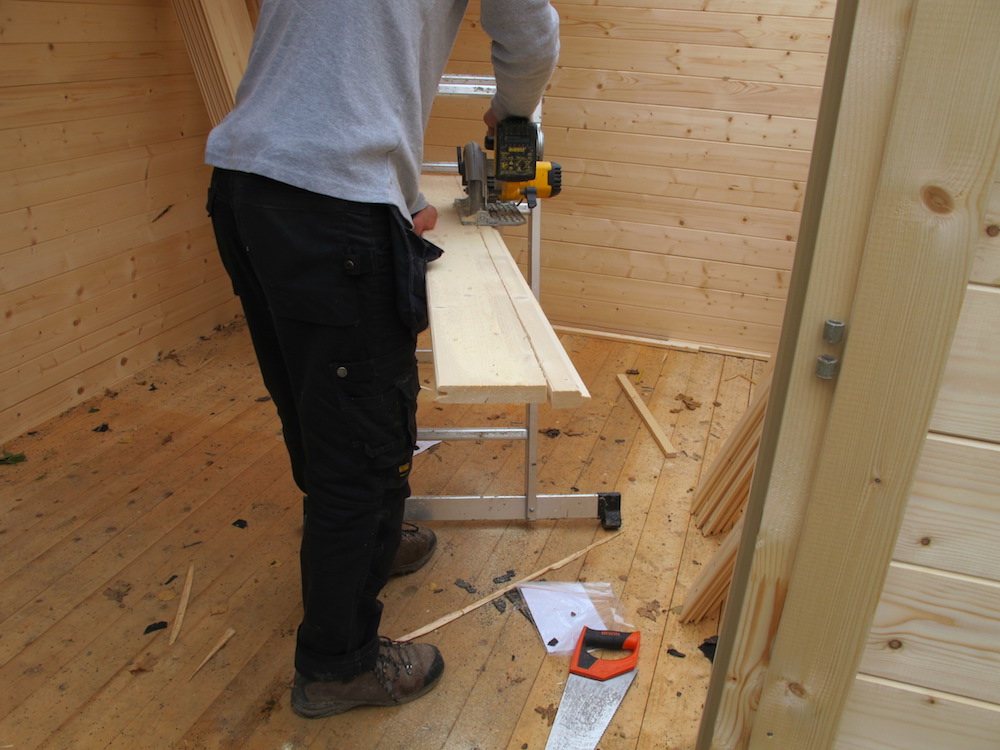
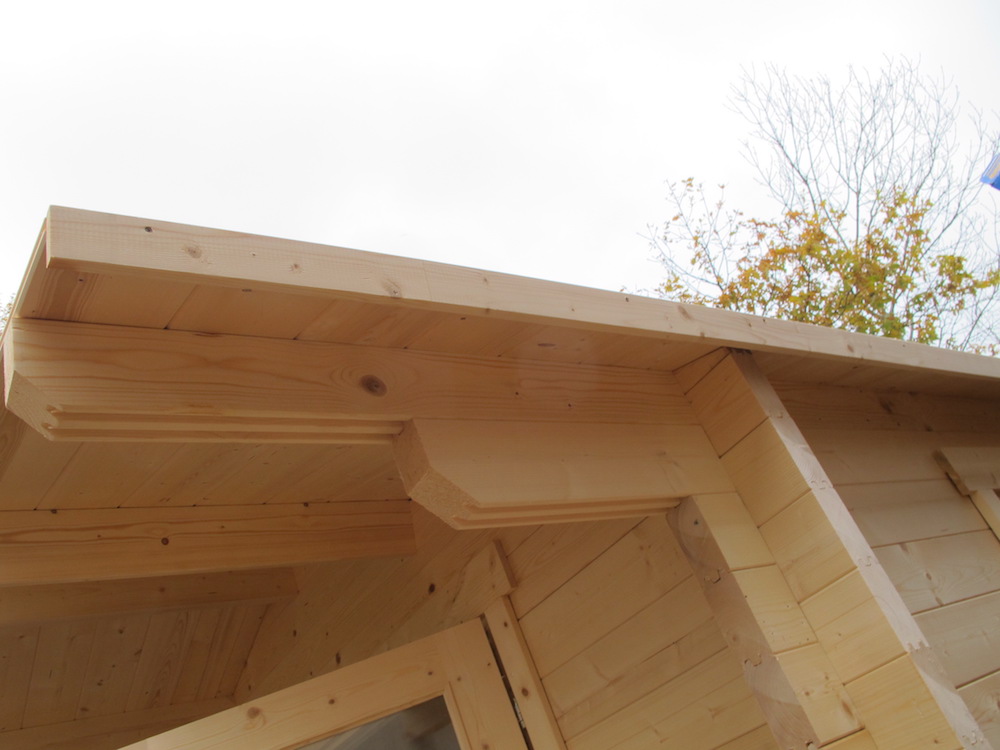
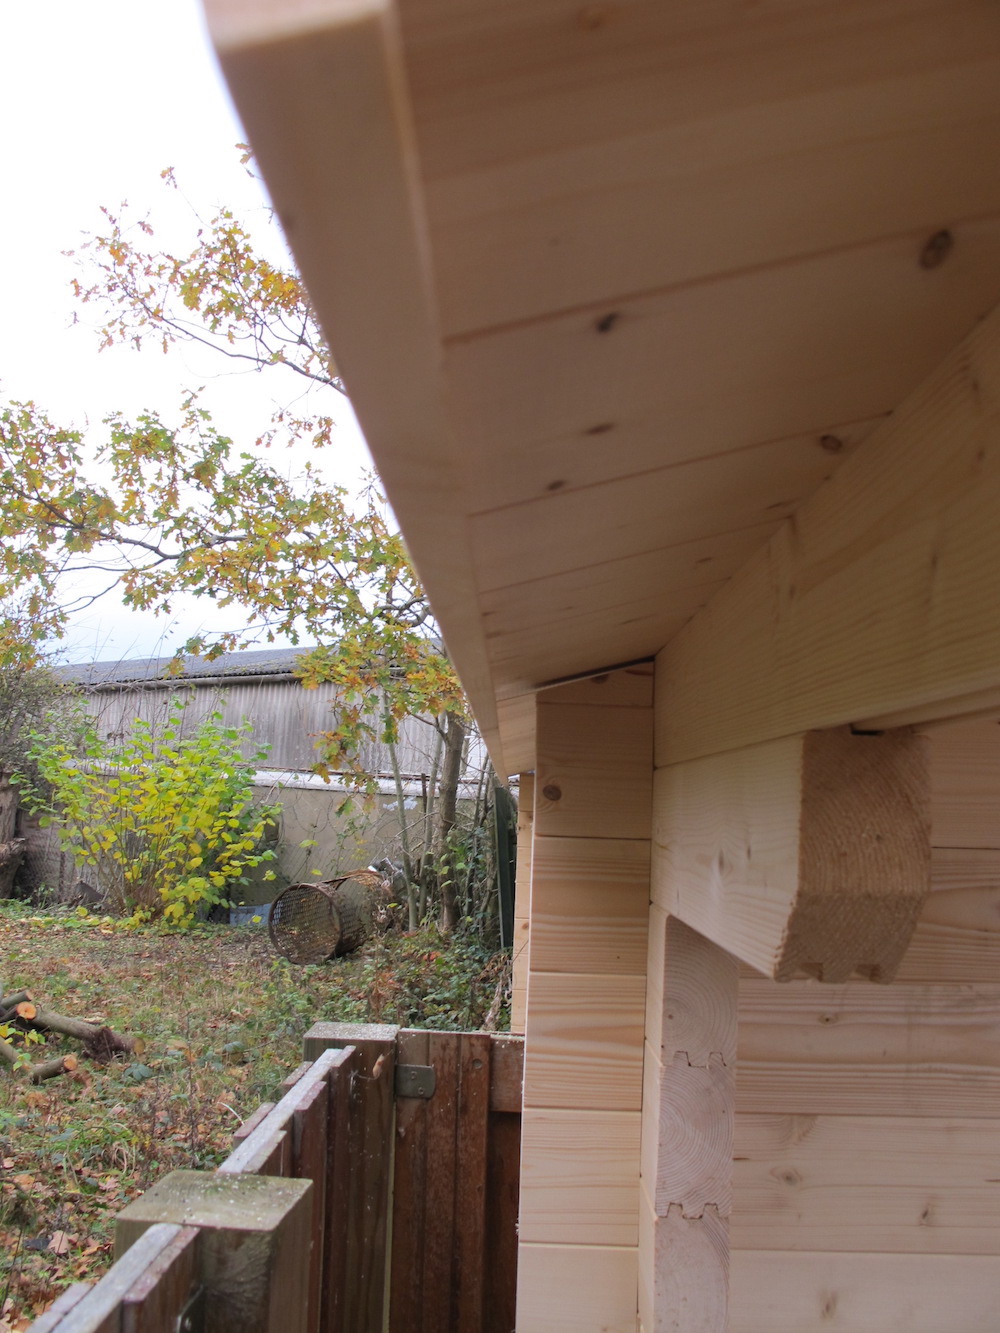
For the last roof board there was a slight overhang. So to make it look neater we marked where the roof boards should finish and cut it to size using a circular saw.
Then, you guessed it, you repeat with the other side! Admittedly, I left to continue to work in my warm office by the time this was happening. When I returned all of the roof boards were laid down and nailed- hurrah! We also added an edge/trim to the Lennart ready for the guttering to be installed fully leveled, after the cabin is treated.
Fixtures & Fittings
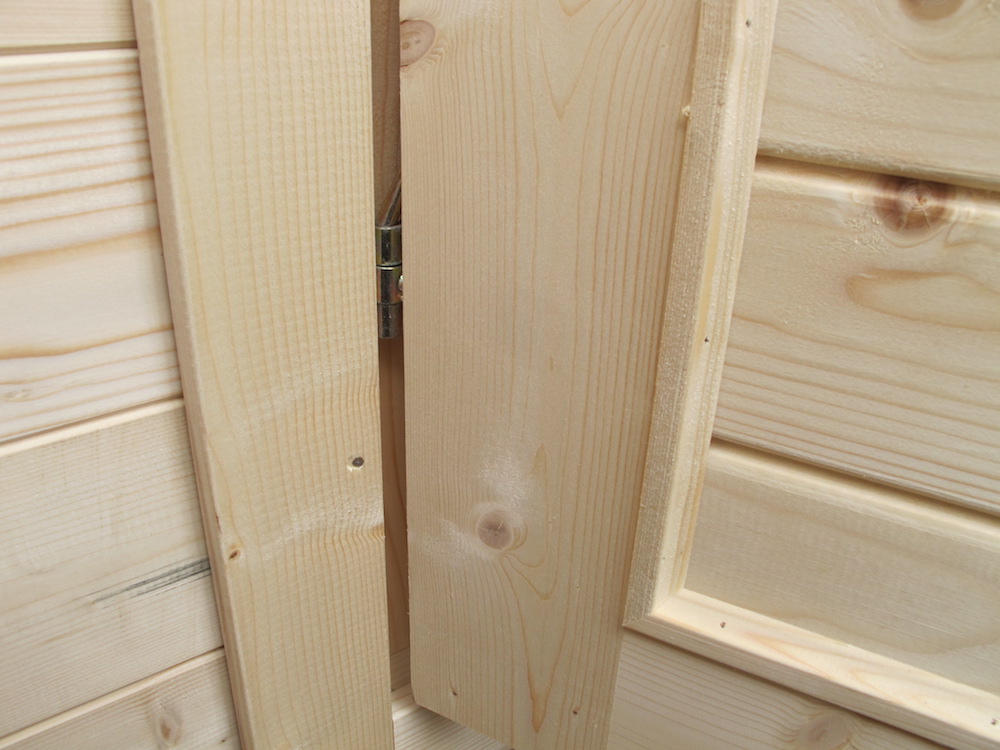
To finish off the body, Philip showed me how you would install doors for your Log Cabin. It seems to be a simple process of aligning the middle circular hinge in between the two already on the doorframe and pushing the provided pin in place. If you notice this on your Log Cabin Doors then please email us with pictures for reference, and our service team will send some new hinges for you to replace.
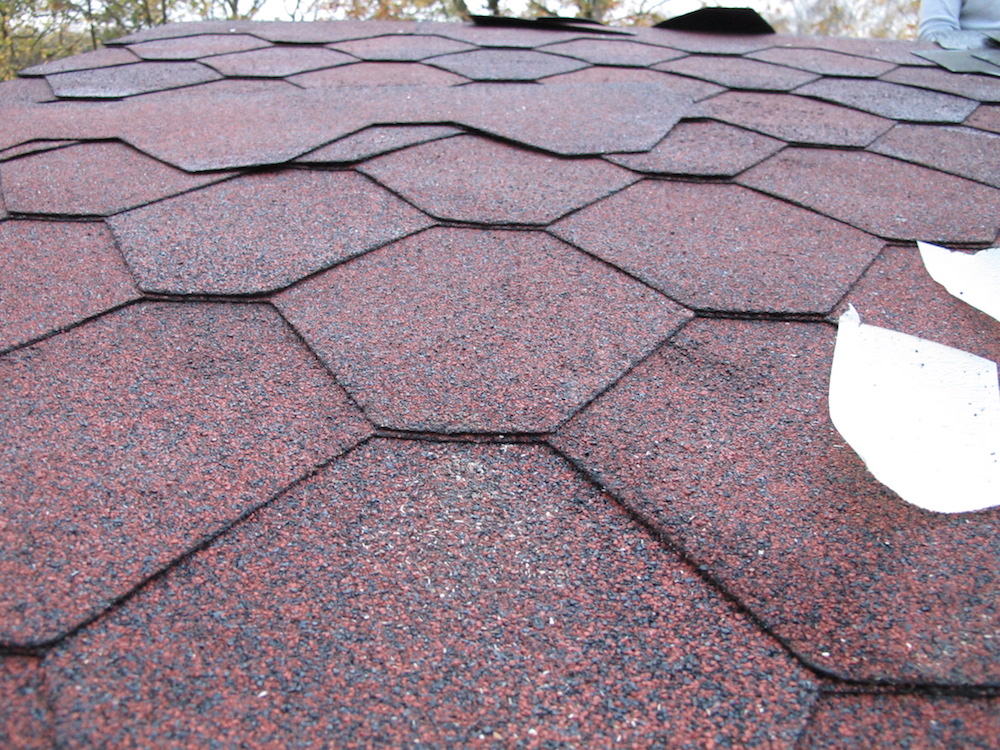
Roof Shingles
Then, came the monotonous part.. The one everyone tends to get bored of doing.. Fitting roof shingles. The shingles we used for the Lennart Log Cabin was our Red Hexagonal Shingles. The process was long and I honestly spent most of it in the office. By the time I came downstairs to take this picture below, all enthusiasm and motivation from Andrew’s eyes were fading. He was tired, legs hurt and was tired of lining up shingles. But it was all worth it in my opinion, by the end of the office day the Lennart was installed! And it looks stunning, amazing job guys!
Treatment
Over the next few days the Lennart Log Cabin will be coated with our Clear Carefree Protectant Treatment.
-
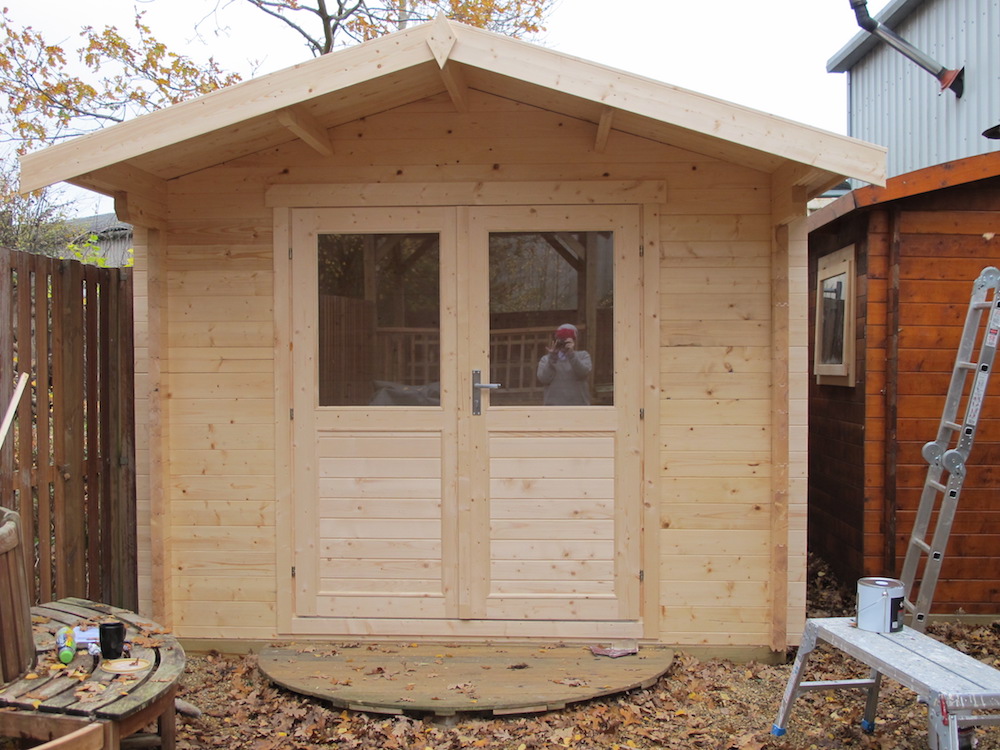
- Pardon the reflection of me and my bright pink hair!
-
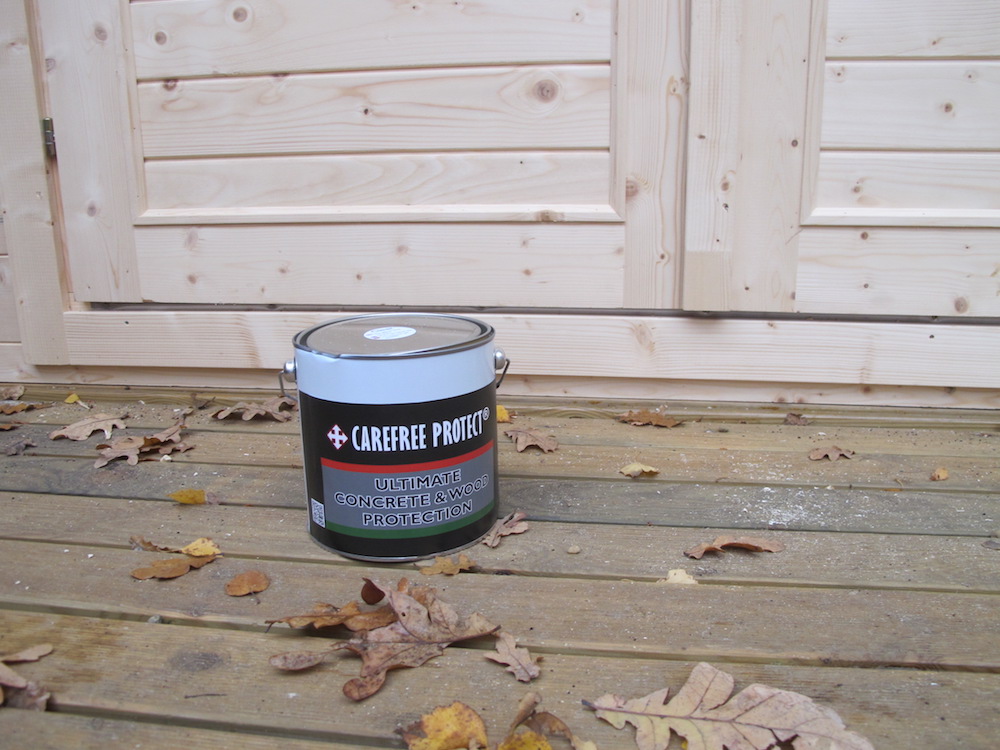
- The Clear Carefree Protect Treatment!
In Conclusion
I hope you enjoyed my view from this article on our new Lennart Log Cabin show building. Abig round of applause for Andrew who helped Wayne and Philip install this beautiful cabin. Let us know if you enjoyed this and wish to see more with our other future show site installs!
After watching this process, it really does seem that Richard wasn’t oversimplifying the process. If you read and keep looking at the plans provided and read all of our pages for Fitting Log Cabins, it seems rather easy! Though it may get more complicated as the larger show buildings start to be installed.. And maybe if you yourself are carrying the logs and installing them.. I’ll keep you guys updated!
Again, I believe the process will be easier once you have read our Fitting Advice Pages.
You will also find more specific articles that may help when you look at the ‘Important Information’ tab on our Log Cabin pages.
There are also a few more showsite installation posts, like another one of mine with the Kennet Log Cabin as well as one written by our sales assistant in training, Becky helping with the Daisy Log Cabin and 28mm Storage Annexe!
If you enjoyed this post, you may like our other installation reviews sent in from our customers at: Pictorial Customer Reviews.