


In another post where we help dive into the world of log cabins for sale in the UK we touched upon different styles of roofing featured with in garden buildings. One of the very popular types are Pent Log Cabins. This style of building goes by other names such as “Mono-Roof” or Modern Log cabins.


This page is dedicated to just that and i hope to be able to shed (pun intended) some more light on pent log cabins in more detail. So let’s ask ourselves “What is a pent roof?”
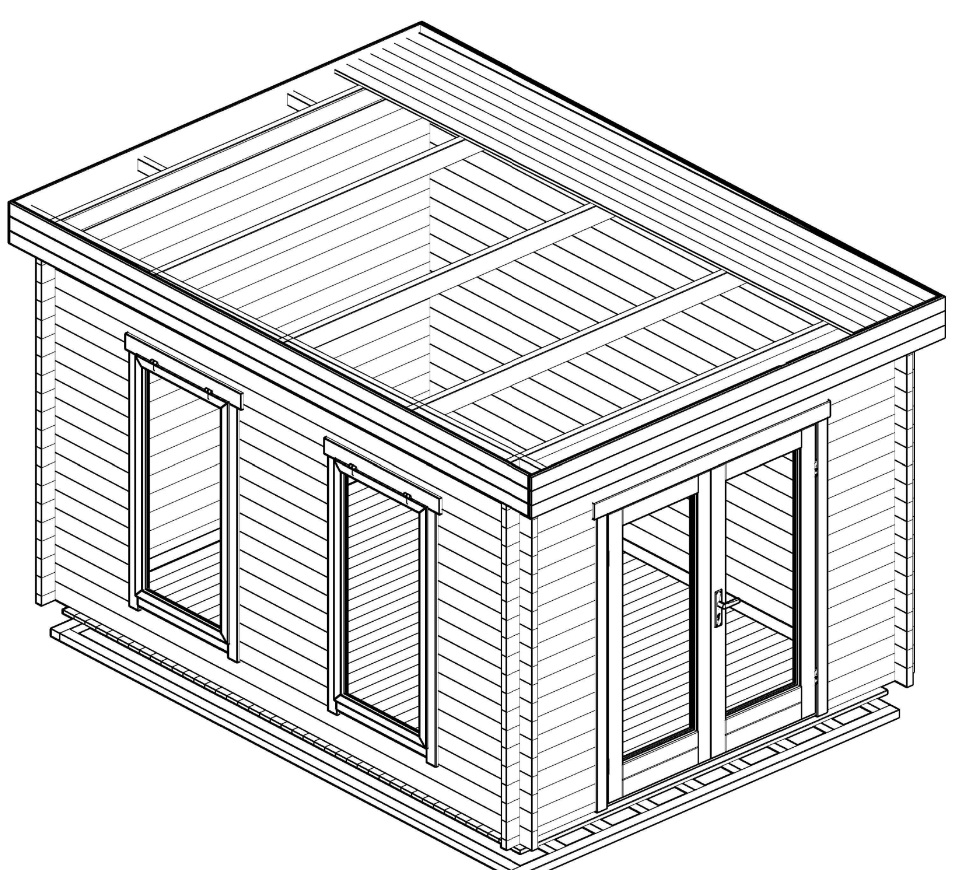
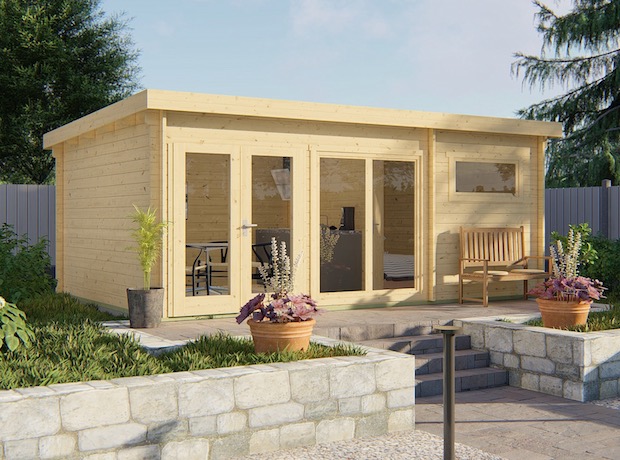
A Pent roof design in one that is flat, well nearly flat at least. The roofs have an ever so slight drop on them ( usually front to back ) which allows water to drain off towards the back.
Log cabins with a pent/mono-roof tend to have less internal height when comparing them to an Apex Log Cabin. But they do in turn provide a more modern/sleek look in some people’s opinion.
Pent log Cabins – Roof Strength
When it comes to the strongest type of roofing possible, this type of log cabin isn’t the best to be frank. That’s not to say they’re weak ( ours aren’t at least ). But compared to an Apex roof design they’re weaker. That becuase they unlike the comparison don’t have the magic triangle shape working in their favour.
BUT, thats not a cause for concern as whilst not as strong as the apex version, all of our Tuin log cabins for sale will confirm to strict dutch/german snow loading limits. we explain more on roof strength here.
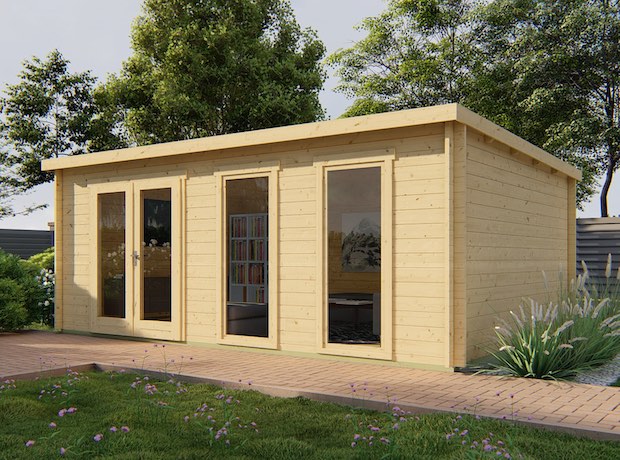
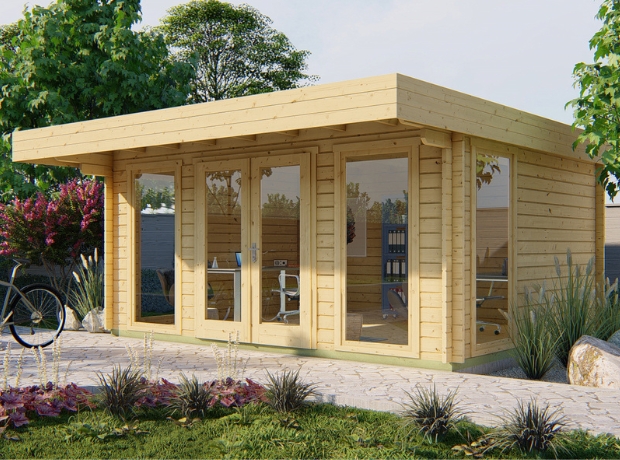
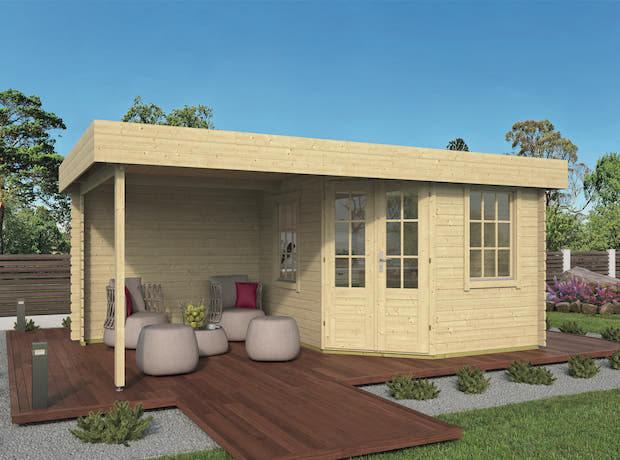
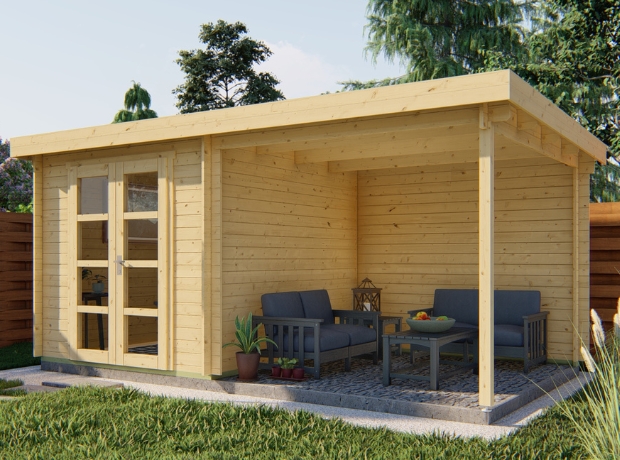
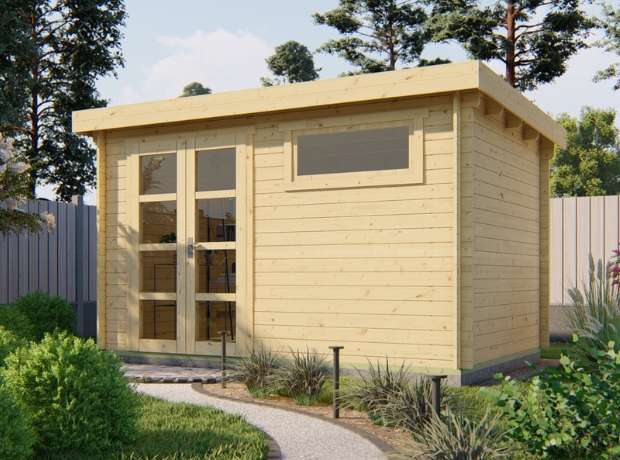
Tuin’s Favourite Modern Cabins


Pent Log Cabins – Install Steps
We’re now a little more aware of what the term “pent” even means so let’s take a brief look now into how pent log cabins are installed. We’re not going to get into all of the specific installation advice but will provide an overview of the process to help better understand the design. For more in depth installation advice please follow our online guide instead.
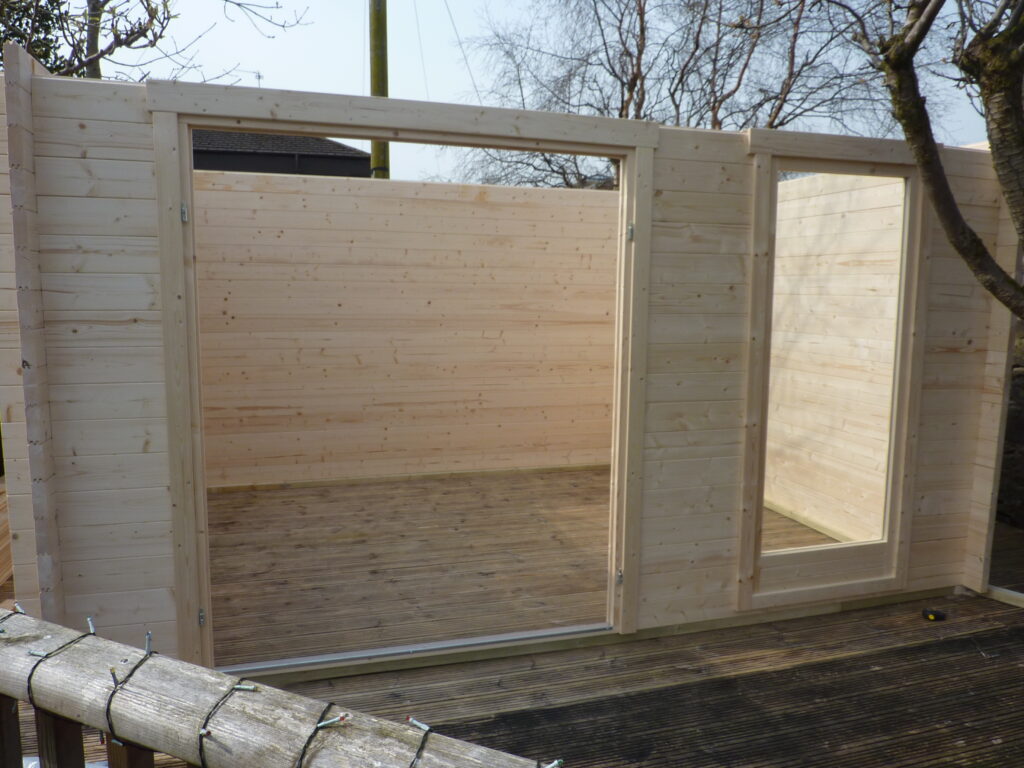
Step One – Wall Completion
As this page is very much roof focused, we’re going to start at the point the outside walls made from solid log cabin wall logs are completed. This is just before the roof starts to take any sort of shape.
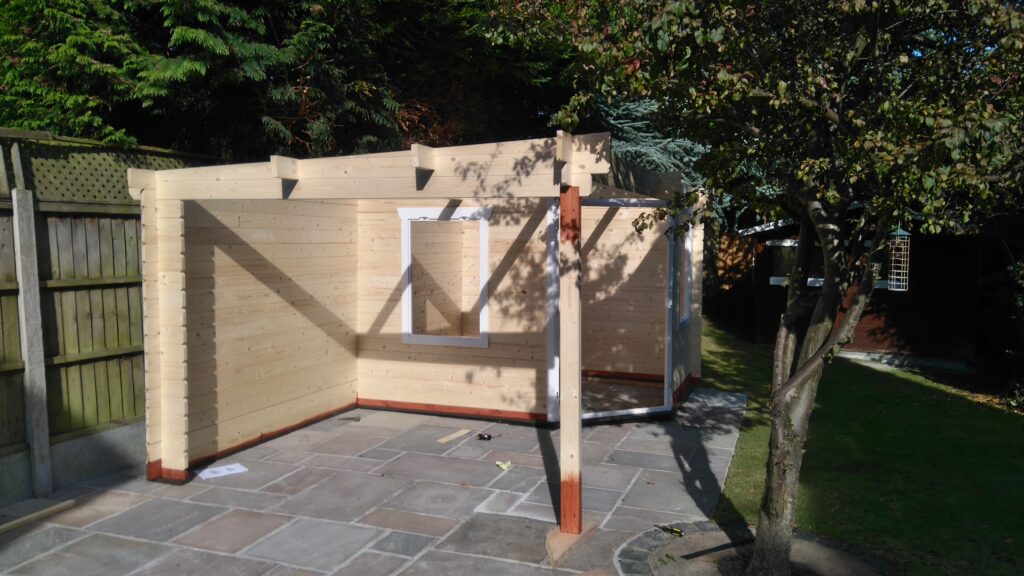
Step Two – Gables and roof Purlins
Now the walls are up we now need to create the roof shape/slope. As mentioned before all pent log cabins we offer feature an ever so slight pitch that allows water to drain off the back. The gables are less prominent if you compare them to the mighty triangles of an Apex roof.
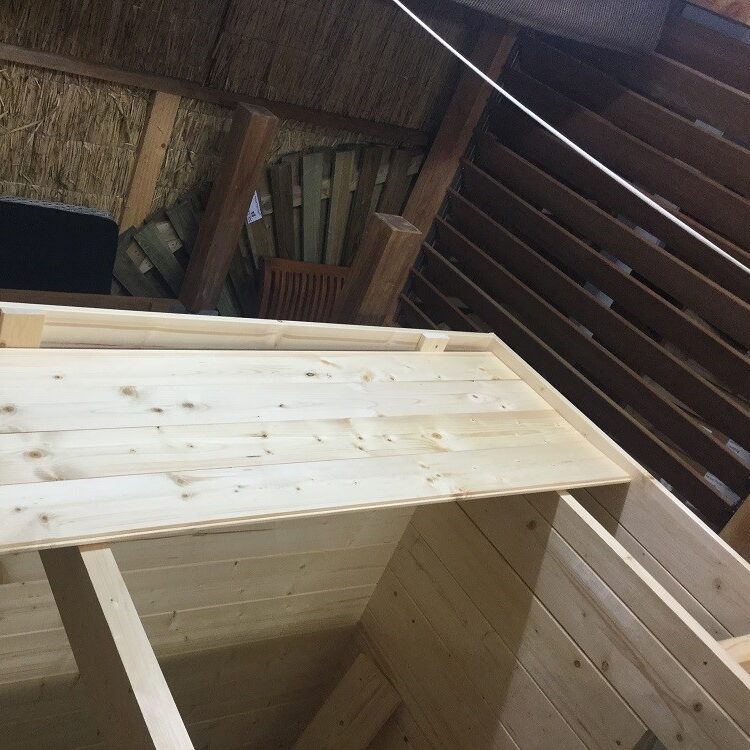
Step Three – Pent log Cabins Roof Boards
Once the gables are installed and the roof is taking shape its time to fit the roof boards supplied with in the kit, They’re always T&G boards at a thickness of at least 16mm. Prior to installing the roof boards be certain to check for square and level one last time.
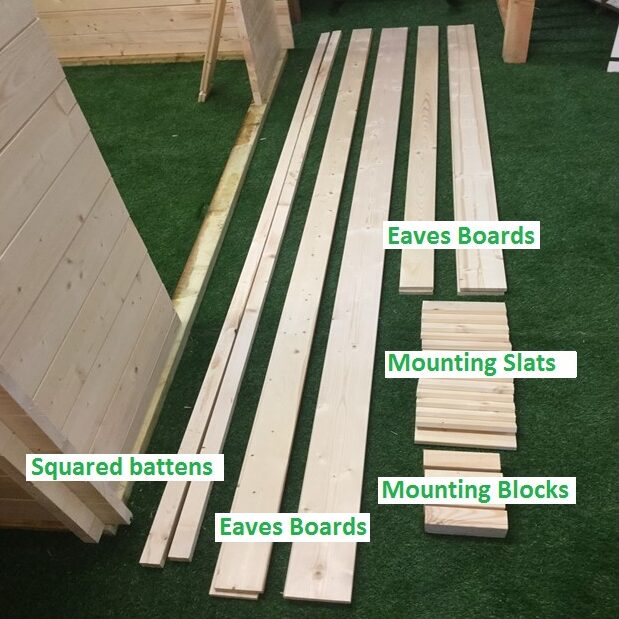
Step Four – Finishing touches
You’re nearly there in terms of timber left to install, You will be left with a large variety of roof trims and blocks that still need to go on. For more specific installation help with this phase please visit our page dedicated to pent roof installation.
Step Five – Weatherproofing
With pretty much all of the timber used and feeling of relief rolls over you looking at the completed project and you notice it looks amazing and as planned. The final part of the installation is to apply the roofing material
EPDM ( Ethylene Propylene Diene Monomer ) is the most popular and superior choice for the pent log cabins we sell. It’s a massive sheet of rubber than spans over the whole roof with no overlaps in most cases

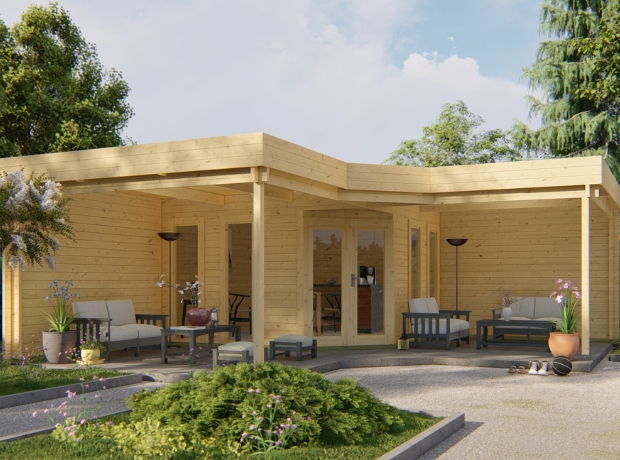
Tuin’s Favourite pent log cabins
With a good understanding of pent roofed log cabins behind us let’s take a look at some of our supporting pages to this type of building. We have a mountain of customer stories and of course some team favourites when it comes to specific models.