


It always brings me joy when I see a review in my emails. So I’d like to say thank you to Mr H for sending in his review on his Julia Log Cabin. In this he talks about how he made his Log Cabin multifunctional for both himself and his wife- with high quality images!
The Delivery
The fun started with the delivery. We live in a small town in mid-Suffolk, the sort of place that big lorries only get through with a police escort. God knows where the driver parked his truck. I wish I’d been there to see it. The first I knew of the actual delivery was when I came home about midday the day before the scheduled delivery, to find the driver trying to find me. Apparently there’d been lots of attempts to contact me to advise of the early delivery. But since I’d been away and I don’t use a mobile phone, he was at a loss as to what to do.
Fortunately he didn’t give up. We met halfway between our house and the low bridge where he was stuck with his fork-lift. A lot of beard-tugging and tea-drinking followed. It finally became clear that the only way he was going to get the fork-lift under the 9ft railway bridge was to offload the shingles and the extra windows. Even at this stage it was a miracle he’d got that far. Having crabbed sideways with his forklift to get past the parked cars on the narrow approach road.
Making Space
For the scheduled delivery I had intended to politely ask the residents to move their cars for the purpose. That saved me a grovel or two. Lightening the load (nearly a ton of wood, plus what felt like half a ton of shingles) meant the business end of the fork-lift could be moved out and forward of the wheels without overbalancing the whole lot. As the forks thus came down about 2ft, it looked like the truck would finally clear the bridge. Not quite, but he found a spot in the middle of the road that the forks just cleared by about 2cm, and the subsequent 72-point turn took him about 20 minutes. He got a round of applause from the guys in the garage on the corner, and another cup of tea.
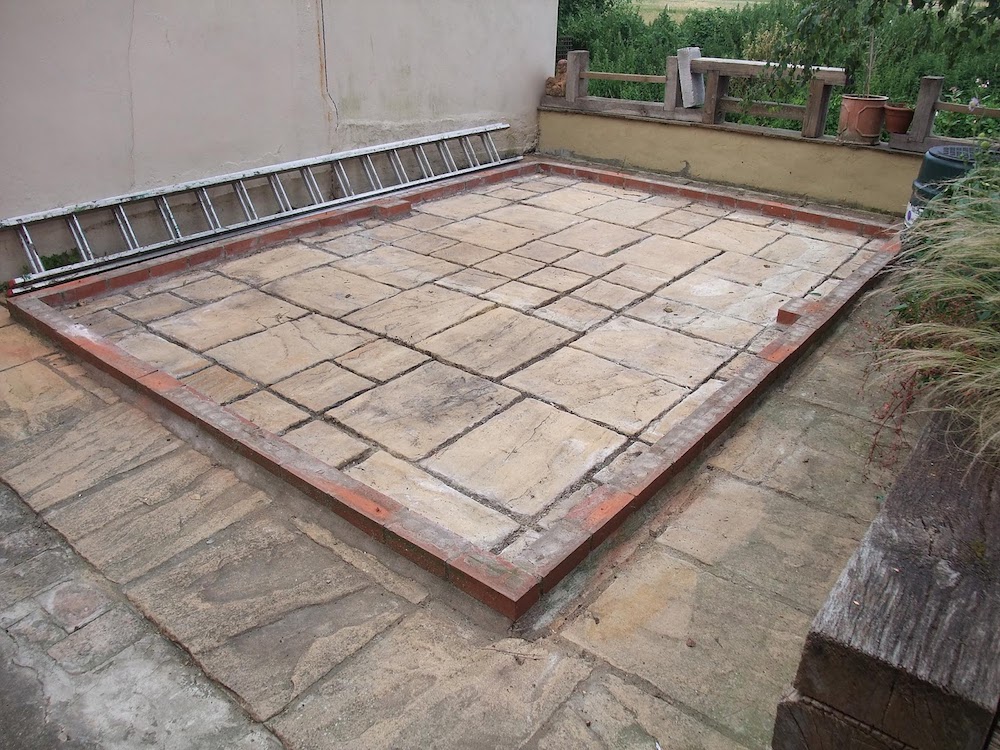
The previous, unfortunately small base
We’d had a greenhouse on the site where the log cabin was to go. However, the single brick course that was the greenhouse’s foundation was just enough inches out from the perfect size to be utterly useless (confirmed by Tuin’s very helpful Customer Service staff). Taking the bricks down left a floor of Indian sandstone slabs that, by themselves, were not level enough for the log cabin, so I concreted a 8″ wide foundation directly onto the sandstone. I was going to concrete the whole area, until I worked out how much it was going to cost!
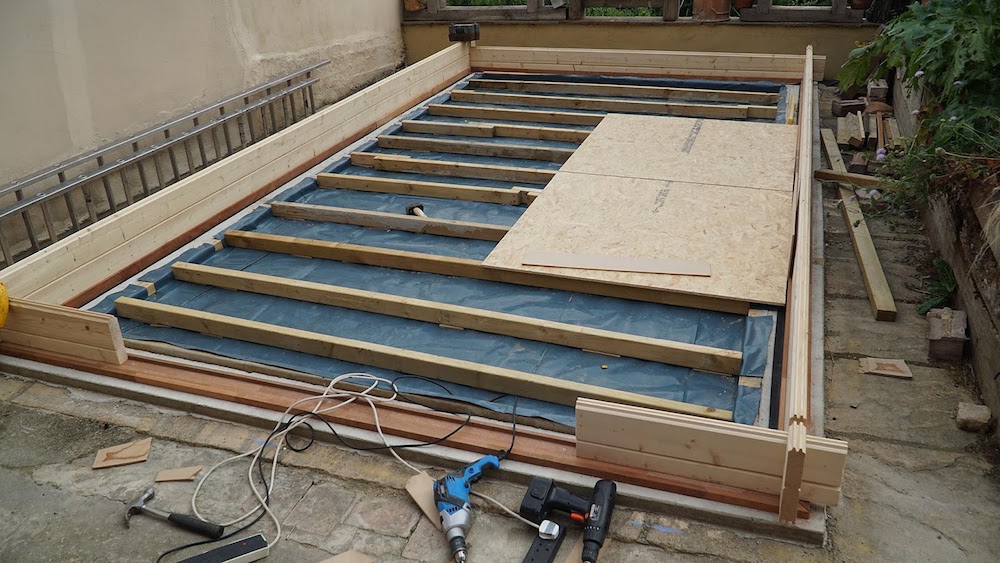
Building the Julia Log Cabin
Getting that down and level was perhaps the most difficult bit of the whole build. Absolutely essential though, as Tuin’s site repeatedly emphasises. Getting the joists level was a bit of a nightmare. The Indian sandstone had lumps and bumps all over the place. I took to chiselling off the worst of the unevenness. The floor was then built up with 70mm insulation between the joists (in an eccentric pattern due to the sandstone), with a damp-proof membrane underneath, 11mm chipboard on top of the joists, and hard-wearing wood laminate ‘planks’ on top (half price at Wickes) with standard underlay.

The cabin went up so quickly I forgot to take many pictures of it. Everything fitted beautifully, and you could almost dispense with the instructions. But then the Julia is an oblong ‘box’ with no complex corners, so I wouldn’t recommend losing the instructions when dealing with a more complicated build. I didn’t have the space available to lay all the pieces out for identification and to make the build easier. However, this wasn’t necessary, it was very easy anyway.
Mistake 1 – Worktops
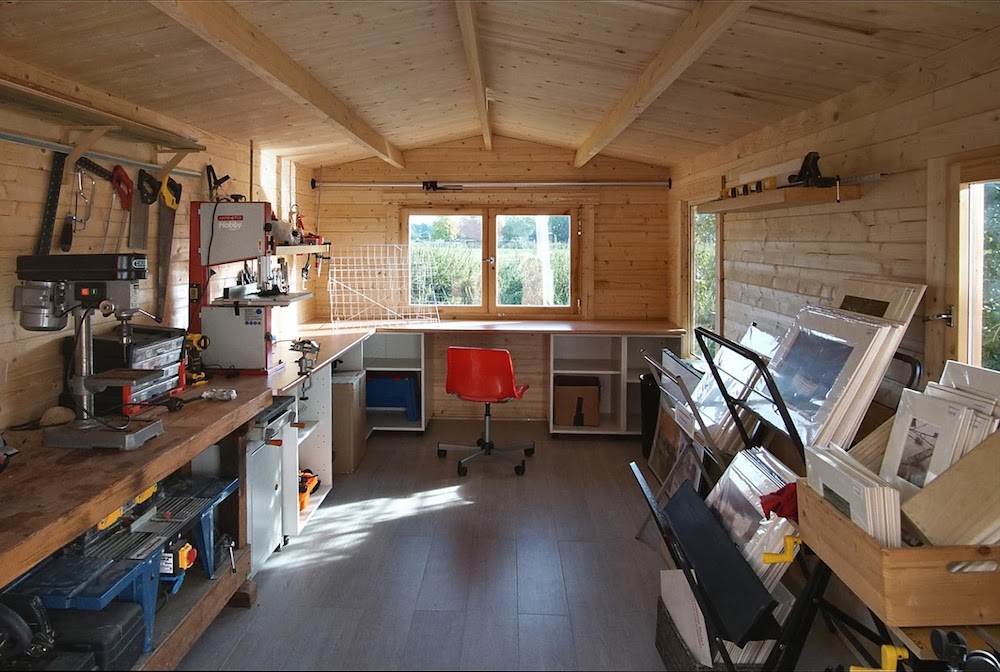
However, I still made a few mistakes. Nothing to do with Tuin, but entirely due to my own lack of forethought about the interior fittings. The cabin was to be a workshop and a storage area for my photographic prints, and a quiet spot (ie. when I’m not in it) for my wife to paint and draw.
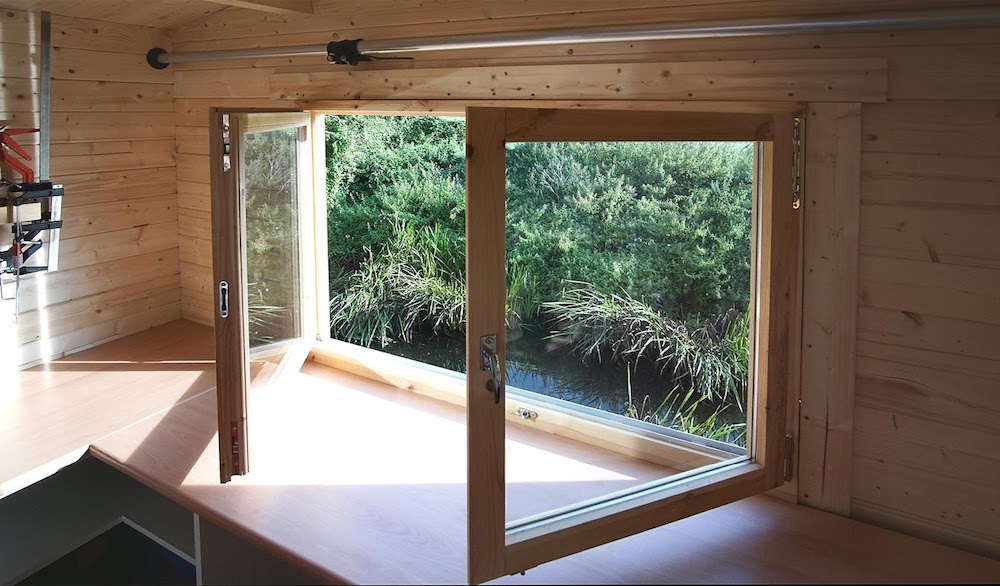
It all ties in wonderfully, like it was meant to be!
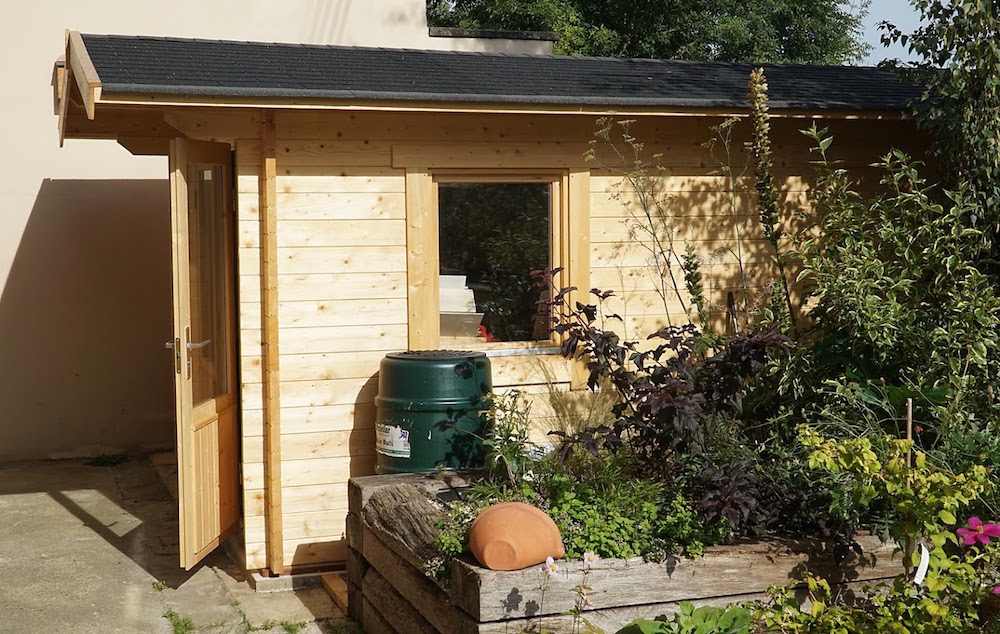
But when I moved my work-bench in, the beautiful window at the end was an inch too low. It opens OK, but there’s a gap around the frame (see pics). I’d forgotten to check the height of the bench before cutting the hole for the window.
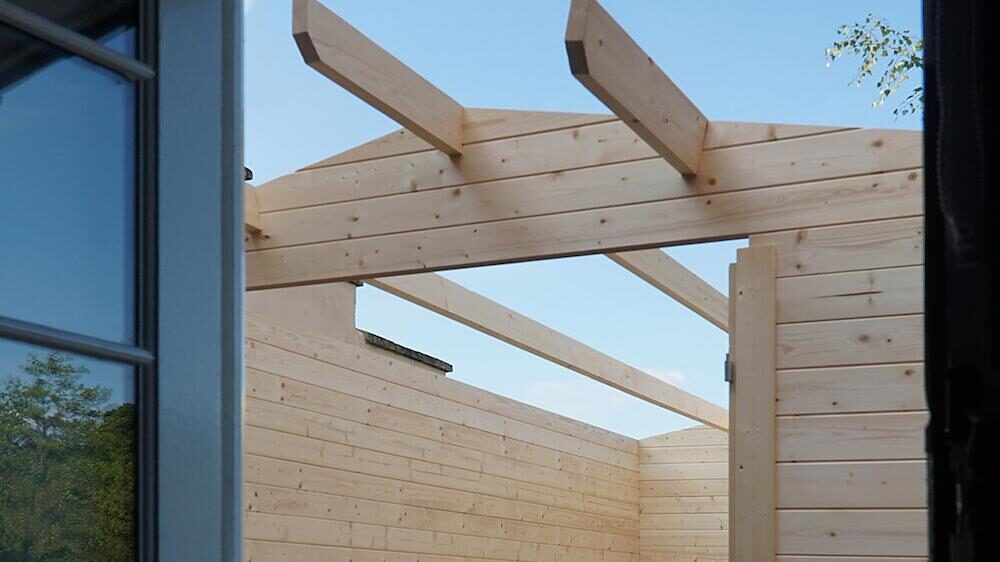
The Subsequent Windows
I could in theory take it out and extend the window’s cavity upwards, or cut the worktop to fit around the window frame, but mentally the build is ‘finished’ now so I won’t be doing that. Besides, I’d never be able to cut the worktop straight enough, and that would look worse. But nobody notices my mistake, they’re too busy admiring the rest of the cabin!
-
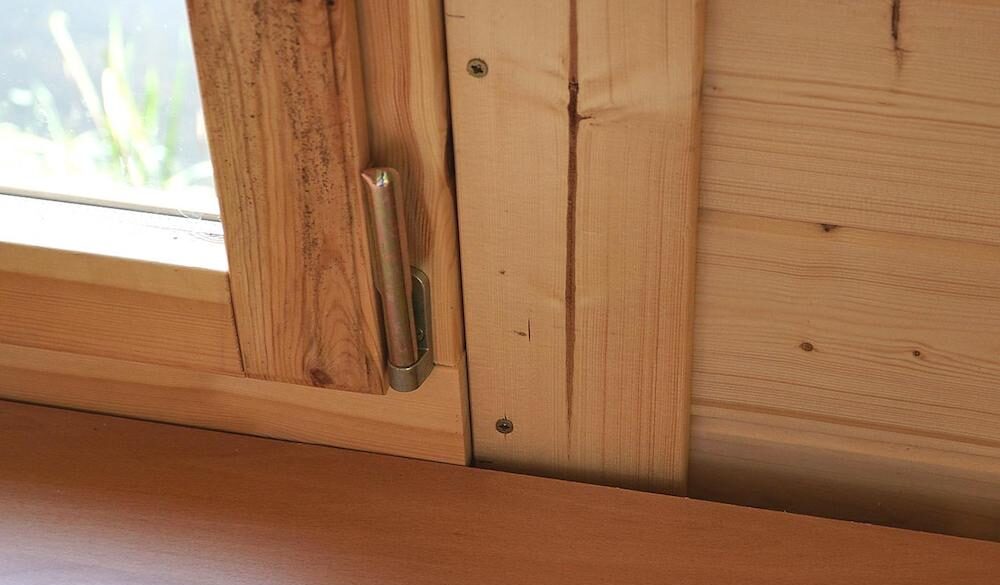
- I’m sure no one will notice!
Incidentally, I chose a Tuin log cabin. Not that I wouldn’t have chosen a Tuin for other reasons as well. Because they are one of the very few, available at a sensible price and beautifully constructed, that has doors that open on the end wall, and not in the middle of the longer side. That ‘normal’ configuration was impossible for us, as we have the neighbour’s wall down one long side, and a substantial raised flower bed, with a tree in it, down the other. It was a relief to find the Tuin site and to find exactly what we wanted. Because of that versatility, I’ve lost my Tuin catalogue to some London friends who now want a cabin…
Mistake 2 – Air Vents
My other mistake, similar to the first, was cutting holes for the air vents without considering the cupboards blocking the way. So I now need to cut out another air vent, somewhere where it can breathe properly.
Wood Storage
There was enough 40mm wood left over to build a small wood store down the side of the cabin, and more than enough shingles left to roof it over as well. Speaking of the shingles, as one who’s never put a roof on before (or built a log cabin for that matter), the instructions here were little confusing: doing the bulk of the roof was straightforward (I used Tuin’s Richard’s idea of inverting the first row, as it looks so much neater), but cocked up on the bit at the top (I forget what it’s called, the ridge at the top…). Half way along I realised I had the shingles (by now cut into singles) the wrong way round. Perhaps, again in my haste (it was starting to rain) I’d overlooked some key part of the instructions here, but it would pay to get that right first time.
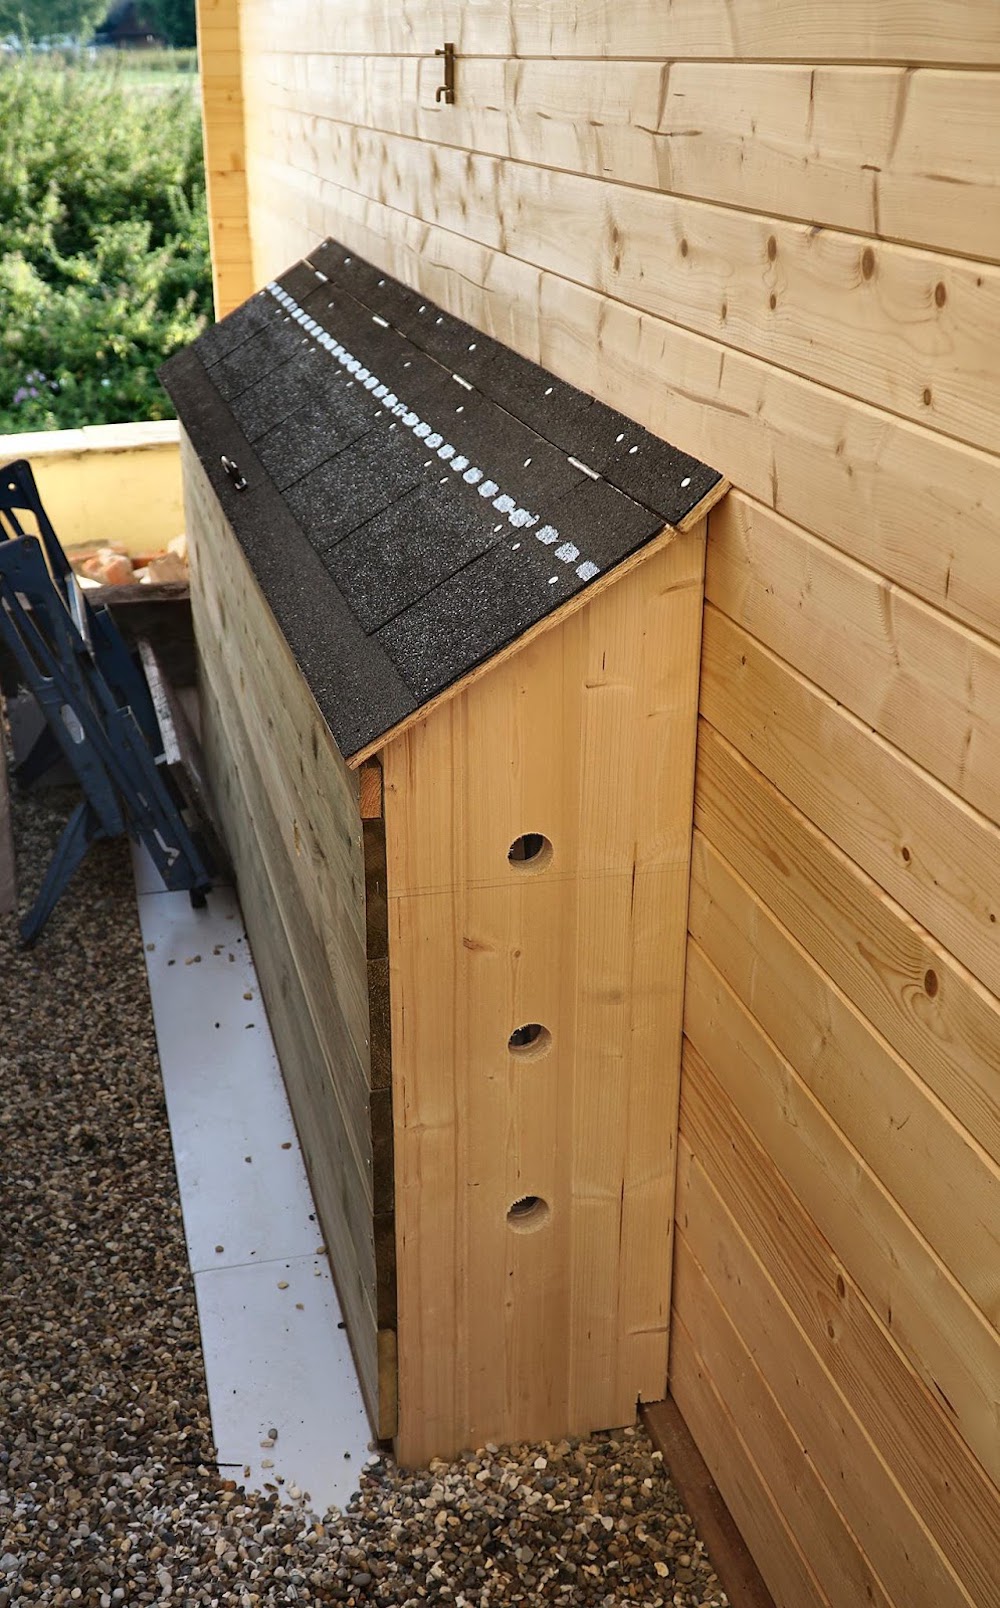
A great idea to recycle left over timber!
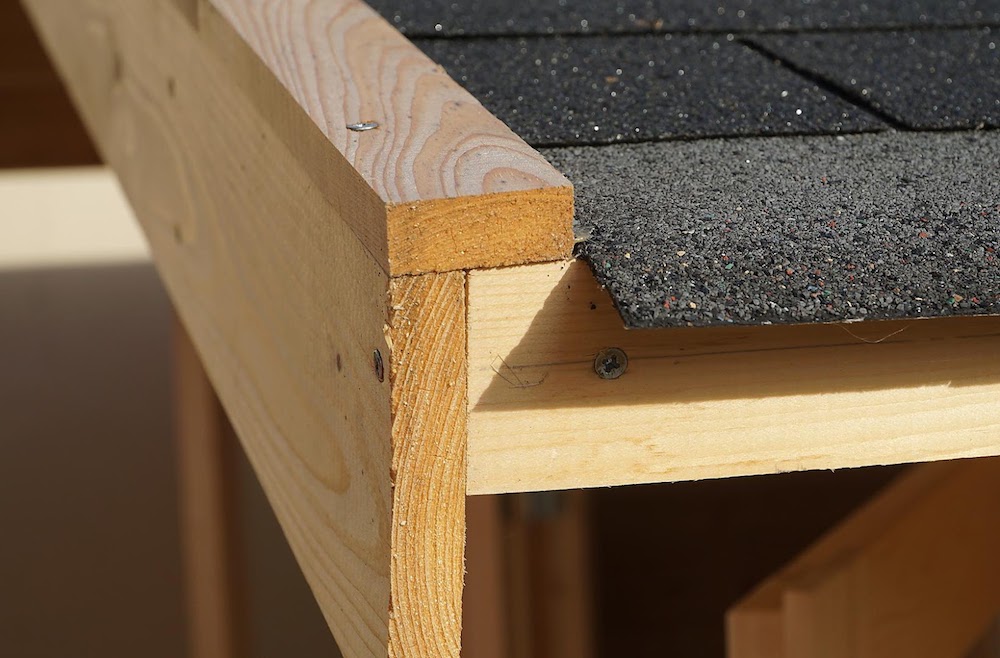
And I didn’t quite know how to deal with the ends of the roof, where the shingles meet fresh air. I didn’t recall seeing any instructions about that. In the end I cut off two inches of laid shingles along a straight-edge. Then I screwed onto the roof the remaining pieces of wood, butted up against the shingles. It looks neat, so I suppose it’ll be OK.
The Finished Julia Log Cabin
All in all, I’m so chuffed that it looks great, will outlast me, and is an impressive addition to our ‘real estate’. We’ve yet to paint it and to add the interior electrics and the exterior guttering. Speaking of the paint, Brewers now recommend an acrylic paint by Bedec called Barn Paint. It needs no priming and ‘probably’ just two coats for full protection. However, the available colours are very limited, so my wife has come up with a cunning plan. A mix of the Forest Green Barn Paint plus about three other colours from the Barn Paint catalogue (free in sample sizes) to make the sage green that she wanted. That was the deal: I get the cabin, she chooses the colour.
I have been told that I am not to spend all my days in the cabin. We’ll see about that.
The roofing looks great- it all does in my opinion!
The Julia Log Cabin turned out to be perfect for the multipurpose work room! I think Mr & Mrs H did an amazing job with installing this- we don’t lie when we say installation can be quick! Thank you for sending this in. We hope you enjoy your Log Cabin and your gift for many years to come!
Other customer reviews ranging from installation to finishing touches can be here here at: Pictorial Tuin Reviews.