


Mr Teague settled for the Edelweiss Log Cabin set in the woods. A substantial 70mm log cabin but, like a lot of our customers ,the base was a problem and was resolved using timber frames.
Overcoming The Base
One of my most favourite bases for log cabins is the timber frame and stilt method (as I call it) using this means you can easily level an area without all the expense of concrete, brick work, slabs etc. It is also a LOT cheaper, less hassle and of course extremely environmentally friendly as the ground doesn’t have to be disturbed and natural drainage is still allowed to continue. Drainage for concrete bases is often overlooked.
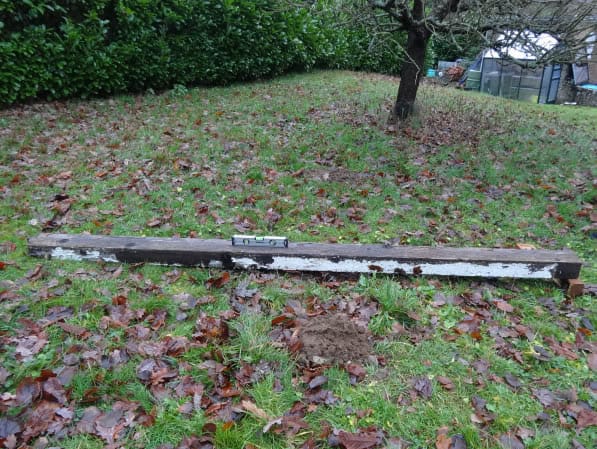
For Mr Teague the drop isn’t massive although with this base system very large gradients can be accommodated. As I’ve said in previous posts it it vital that a log cabin is 100% level for it to be viable in the long term.
-
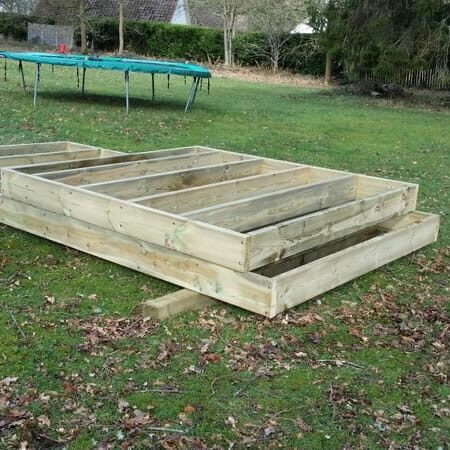
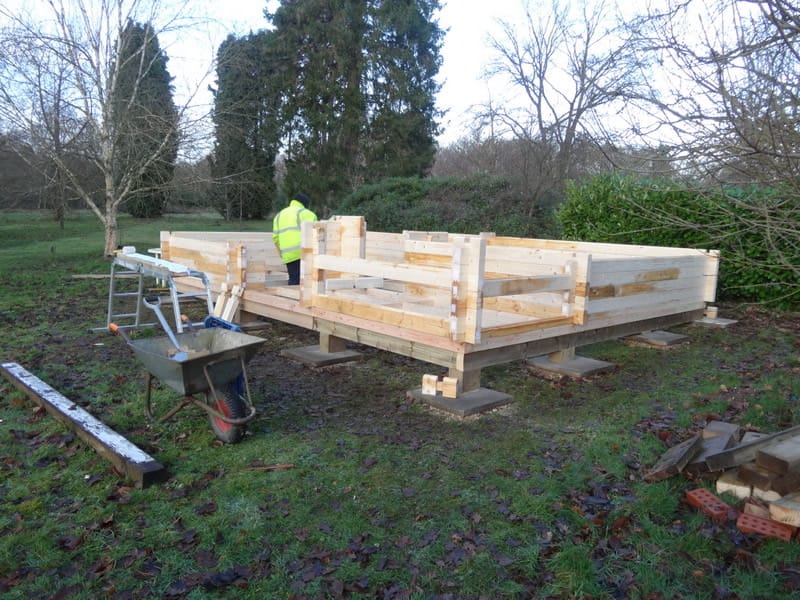
- Timber frames are made first for the log cabin base
-
- Numerous sections of frames can be built before hand for the log cabin timber base
Leveling out the Base
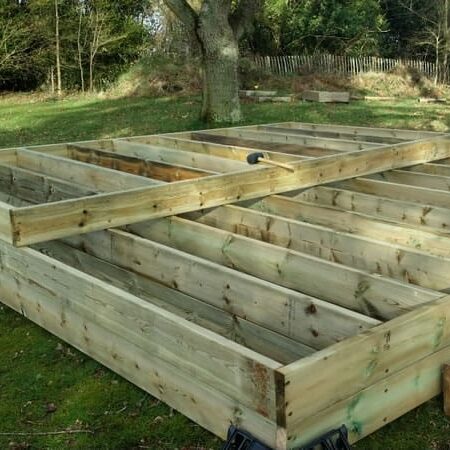
Depending on the size of the building it is often easier to make the timber frames separately and then bolt them together. The size of the building will often determine the thickness of the timber used although generally the thicker the better.
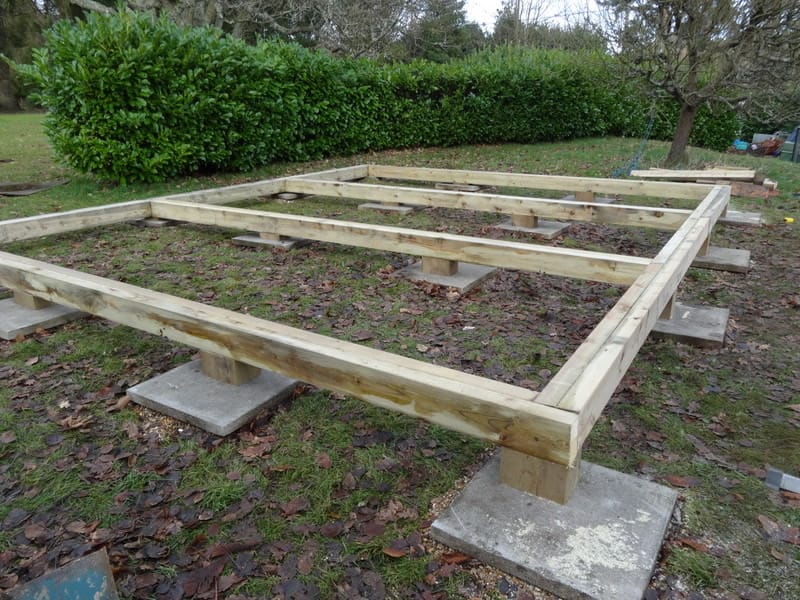
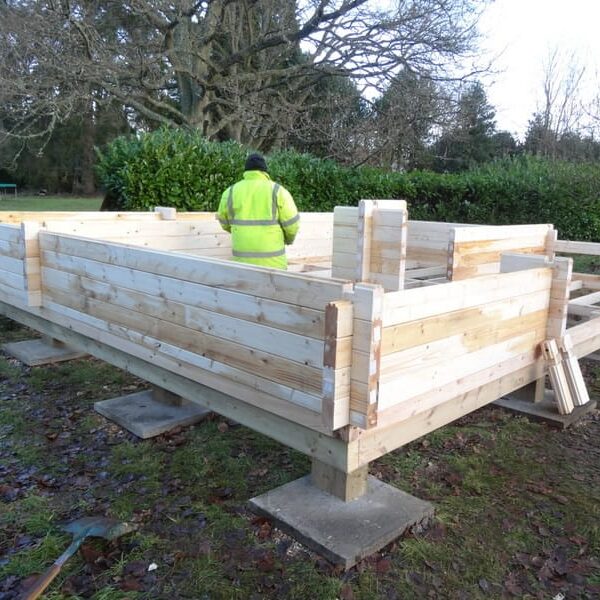
The basic frames are then joined together and supported on stilts, in-turn supported by slabs. There are lots of gimmicks on the market to help you to do this but I still say you can’t beat a big lump of wood for the job, it’s also a lot cheaper than the various pads you can buy as is a slab, my recommendations are to always stick with the basic materials to save on the costs, you don’t need anything fancy to create a good timber frame base for your log cabin.
Building the Log Cabin
With the frames in place and 100% level the build can commence, generally this base will have been made in a fraction of the time it would with concrete or slabs and of course Mr Teague didn’t have the hassle and damage that bringing concrete to site can cause to the environment and the wallet.
-
- Further progress with the Edelweiss Log Cabin build
-
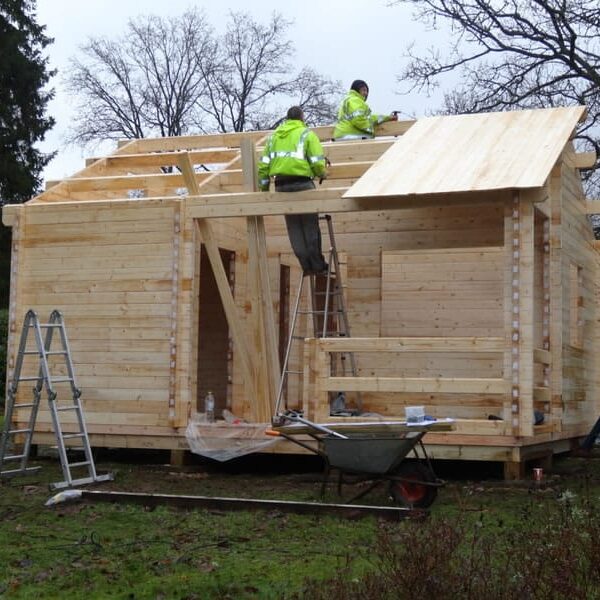
- Roof being fitted and the whole build nearly complete of the log cabin
-
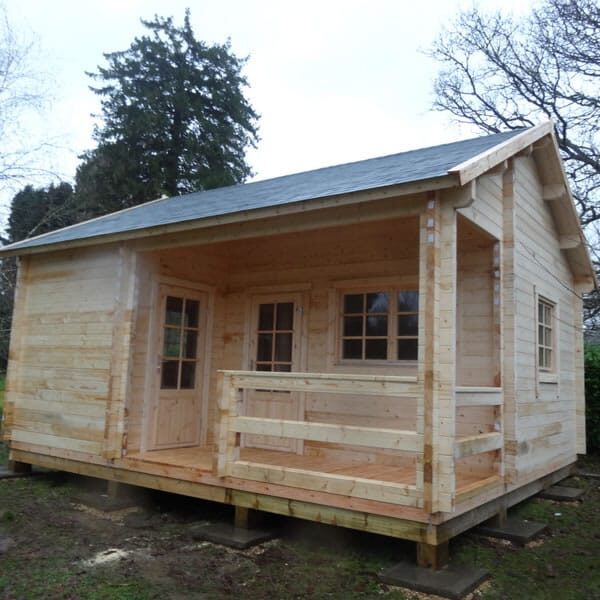
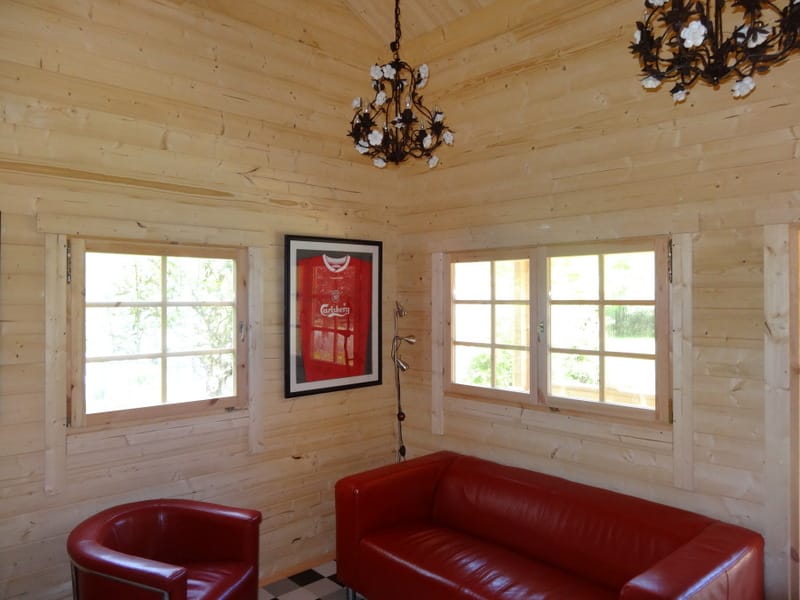
- The log cabin build is completed and now the hard work starts for Mr Teague
With the build complete our recommended fitters (with a little help from me in the background) have finished the build as far as they can. For Mr Teague, his cabin completed without mess, too much money spent and time. But of course the hard work start now for him in finishing the project.
Customer Review
Mr Teague was kind enough to write the following review:
When I started looking at Log Cabins my first instinct was to look at all sites and find an obvious “Best Deal”. Very quickly it became clear that this was a competitive area. Loads of companies offered seemingly similar cabins at temptingly cheap prices.
Overall, the site that brought it all together for me was Tuin’s excellent Blog. Richard explains in simple terms the ins/outs of log cabins and the differences between them. This was a huge eye opener and gave me the info I needed to pick what was right. For me, that meant a solid well made cabin at a justifiable price. I chose the Edelweiss.
That for me was the difficult bit over – finding a supplier I could trust. Everything else just flowed smoothly, good communication, advice on foundations and quick delivery. Tuin even found me someone to install the cabin after gently explaining that it might be a it bit much to install such a big cabin on my own!
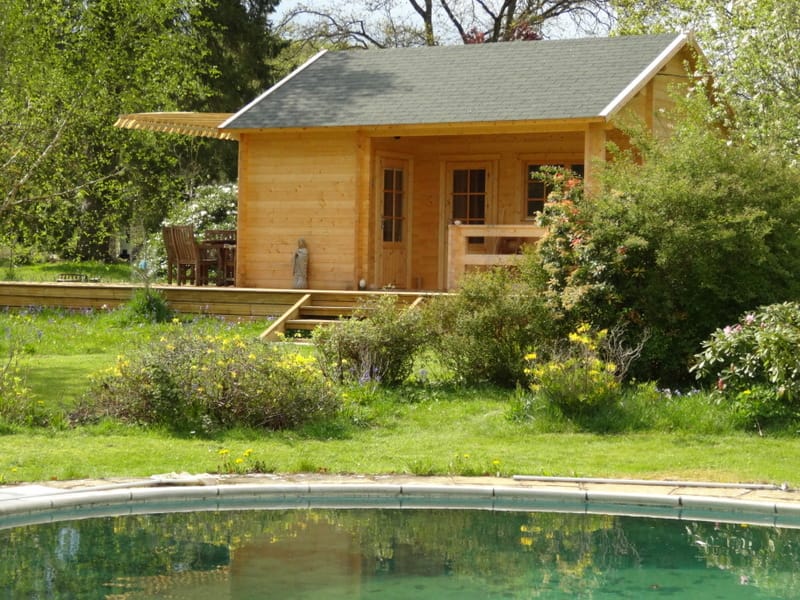
A month or so the cabin looks superb with it’s decking (I built) and sits beautifully in the garden surrounded by spring flowers.
I can wholeheartedly recommend Tuin as an excellent company to do business with. Other companies may supply products that look cheaper but from my research they are not a patch on Tuins range.
I have now just ordered a second (much smaller) cabin from them which I will install myself. Watch this space!
Extending the Cabin
After the build and the fitters have gone it’s always lovely for me to know what happens next and Mr Teague was kind enough to let me know how the log cabin then progressed and sent me these pictures of the various stages up to the completed project.
-
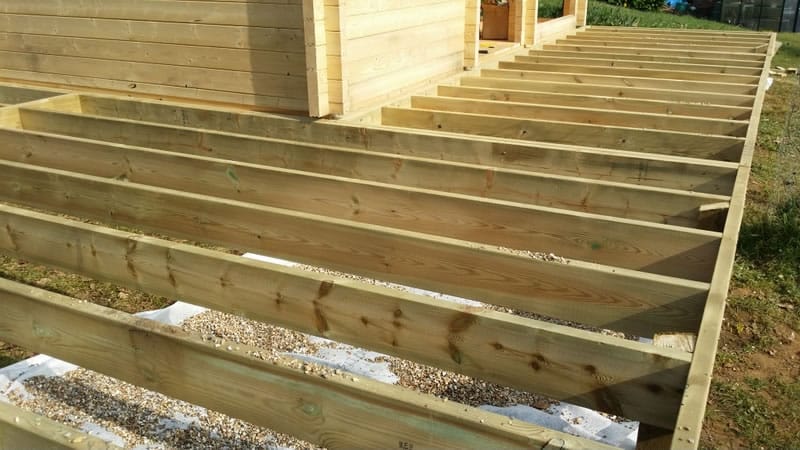
- The Log cabin stilt base is being extended for a decking area around the cabin
-
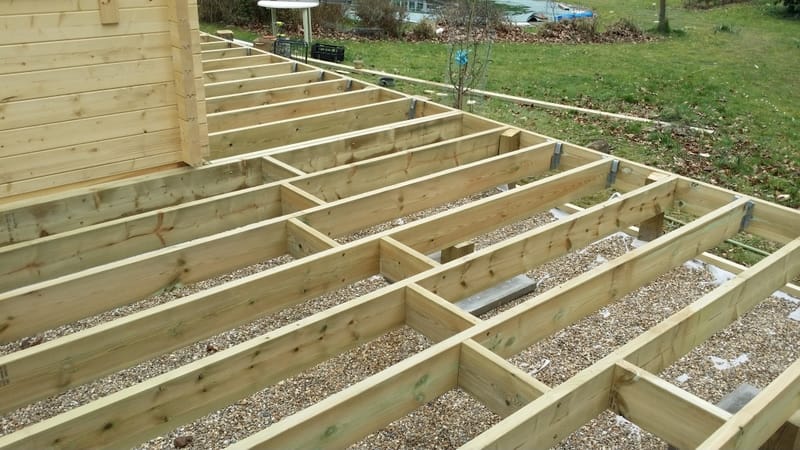
- Floor joists are added using joist hangers.
-
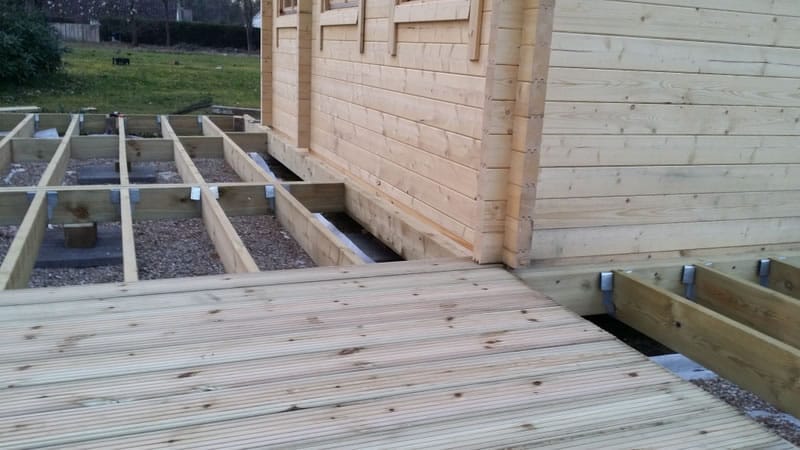
- Decking boards being laid outside the Edelweiss log cabin
-
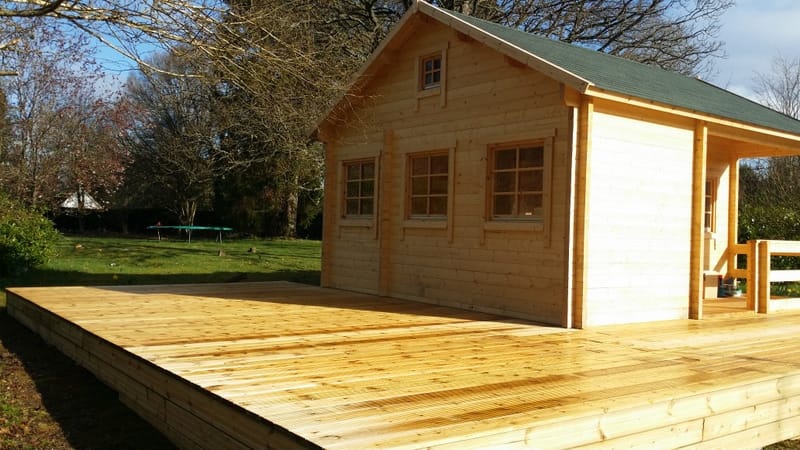
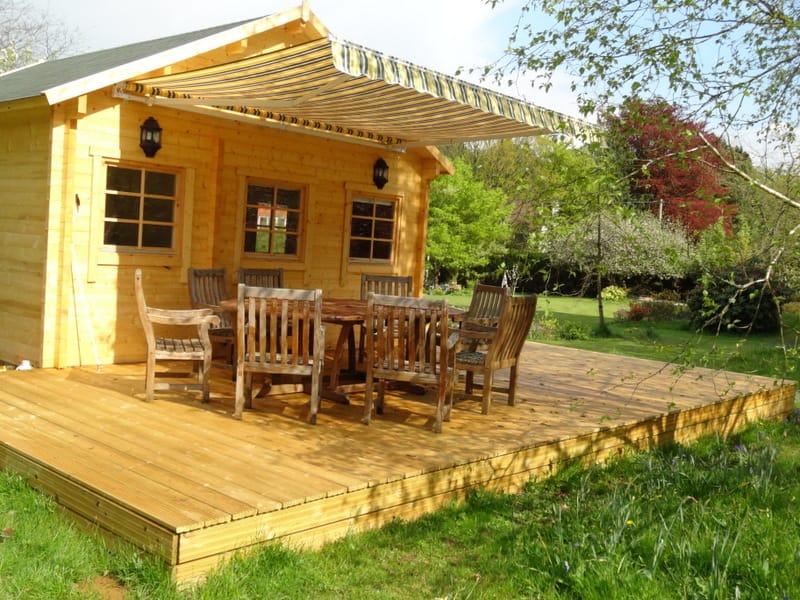
- The Edelweiss log cabin and decking area now complete, finishing touches are all that is left to do
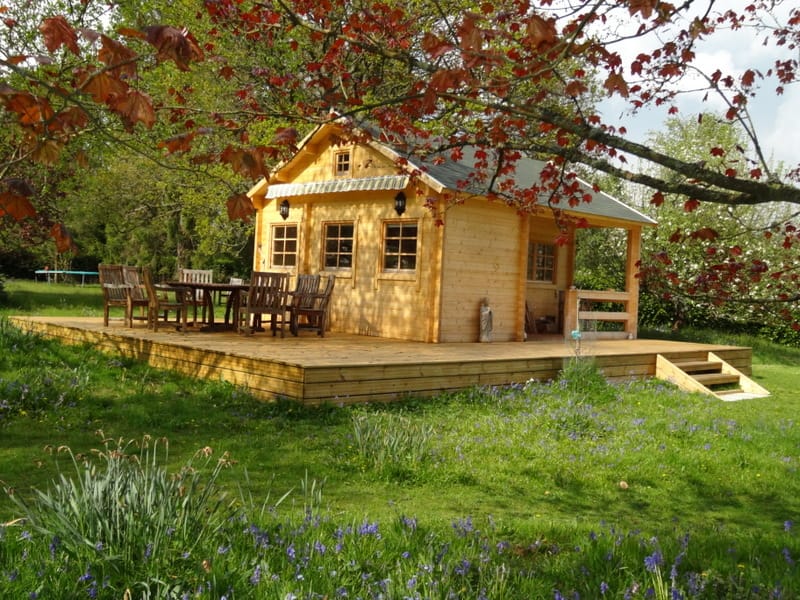
The Finished Log Cabin in the Woods
The end results of this project are stunning as Mr Teagues pictures below will show. I’m not sure how much the complete project cost but I know it was certainly very economical. Also, using a base such as this will keep the costs very low when compared to the alternatives.
Here are pictures of the completed project, Stunning!
Bonus Video
Final Thoughts and Extra Information
My warmest thanks to Mr Teague for these pictures and for keeping in touch with us after the project. Personally, it makes my day seeing these pictures and knowing the full story. It also helps me to advise better and foresee any problem for future customers.
As with any customers who send us these sort of stories / pictures we always send thank you presents or offer VERY good prices on next purchases. Mr Teague has now ordered the Halvar log cabin from us for use as a very nice storage shed.
If you would like further information on log cabin bases please see a previous post I wrote a while ago: Base Requirements For Log Cabins
And more pages: