


In May I have the fantastic opportunity to visit Roger and his Dingle Log Cabin which he is using as a fully equipped DIY Garden Hub.
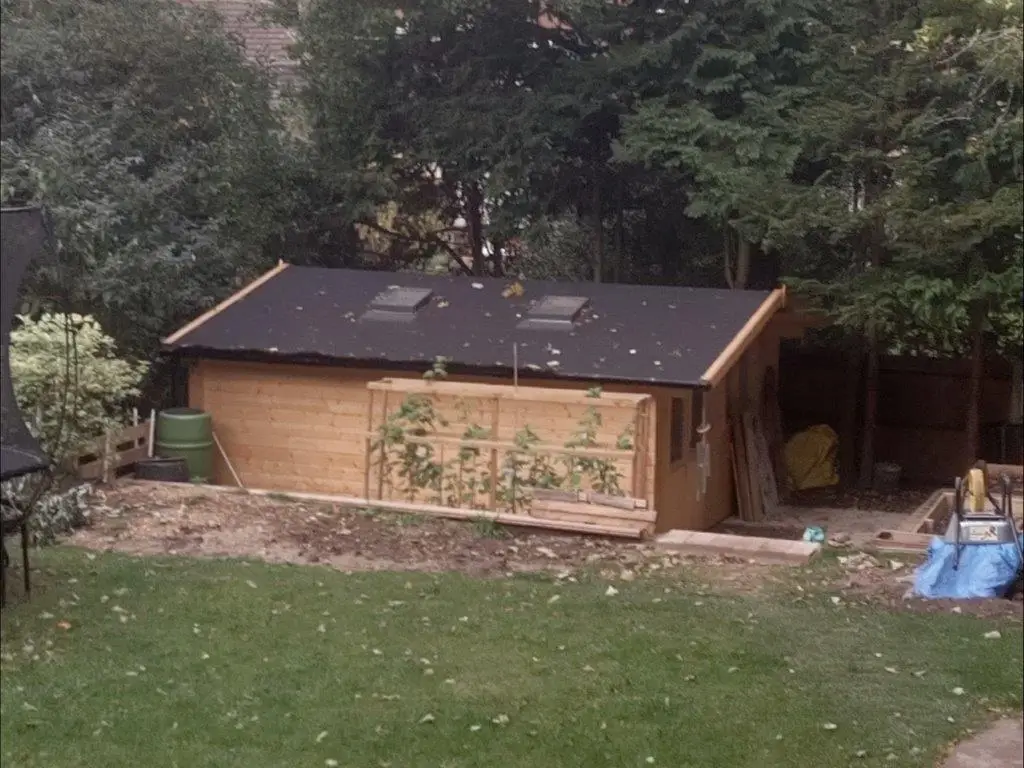
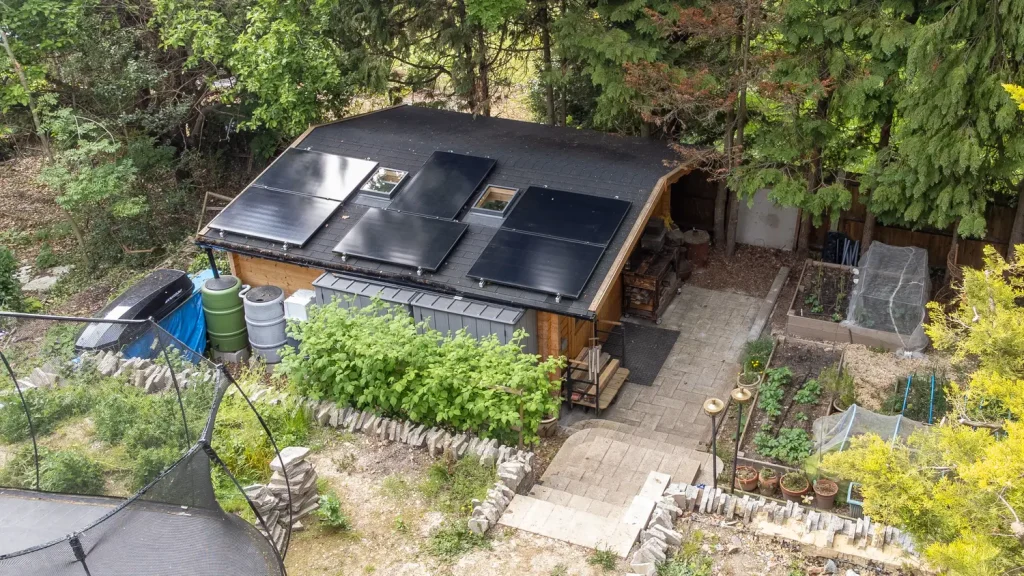
At the very end of Rogers garden, nestled under the trees, stands his bold and stunning Dingle log cabin.
The rustic, traditional feel of the cabin blends in really well with its natural surroundings.
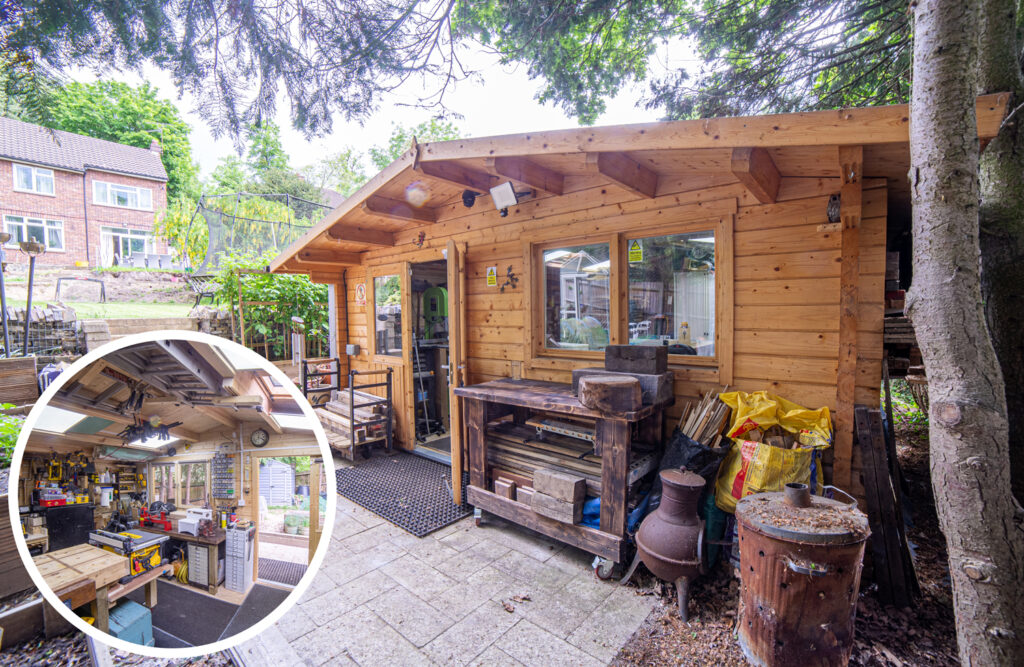
With the wall logs of the Dingle Log Cabin being 70mm thick, makes it one of our strongest and sturdiest log cabins, ready for almost any use. The strength and stability of the cabin’s structure are paramount, particularly if you plan to use your garden workshop year-round. Opting for a timber log cabin with 70mm logs ensures exceptional durability and longevity.
The thick logs offer enhanced resistance to external elements and contribute to the overall structural integrity of the workshop. This robust construction provides a reliable foundation a workshop and guarantees a space that will stand the test of time.
DIY Garden Hub | Log Cabin Feature Video
Benefits of a Garden Hub
Roger is a very keen DIY enthusiast! Spending many an hour working on his DIY projects. Having the Dingle Log Cabin as a workshop in his garden has offered several benefits for a DIY enthusiast.
Here are some of the advantages:
Convenience
- A DIY garden hub provides a dedicated space for your DIY projects right at your doorstep. As a more robust storage solution with plenty of room to spare. You don’t have to travel to a different location or rent a separate workspace, saving you time and effort.
Cost-effective
- Building a workshop in your garden can be a more economical option compared to renting or purchasing a separate workspace. You can customize the size and design according to your needs and budget, becoming more cost-effective in the long run.
Accessibility
- With a workshop in your garden, tools and materials are easily accessible. Likewise, you can quickly grab what you need and start working without the hassle of transporting equipment back and forth.
Privacy and Peace
- Garden hubs provide a private and peaceful environment, away from distractions. You can focus on your projects without interruptions, noise, or time constraints often encountered in shared or public workshops.
Personalization
- Having your own workshop allows you to personalize and organize the space according to your preferences. Additionally, you can set up the layout, storage, and workstations to optimize efficiency and create a comfortable working environment.
Flexibility
- A DIY garden hub gives you the flexibility to work on projects at your convenience, be it during the day, evening, or weekends. You have the freedom to experiment, try new techniques, and work at your own pace without time restrictions.
Outdoor Experience
- Working in a garden hub allows you to enjoy the benefits of being outdoors. Natural light, fresh air, and the beauty of your garden can enhance your creativity and overall experience while working on DIY projects.
Noise and Dust Control
- DIY projects often involve noise and dust, which are more manageable in a workshop. You can install proper ventilation systems, dust collection units, and soundproofing measures, ensuring a cleaner and quieter indoor living space.
Property Value
- Adding a well-designed and functional garden hub can increase the overall value of your property. It can be an attractive feature for potential buyers who are DIY enthusiasts or those looking for additional versatile spaces.
DIY Garden Hub – The Build
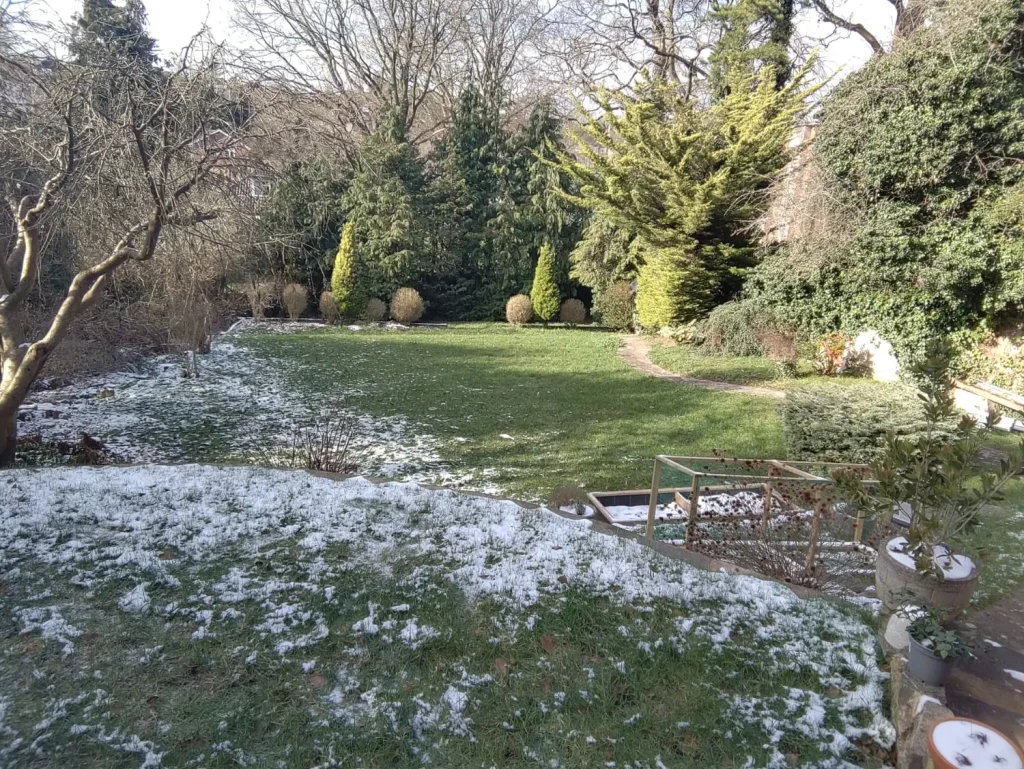
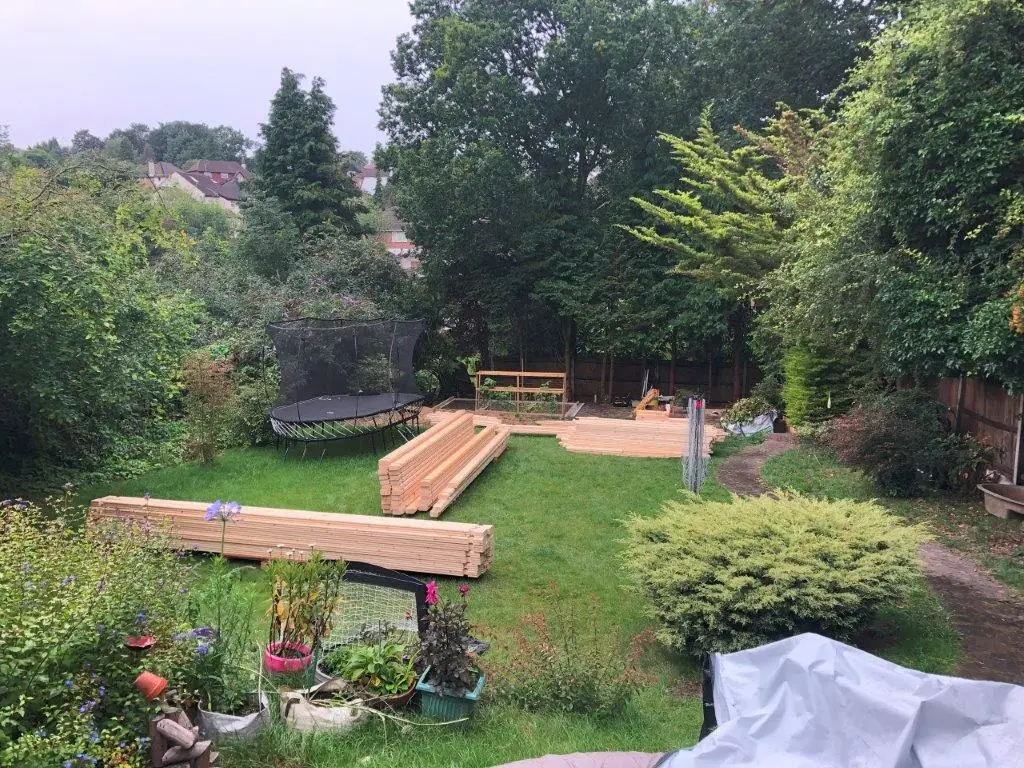
Clearing the area
Rogers first task was to clear the area ready for his garden hub. He had an area of land at the far end of his garden full of trees. Checking permissions before clearing the area, Roger went ahead and removed some of the trees but kept the ones on his boundary for privacy.
Footings
A solid level footing is paramount to a strong, durable log cabin. With this knowledge Roger with the help of many of his friends and family set upon the task of digging out the trench where the footing will be located. The trench was then leveled along its width and length. They laid concrete block and poured a concrete mix into the, trench filling the voids in the blocks.
A drainage grate was then added to the perimeter of the footings to capture water runoff and transport away from the base of the cabin.

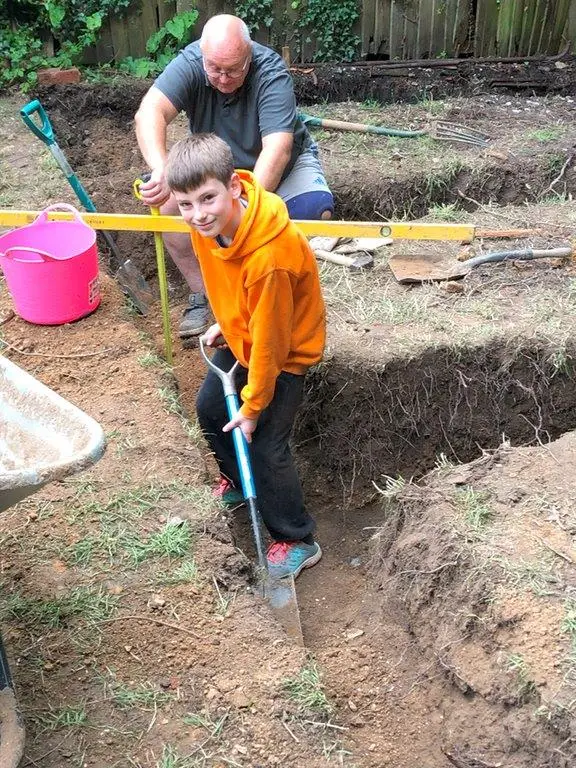
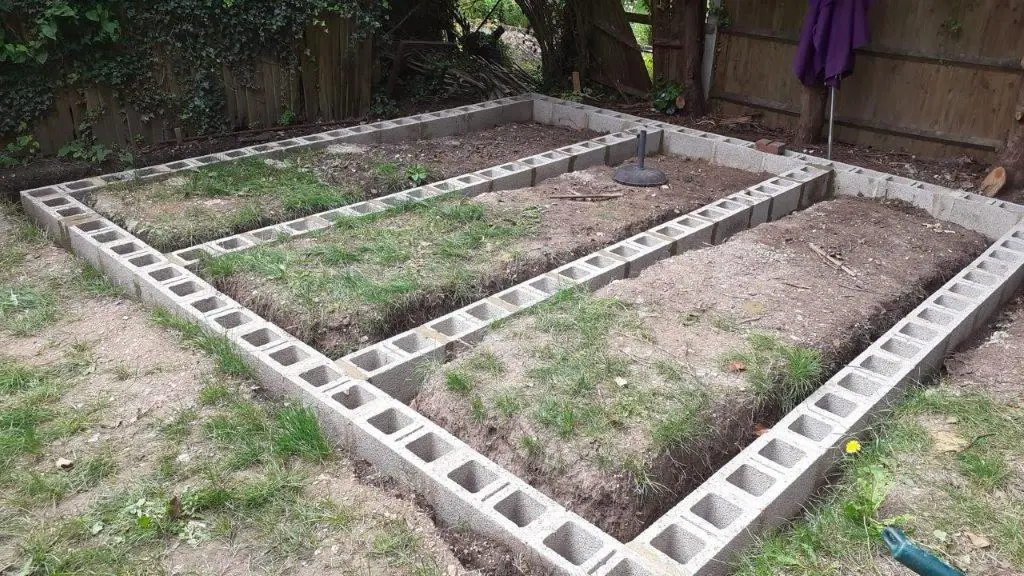
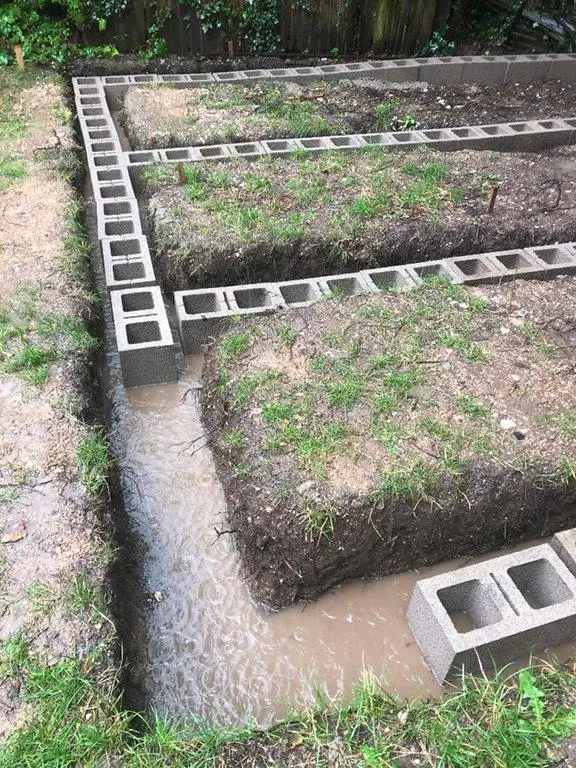
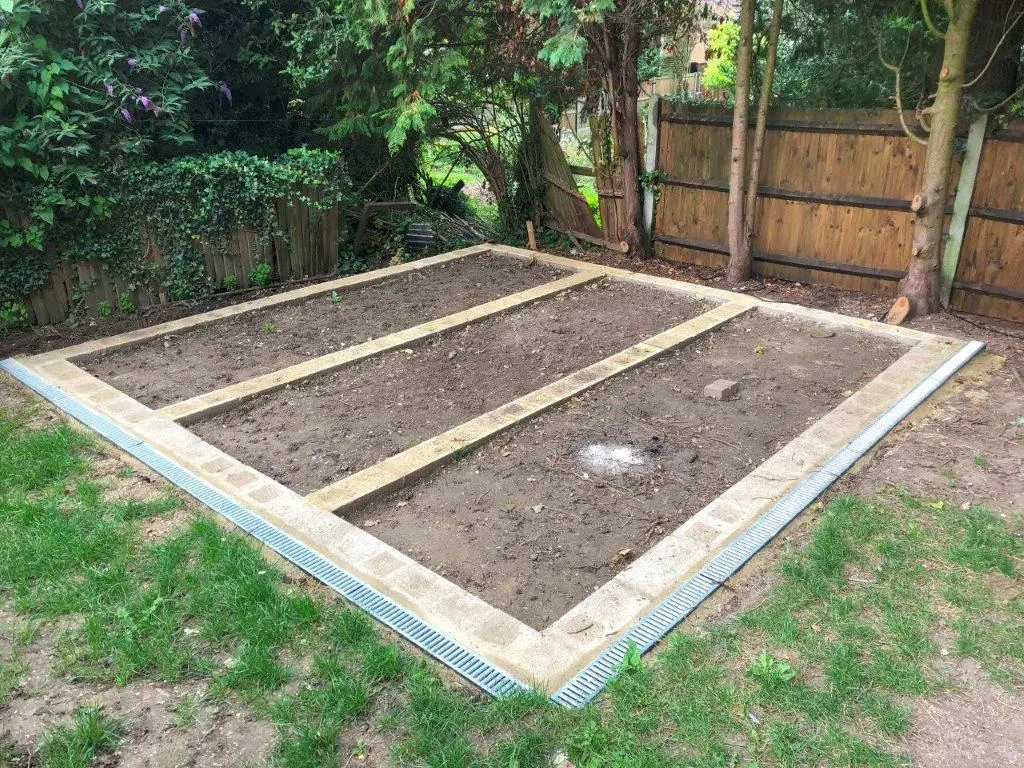
“Foundations, we are on chalk flint which is fairly solid but digging out was a challenge to get levels as we are on a hill. Its located at the bottom of our garden and we did not fancy shipping tons of concrete down there. So we opted for a modest concrete foundation to obtain levels which we then built up with hollow concrete blocks around the perimeter with one through the middle in a sort of figure of 8 to support the floor joists. Due to the slope of the garden we also installed acco drains on the high side and front just for belt and braces in case of a flood.”
Roger – Dingle Customer
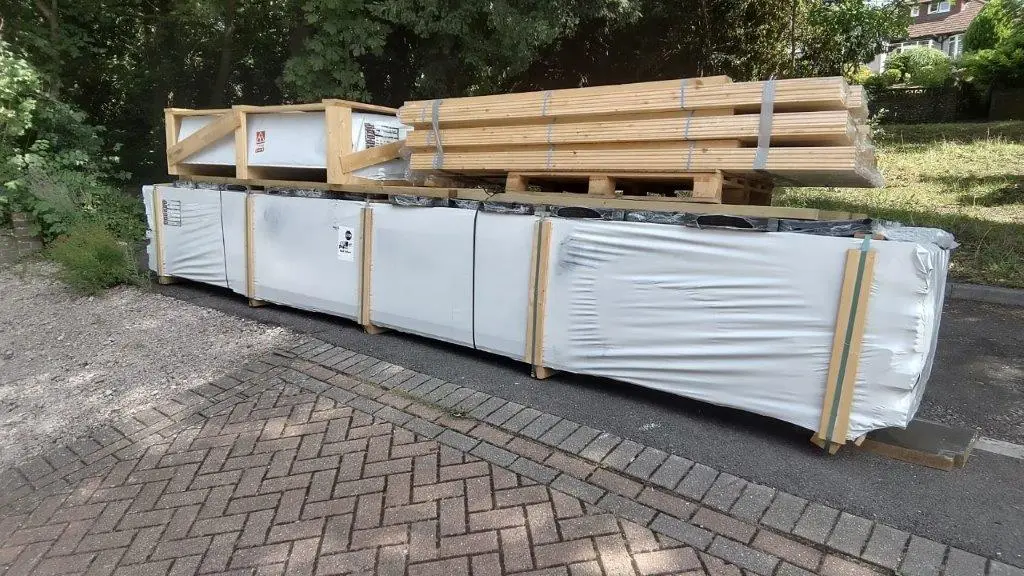
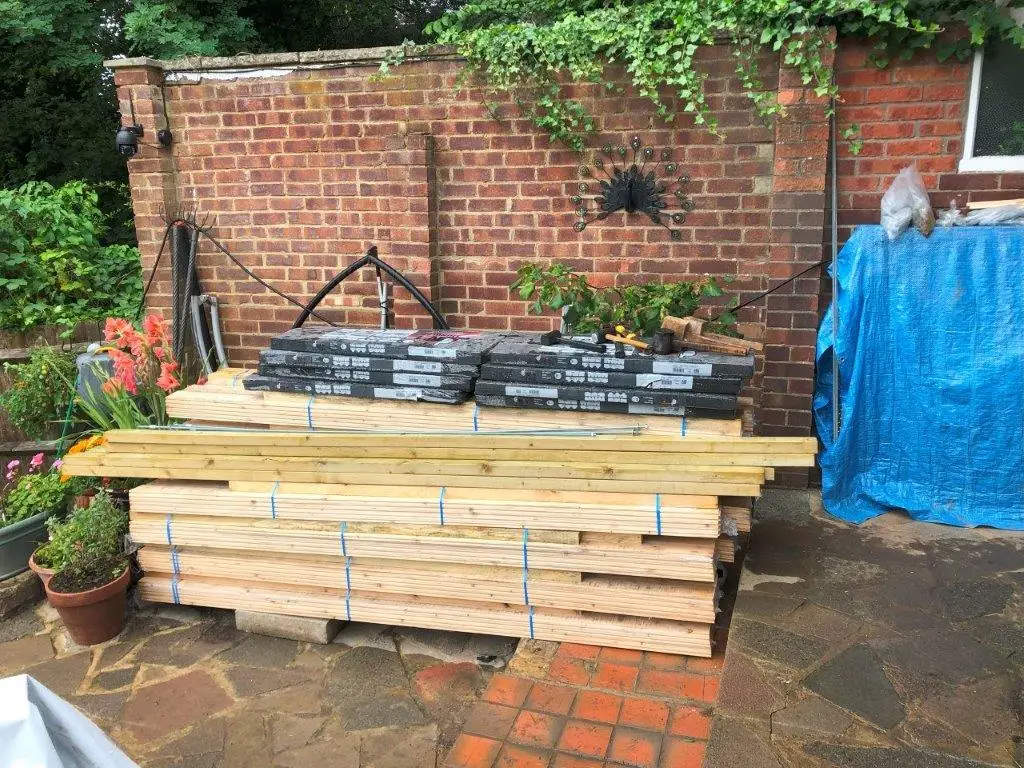
Unpacking
The huge package containing the log cabin pieces was unwrapped and put into same sized piles onto Rogers lawn. There are a lot of pieces for a cabin of this magnitude which can be a bit daunting at first. But upon laying out all the pieces, the build becomes a lot clearer. Roger also checked off the items from the package list to make sure he had everything he needed before he begun the build.
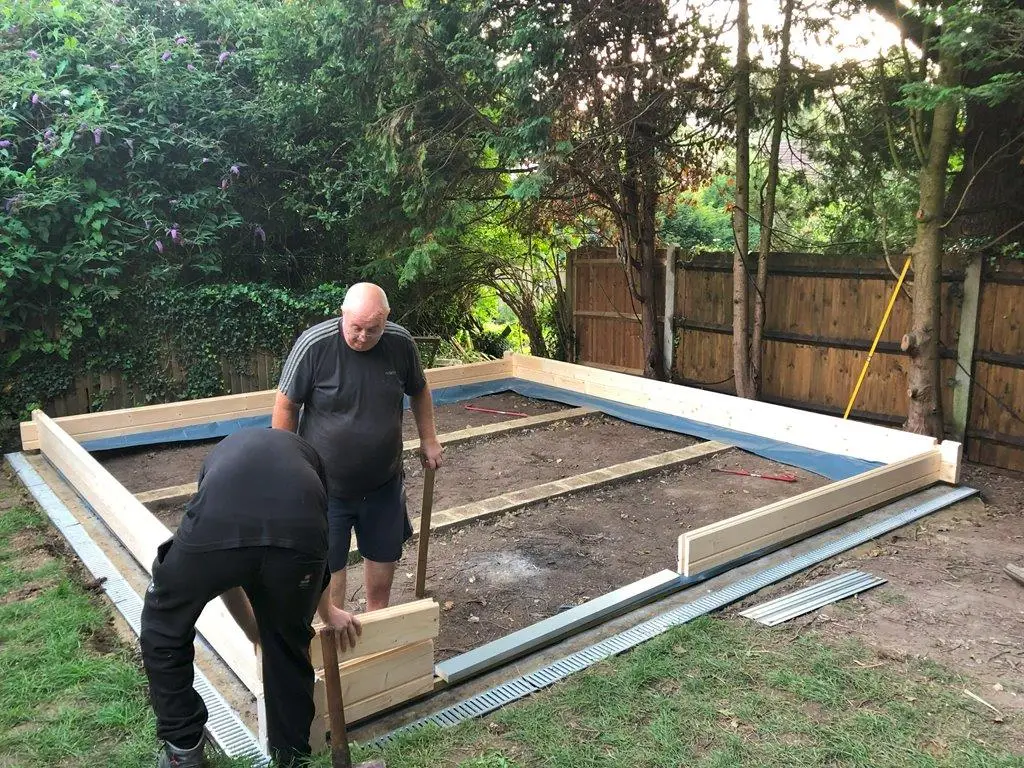
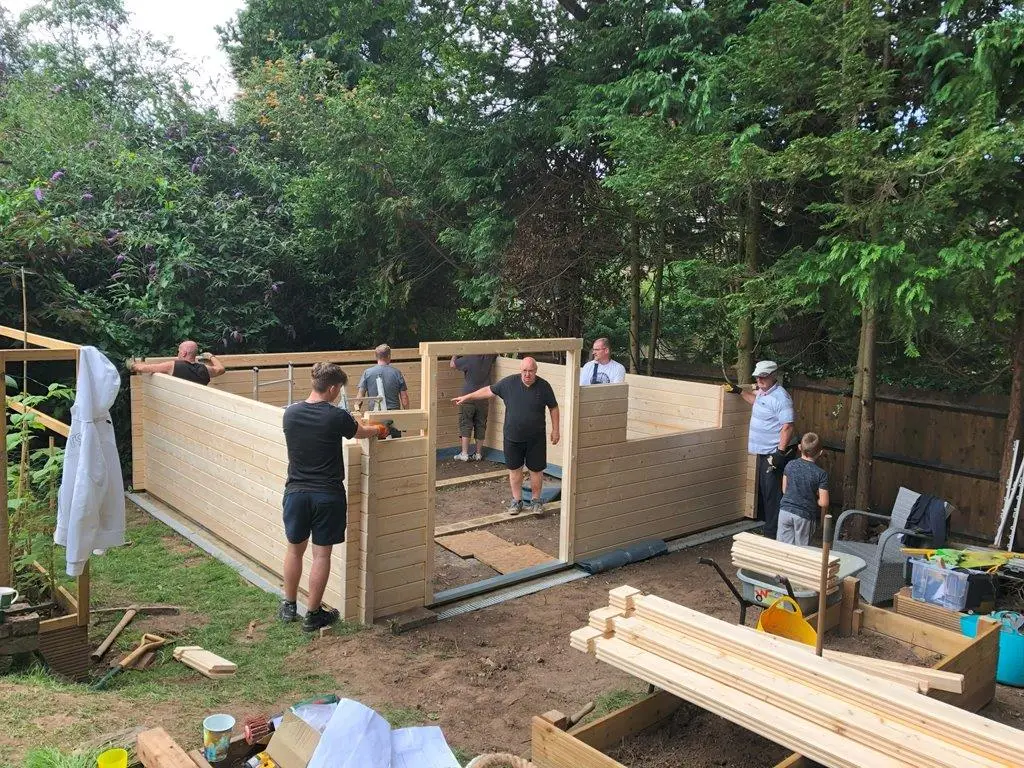
Walls
With everything unpacked and sorted, Roger and his helpers began the build of the Dingle Log Cabin. Foundation beams were first, laying directly onto the previously installed footings followed by the 2 starter logs. These are identified as being half the height of regular logs. They were placed on top of the foundation beams interlocked with 2 regular wall logs and screwed into place the foundation beams.
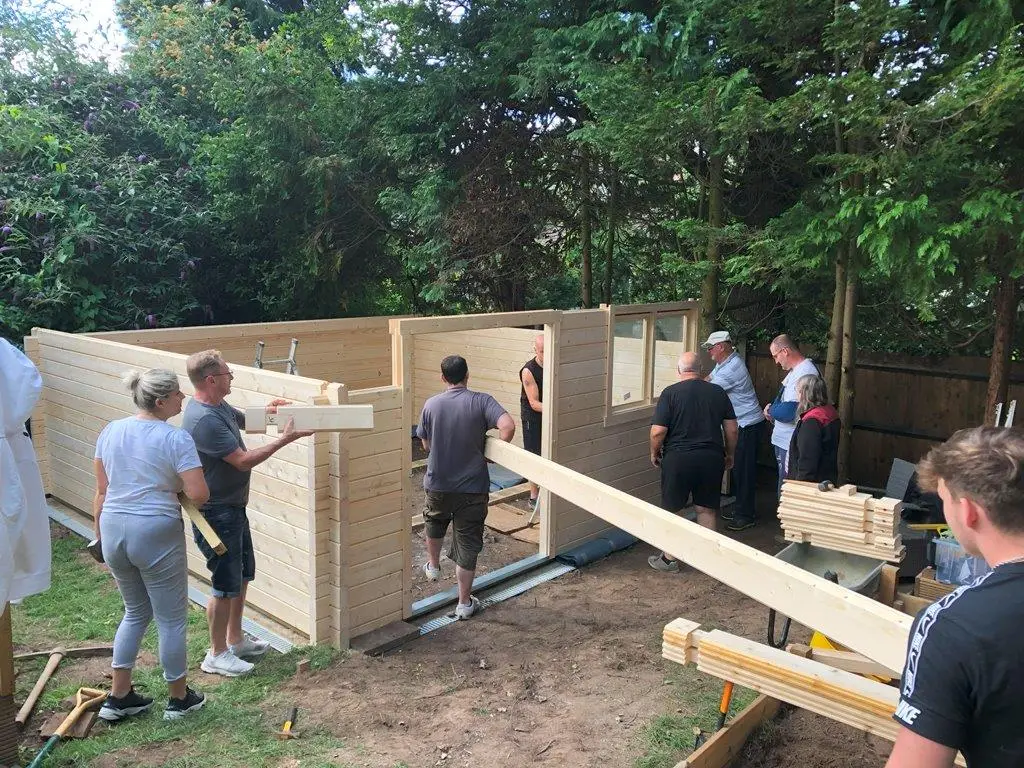
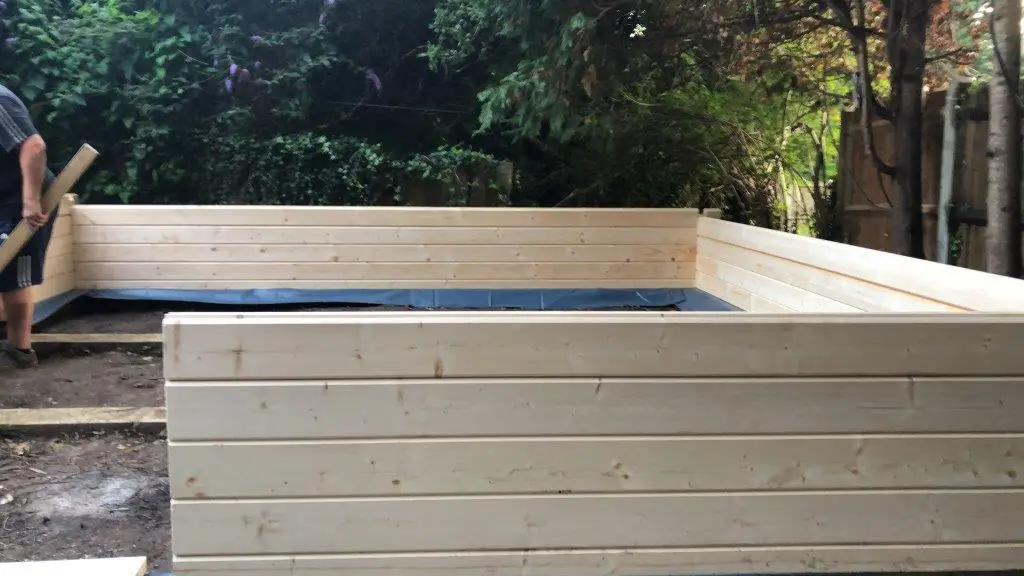
The walls were then built up easily by interlocking logs and malletting them into place. (No screwing). Building up the walls can be a fast, satisfying and straightforward task. When walls were around 5 logs high either side of the door opening. the door frame was then be slotted in. They then continued to build up the walls stopping again when they were around 3 or 4 logs high either side of the window opening. The prefabricated window and frame was then easily slotted into the opening. Again they continued building up the walls, Roger often referred to the building plans to make sure everything was as it should be.
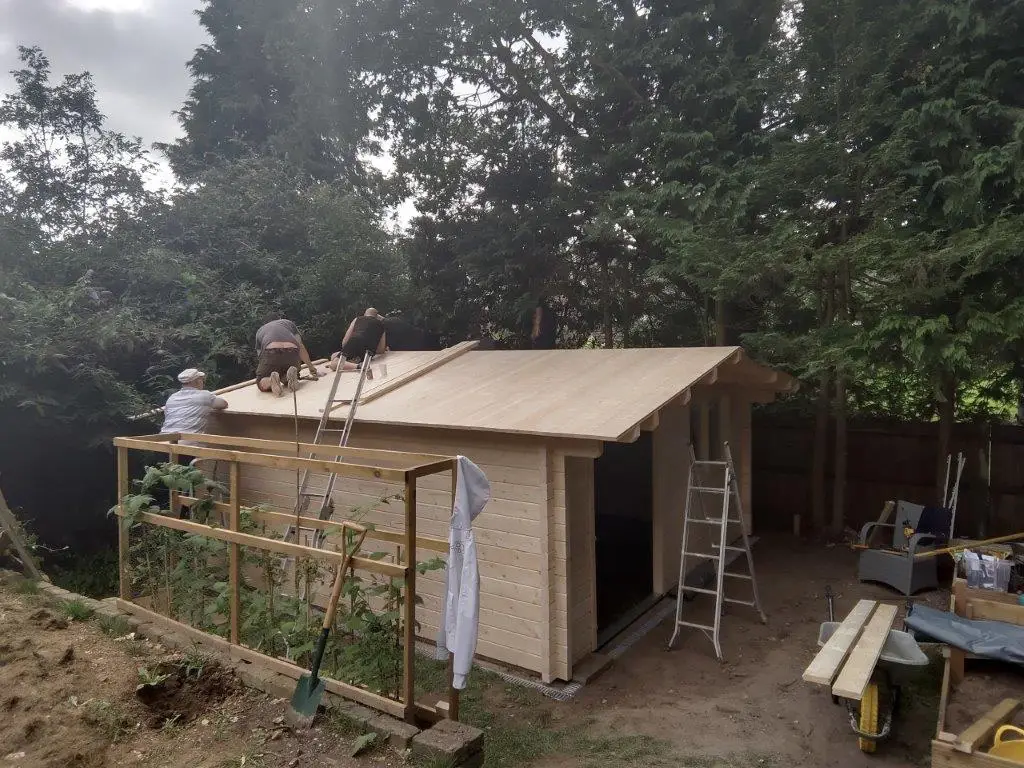
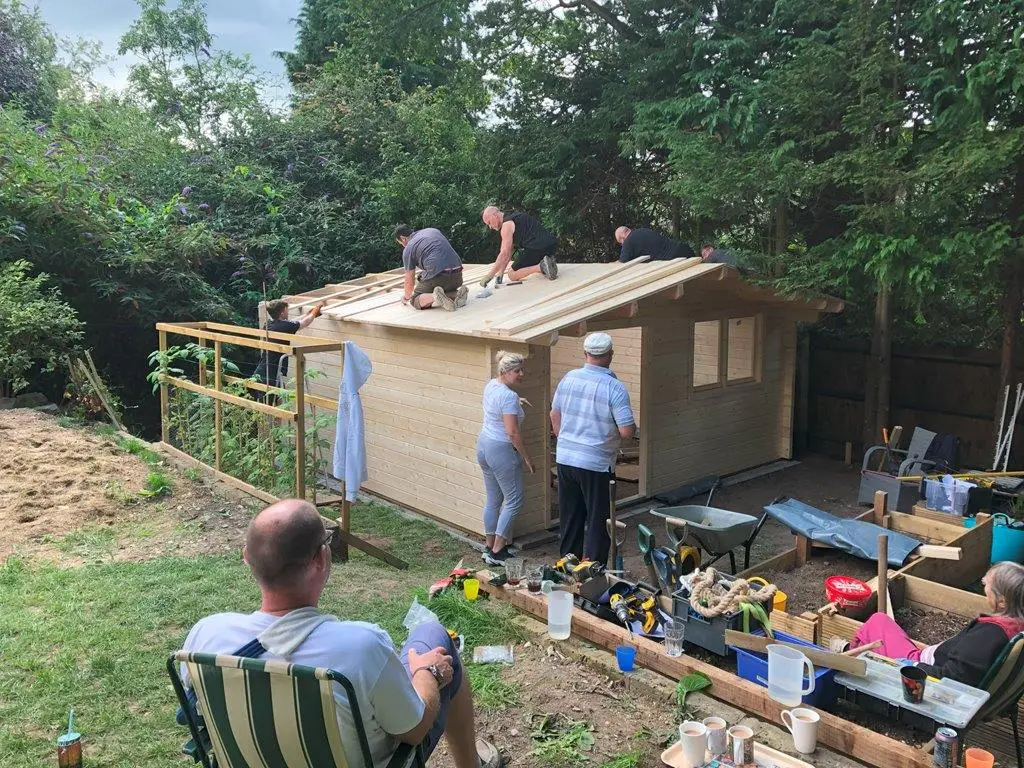
Roofing
Now all wall logs are installed, the roofing can now begin. The rafters and joists are installed the same way as the wall logs, by slotting the interlocking logs into the grooves and malleting them to secure.
The roofing boards were then installed. These are tongue and groove boards which are nailed directly into the rafters.
Roger opted for our IKO roof shingles for his roof. These are our high quality, long lasting and aesthetically pleasing roofing option. Although they take longer to install than sheet felt or a rubber roof, they are superior in quality and looks.

Customer Feedback
Did the build go as well as you expected?
“I was unfortunately unable to assemble it myself due to a previously arranged shoulder surgery so i was confined to a supervisory role. I did however have lots of family and friends to hand for the construction. Which it has to be said was a piece of cake. It needed a fair size space to set out the pieces before hand for ease of assembly and then it literally slots together like Lego. Even the windows and doors just slot in. I had read up before hand on the importance of foundations so we got these spot on to start with.”
Roger – Dingle Customer
Did the build take as long as you were expecting?
“Foundations were the longest part of the build that took quite a few weekends. The Cabin itself was up in a day with plenty of hands on board and then another two or three days with reduced man power for felting, flooring and wood treatment etc.”
Roger – Dingle Customer
Why the Dingle Log Cabin for a DIY Garden Hubspot?
Roger – Dingle Customer
I was looking for a large single space to fit a specific area. It needed to have a large access and windows for natural light. We also liked overhanging eaves of the “Dingle” and a pitch roof was a must have.
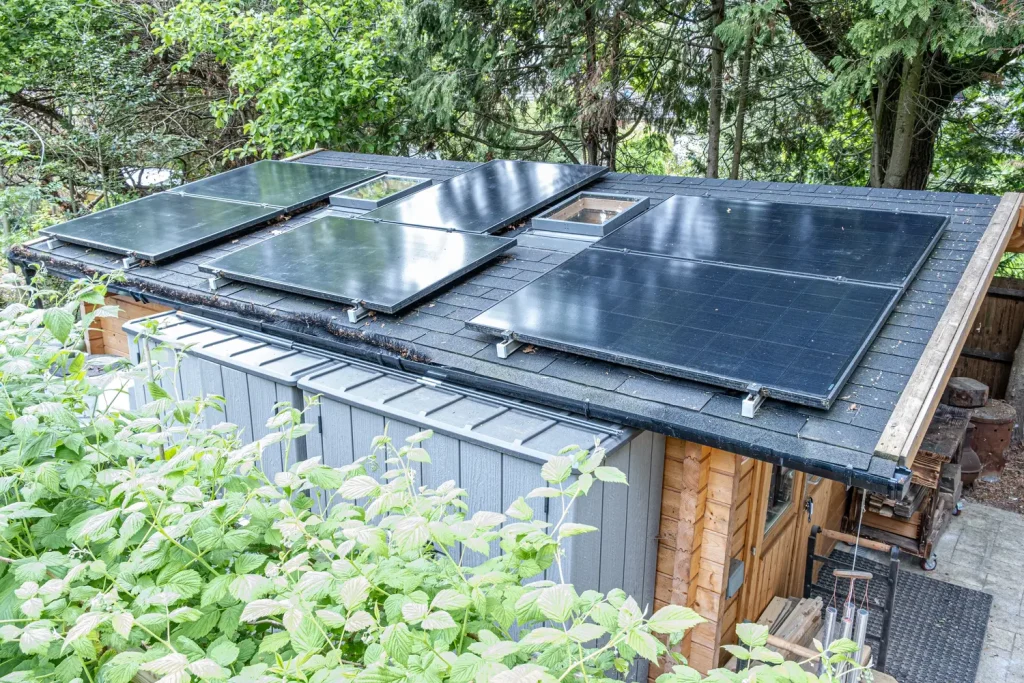
Solar Panels
A great way to further enhance your log cabin is by adding solar panels to its roof.
The benefits of this are:
- Renewable Energy Generation: By installing solar panels on the roof of a garden building, you can generate clean, renewable energy right on your property.
- Cost Savings: The electricity generated by the solar panels can be used to power the garden building, offsetting the need to draw electricity from the grid. Over time, the savings on energy bills can help recoup the initial investment.
- Environmental Sustainability: utilizing solar panels, you reduce your carbon footprint and dependency on fossil fuels. Solar energy helps combat climate change and contributes to a cleaner and more sustainable environment.
- Increased Property Value: Installing solar panels on a garden building roof can increase the overall value of your property. Potential buyers or tenants may be attracted to the prospect of reduced energy costs and eco-friendly features.
- Low Maintenance: With no moving parts, they require minimal upkeep. Regular cleaning and occasional inspections to ensure optimal performance are typically all that’s needed. This makes solar panels a hassle-free addition to your garden building
- Long Lifespan: Most solar panels come with warranties of 20 to 25 years, and they can continue producing electricity beyond that period. This longevity ensures a reliable and sustainable energy source for your garden building for many years.
Dingle Garden Hub Image Gallery


DIY Garden Hub – Conclusion
In conclusion the Dingle Log Cabin Garden Hub is the perfect DIY haven, combining natural beauty, functionality, and tranquility. It provides a serene escape where you can immerse yourself in your creative pursuits, surrounded by the warmth and charm of wooden logs. With customization options, natural insulation, and a close connection to nature, this sanctuary becomes the ideal space for turning your DIY dreams into reality.
Embrace the irresistible charm of a log cabin garden workshop, and witness your creative spirit blossom in ways you never thought possible.