


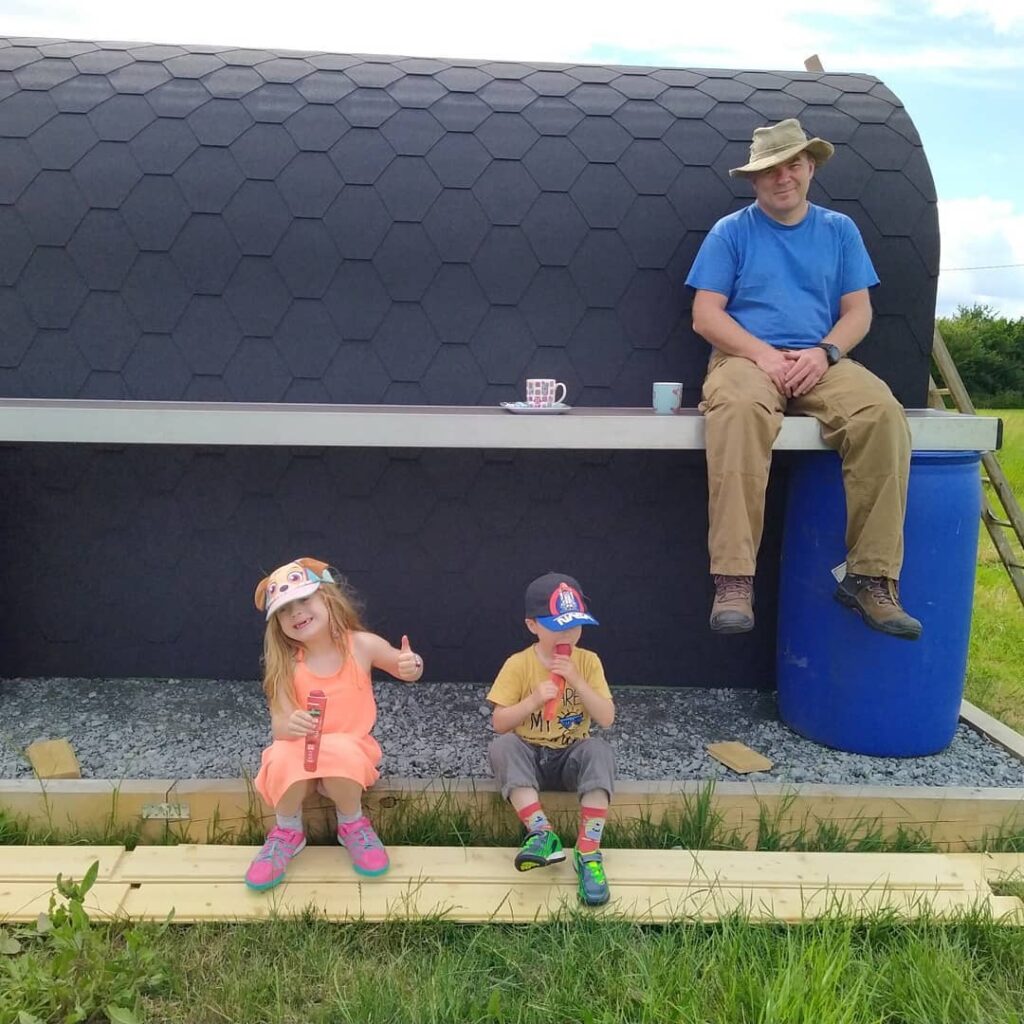
Hi, my name is Ben and I have the gratifying task of visiting our happy customers and their log cabins. In early November my travels took me to Mundon, Essex, where I had the pleasure of meeting Julie and Crispin and their fantastic TUIN Log Cabin – Camping Tunnels at their glamping site Southey Creek Glamping.
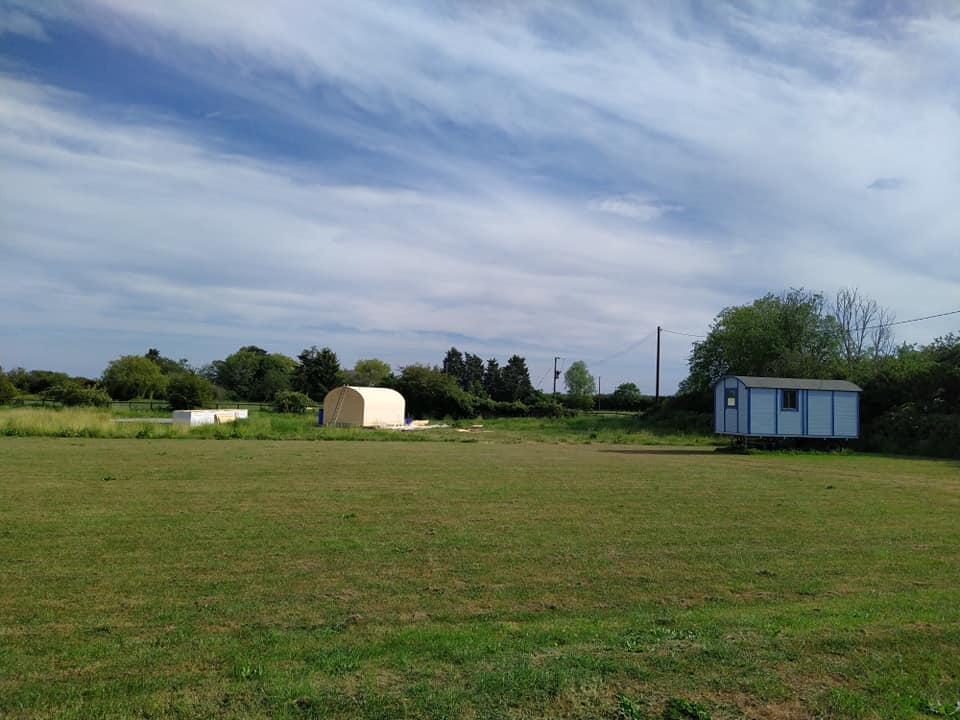
As I drove down their driveway, it was clear to see why Julie & Crispin decided to begin a glamping business. Their 400 acre working arable farm with beautiful panoramic views across the fields towards the Blackwater Estuary, it was certainly idyllic.
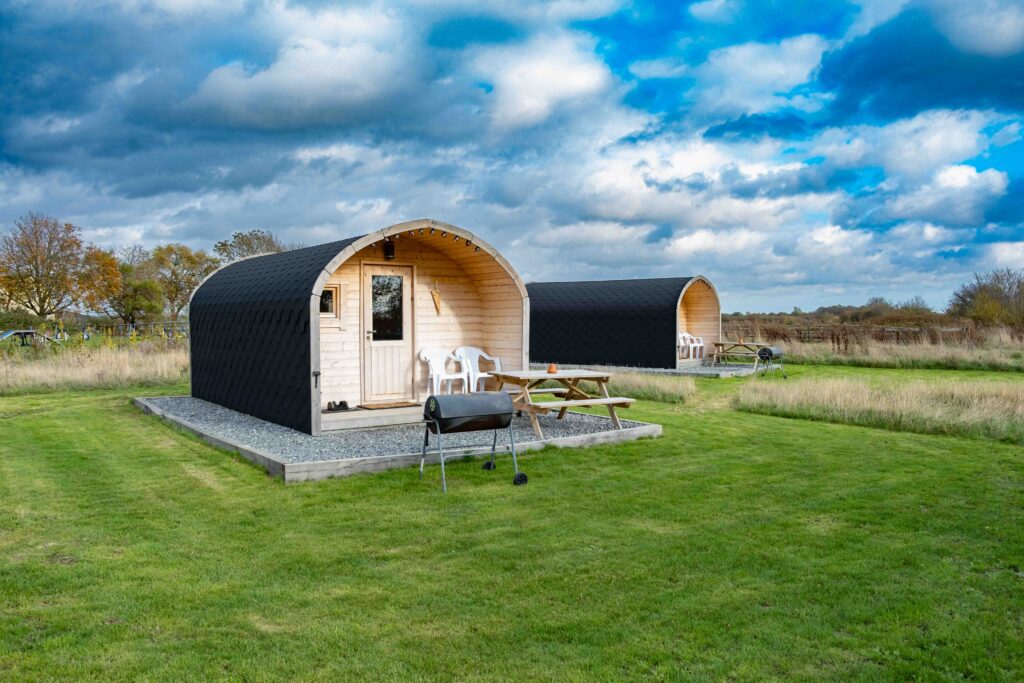
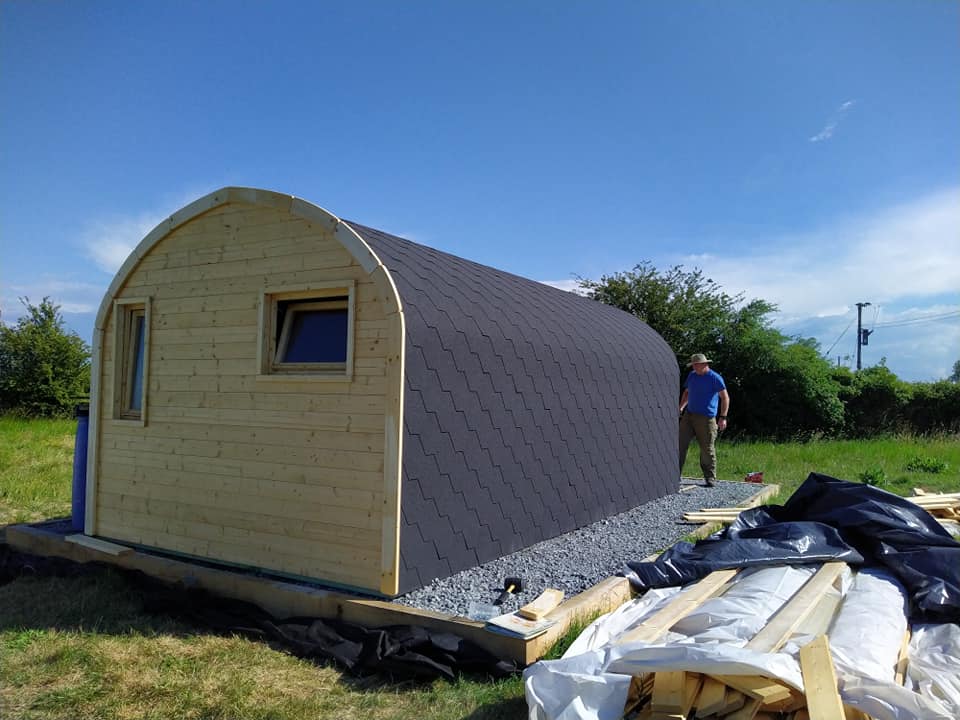
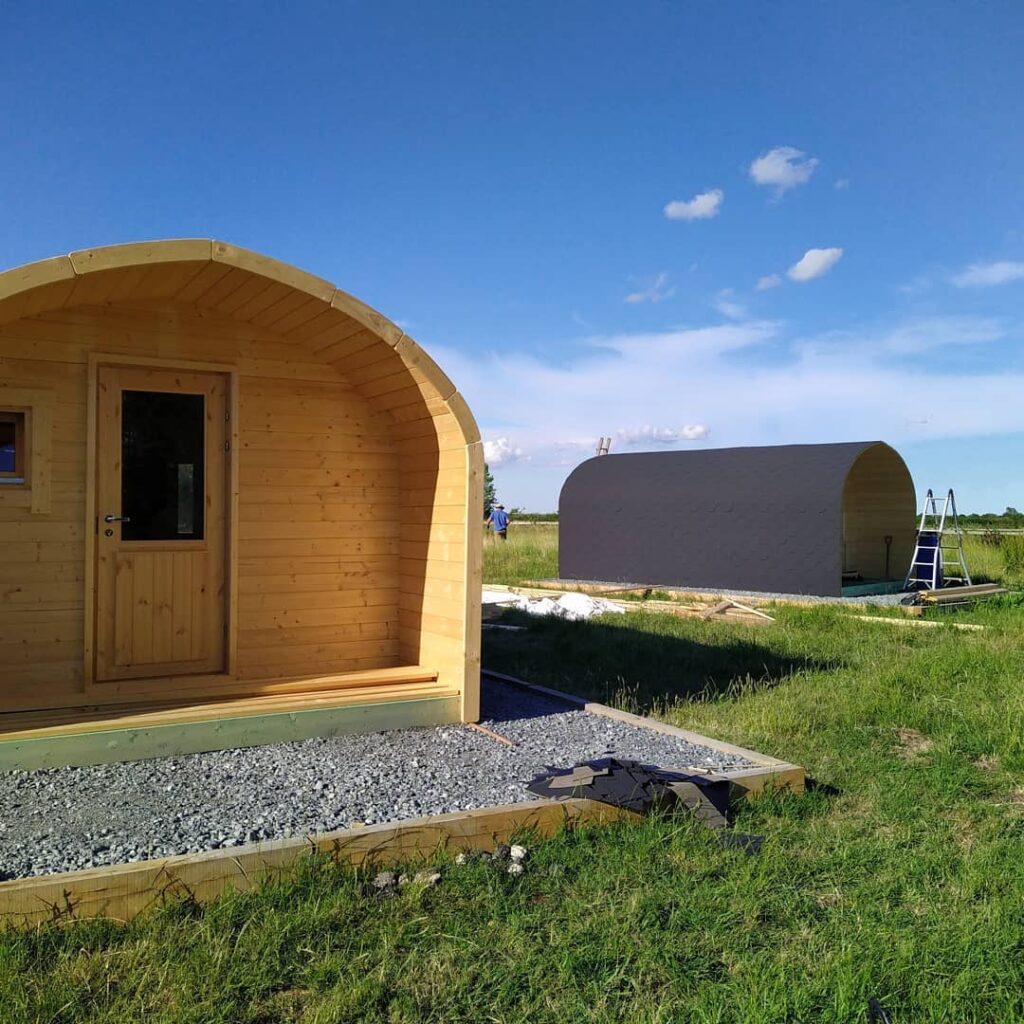
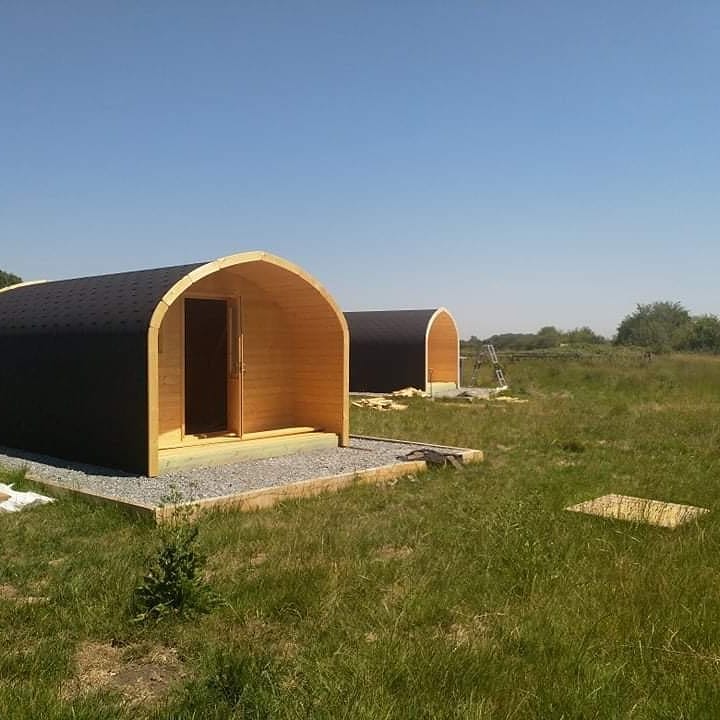
What better way to compliment the area than with 2 of our gorgeous looking log cabin style camping tunnels? These well spaced out cabins offer a great opportunity to escape urban life and to relax in the fantastic surrounding of the working farm.
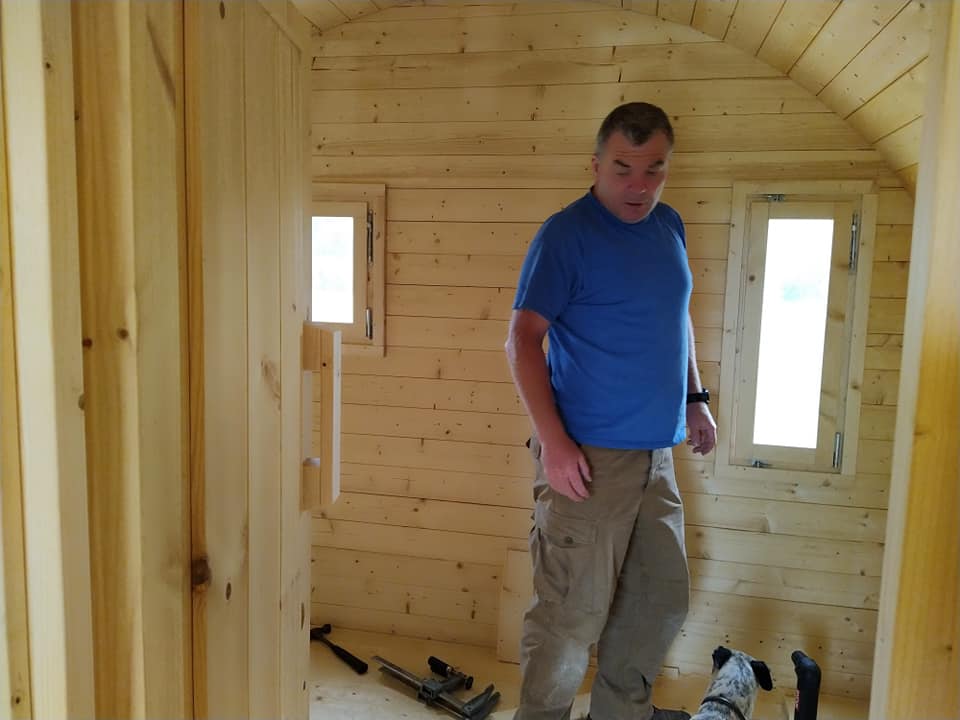
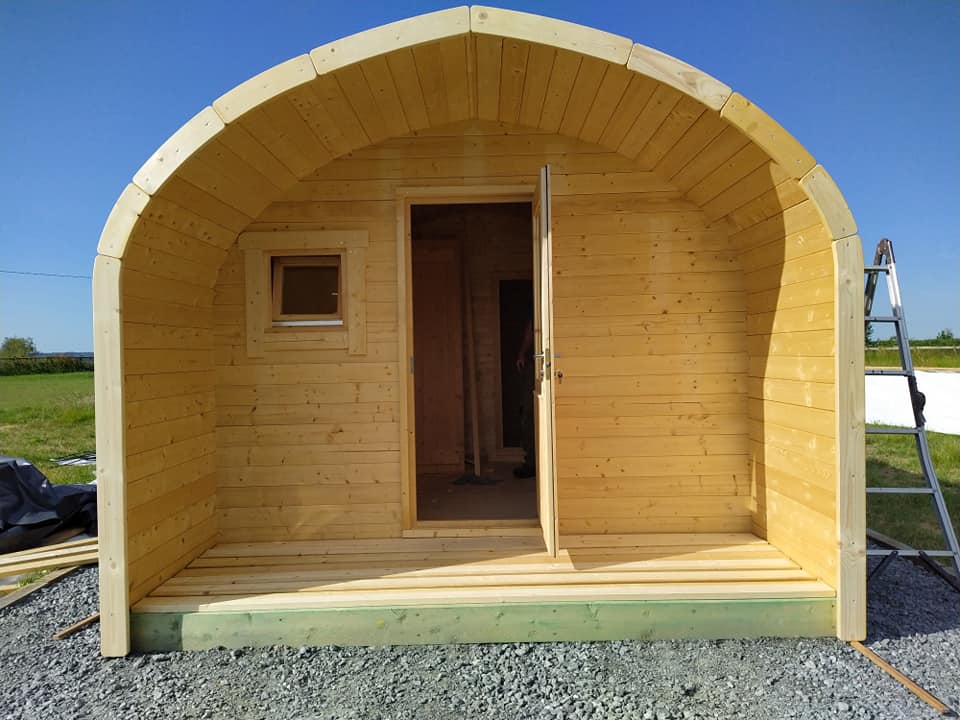
Both attractive and practical, the timber camping tunnels are surprisingly spacious. Julie & Crispin have managed to fit everything you’ll need for a weekend (or longer) stay into the cabin. Featuring a double bed, shower, toilet, sofa, and even a kitchenette area with space to spare!
Our 3.02m x 5.80m camping tunnels come with double glazed windows, 28mm flooring and black roofing shingles as standard.
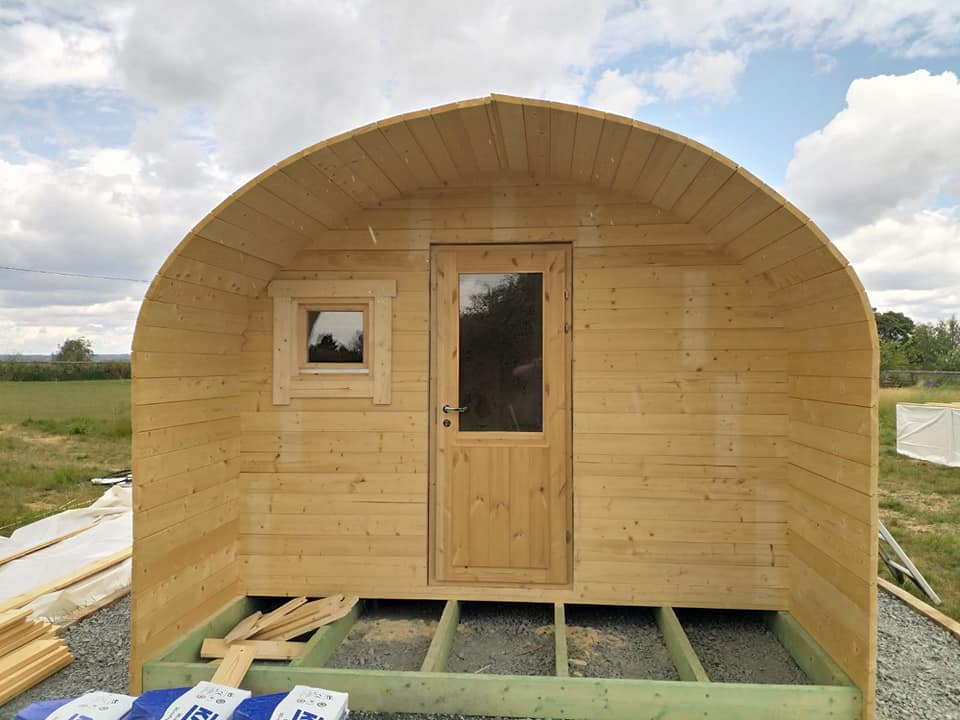
With this adaptable Log Cabin Camping Tunnel you are free to make almost any changes as you wish. The openings for the doors and windows can be cut in a place specifically for your needs. The cabin comes with 2 windows as standard, however you can easily add more if needed.
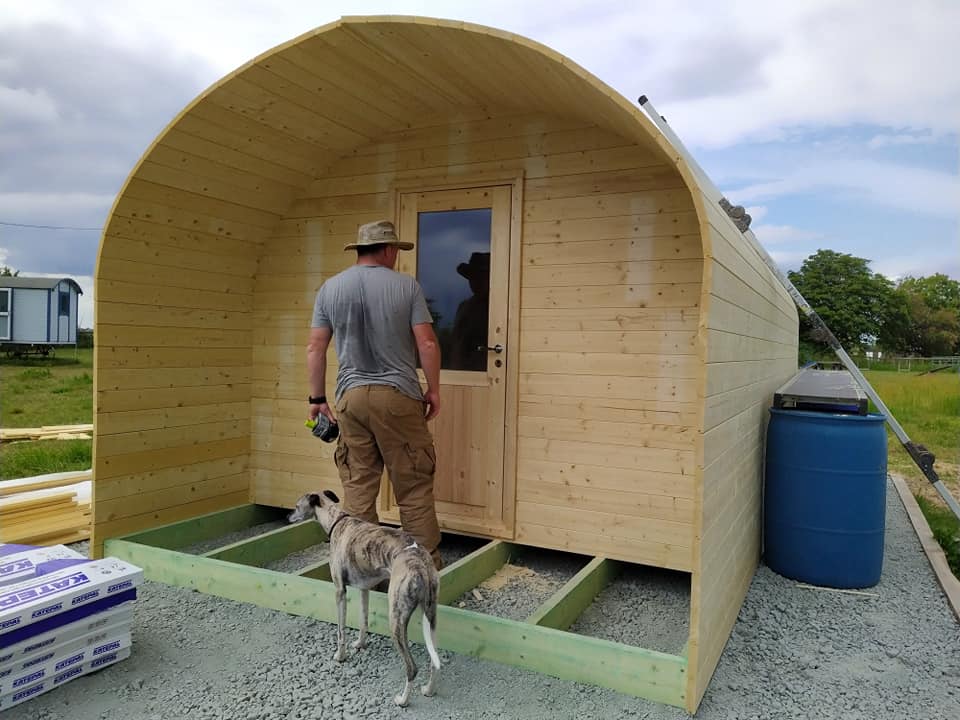
As you can see in the video and photos, Julie & Crispin have added an additional window to the front of their cabins, allowing the south-facing cabins more light in.
Why TUIN & the Log Cabin Glamping/Camping Tunnel?
Julie & Crispin did a lot of research into finding the right accommodation for their glamping site. Comparing quality, aesthetics, price and availability, the TUIN Log Cabin Camping Tunnels came on top. Also having previously purchased one of our Shepherds Huts they knew they would receive a good quality product and service.
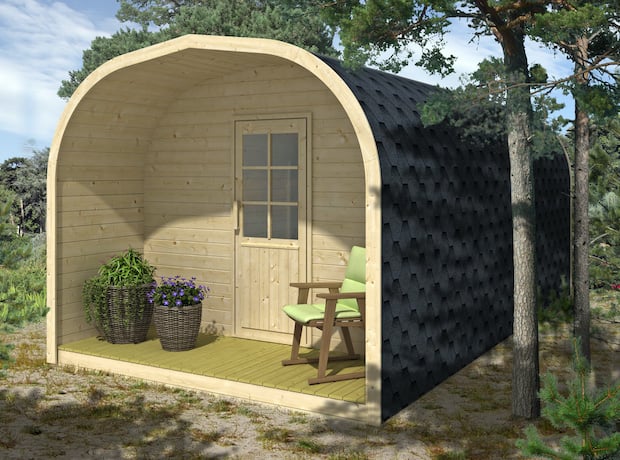
We also offer a few other alternatives to the Camping tunnel, such as the Log Cabin Camping Barrel with similar measurements but, as the name suggests, shaped like a barrel.
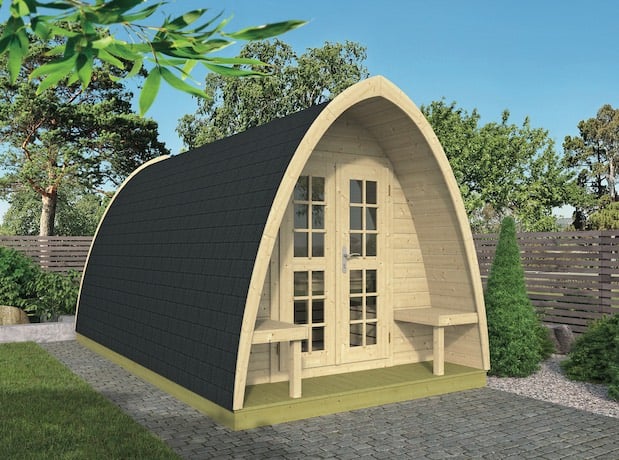
As well as the smaller Log Cabin Camping Pod which is shaped like a ‘V’ and a different internal layout to the camping tunnel.
All excellent choices, however Julie & Crispin felt the design and layout of the Camping Tunnel suited their requirements better.

Feature Video of the TUIN Log Cabin Camping Tunnel
Groundworks for the Log Cabin Glamping/Camping Tunnel
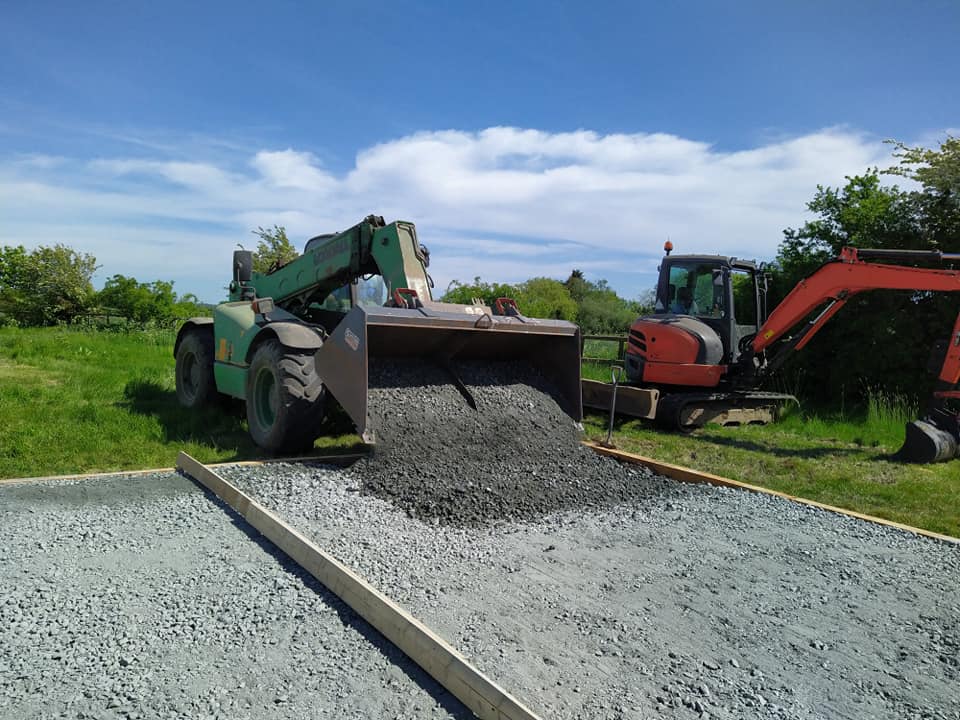
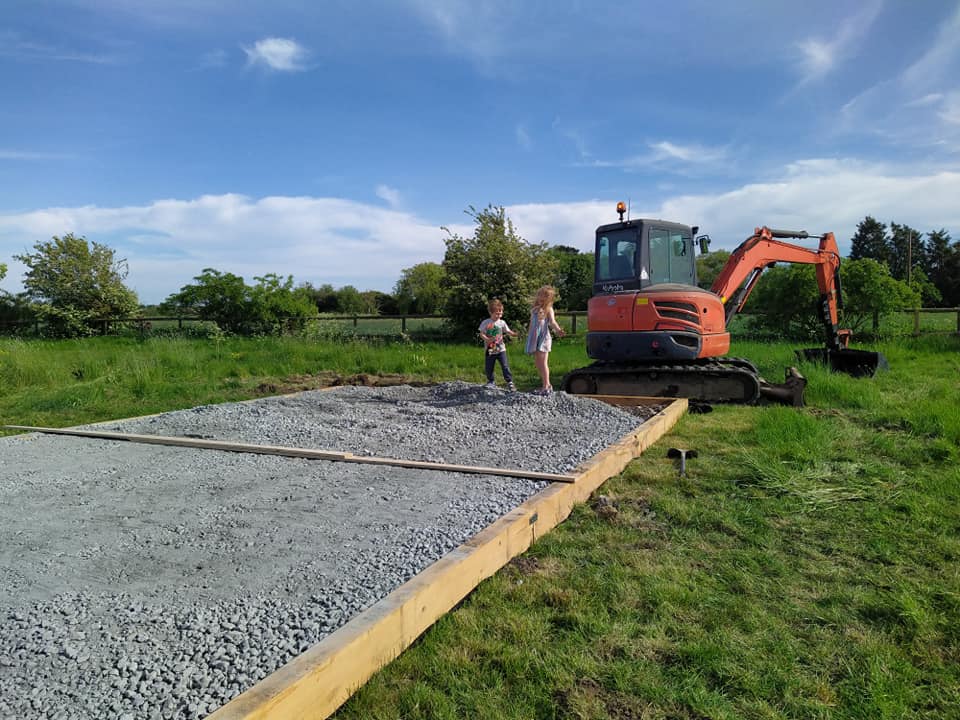
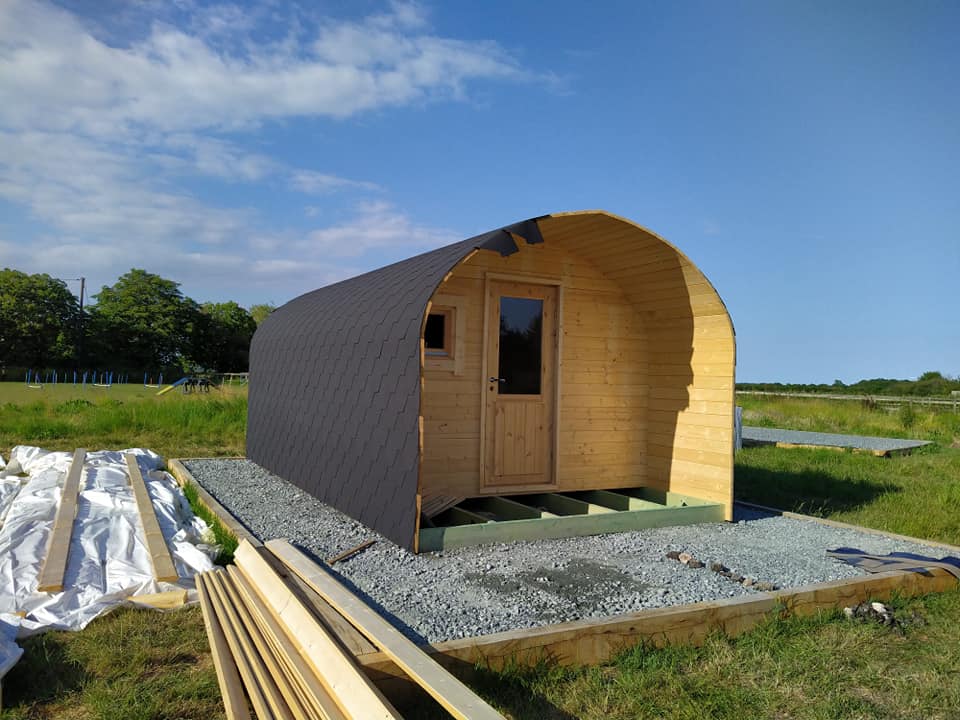
A solid, level base is always essential in the preparation for any of our cabins. Crispin decided to make his sub-base using aggregate which would also surround the cabin as well as provide an area to the front for a picnic table and BBQ. He began by digging up the turf, compressing the soil, shuttering the perimeter with timber, and filling the area with aggregate.
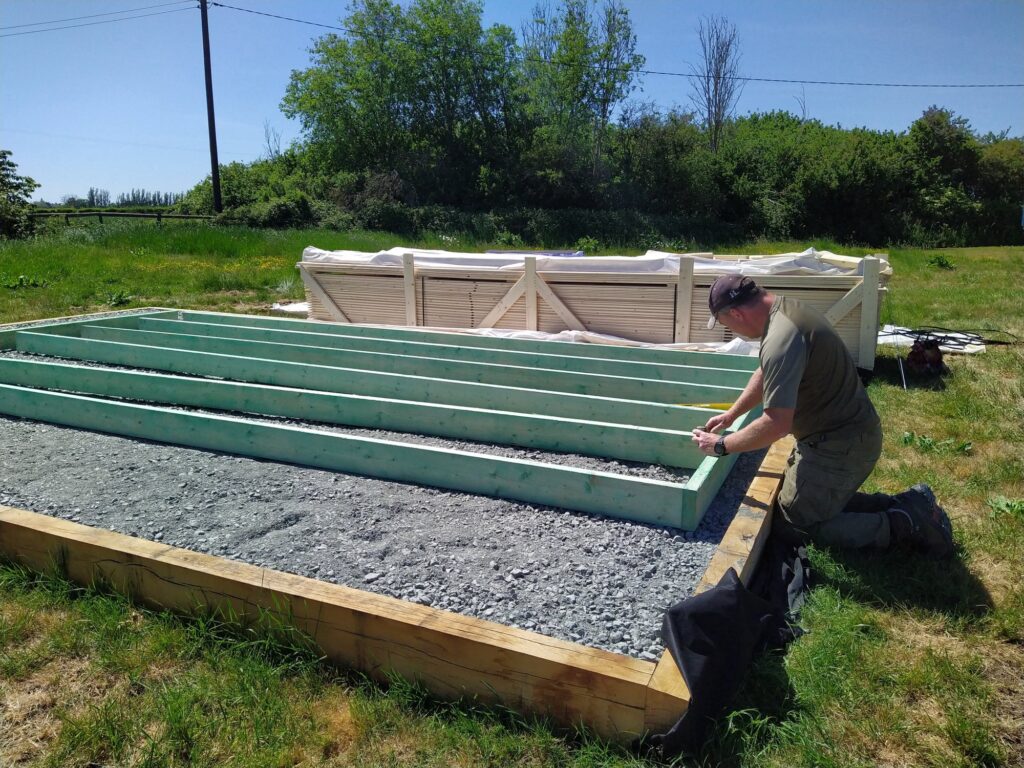
The base frame which is supplied as standard was then constructed by following the guidance provided in the instruction manual. Continuously ensuring the base is level at all times.
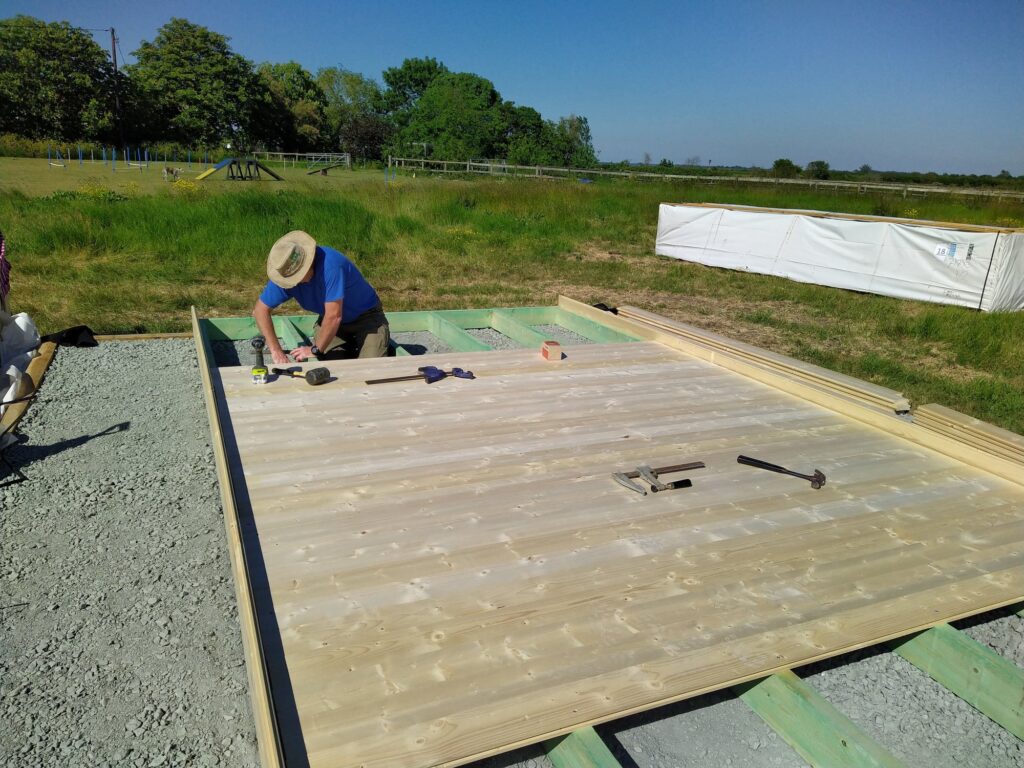
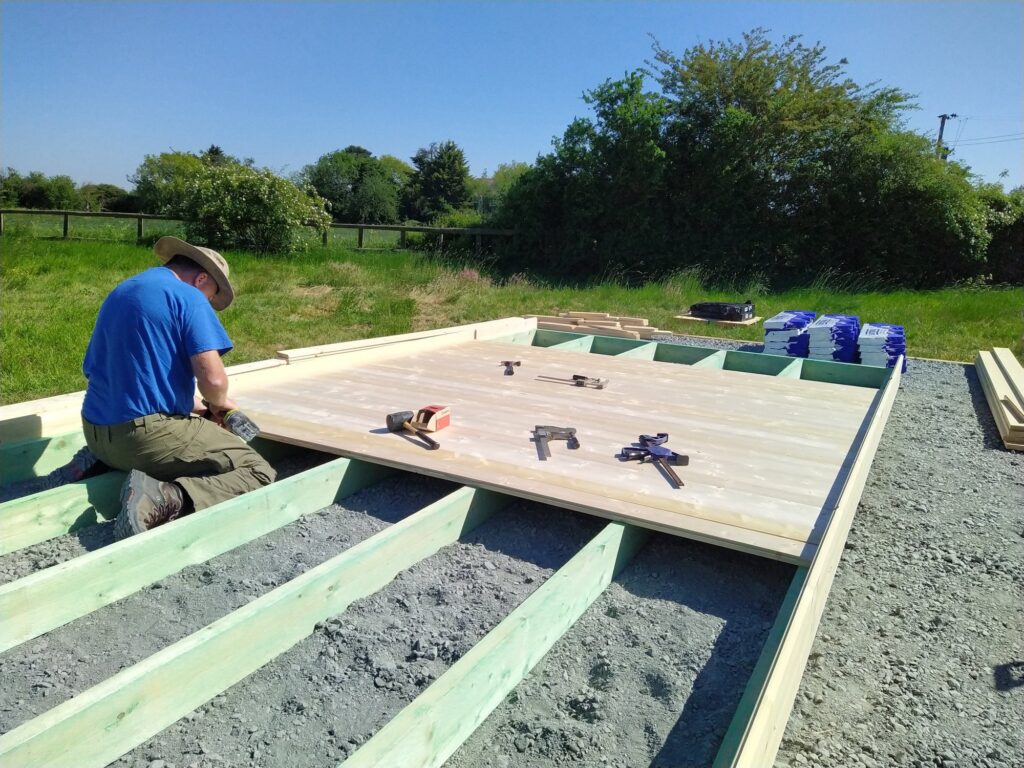
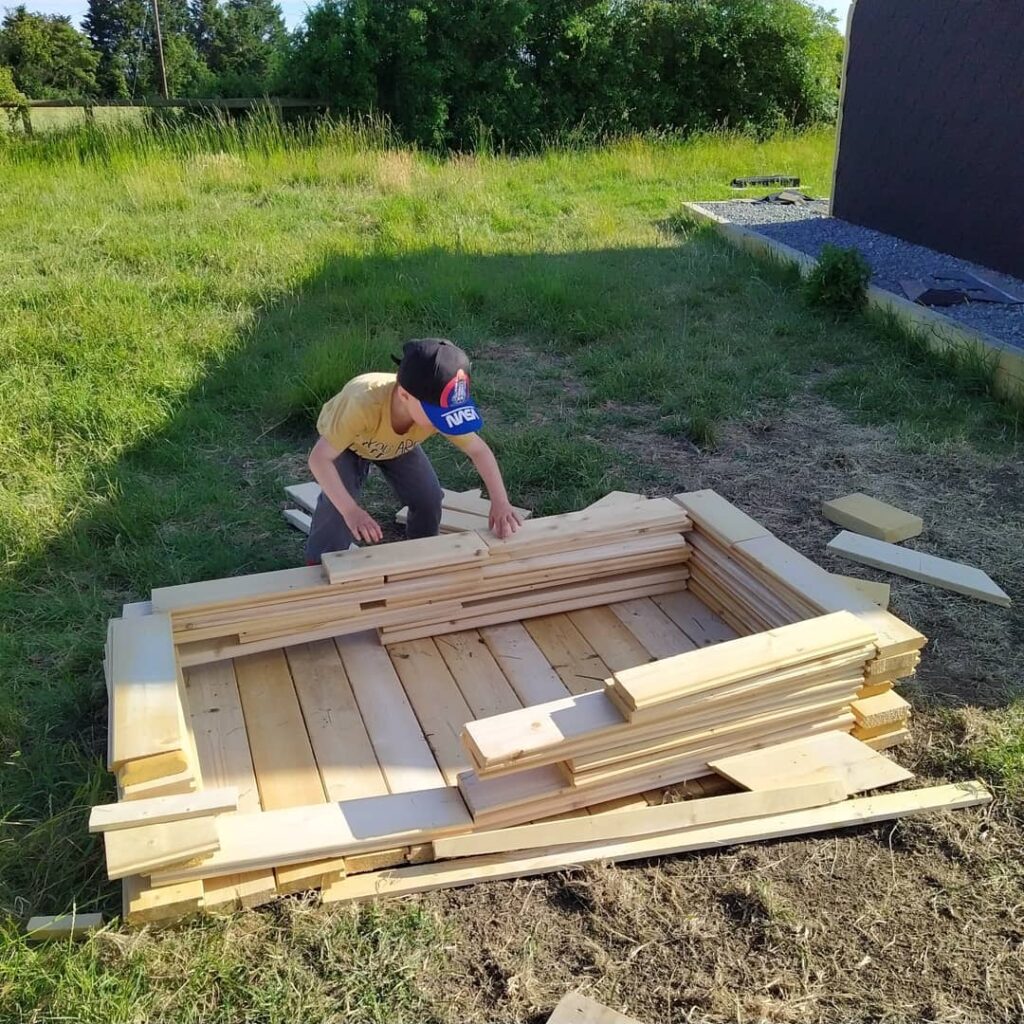
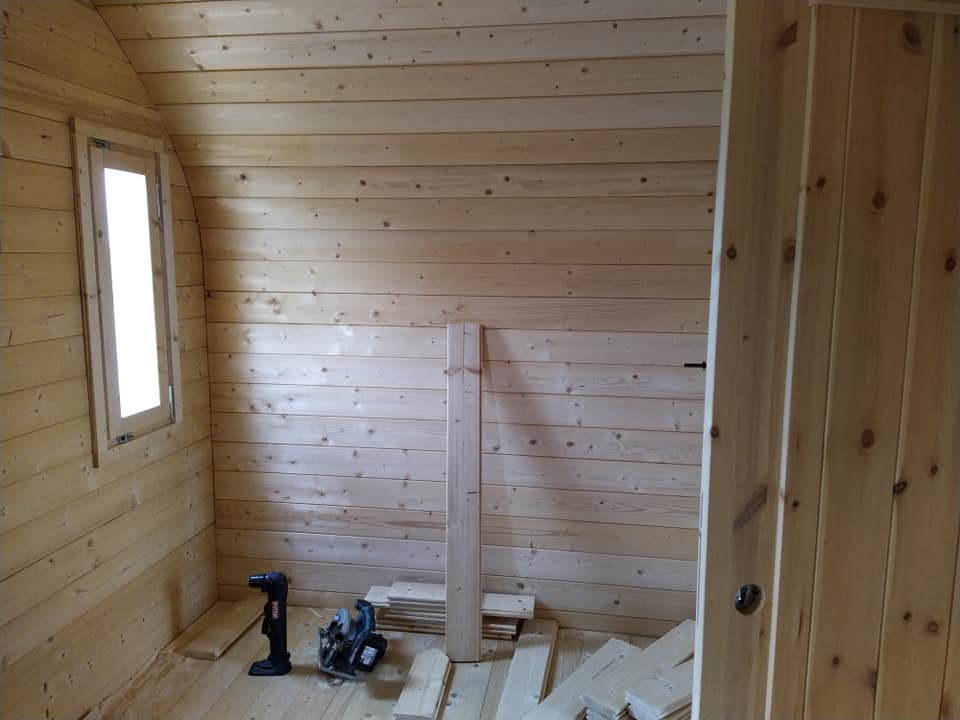
Once the timber base is complete the tongue & groove internal flooring was ready to be laid.
Log Cabin Glamping/Camping Tunnel – The Build
The building of the camping tunnel is a little bit more complex than our traditional log cabins. This is mainly due to the oval shaped roof and cutting of the door and windows frames. However, if you have the correct tools and can follow instructions well, it should all go without a hitch.
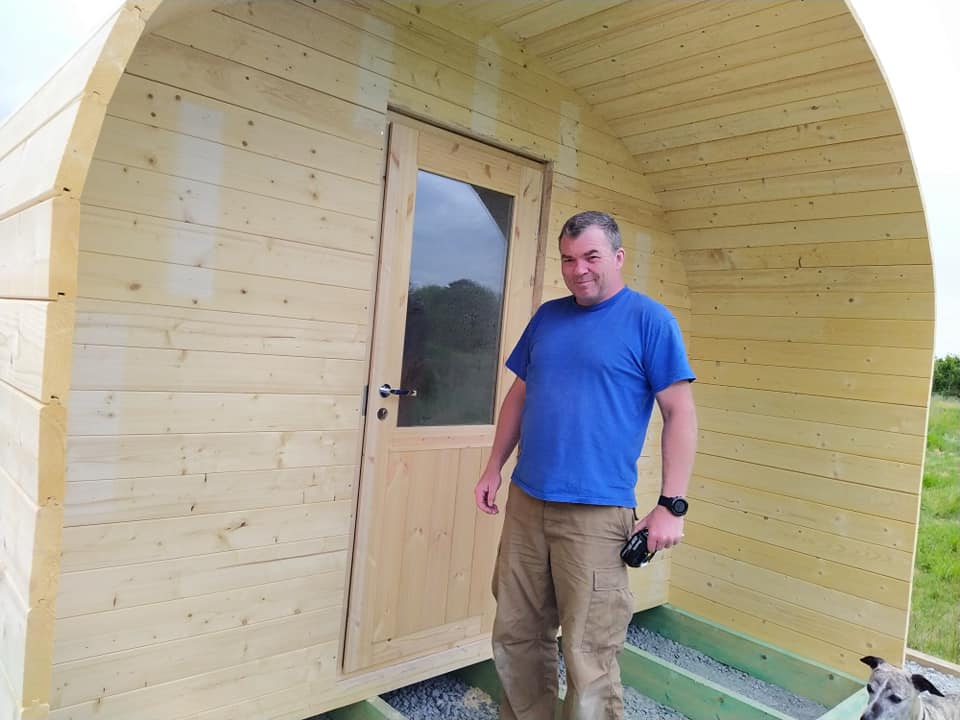
Crispin has skills in carpentry so the build continued as planned, Julie & their children also helped out a lot of course.
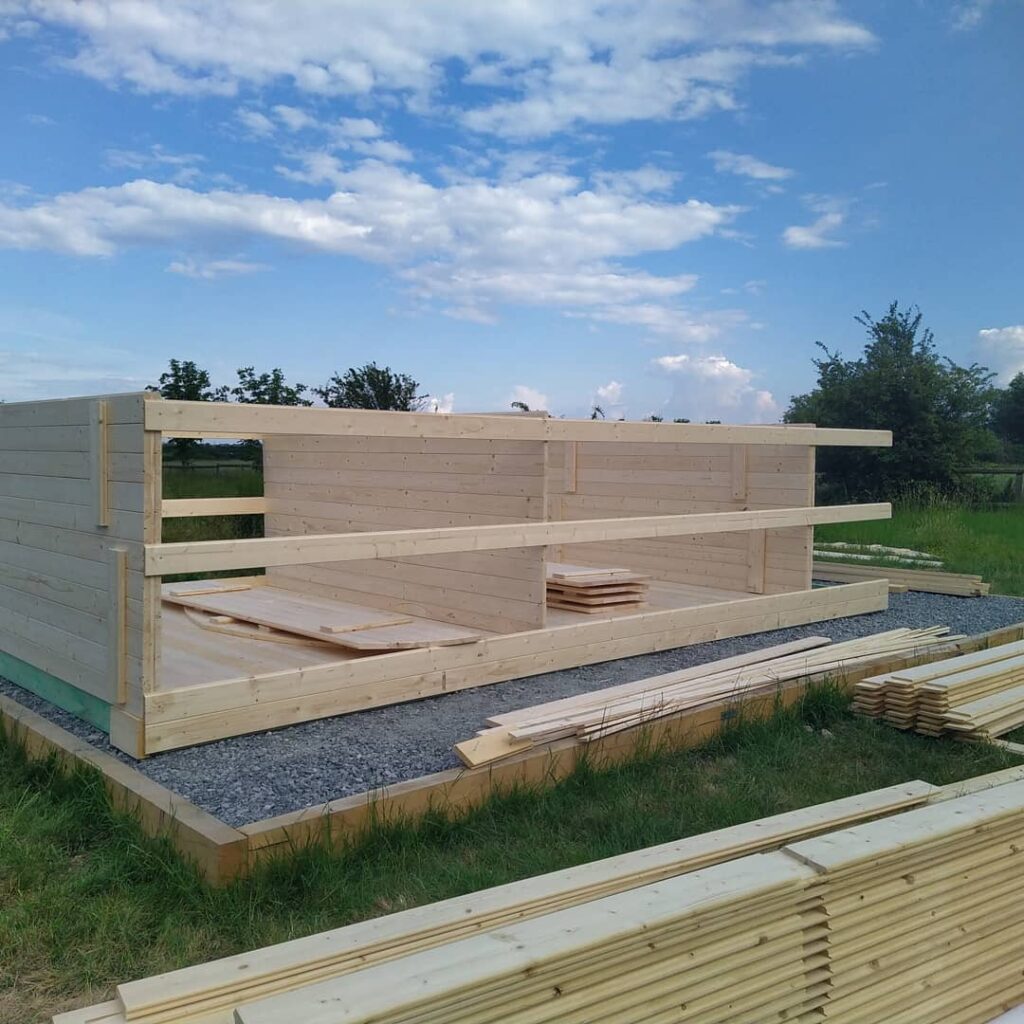
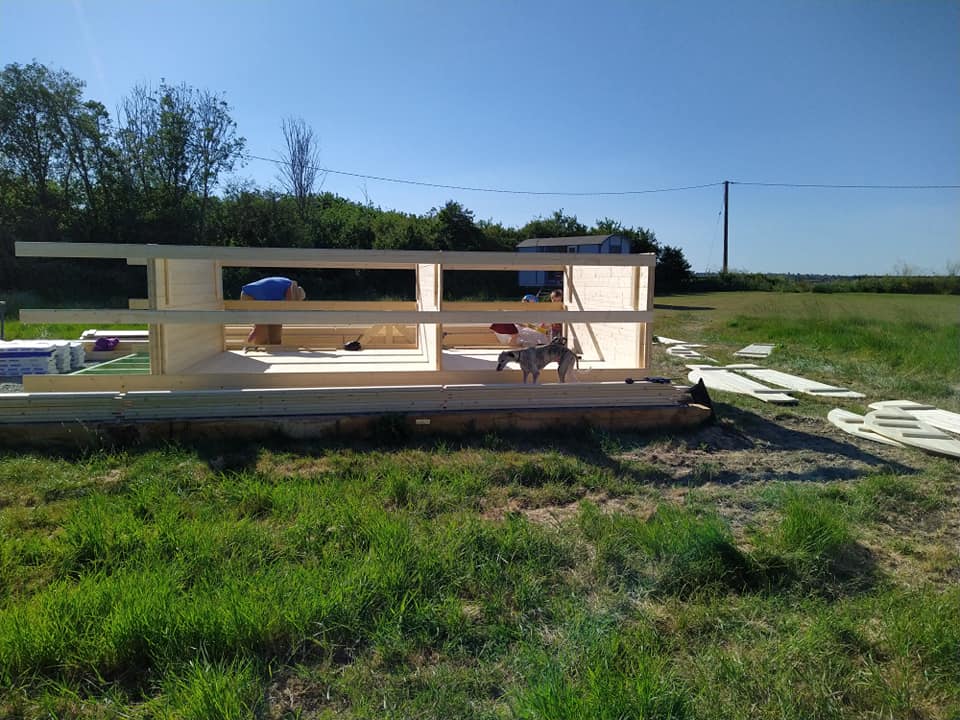
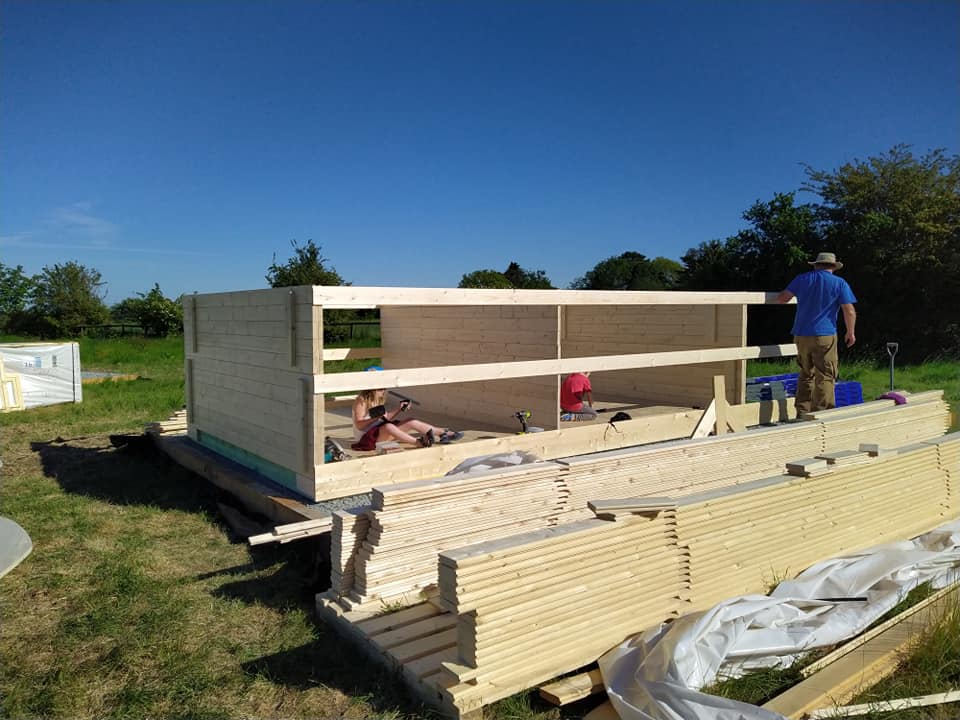
Walls
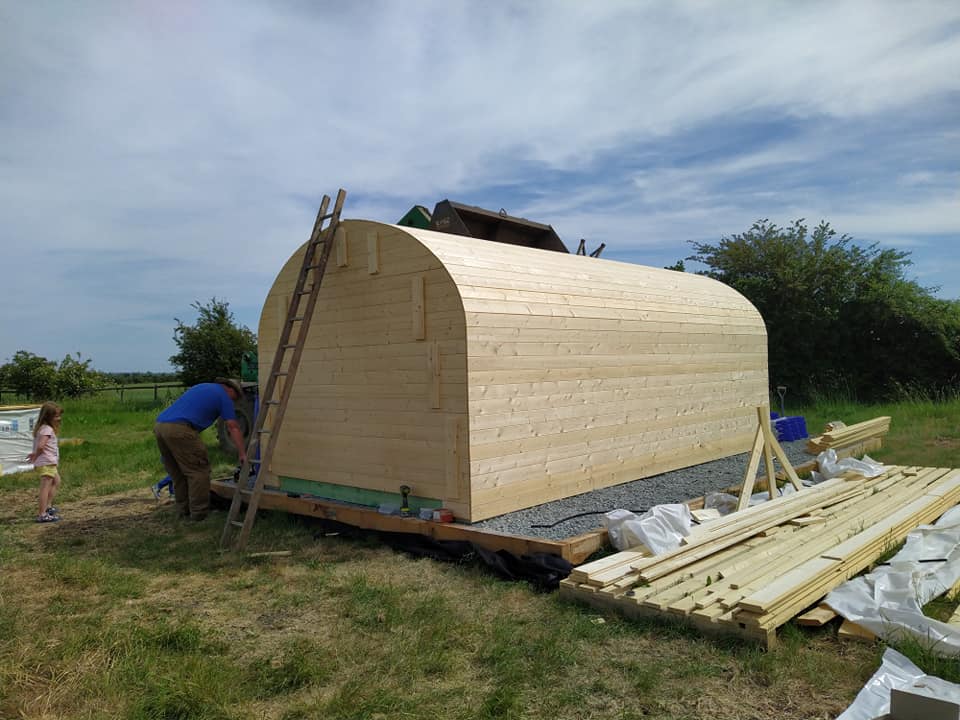
Once the flooring was down they were able to begin constructing the 3 main walls of the cabin. These arch shaped sections were to be the front middle and back of the building. As opposed to our regular log cabin buildings, the camping tunnel walls are built up on the floor first. Each wall has 4 pre-assembled sections which are then slotted and braced together to create the full wall.
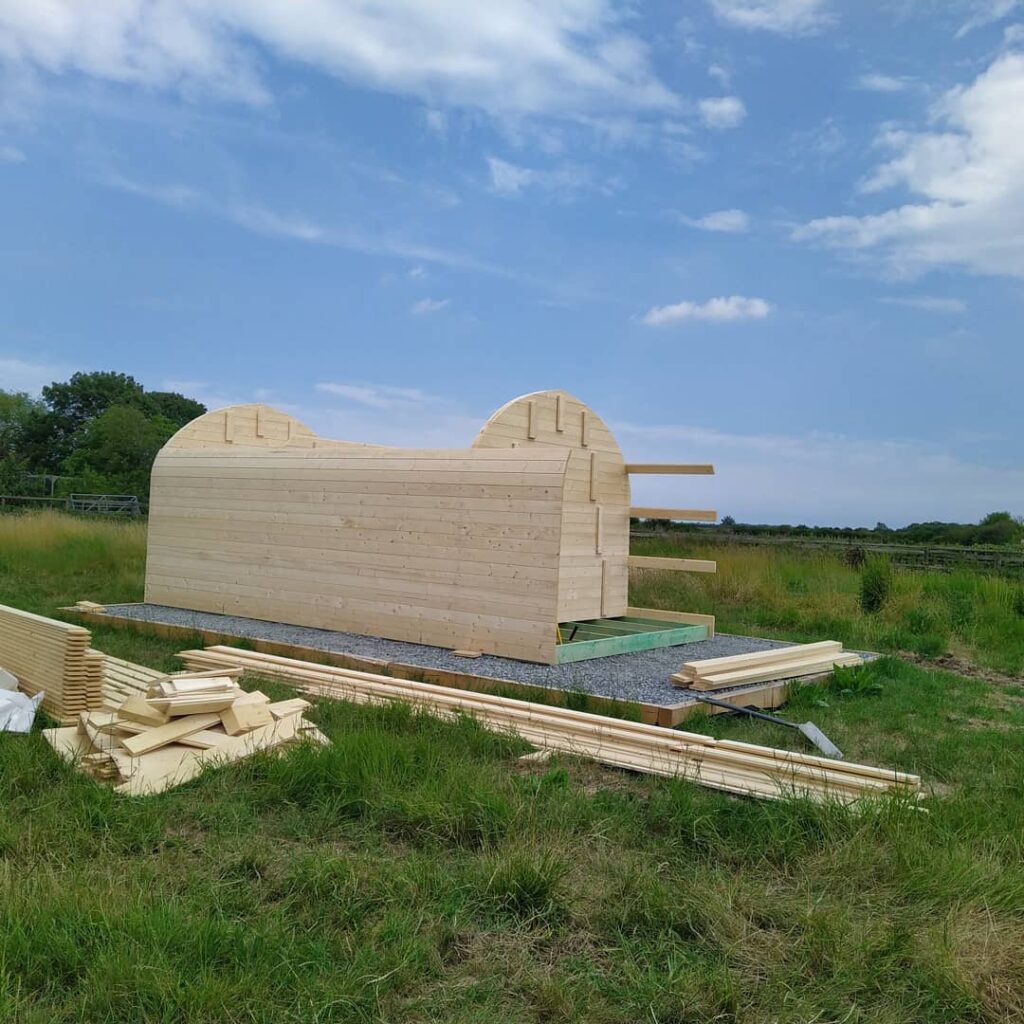
Once the walls are complete they were placed at the front middle and the back of the cabin and made level. They were then temporarily braced with timber to ensure they stay level and upright during the construction of the outer shell/roof.
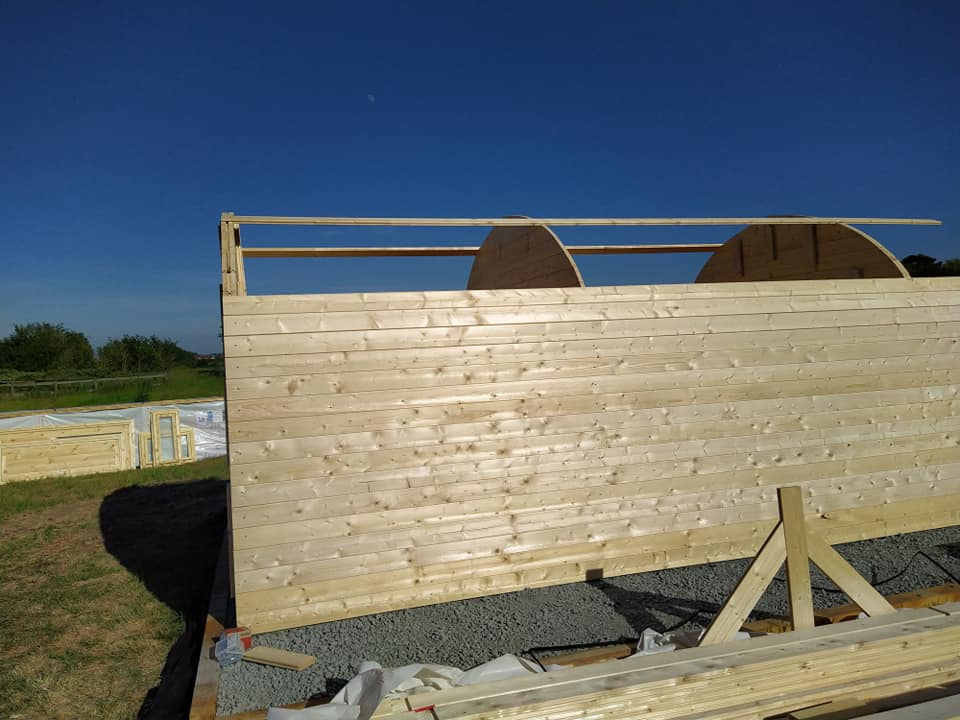
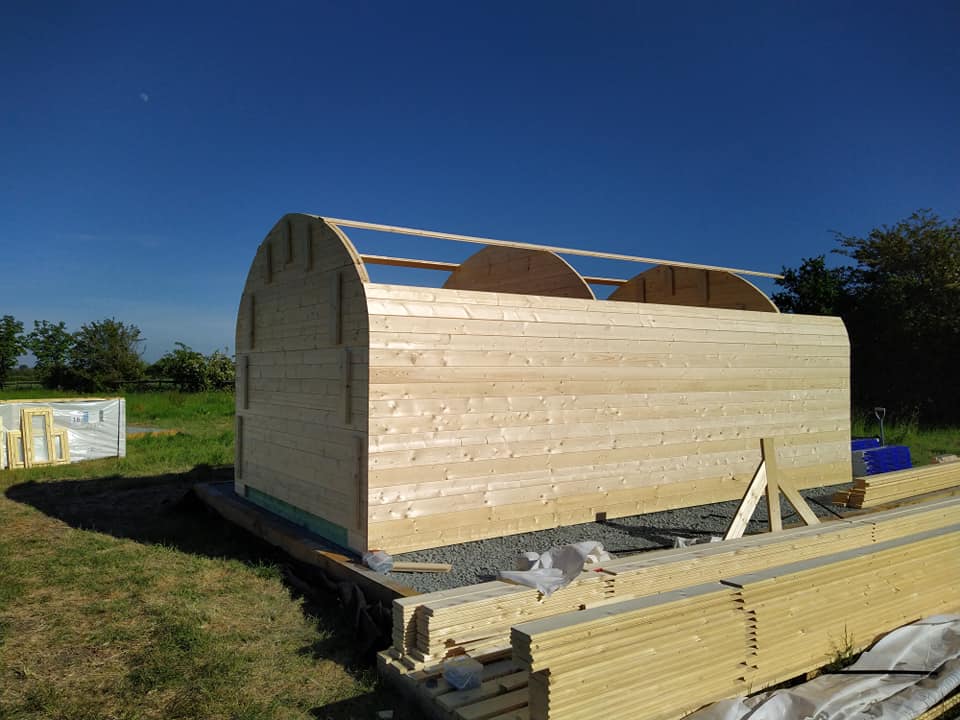
Roof / Shell
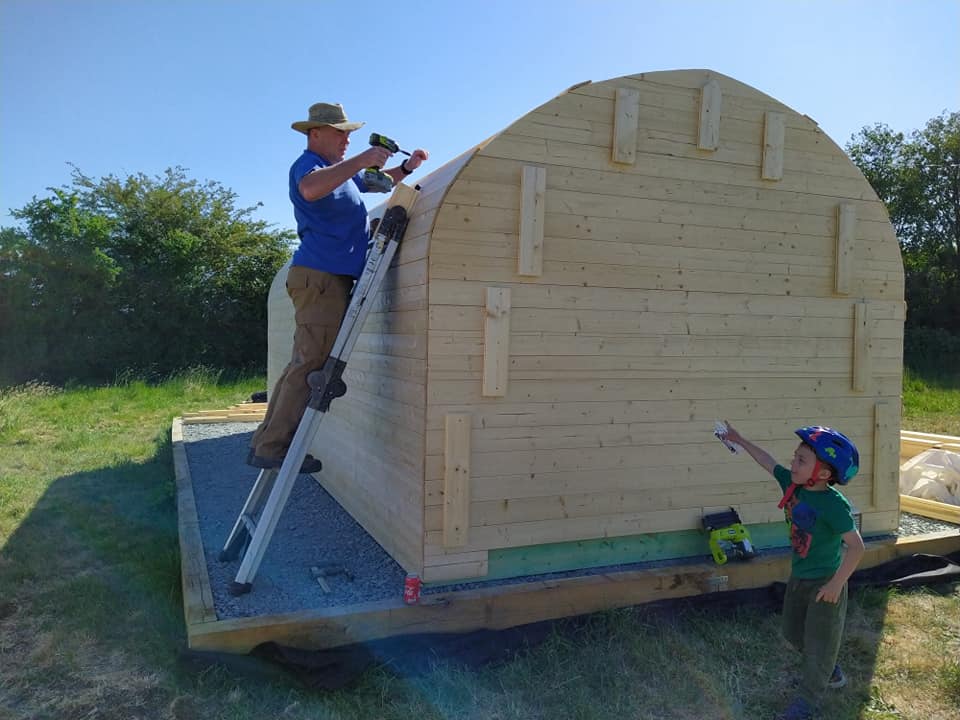
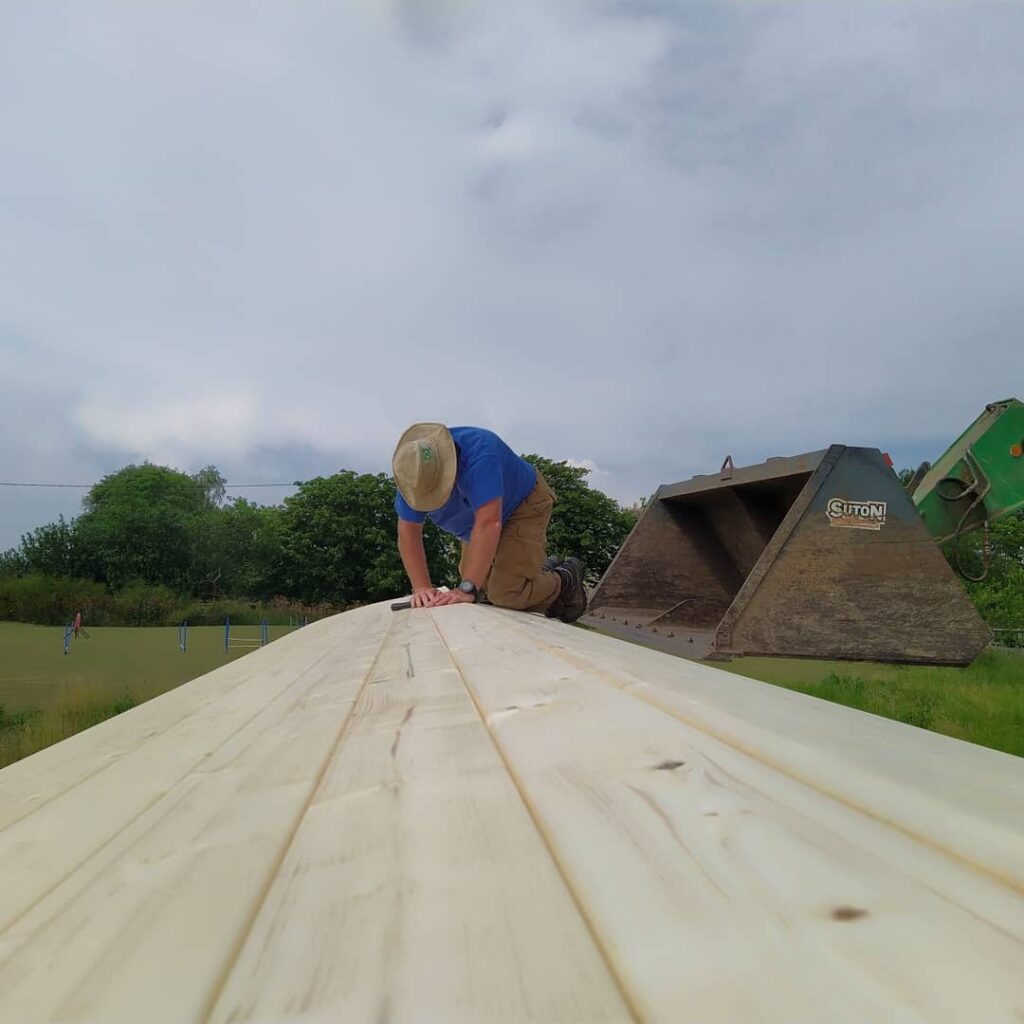
The outer shell / roof was then ready to be added. Starting from the bottom, Crispin began securing the roofing boards by screwing them to the 3 walls, making sure they were level as he went. Crispin removed the temporary timber braces as he made his way up both sides of the cabin. Once each side of the roof met in the middle, the boards were cut to size to ensure a tight fitting and screwed down. Once the shell was complete and secure, Crispin was able to remove the rest of the temporary timber braces that were attached to the walls.
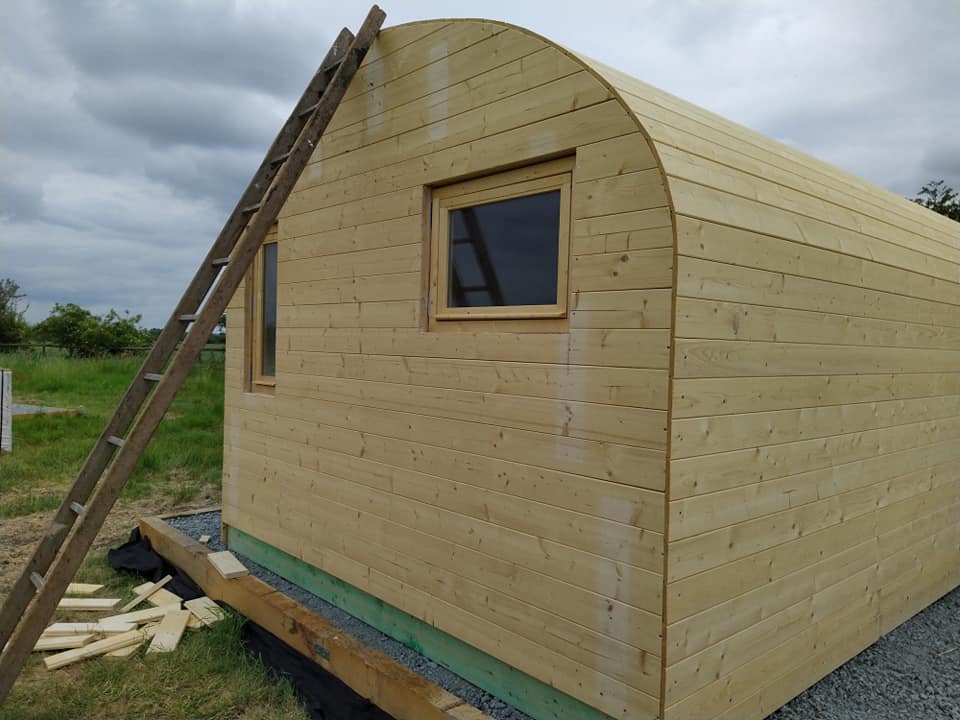
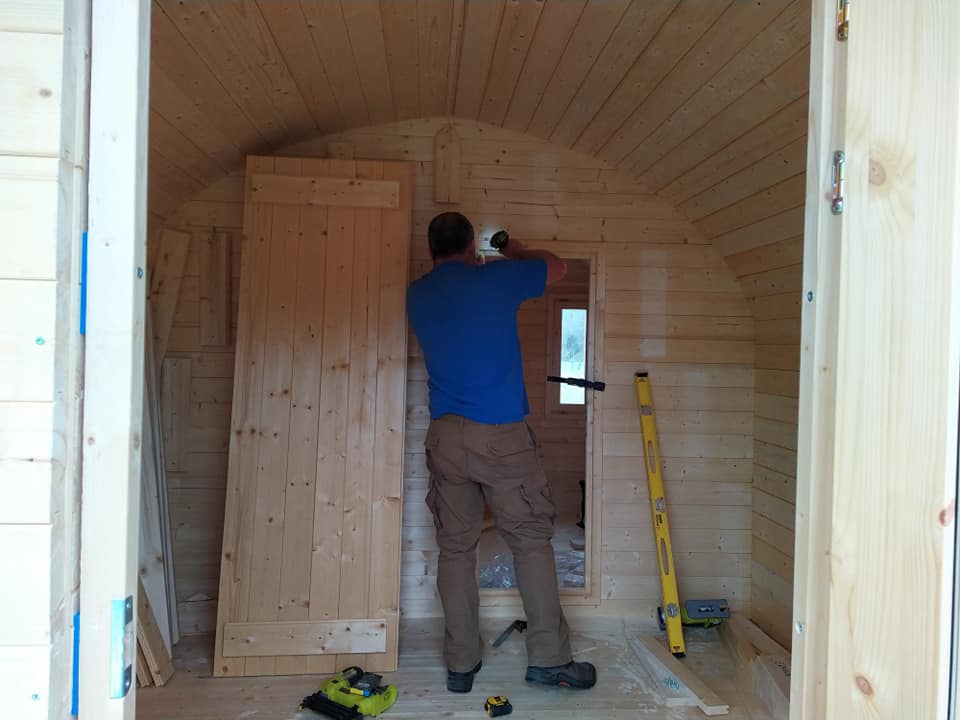
Windows & Doors
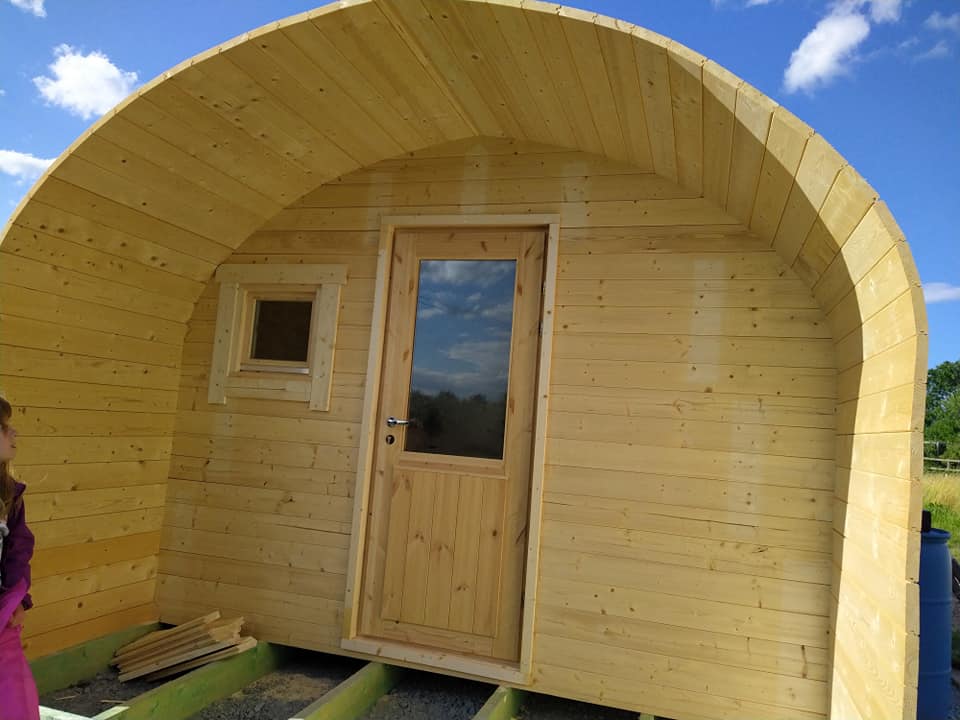
The next stage was to cut the openings for the windows and doors. Consulting the instruction manual Crispin successfully cut out the openings for the windows and doors to his specific requirements. These cuts do not have to be perfectly straight as the frames will cover any discrepancies. The windows and door frames were then screwed into place then subsequently the windows and doors themselves.
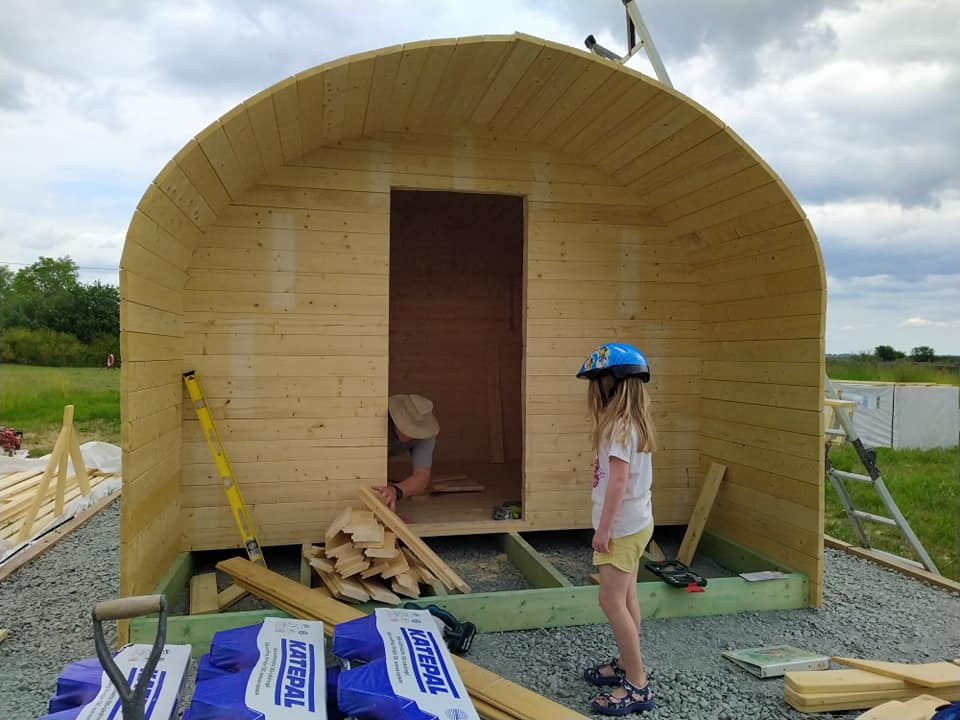
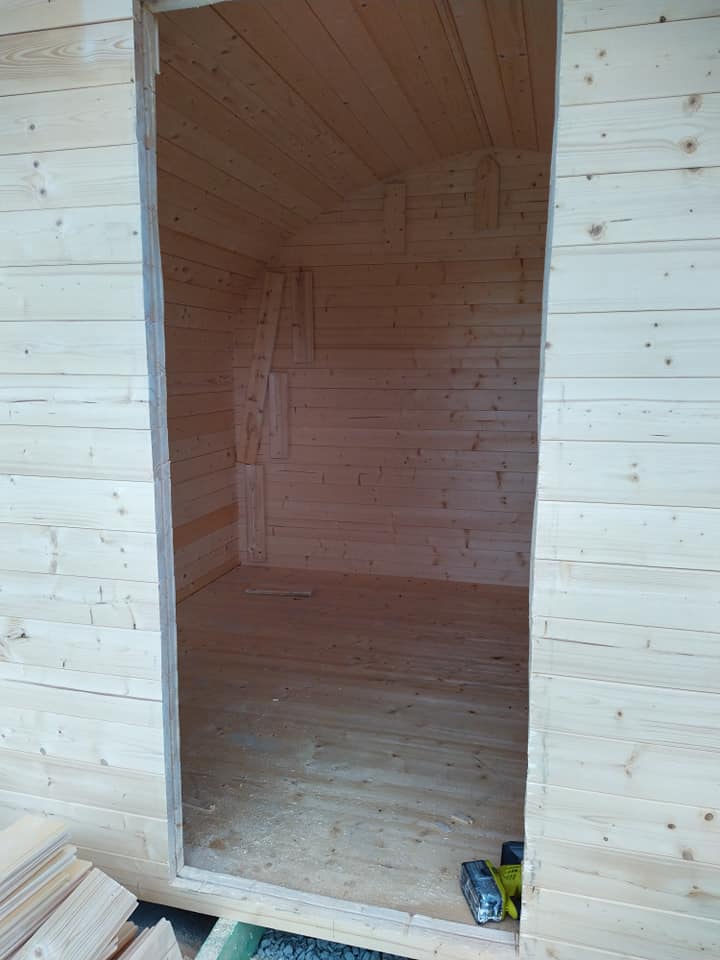
The opening to the bedroom area was then cut out of the middle wall to Crispins specific shape and requirements. The rest of the external floor was then laid and secured with screws.
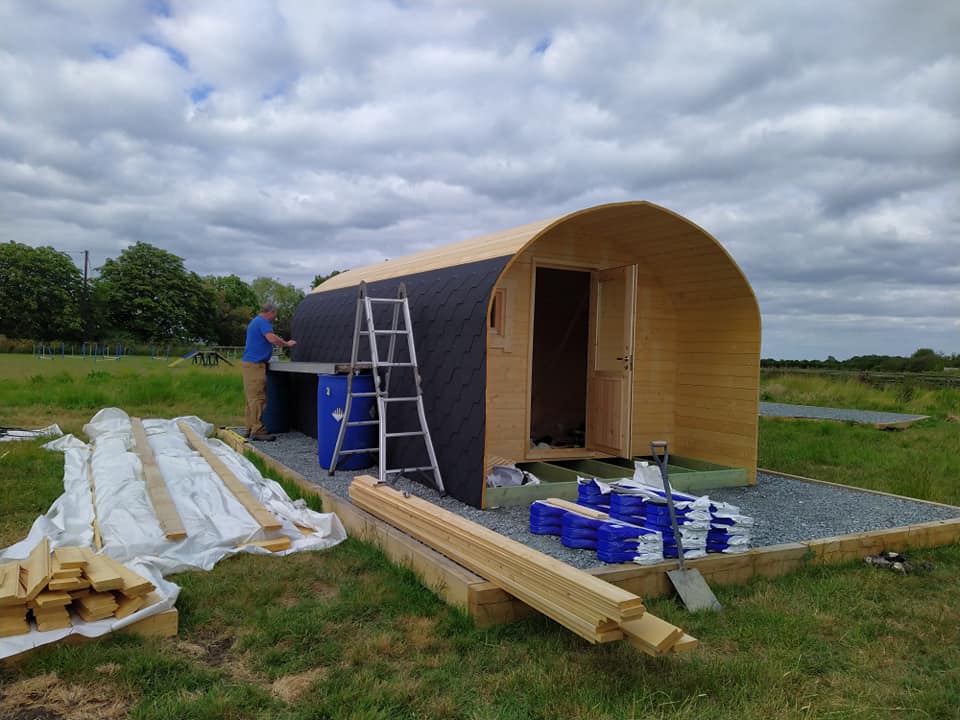
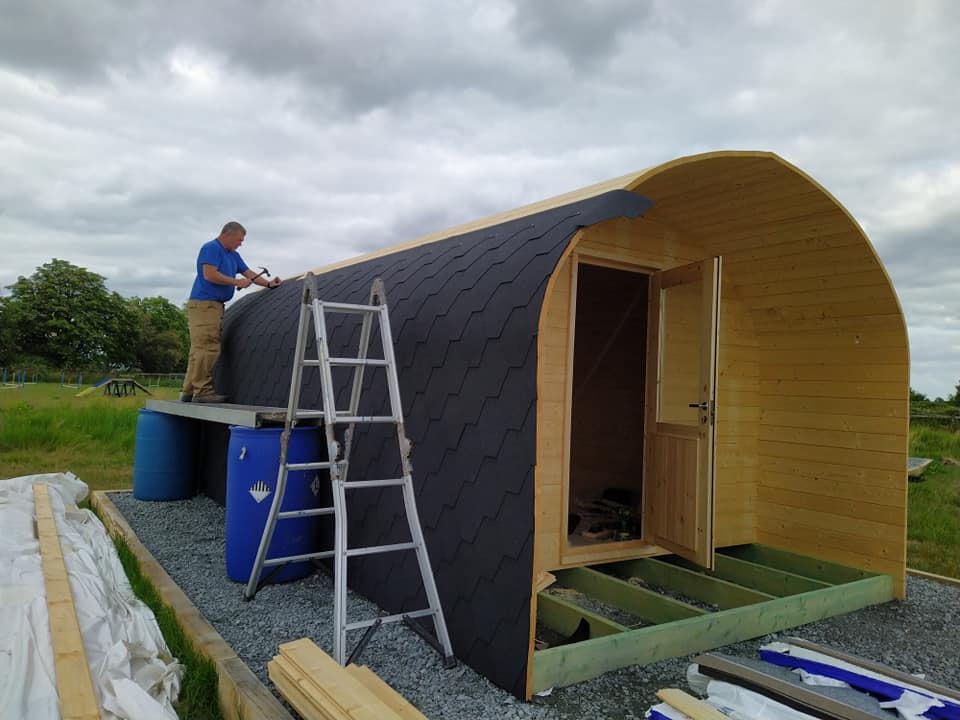
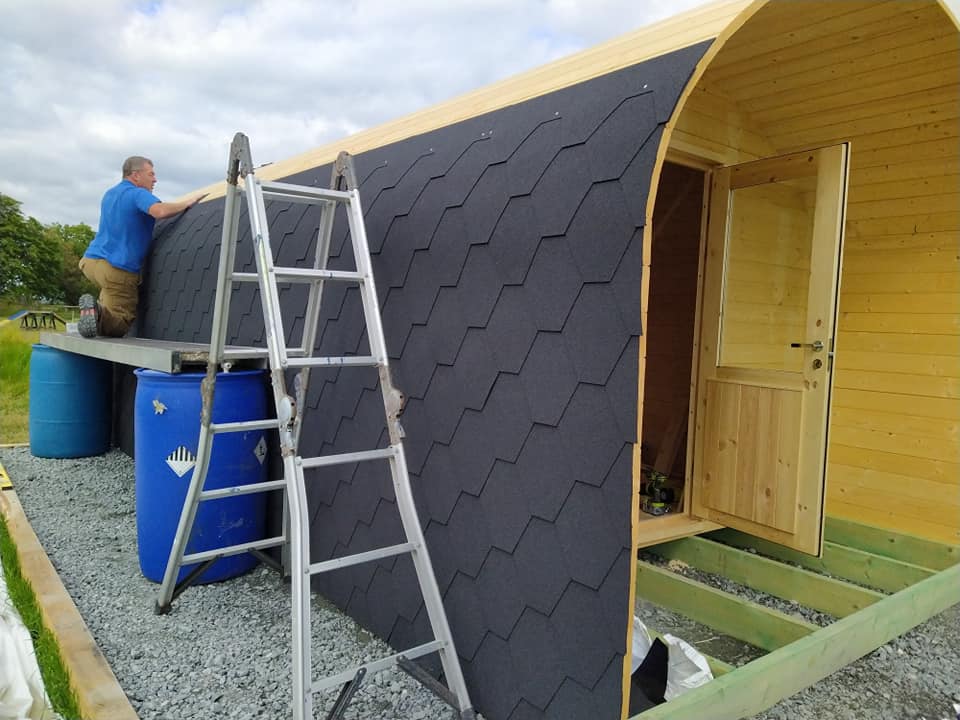
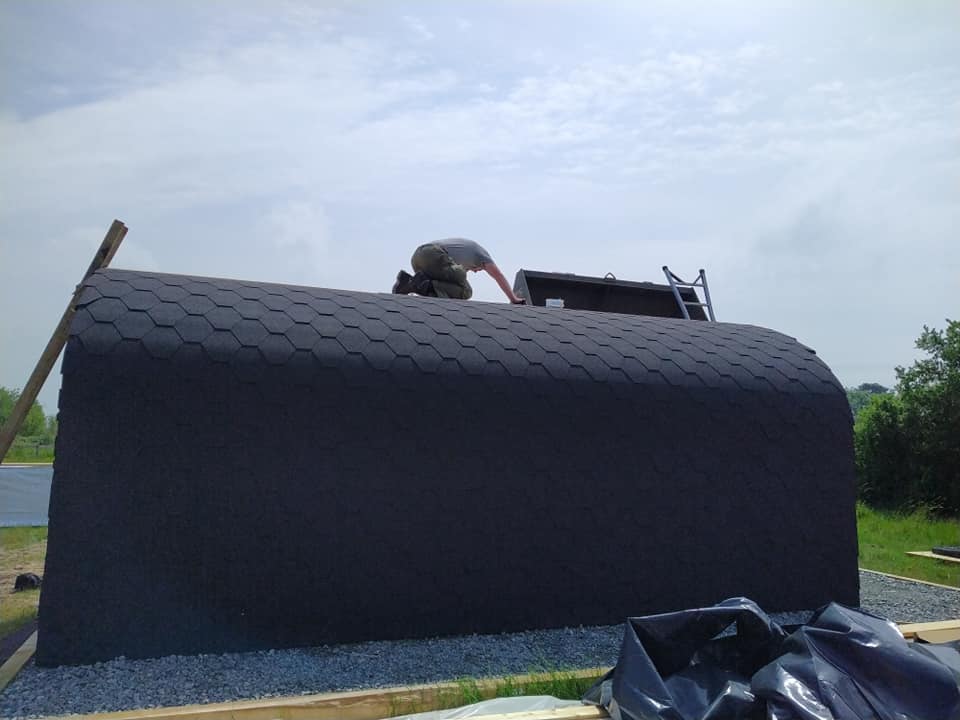
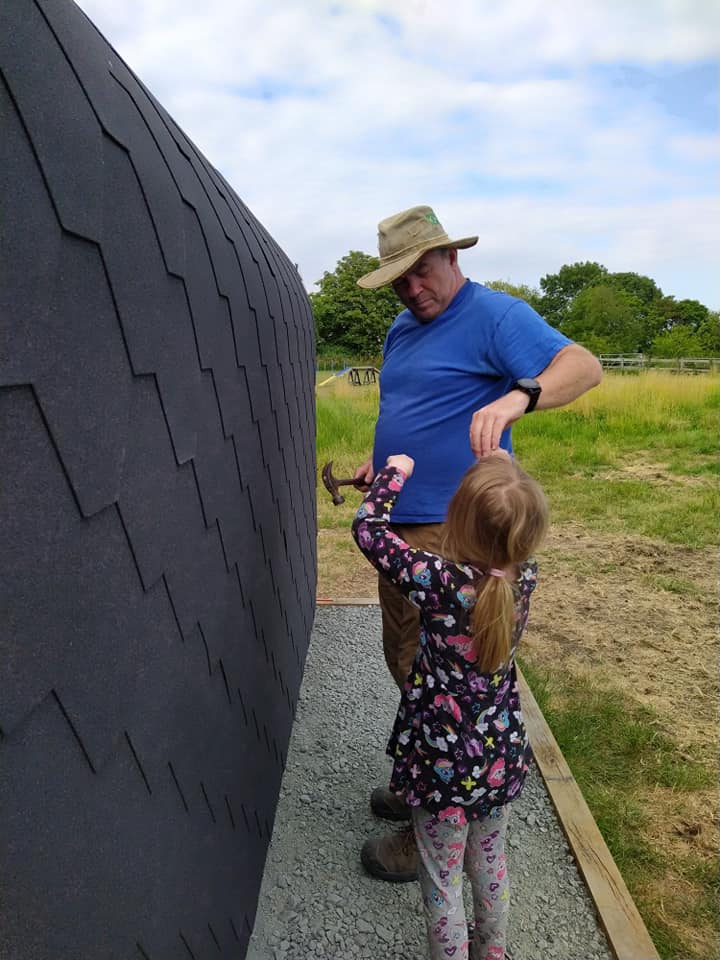
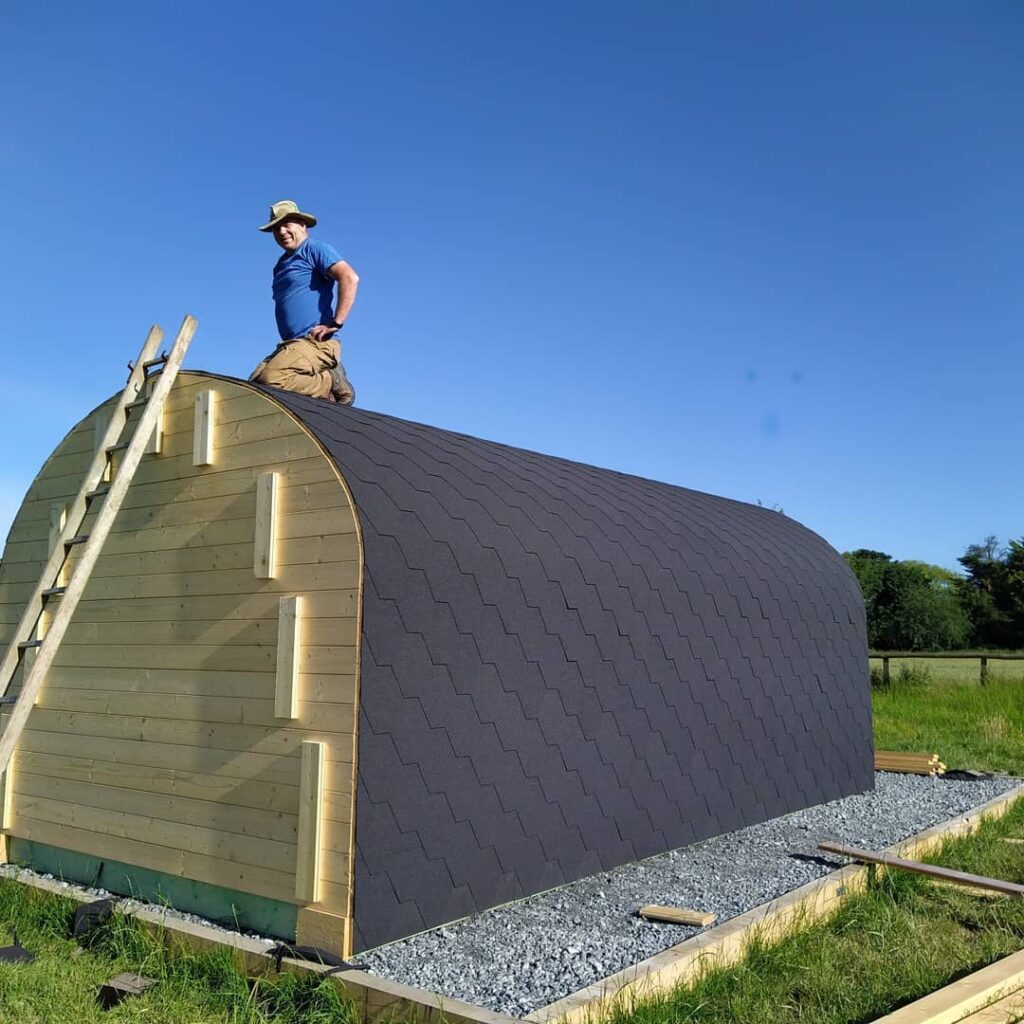
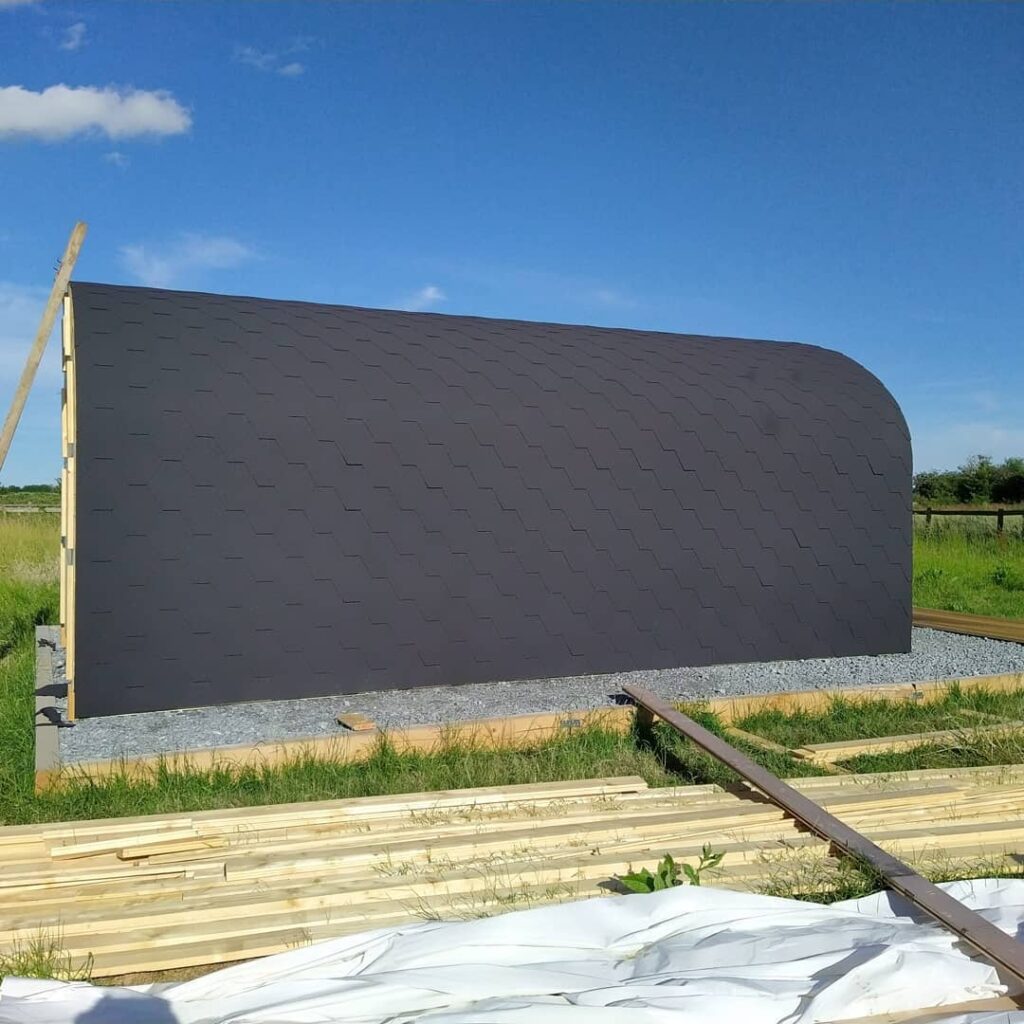
Roof Shingles
The last part of the build was probably the most time-consuming, and that was the shingle roof. Again starting from the bottom of the shell / roof, shingles were laid and pinned down as per instructions, ensuring the are level and overlap to the correct measurements. Although time consuming the finish of these hexagonal shaped shingles look fantastic, and will last for many years.
Insulating
As you can see from the images, Julie & Crispin adapted their cabins by building an additional internal wall. It was then filled with insulation to ensure their camping tunnel can be used all year round. The wall was then plasterboarded, skimmed then painted to provide a nice smooth rounded internal wall.
Utilities
As a qualified electrician Crispin was able to install all the electrics himself. Running a cable underground from the main house to both the cabins then installing a consumer situated under the breakfast table. The camping tunnel has all the mod cons needed for a comfortable stay including, shower, oven, kettle, toaster, fridge/freezer and coffee machine. As well as recessed lighting throughout the ceiling.
A plumber was at hand to install the water supply, pipework, boiler and a Klargester septic tank was installed onsite for wastewater management.
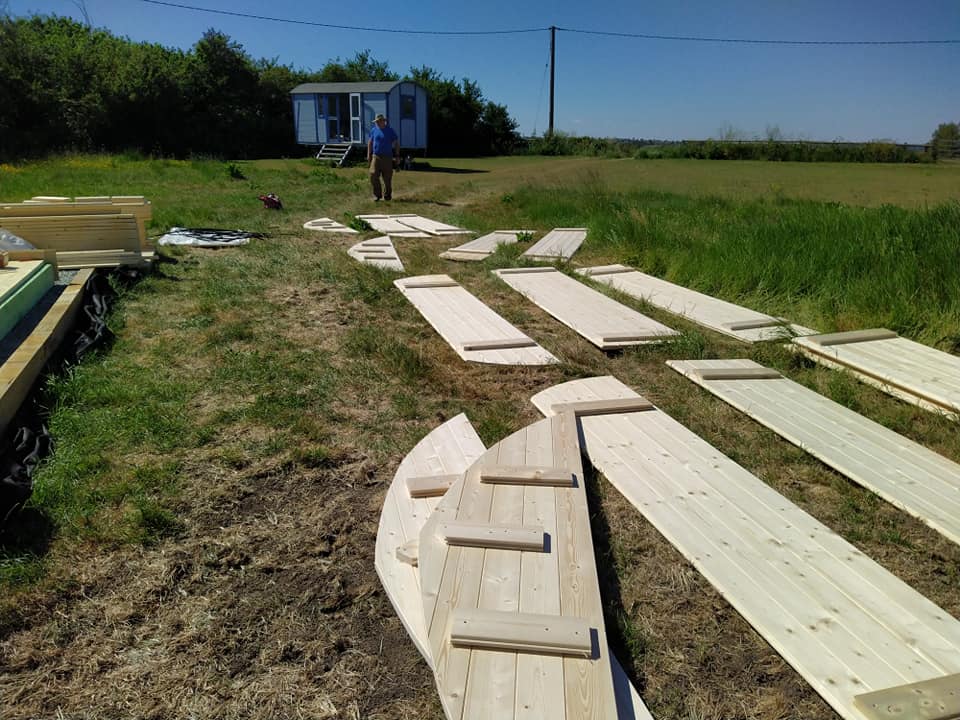
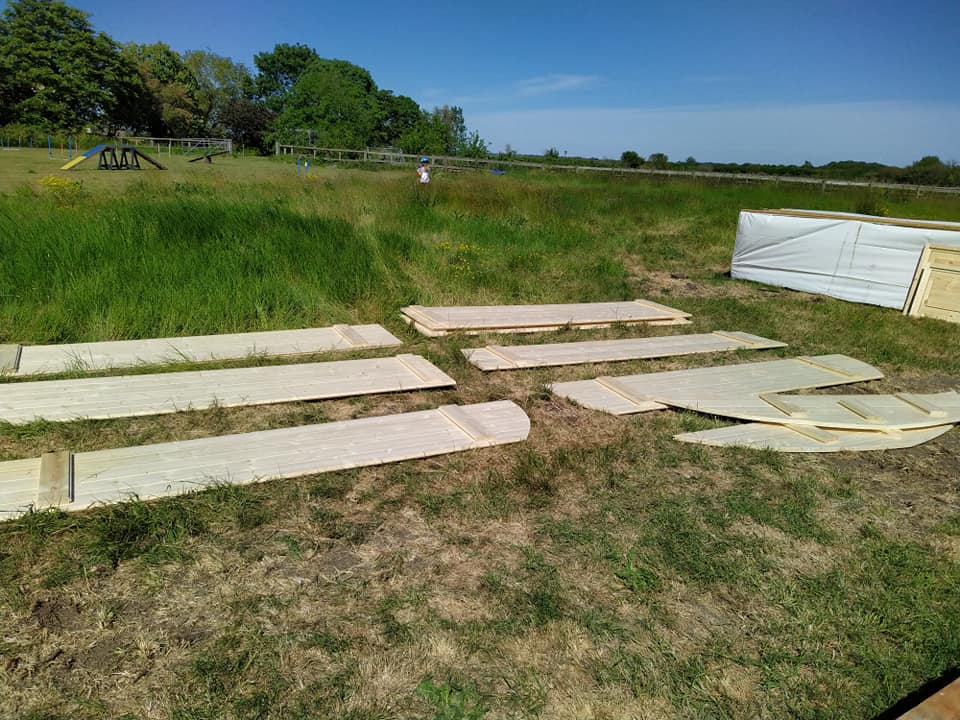
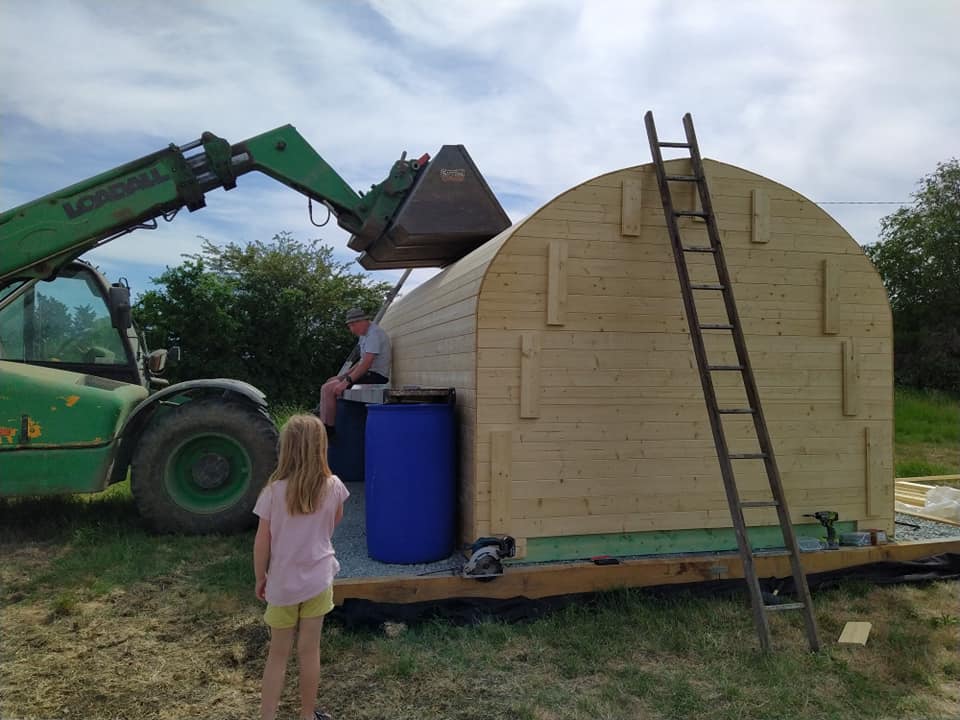
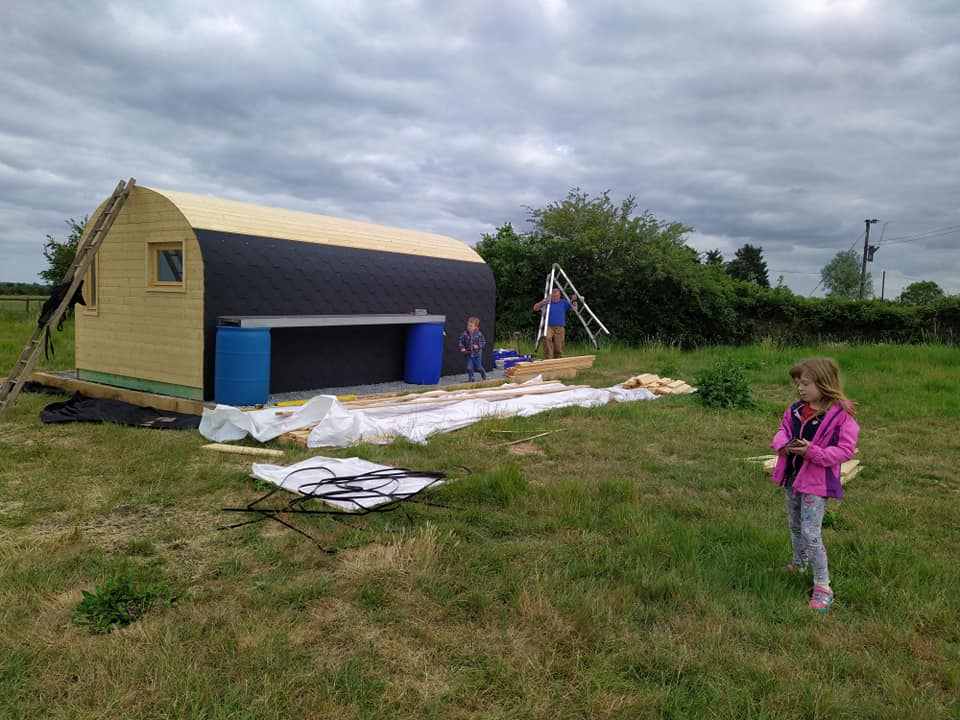
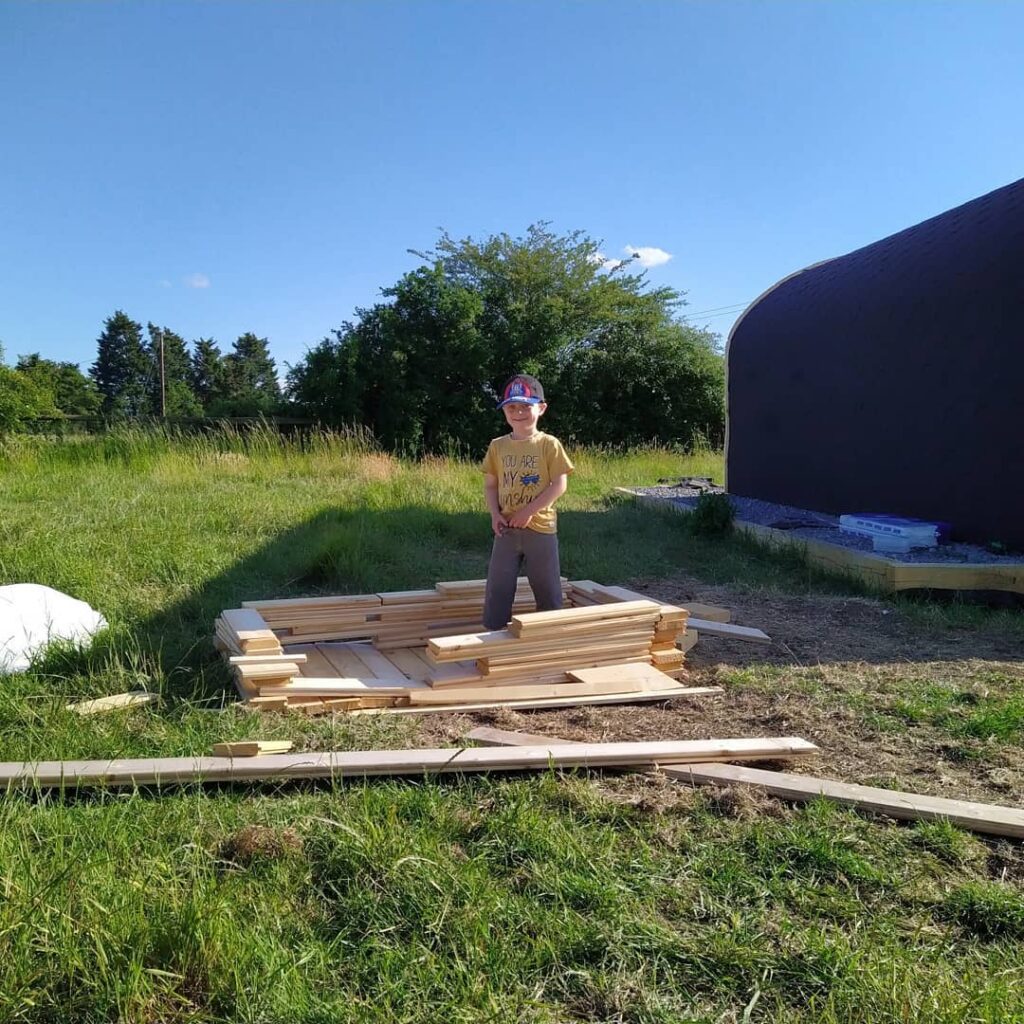
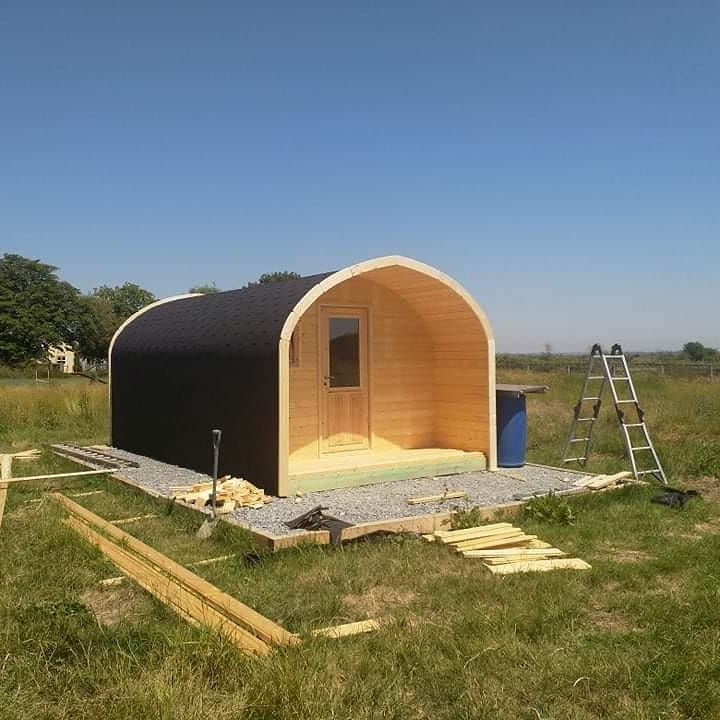
Customer Provided images of their build progress
It’s always interesting to see photos of our customers build progress. This was certainly a joint family effort. It’s nice to see the children helping out where they can and enjoying themselves.


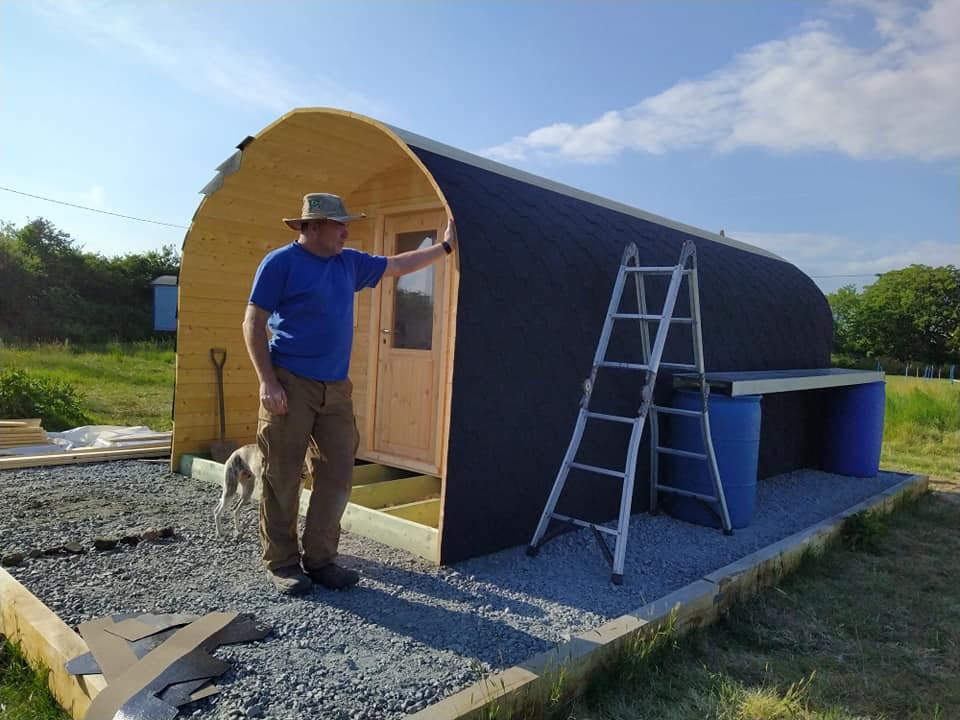
Treatment
After the build was complete Julie went ahead and coated the timber cabins with 3 coats of Sadolin Exterior Wood Preserver which gives protection against wood-rotting fungi and wood-destroying insects.
Log Cabin Glamping/Camping Tunnel – Image Gallery


In Conclusion
As a fan of glamping and camping myself it was a pleasure to visit Julie & Crispin’s Southey Creek Glamping site. I’m always interested to see how our customers adapt our products to suit their needs. It is clear to see how much time, effort and attention to detail Julie & Crispin have put into their site for the benefit of their customers.
Our camping tunnels look superb in their setting and fit well with the equally beautiful surroundings. The glamping tunnels are surprisingly spacious and accommodating for all year use. Looking at their website, the glampsite’s reviews of the cabins certainly reflect my thoughts of these lovely little cabins. “The pod was beautiful!“, “The pod was lovely and very cosy“, “The pod is the best I have ever seen amongst my glamping experiences“.
We are sure Julie & Crispin will welcome many more guests into their glampsite and we’re not surprised they are already thinking about purchasing more from us in the near future.