


The Agnes log cabin is one of our most popular log cabins, Mr L was kind enough to review the building and send us some pictures of the build process.
Written Review by Mr L
Beautiful practical cabin. The built in shed holds all your junk and garden clutter, so the cabin can stay clear for whatever you want to use it for. The cabin was easy to put up and we did most of it in a weekend with the help form a couple of friends and some beer. We used everything as supplied, and also the optional floor and free shingles which look great, and were easy to put on.
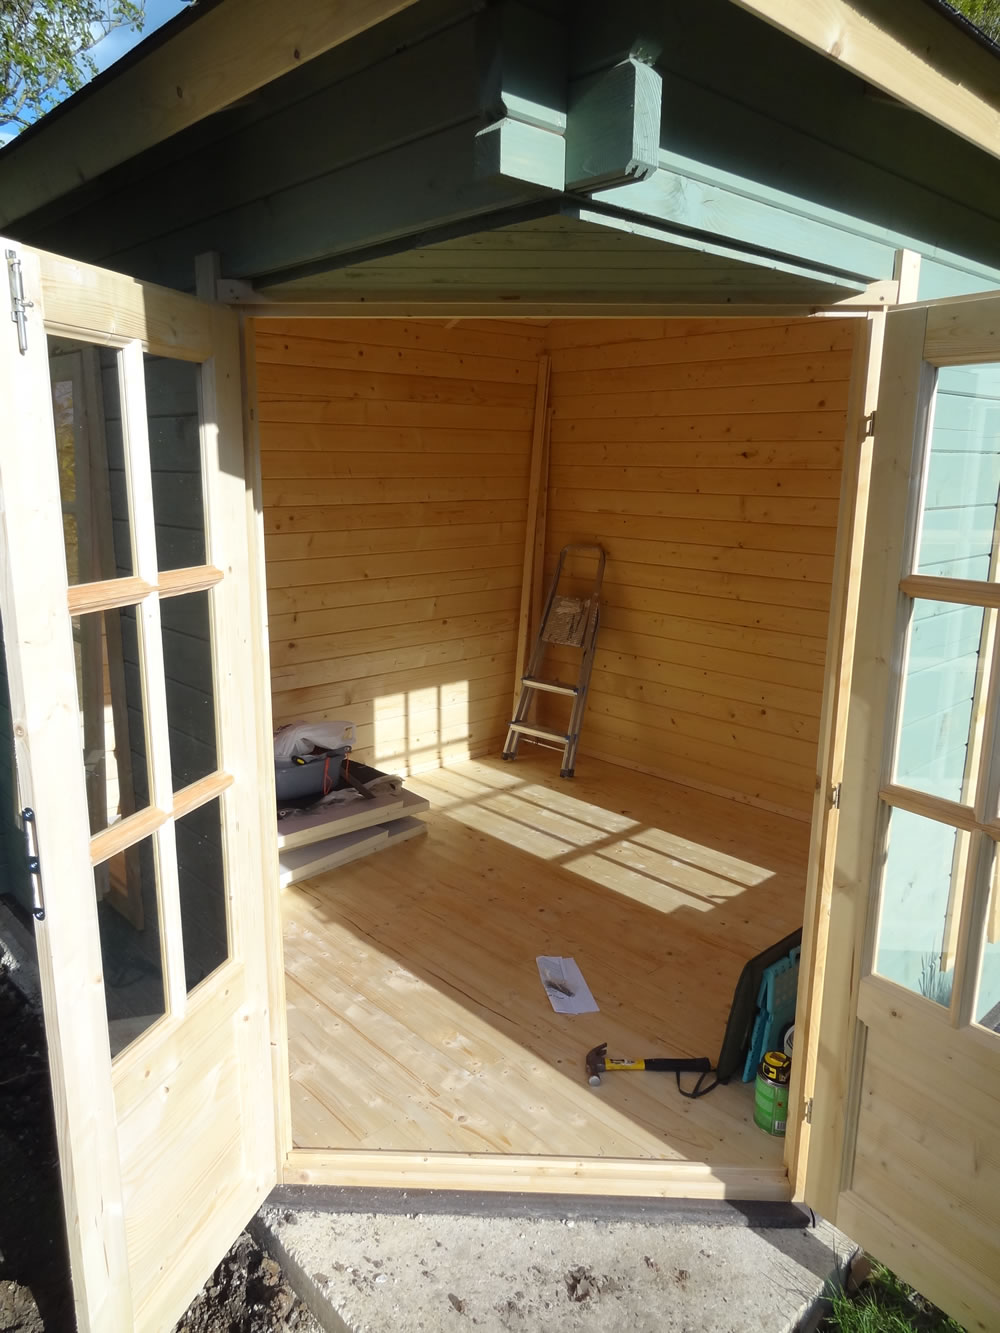
The only tricky area was the Double door into the cabin which took us a while to work out. I’m sending some pictures of our project so far, but we are sill adding furniture and exterior paint.
Photos of the Agnes Log Cabin
-
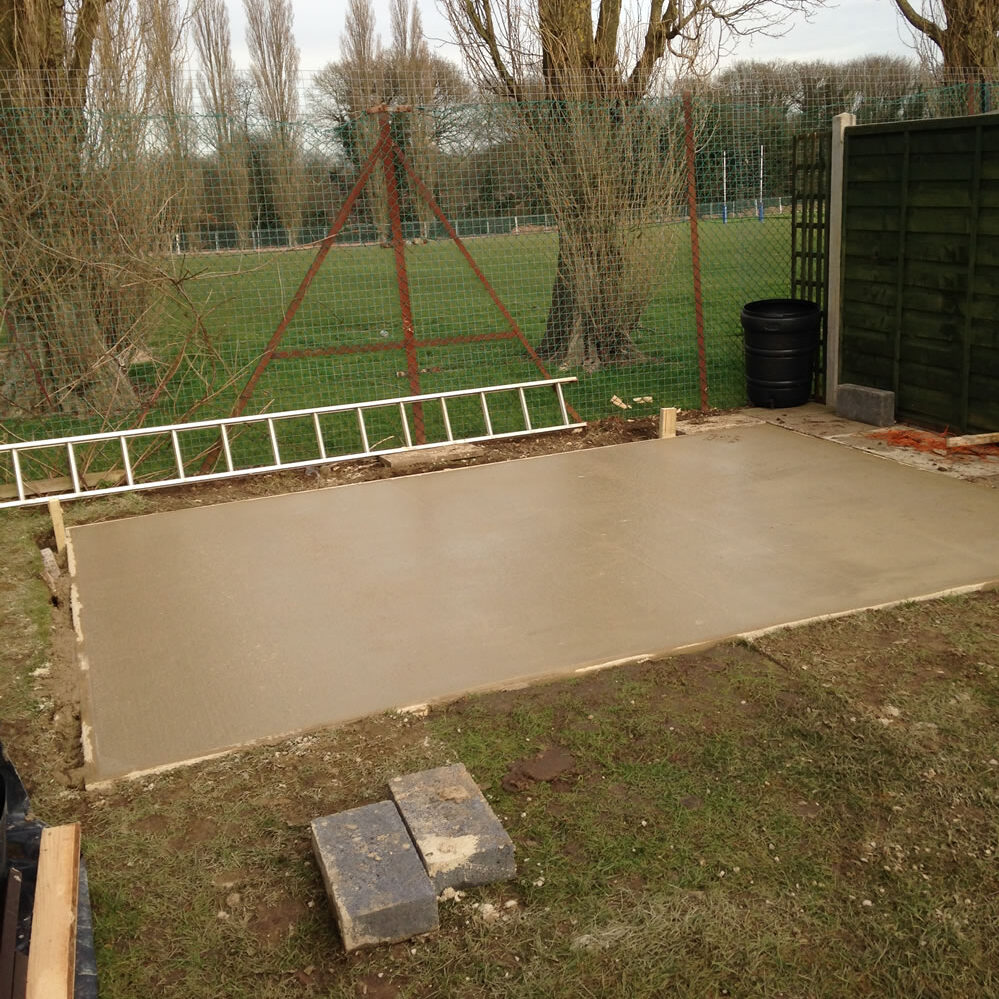
- Base for the Agnes log Cabin. Always ensure it is 100% flat and level.
-
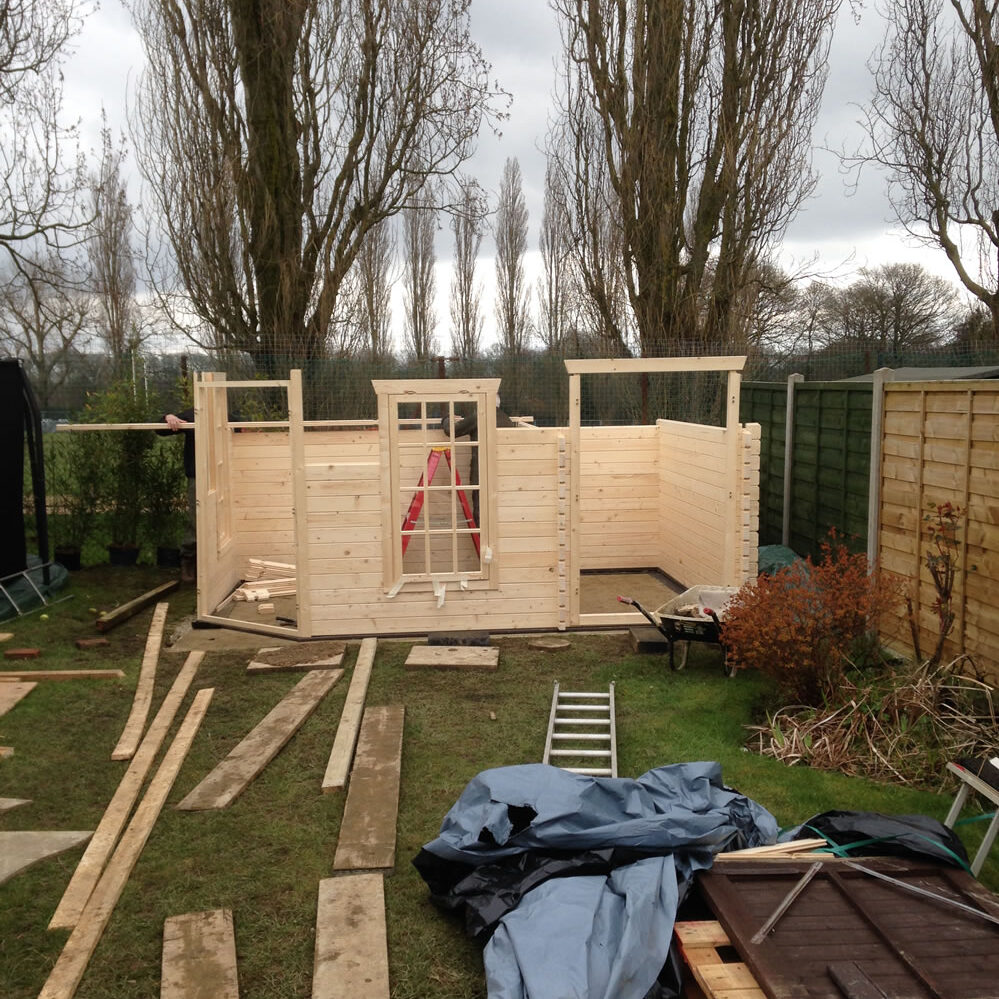
- Windows and doors are slotted into place as the wall are built up
-
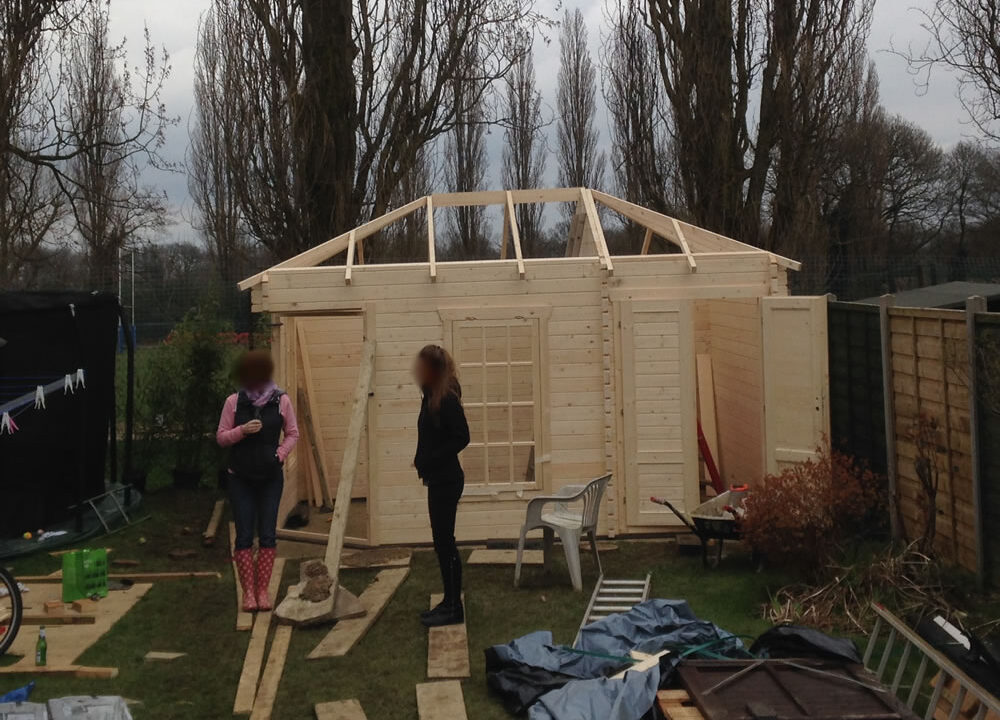
- Roof purlins go in, this is probably the hardest part of the build.
-
- Agnes roof boarded. Sometimes you will need to trim the roof boards a little.
-
- The floor is always installed after you have built the main log cabin.
-
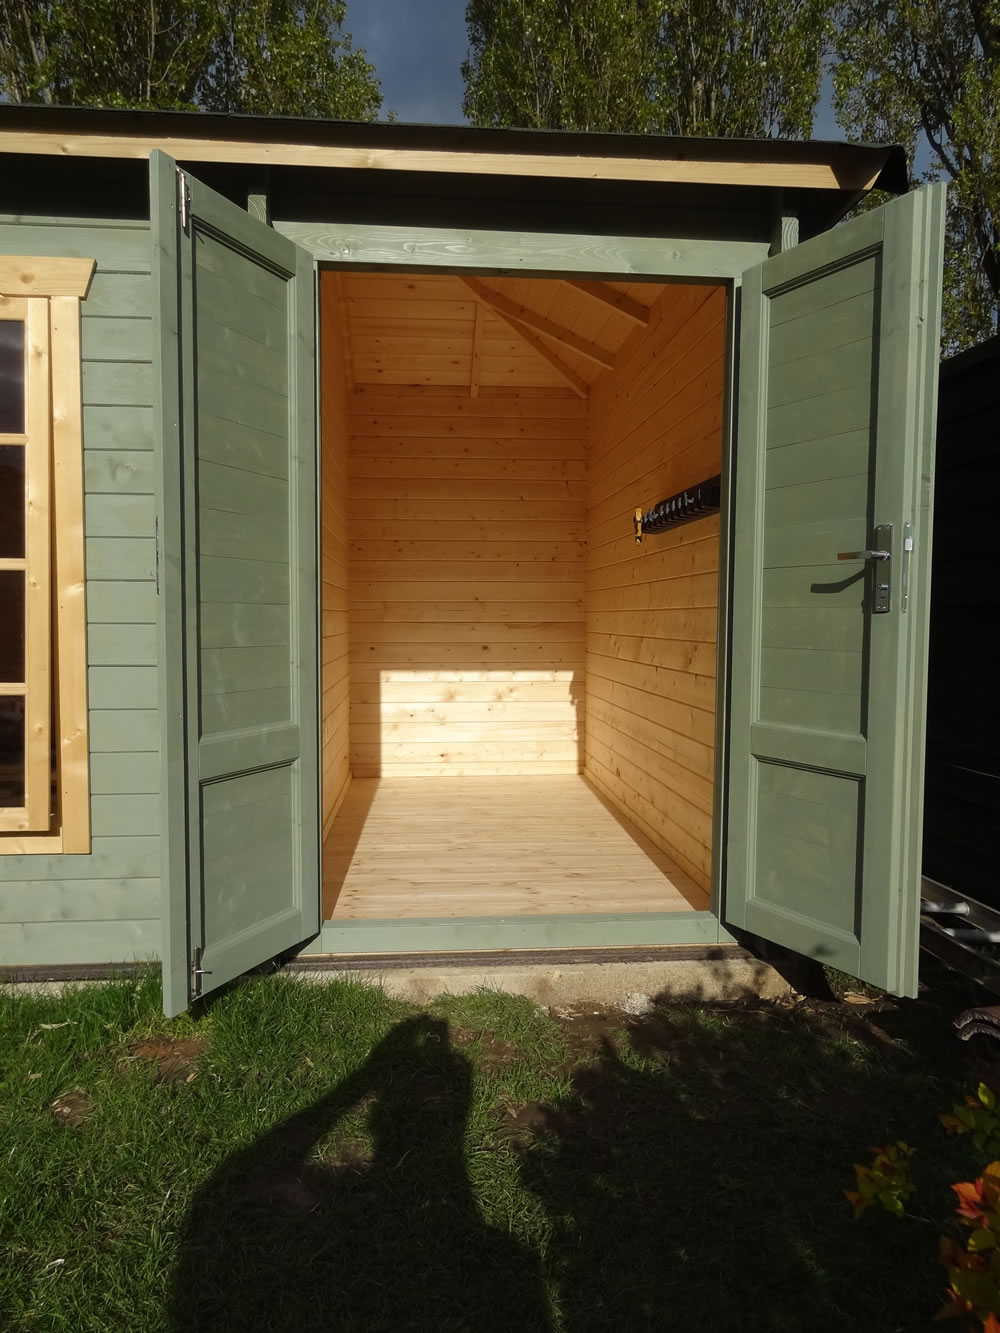
- The shed area of the Agnes with the floor installed
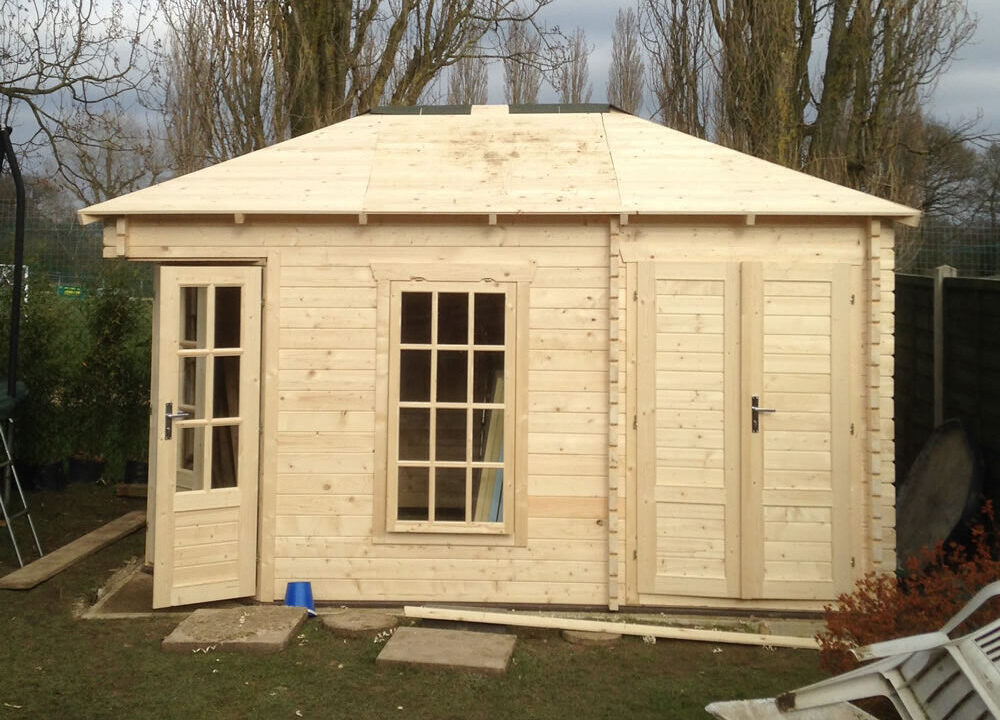
The Finished Cabin
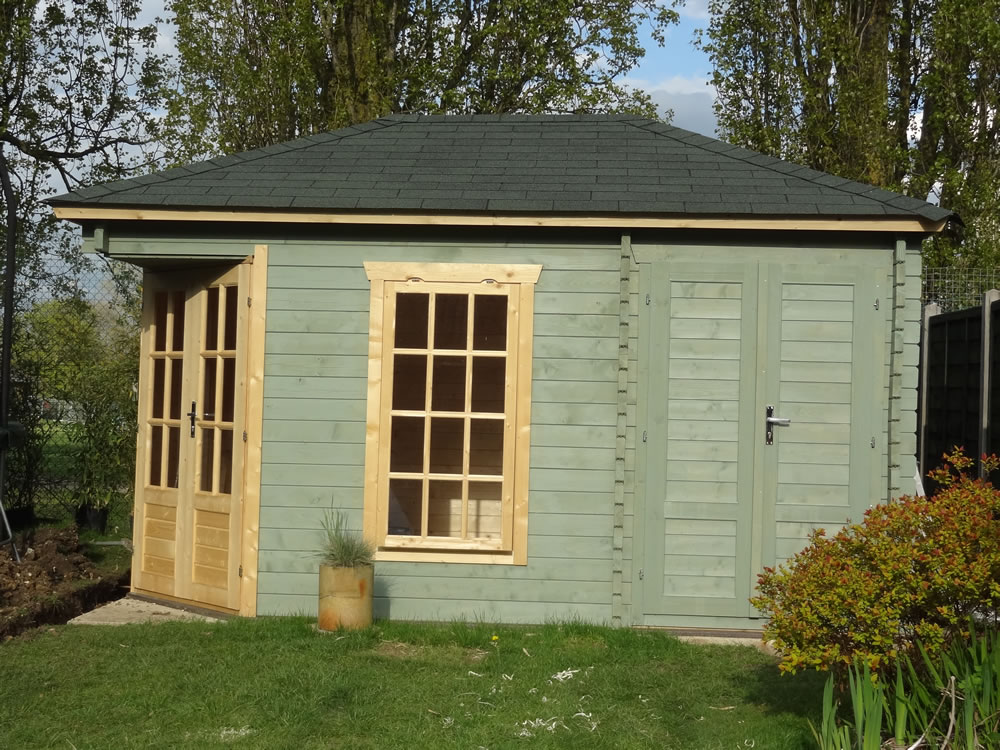
The completed building. Treatment has started to be applied
Thank you Mr L for your review and pictures. I always enjoy seeing how a project progresses as are our customers. I hope you enjoy and have fun with the present we sent you.
You may be also interested in other customers buildings posts and thoughts:
- Inside a log cabin – selection of pictures inside customers log cabins
- Petit log cabin review
- Onyx Log Cabin Review from Mrs G
- Wolfgang log cabin review and how long it took
- Lukas log cabin review – Mr W
- Mr B’s twisted log complaint – Heino log cabin
- Shepherd Hut review by ME
- Asmund log cabin review – Mr F
- Log Cabin delivery – Mr S
- Mr T log cabin in the woods – Edelweis – A great timber framed base
I found aspects of this really helpful when trying to construct my cabin. I was puzzled when it came to fitting the triangle above the cabin door because the installation instructions were nonexistent. I started off installing mine following these pictures, but I do not think this is what is intended by the design. The fascia that sits at the top of the door frame barely closed the gap on my build and it looked awful. Also, if the cabin expands, it will open up gaps.
When I completed my cabin I went back and refitted the triangle, flush up inside the main logs, this looks much better to start with. Then I cut a new fascia but attached it to the “triangle” rather than the door frame. This means that the fascia can rise with the logs and slide in front of the door frame, hopefully not creating any gaps.
On closer inspection, during construction, I can see that the door frame is propped in position without its internal fascia boards in place. I think this is a good way to install the door, again, instructions were poor in this regard. I didn’t twig the significance of this until I had finished.