


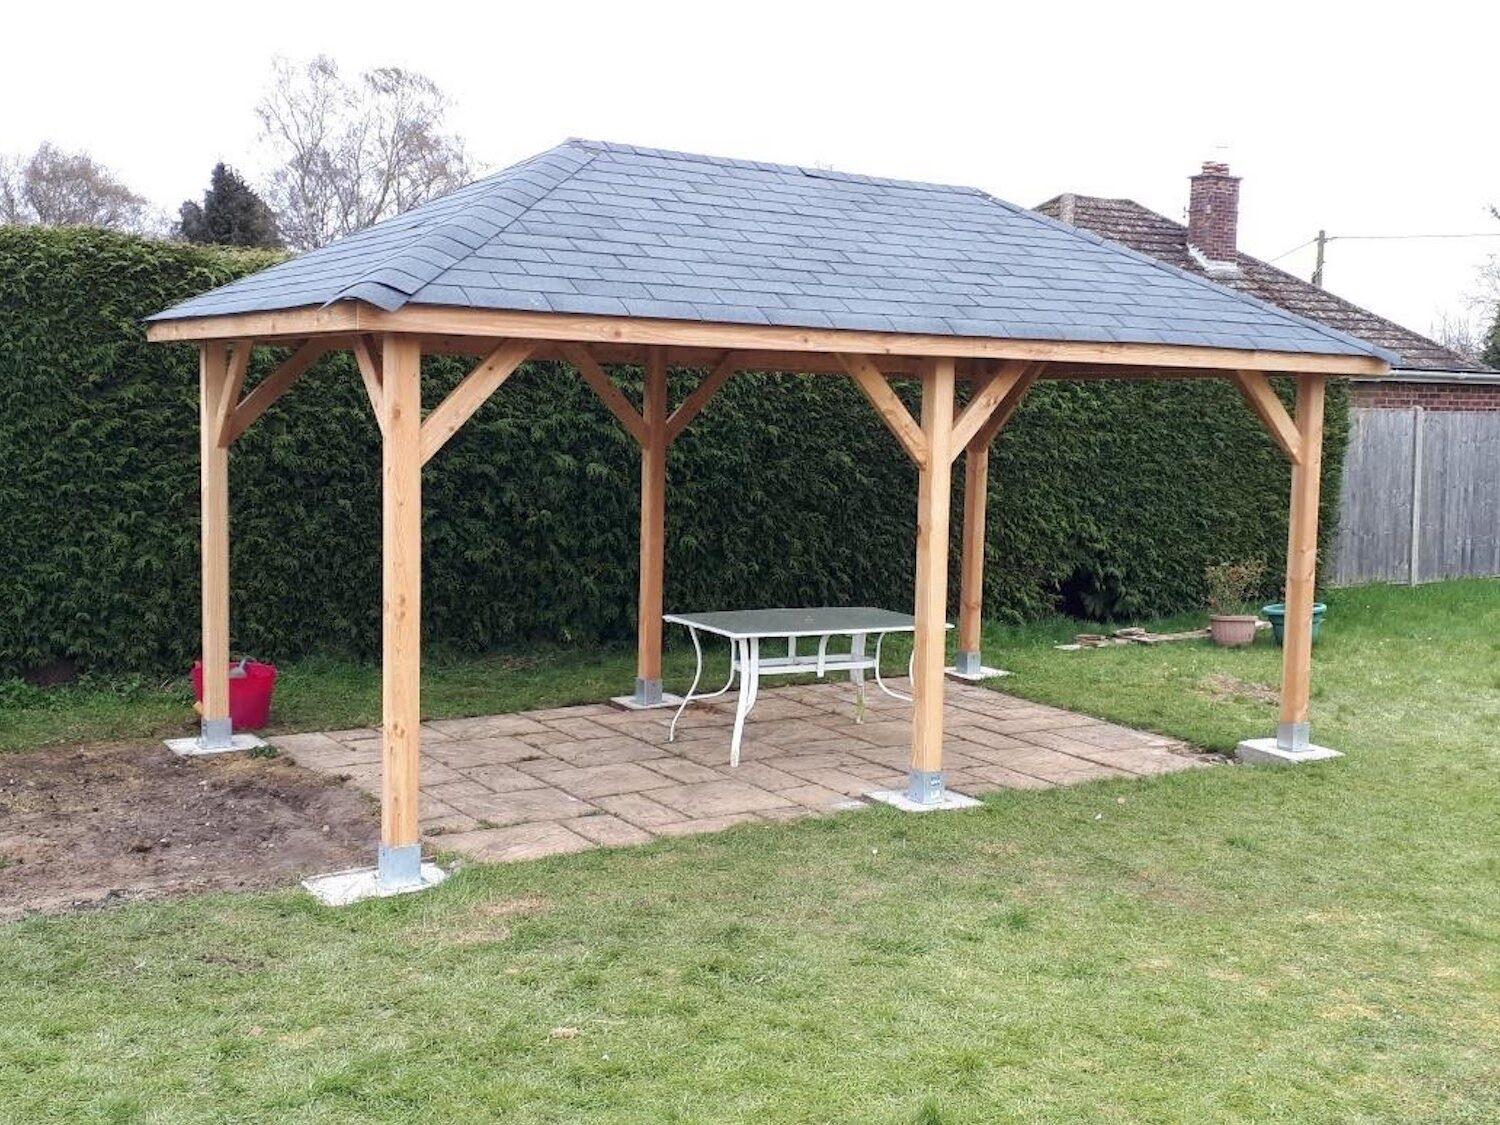
The Corfu Larch Gazebo measuring at 3.4m x 5.9m. Perfect for entertaining and being secure from the great British summers. Although you don’t have to take our word from it. Here is a written installation walkthrough and review given by Mr A.
Introduction
We ordered the Corfu to cover our existing patio area in order to provide some summer shade.
I read the gazebo advice sections on the Tuin web page a number of times and felt comfortable taking on the build. There are many hints and tips shown which proved to be very useful. I already had a working platform, putting it to good work. Additionally, I purchased 2 clamps as much of the build did not require assistance.
Having bought from Tuin previously, I knew how the gazebo delivered to me and everything went smoothly. The delivery driver arrived on the agreed date. Following this, they unloaded the pallet and placed it conveniently at the rear of our property using his pallet handler.
As expected, the provided instructions are basic, showing the component parts and their location in the structure. I spent time studying the diagram, sorting and checking the pieces.
Building the Corfu Larch Gazebo
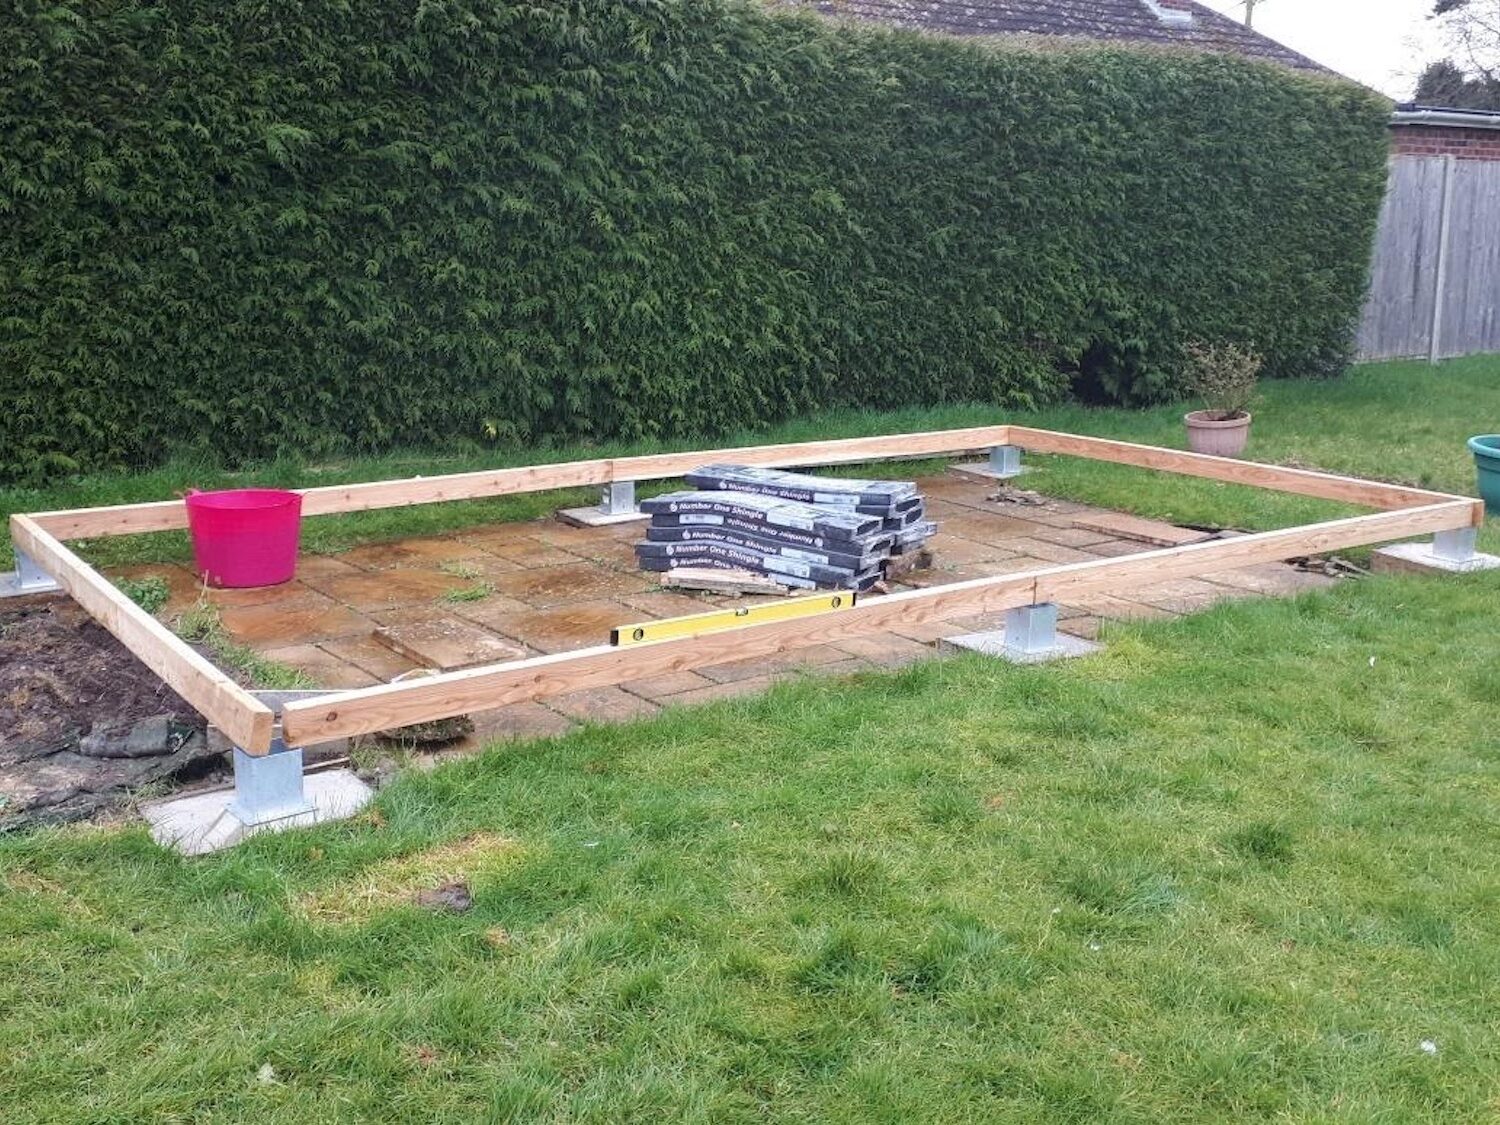
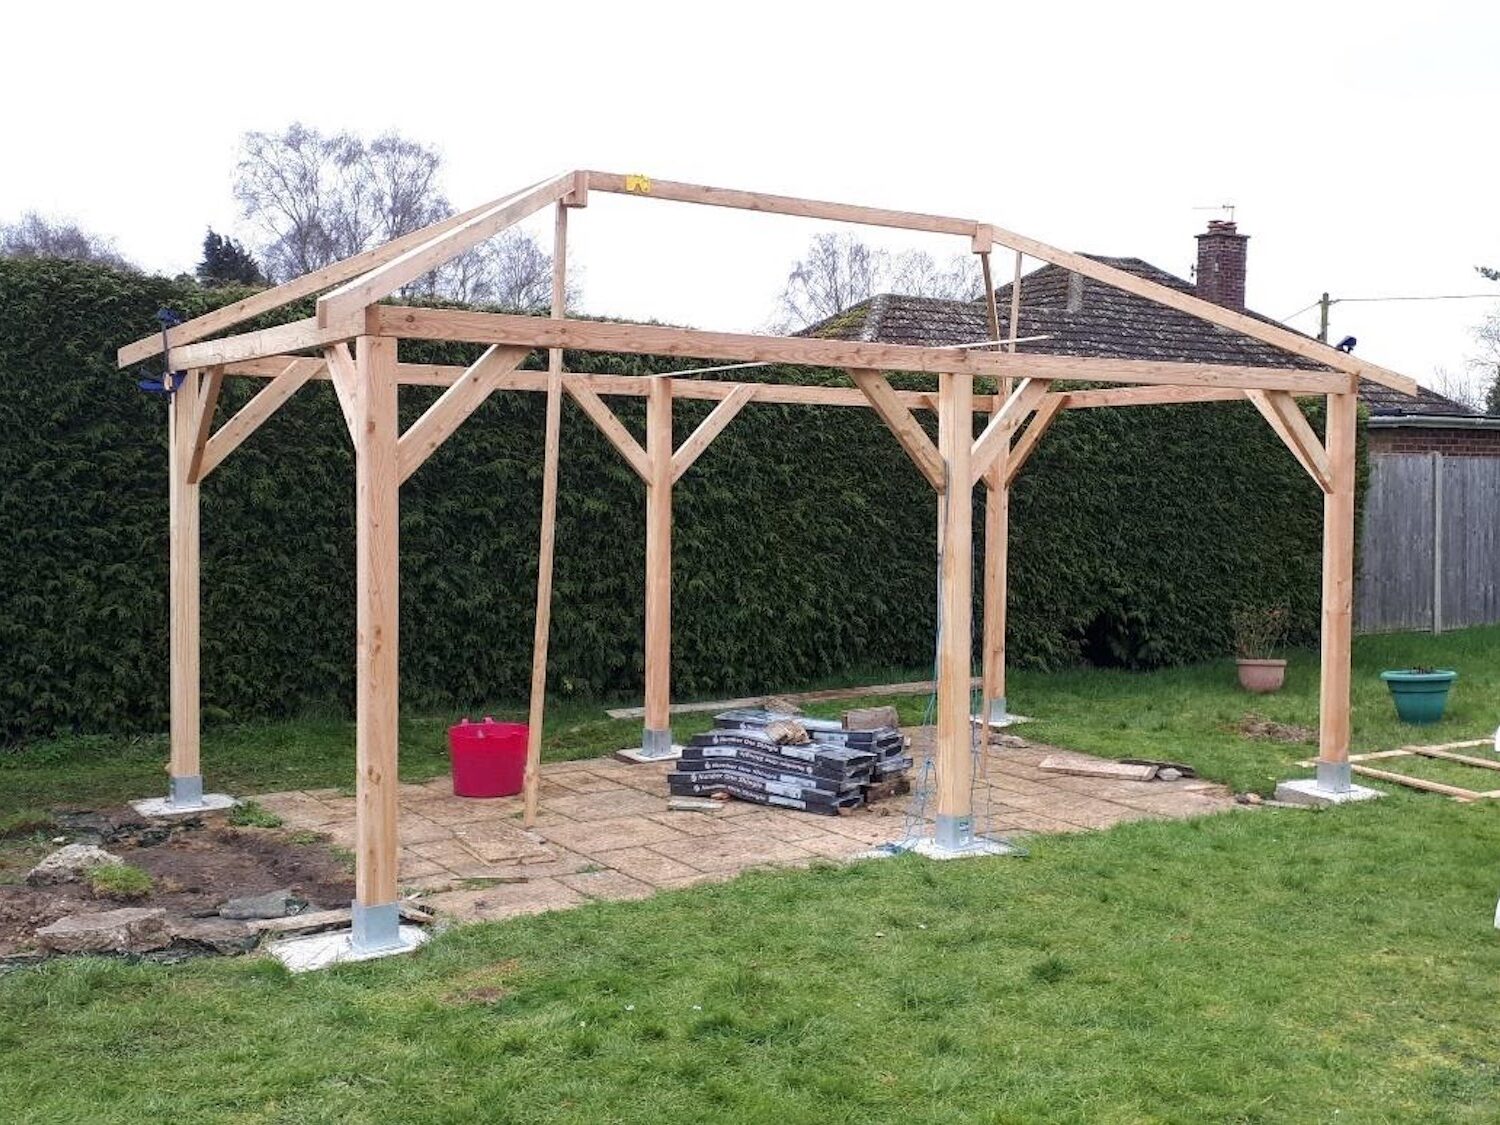
I decided to lay 6 concrete pads for the upright legs as this would make it easy to adjust levels in our sloping garden. My footings are about 18” deep and I laid them before a spell of bad weather. This then allowed time setting the concrete (while covered) for 6 weeks.
In order to check levels, I placed the ring beam on the pads. That ensured the footings remained level both longways and sideways.
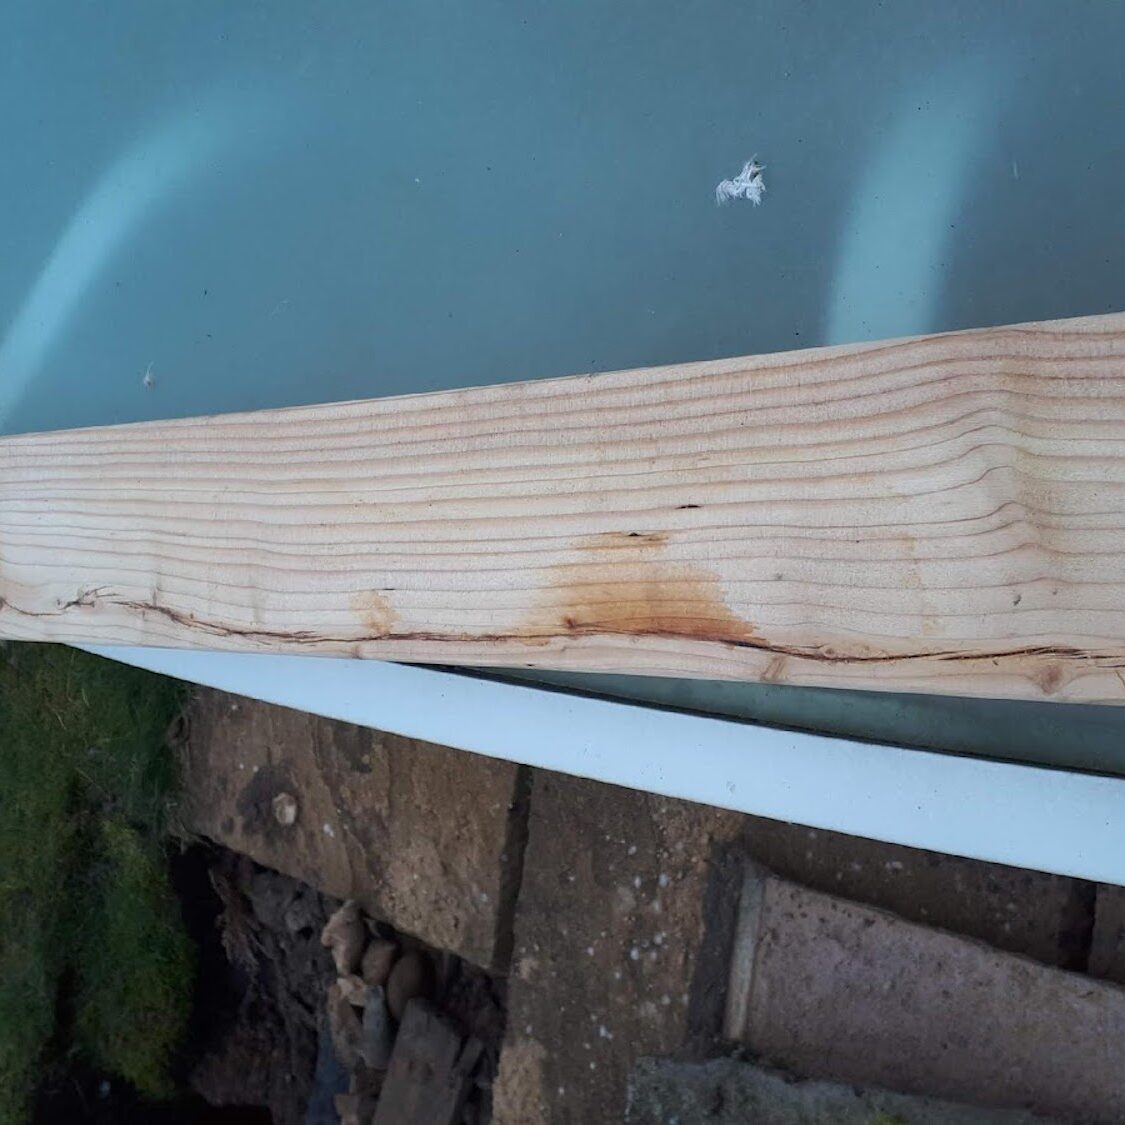
One of my end beams was twisted and slightly split. I contacted Tuin with some photos who reassured me that the beam was perfectly usable which turned out to be correct as the final structure is unaffected.
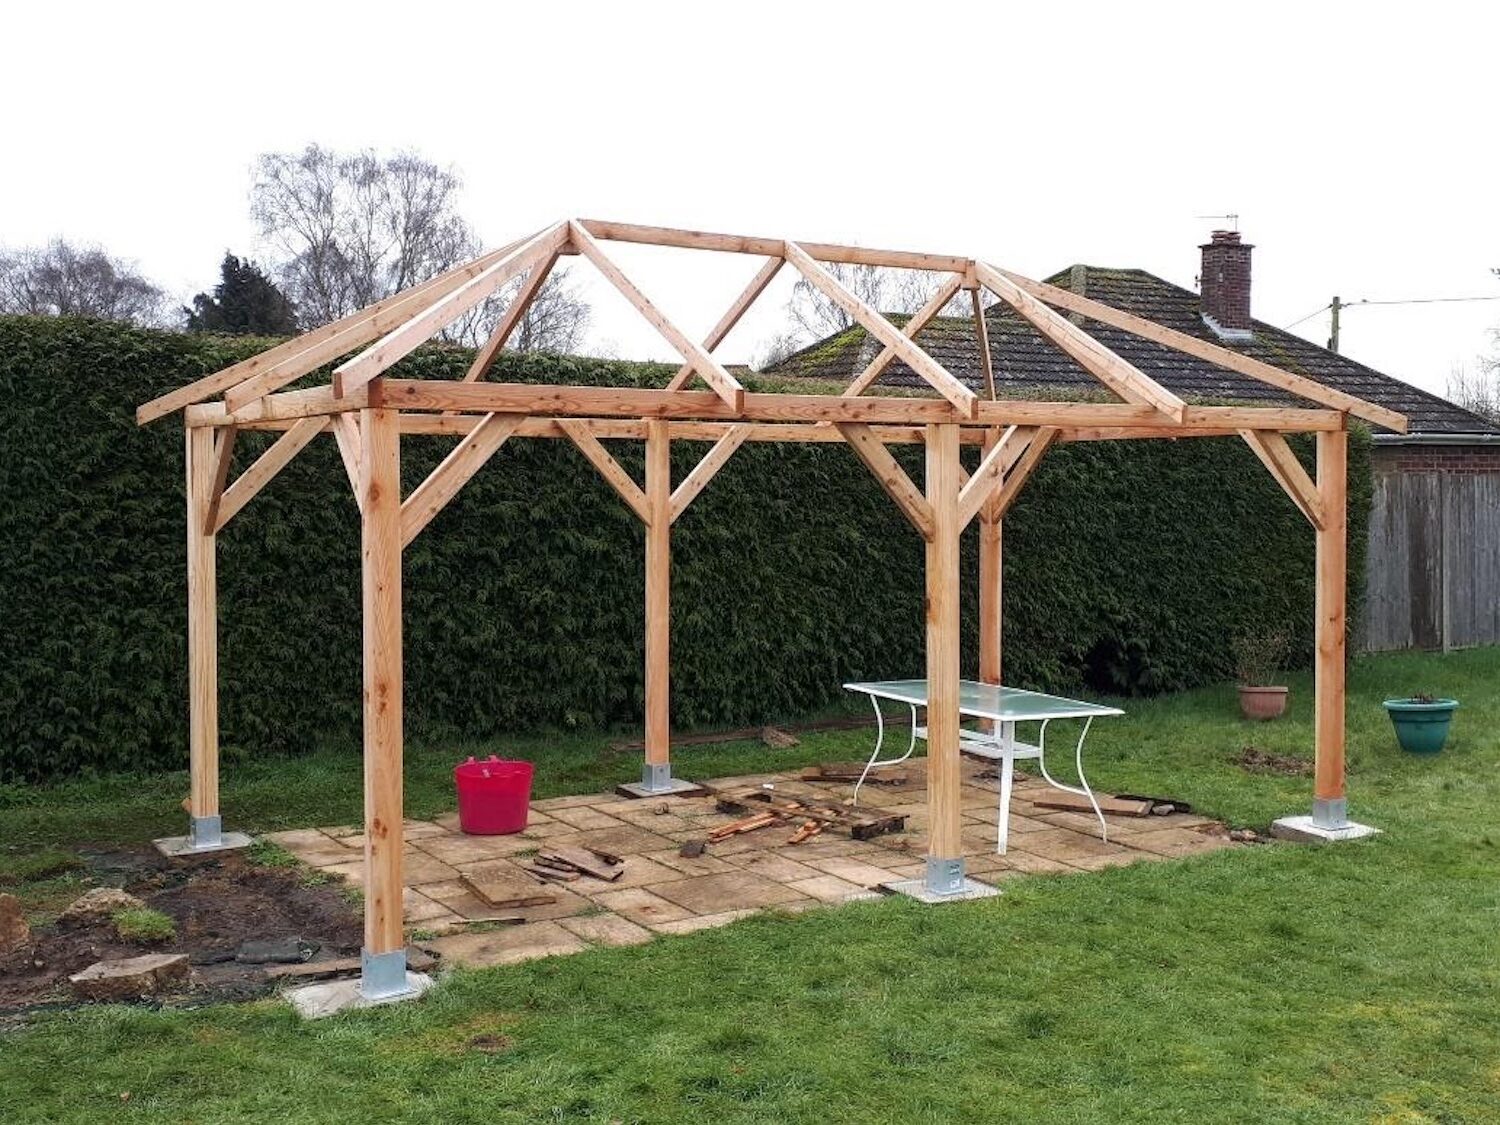
Adding the Gazebo Roof and Shingles
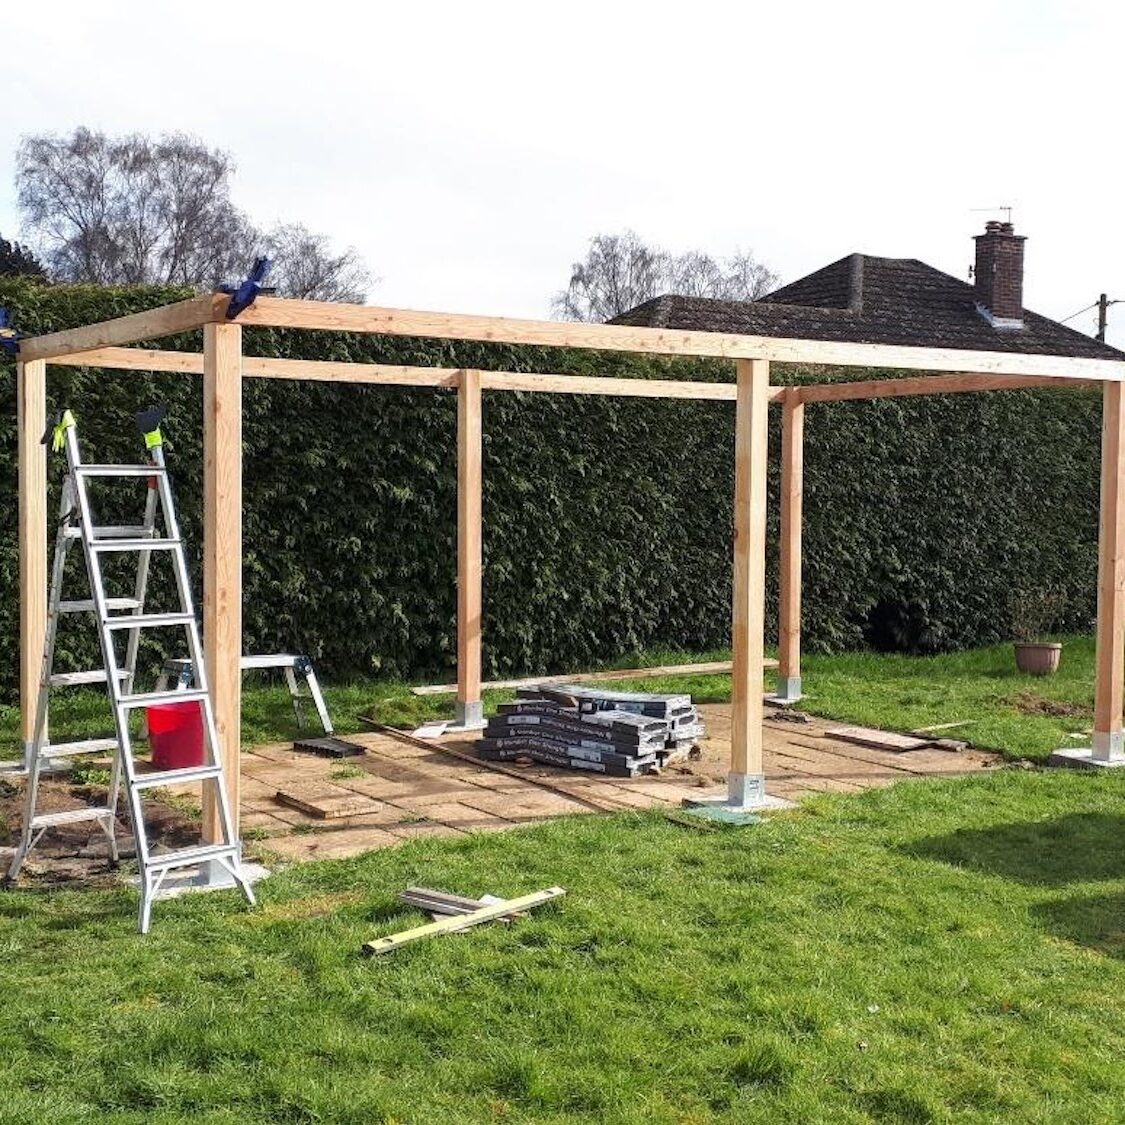
Adding the roofing took the longest time of all the build, some of the planks were twisted but a couple of spares had been provided which I used. Following the Tuin web advice I managed to straighten some of the planks using my newly purchased clamps.
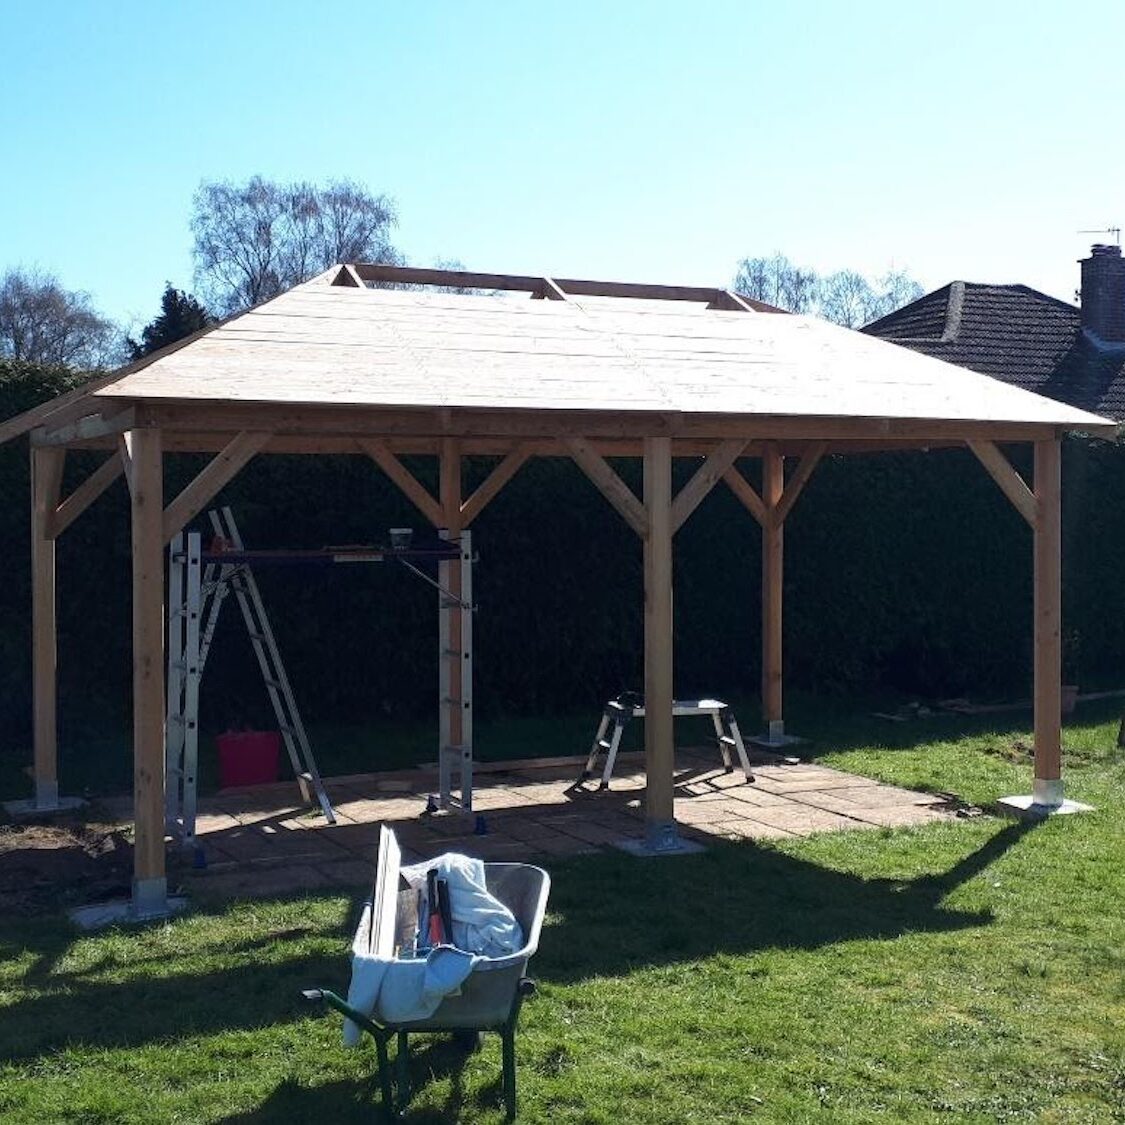
This is where my platform came into use as much of the roof was built from the inside with only the last few parts left to be added from above. I started from the bottom of the roof and worked my way towards the ridge, my alignment must have been off somewhere as I needed to shorten some of the planks.
Although not really necessary, I had some leftover underlay from another project which I used. To gain access to the top of the roof I used my ladders which were staked to the ground so that they could not slip.
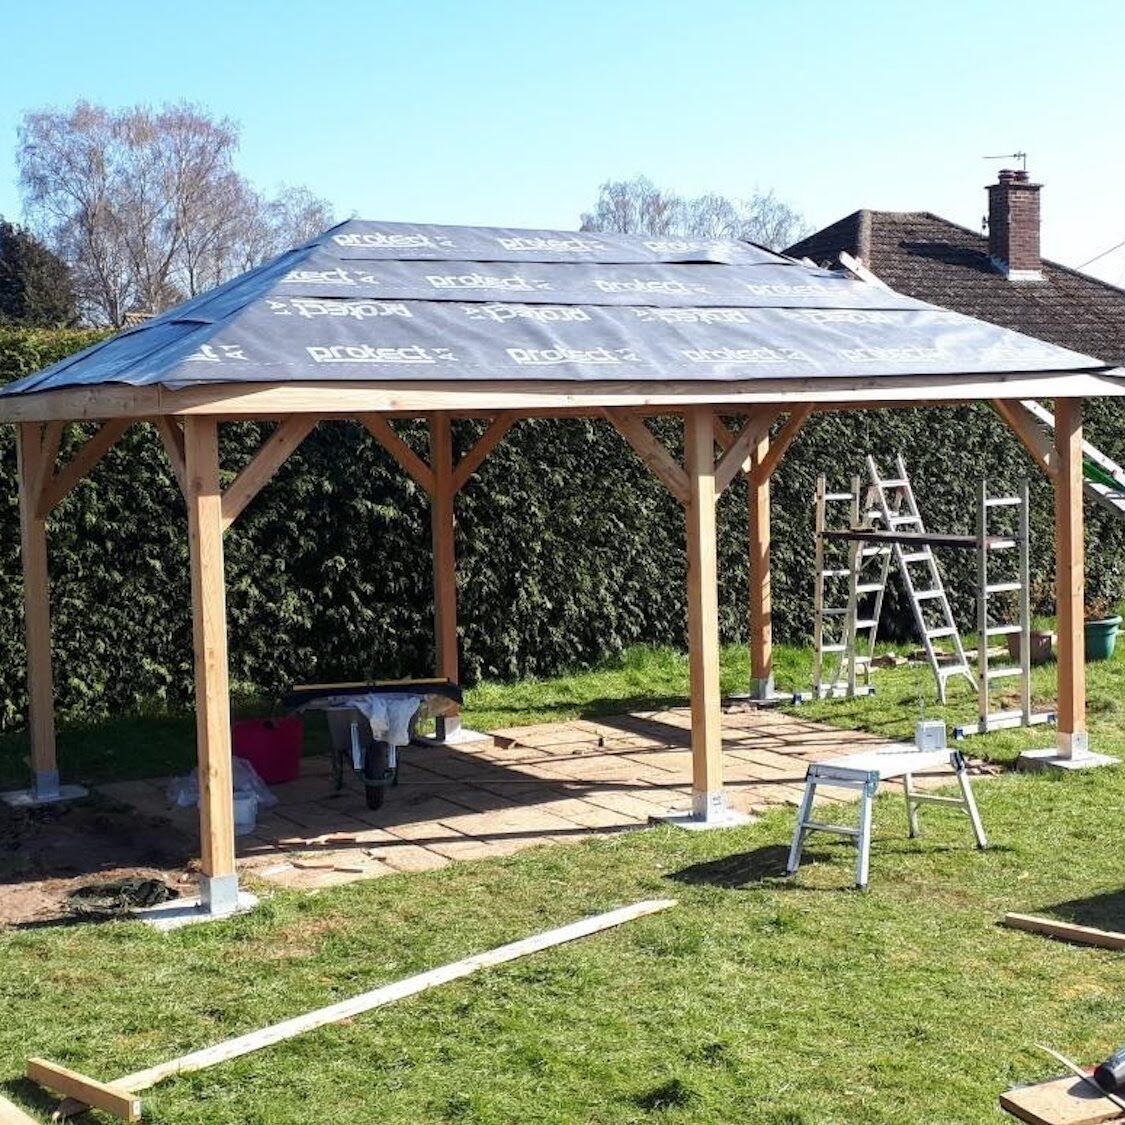
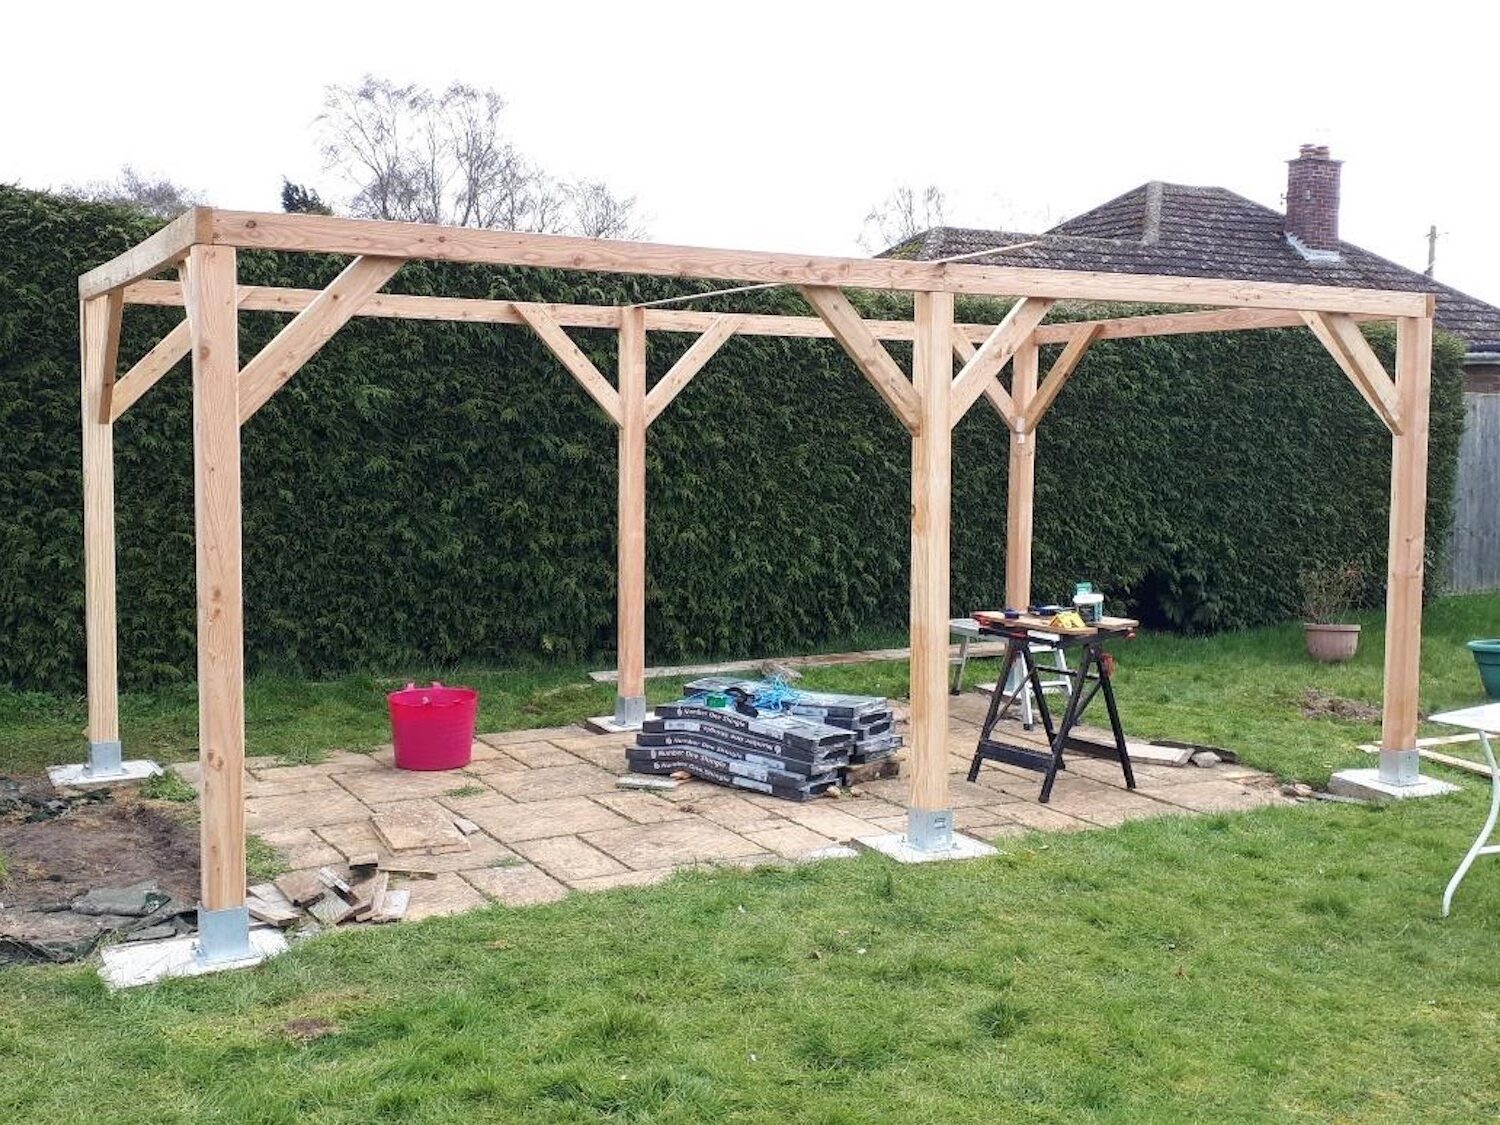
Once the concrete pads were ready the build took me a week to finish, I’m sure this could be done quicker but I’m happy with this considering I was mostly working on my own. We are very happy with this gazebo and have already used it in the spring heatwave.
The Finished Corfu Larch Gazebo
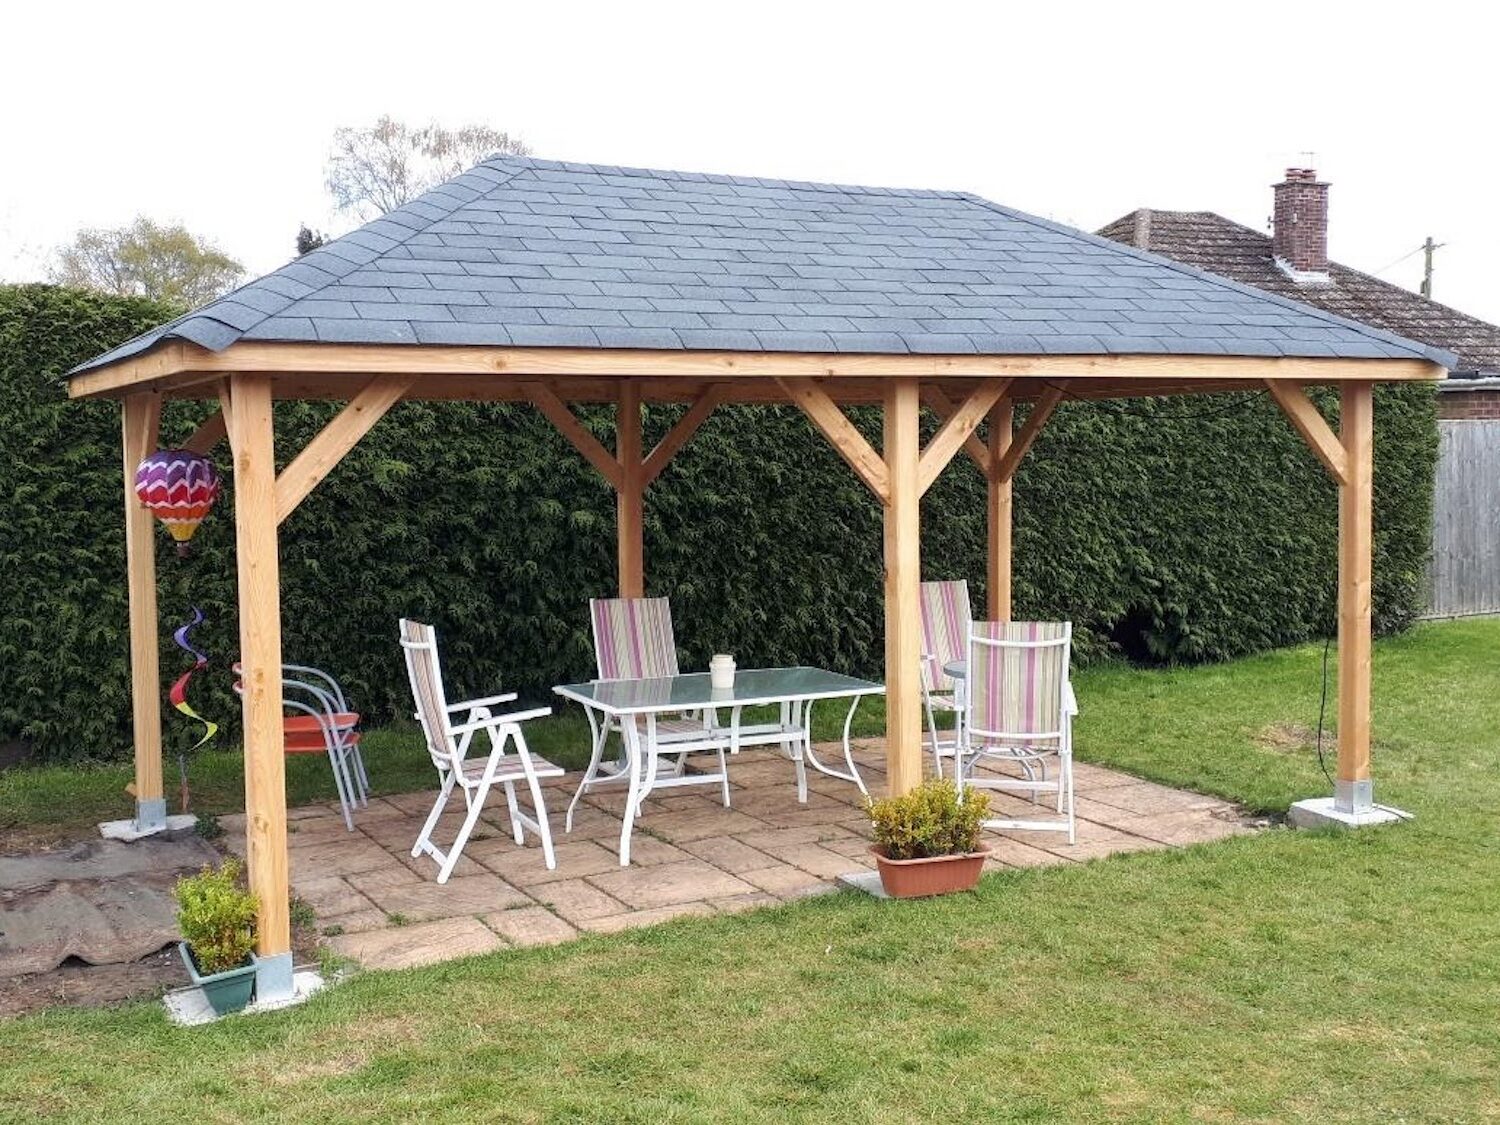
Thank you to Mr A for sending in this installation walkthrough of his Corfu Larch Gazebo. The ideal Gazebo for outdoor wine and dining.
Is the Corfu Gazebo not quite right for you? Explore our range of Garden Gazebos.
Looking for some more garden inspiration? You can find more reviews like this at: Tuin Pictorial Customer Reviews.