


It’s getting closer to the end of the year – But it’s great to see customers who are still installing their Log Cabins, even with the temperamental weather in the UK. For example Mr M – Who has very kindly sent in a review and some pictures of their Jos Log Cabin installation, which has been transferred into a cosy Gin Hut!
Delivery of the Jos Log Cabin

The arrival of my Jos corner cabin. Delivered by friendly/skilled forklift driver who even managed to unload into the garage. Worth taking the time to check off the materials list prior to assembly. We’ll protected packaging with materials to spare. (Note – We recommend this within our T&C too!)
Constructing the Cabin


These rot proof packers are worth considering and helped me out greatly throughout my build. After spending great effort ensuring a near level slab base I still used these packers to take up any gap such as the slight skirting to slab edging. I would always recommend a wet mix of sand and cement rather than dry.
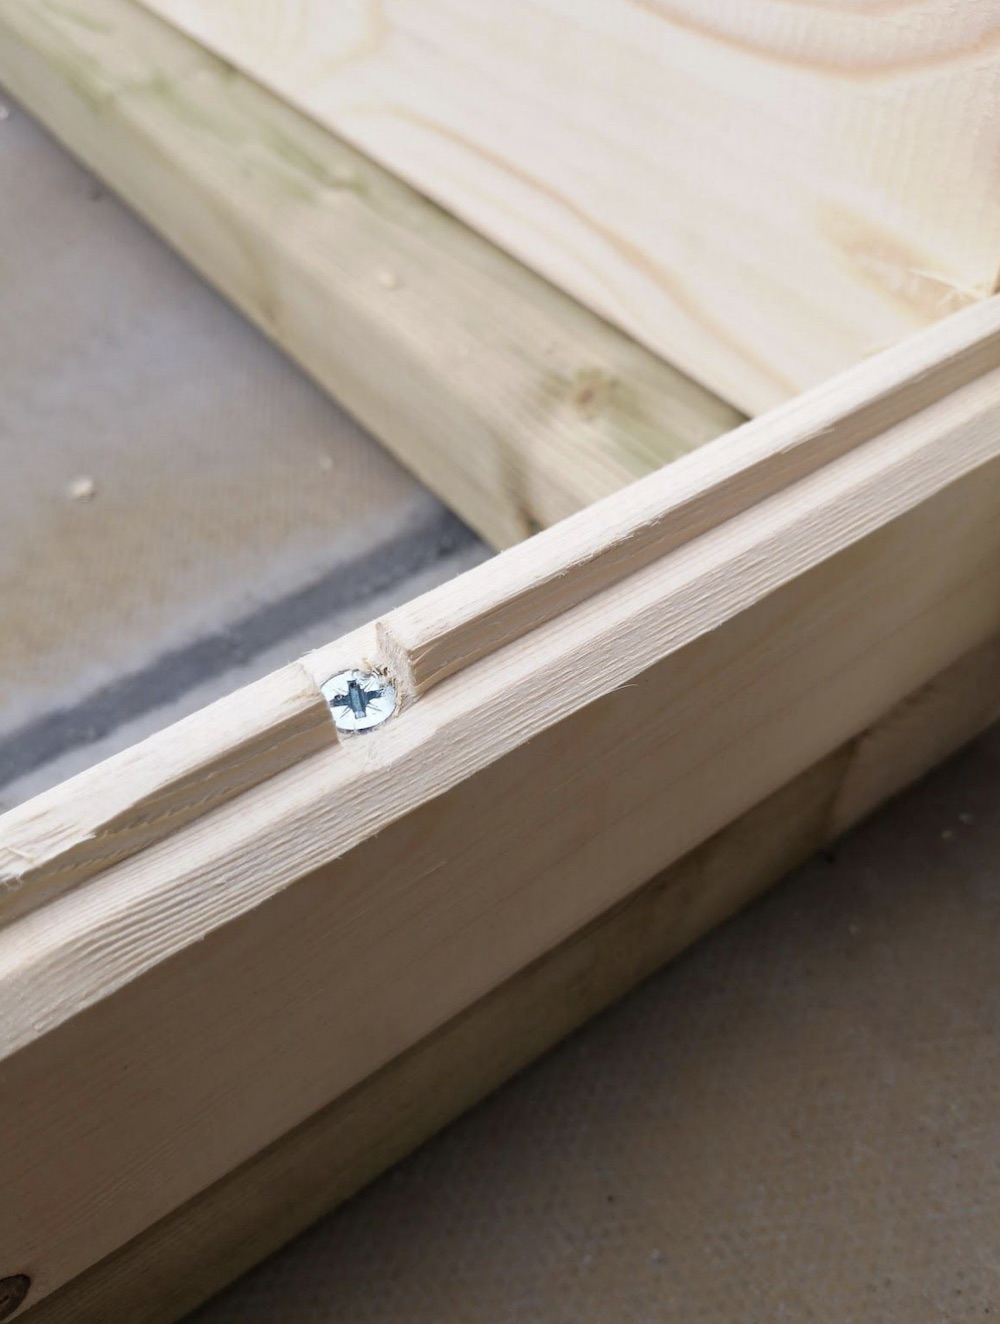
Then I cut and filed down the tongue. Screw fixing of first wall panels. 2 per board is an ample amount, screwing them approx 150mm from ends .From this point assembly is quick. I clear coated all tongue and grooves throughout. Note the space which I left for required annual wood preserving. This is essential in prolonging the life of your cabin. Don’t be tempted to squeeze into a corner to maximise space!
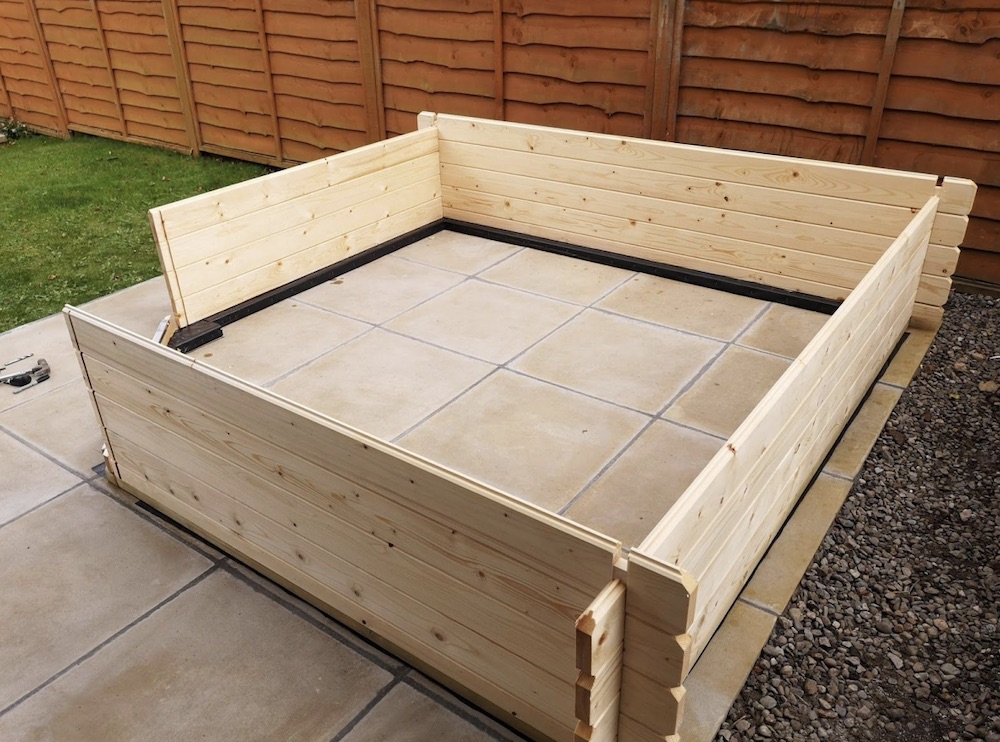
Build coming along, wood preserving as I went. This helps maintain the cabin colour from expected expansion/contraction movement particularly in 1st seasonal settlement. Note the upside down section of door frame top. My tip and is best practiced throughout construction – place prior to securing. This was easily corrected later in the build and then squared and secured.
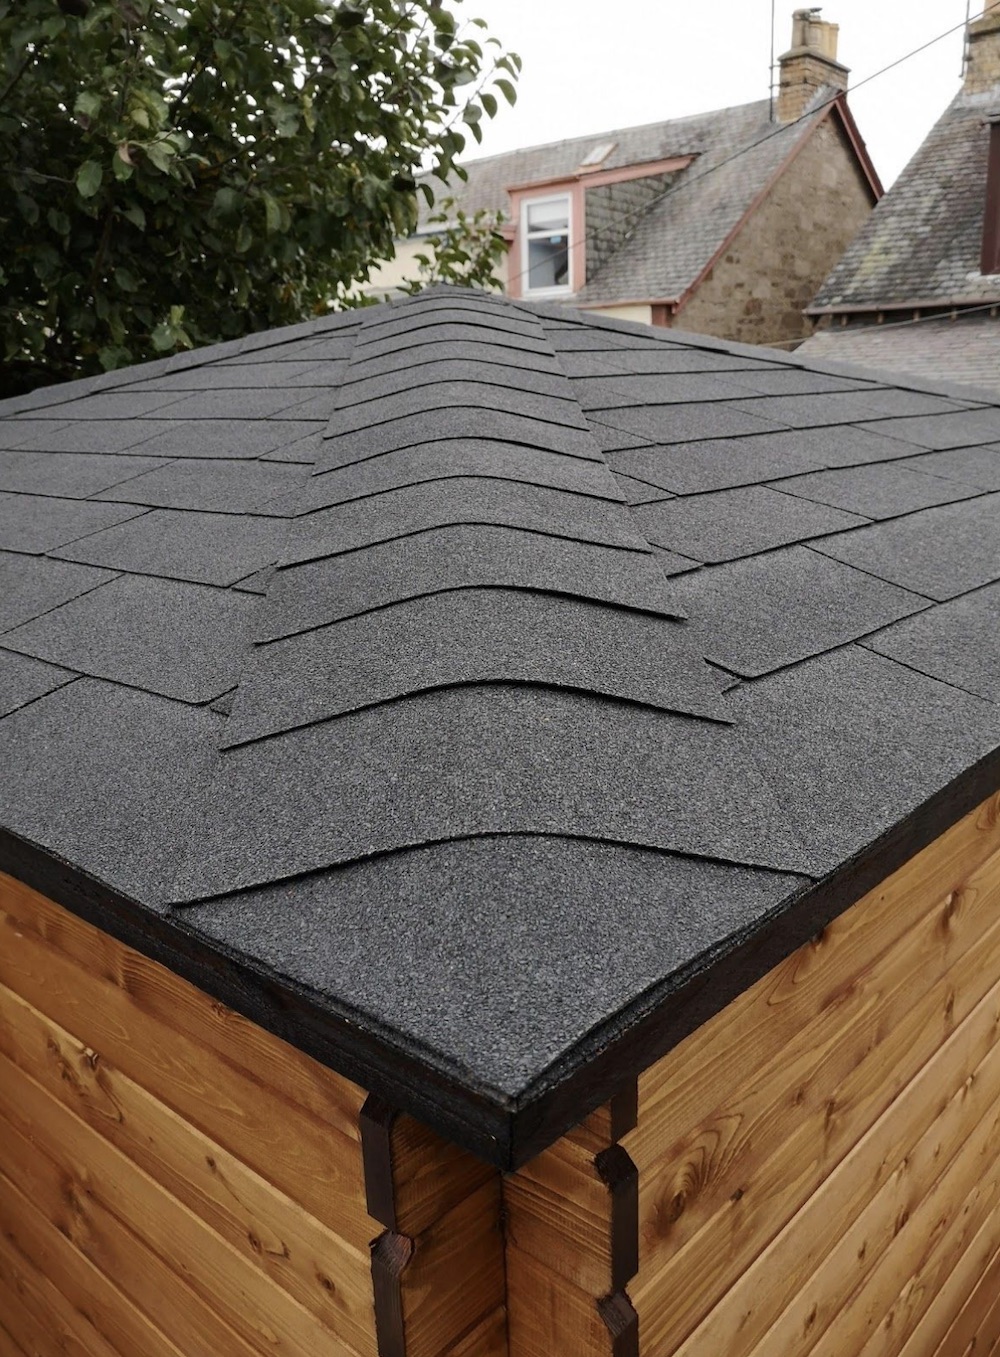
Installing the Roof
Time for the roof. The roofing timber was less awkward than expected, beams to kingpin are pre-angle cut- a job made easier with another pair of hands. I chose to add further protection by stapling in more DPM sheeting prior to shingles. Also, I decided to use the 75mm board from delivery pallet rather than the 40mm barge boards supplied. I reckon it is better proportioned to the final look of the roof. Time spent on the double angle cut where boards meet. Cut with green and trial fit to achieve best fit.
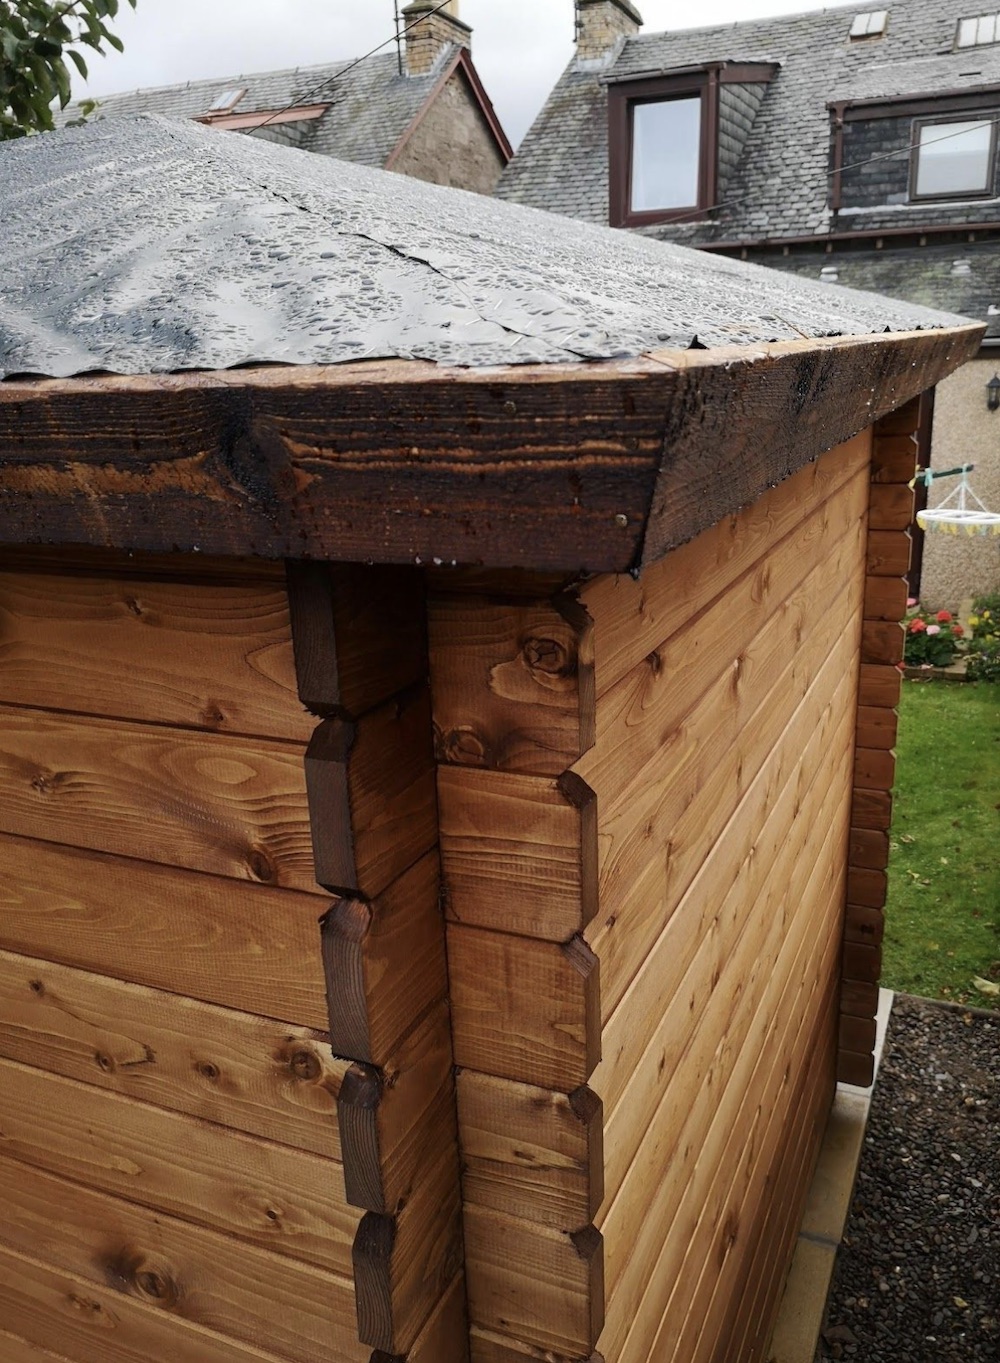
Shingles on! Choose a dry day so as not to trap moisture and preferably a day warm enough to bond the bitumen strip. Watching the pyramid roof shingles video Tuin provide was particular helpful.
I decided to further weather seal the foundation by adding folded sheet metal. This was bonded to slab using sikaflex EBT external sealant then primed and oil base coated.

Flooring
Floor time! More DPM sheeting and floor joists approx 300mm apart. Note more use of glazier packers to help level out the base.

Jablite boarding to help insulate underfoot… I purchased the optional 27mm flooring. Ensure the flooring is nailed tight with approx 10mm gap all around acting as a floating floor.


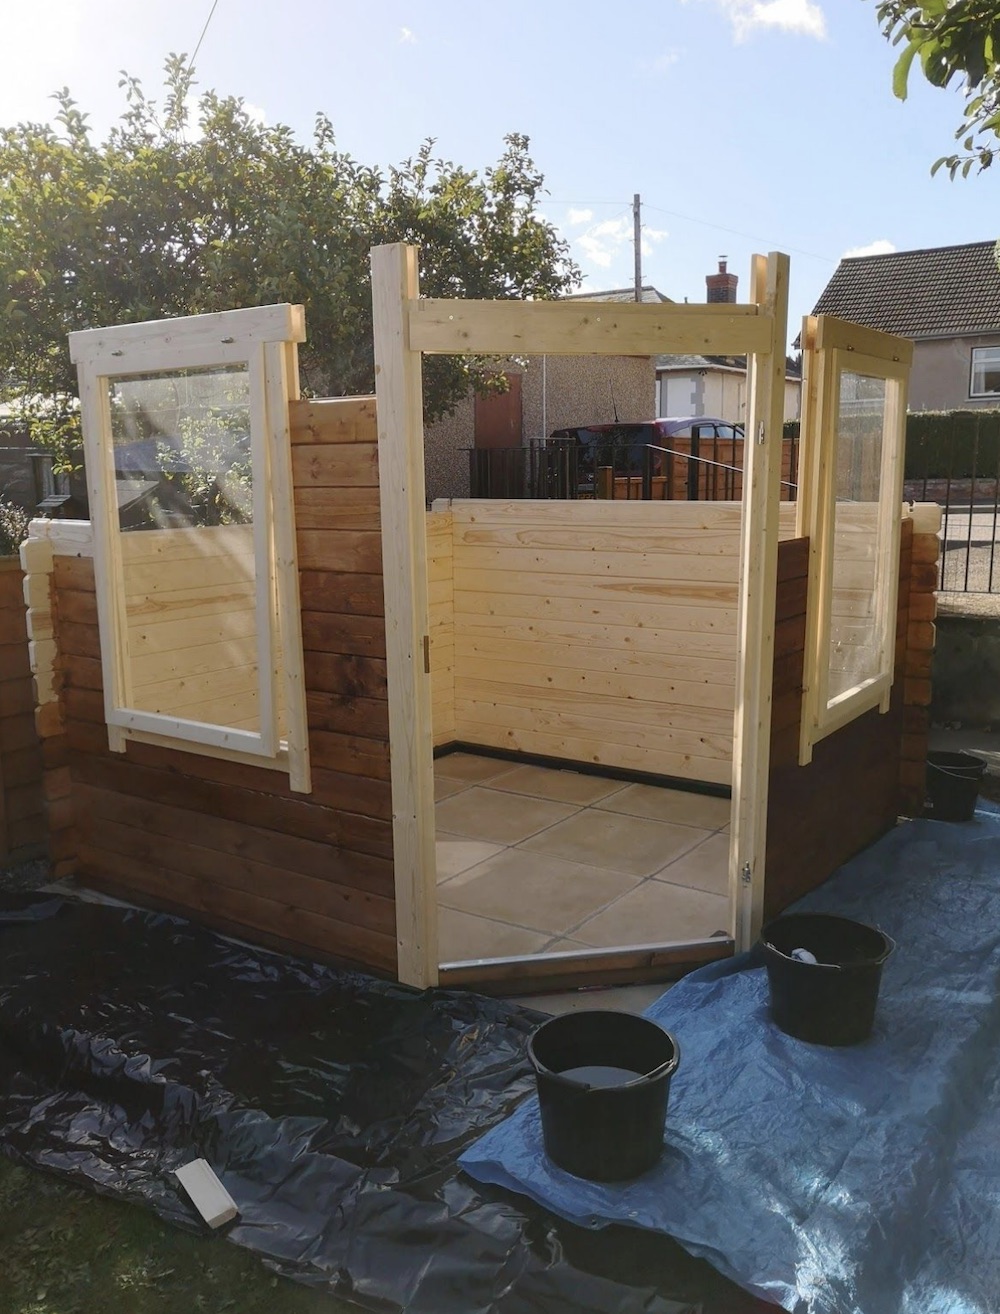
The window latches were installed with more glazier packers to help centralise to frame. Off setting the second pin was another helpful tip from Tuin to add better seal when window in closed position.
Personal Touches


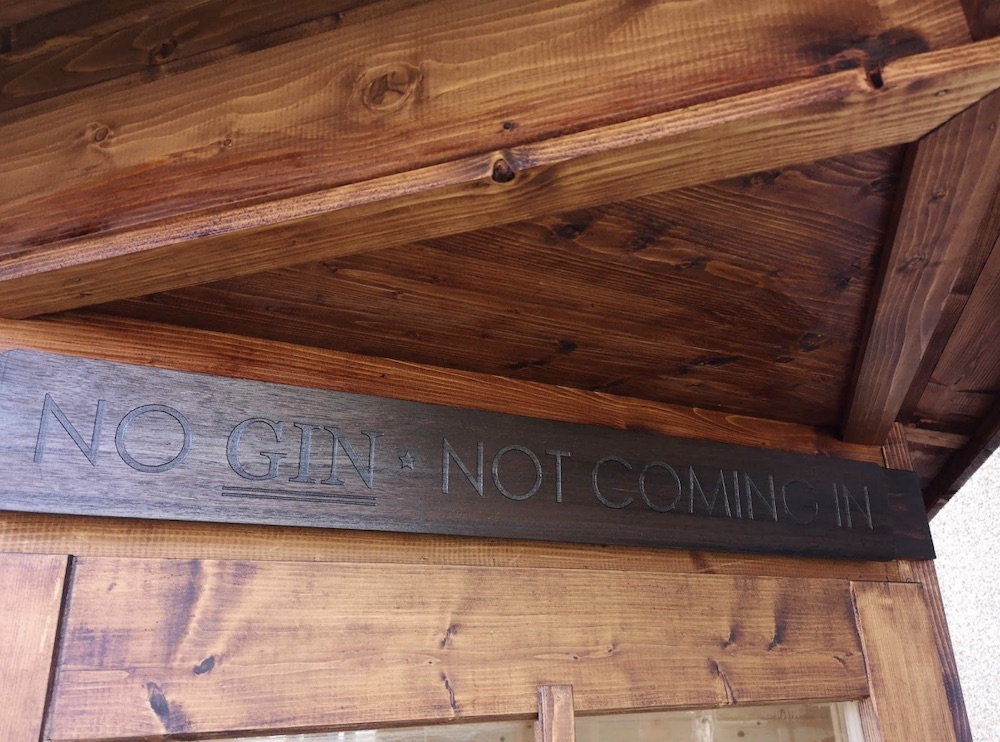
Personalised wee gin den! I also picked up from previous customer review about finishing above the door with edging. A nice finishing touch.
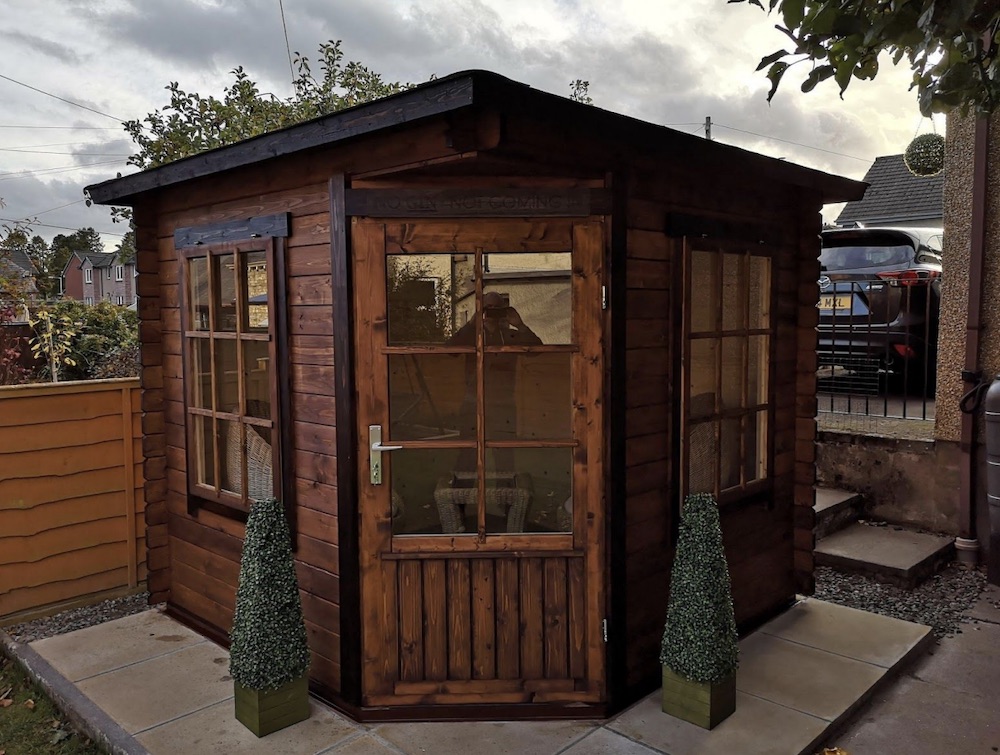
The Finished Jos Log Cabin
Project complete. So happy with the cabin Tuin supplied. I decided to go with a preserver which was in keeping with our house. There are some lovely new colour choices in wood preserving but I opted for the more traditional look showing the beauty in natural wood, knots n’ all.
Don’t be frightened to have a go, and don’t rush your build, enjoy it! Some reviews mention about done in 2 days etc… Yes you can assemble quick but my advice is to allow for several good quality preserving coats remembering to take into account drying times and unpredictable weather. Protect as you go and don’t feel rushed into completing.
I hope this review gives you some useful pointers and demonstrates the well built garden spaces Tuin provide. Well done Tuin for having such a fantastic range of product and very reasonably priced. Your product deserves the time and feedback to allow you continued success within your field.
… Now time to enjoy our new space with a gin or few!
Some very handy tips in this review, I love the sign above the cabin door! The end product shows how perfectly the Jos Log Cabin can become a cosy Gin Hut for two, truly marvelous! Thank you again for sending this in.
Interested in more reviews like Mr M’s? You can find more with a range of cabins at: Tuin Pictorial Customer Reviews.
What a review! What a build! Beautiful, Thankyou for doing it it’s inspired me to kick my electricians arse and get my Chloe turned into a bar! Waited to long now!!
Thanks for posting this to the Blog – love the additional tips, particularly around the glazing packers!
If you are able to add anything around your choice of preservative.. I was considering treating as I go as I have read various feedback about not treating the tongues and groove before assembly.. the metal covering.. can you give any more on this too?
Nice write and I think the shingles make the project – well done!