


We’re so thankful to be able to show you Mr G’s review of the installation of their Jannie Log Cabin! With plenty of images and details on their journey on how they turned their Log Cabin into a garden lounge room! Interested in how Mr G did it? Read more to find out.
I would like to thank you for your help enabling me to complete our log cabin. I would like to recount my story here as feel strongly that good quality and excellent service deserves recognition.
Firstly, I will start by answering the question “Why Tuin?”
Perhaps not quite the answer you would like but a very bad experience elsewhere drove me to seek out a similar building.
Promises of delivery dragged out from July to December. And they had my money! The gazebo company well and truly stitched me up. Luckily I paid by credit card so I made an application and after 6 weeks got my money back.
I had already spotted your building “Jannie” which was exactly the same. I made enquiries and as soon as I got my my money back I placed an order. As discussed payment would be made when delivery date was confirmed.
Delivery
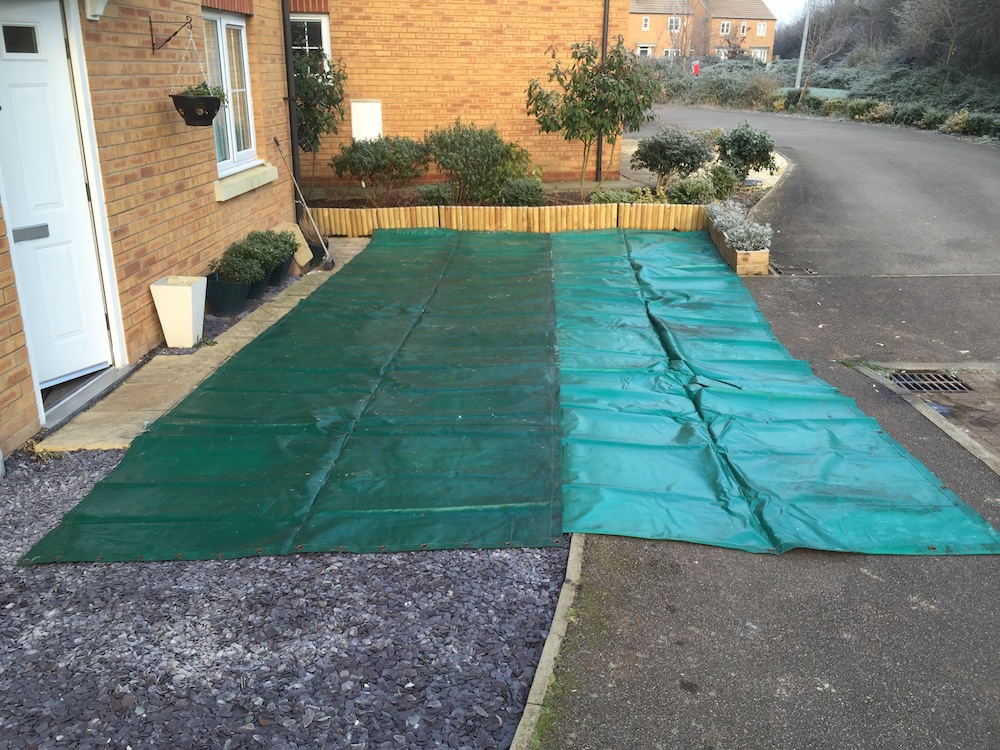
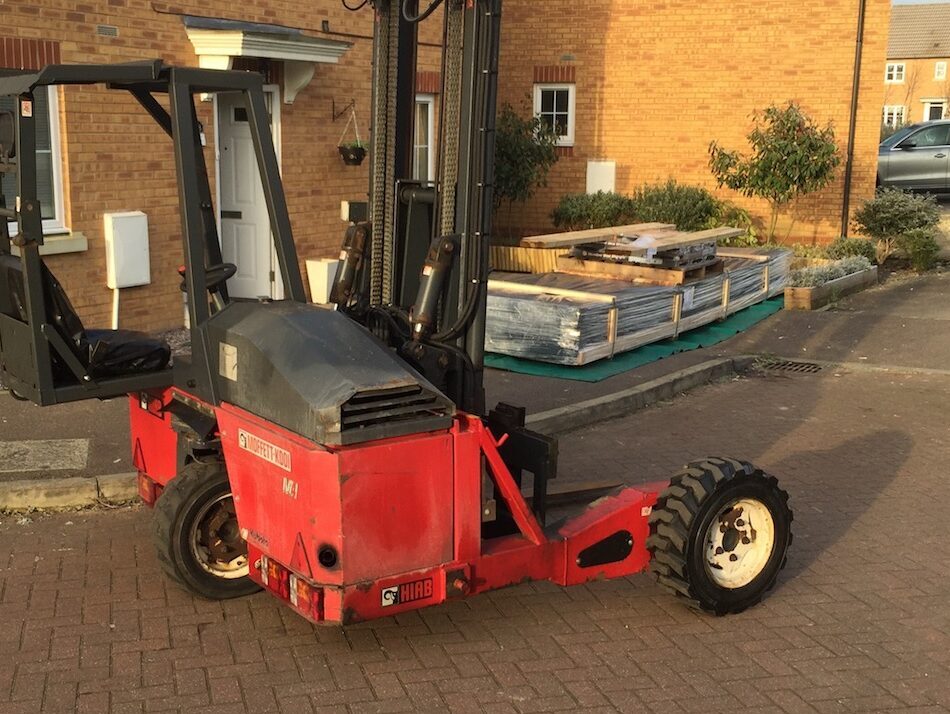
I cannot tell you how elated I felt when I got the knock on the door and there it was. I was fully prepared for the project, laying tarpaulin in my front garden to make sure the crate sat ok. Once delivered I had the task of carrying it all round to my back garden. On my own! The first thing that surprised my was the shingles. Laying on top they were walked to my garage at the bottom of my garden. At 25kg each they were heavy! 10 of these safely stacked in the dry meant I had carried a quarter ton before I started!
Everything was packed so well in the crate I wondered if it was all there. the only problem with the rest of the parts was the 6 metre logs for the back wall. A narrow passageway meant only one at a time…
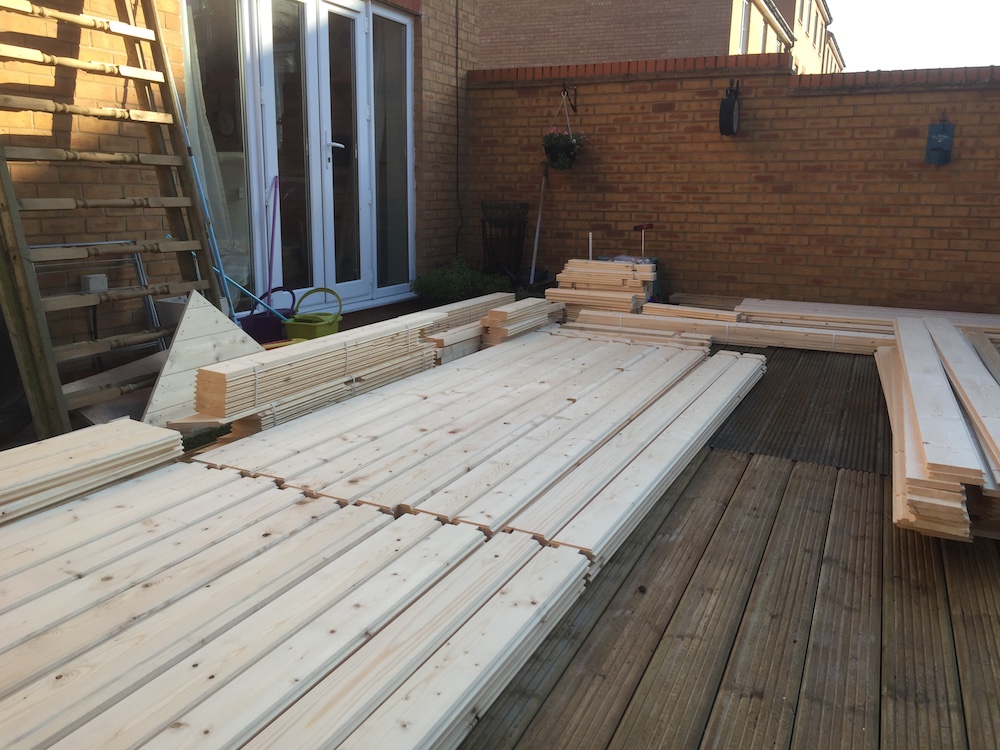
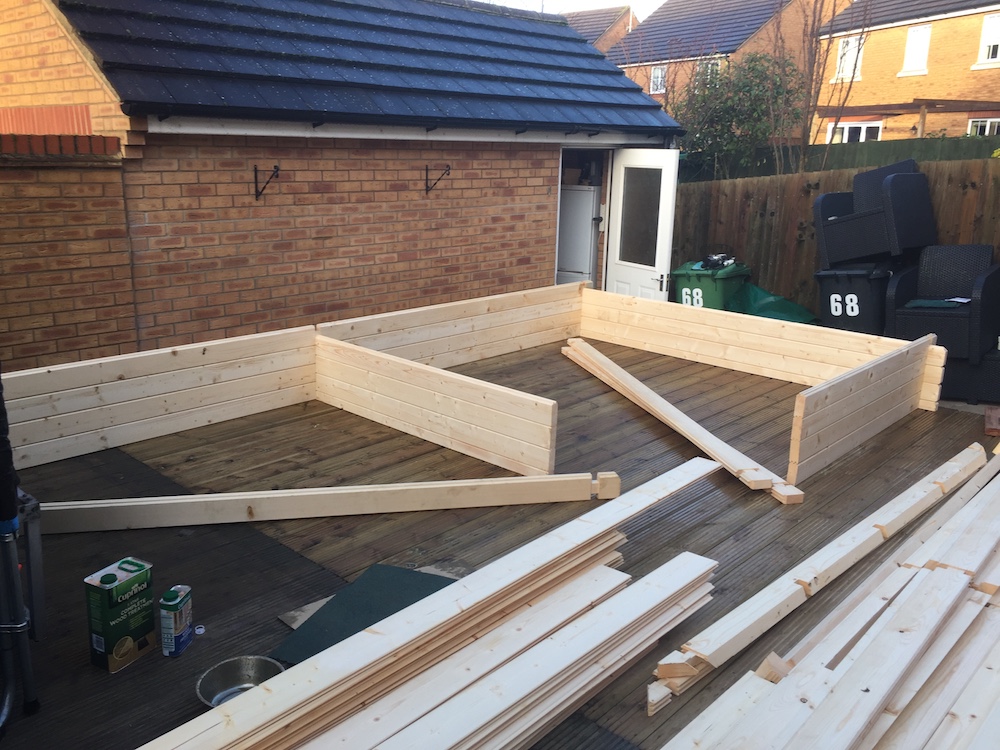
I have my garden decked in preparation for the project.
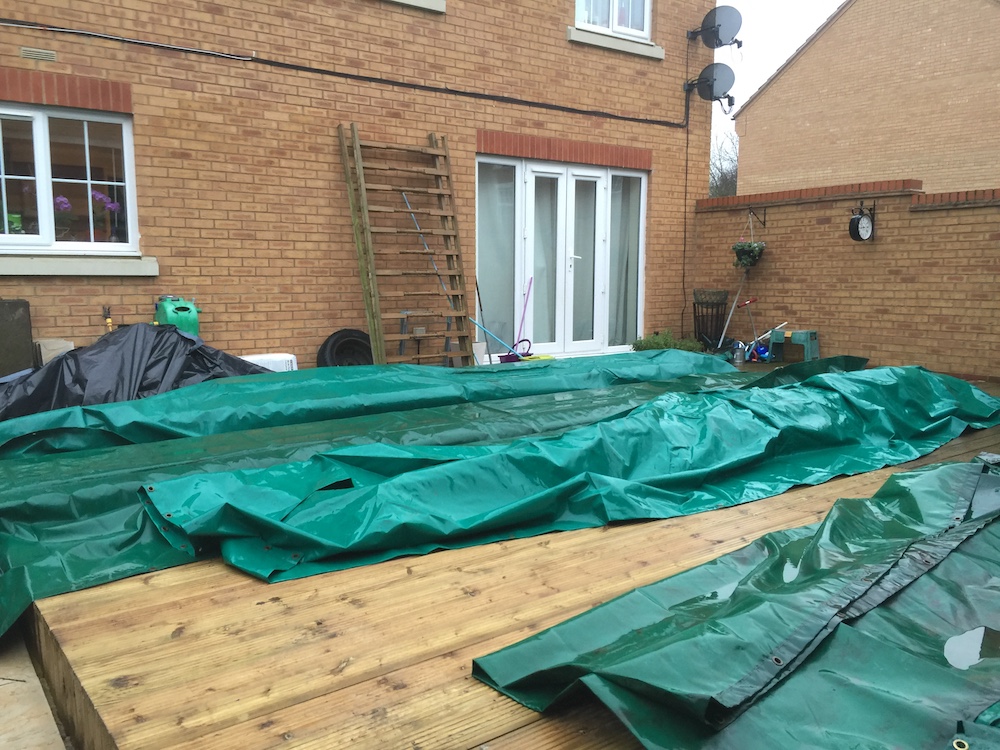
I laid all the logs in isles and sizes so I could check each part off the parts list. It was all there. The crate was disassembled and put In the garden. By lunch no one would know I had anything delivered. I then spent the rest if the day and the following day soaking all parts of each log in wood treatment. I used Cuprinol 5 star. By Friday rain was due. The sheets of tarpaulin covered the treated logs on my decking. In my garage were the doors and windows along with the roof panels. So as it heaved it down I treated them in my lovely dry garage.
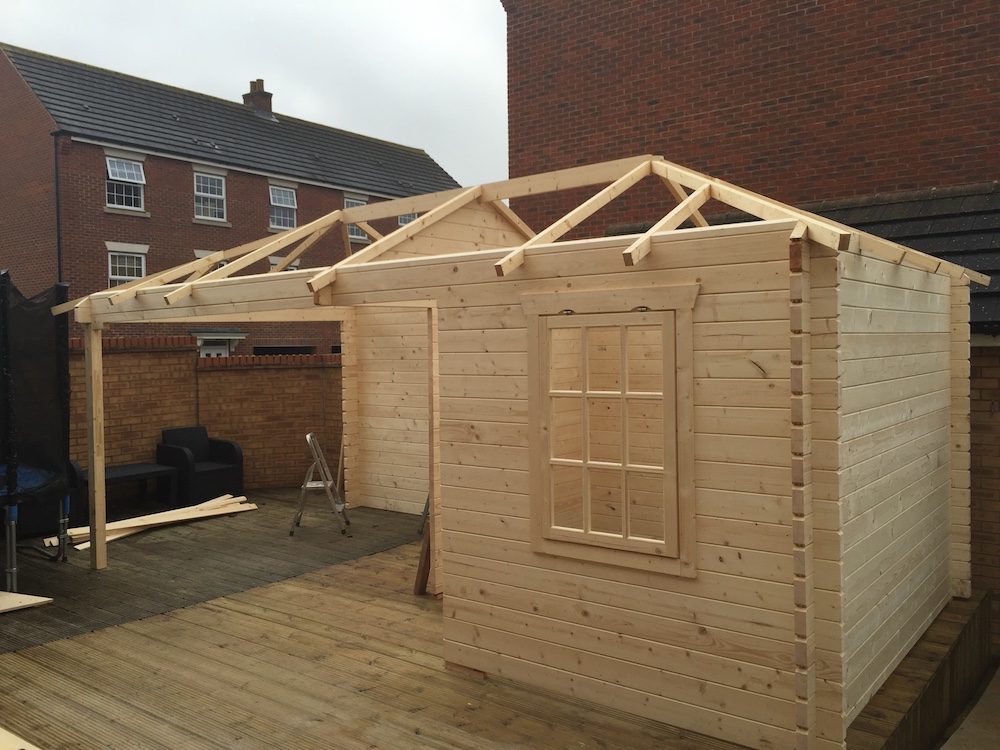
Building the Jannie Log Cabin – Day 1
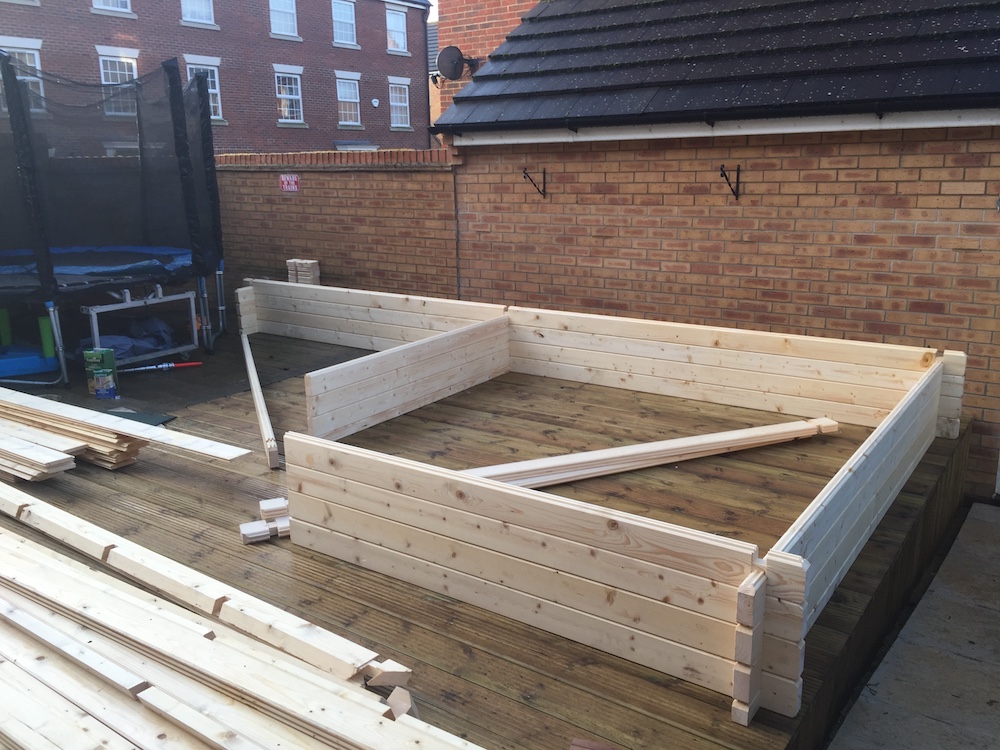

Saturday and its day 1 of the build.
I soon discovered I had no need for the bearers, the decking proved more than enough to support the cabin on its own. We had to chock a few areas to get it exactly level (the crate wood came in handy) all round, but once this was all in place fitting the logs was easy. The instructions are very basic but clear enough.
Being winter we had limited daylight but by 5pm we had only one small 8th of the roof to complete.
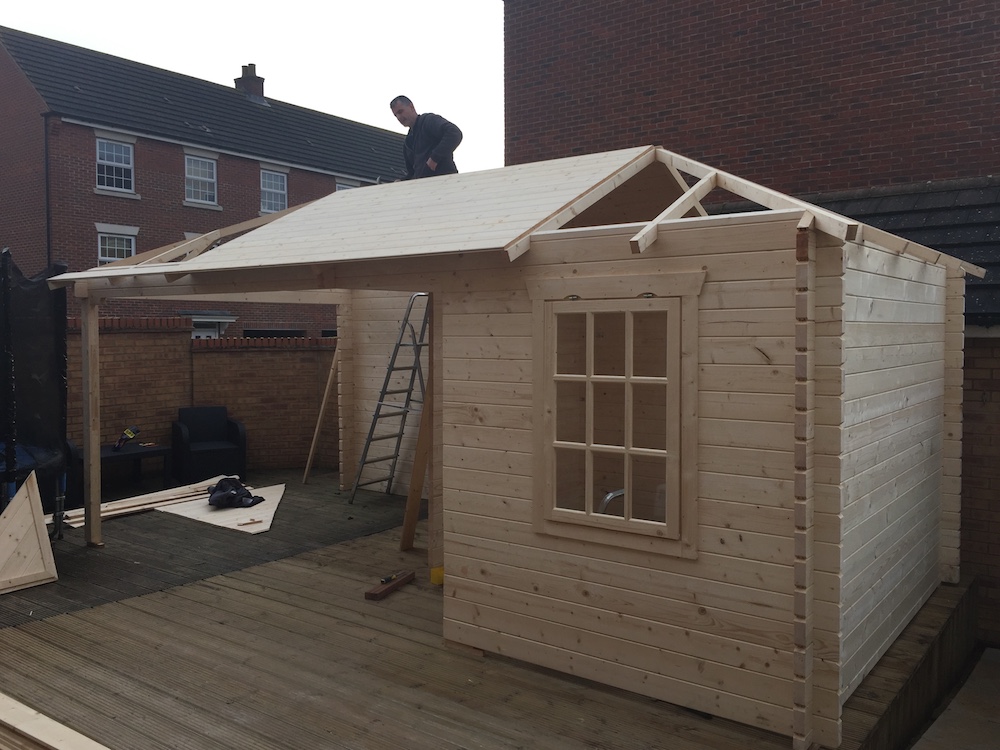
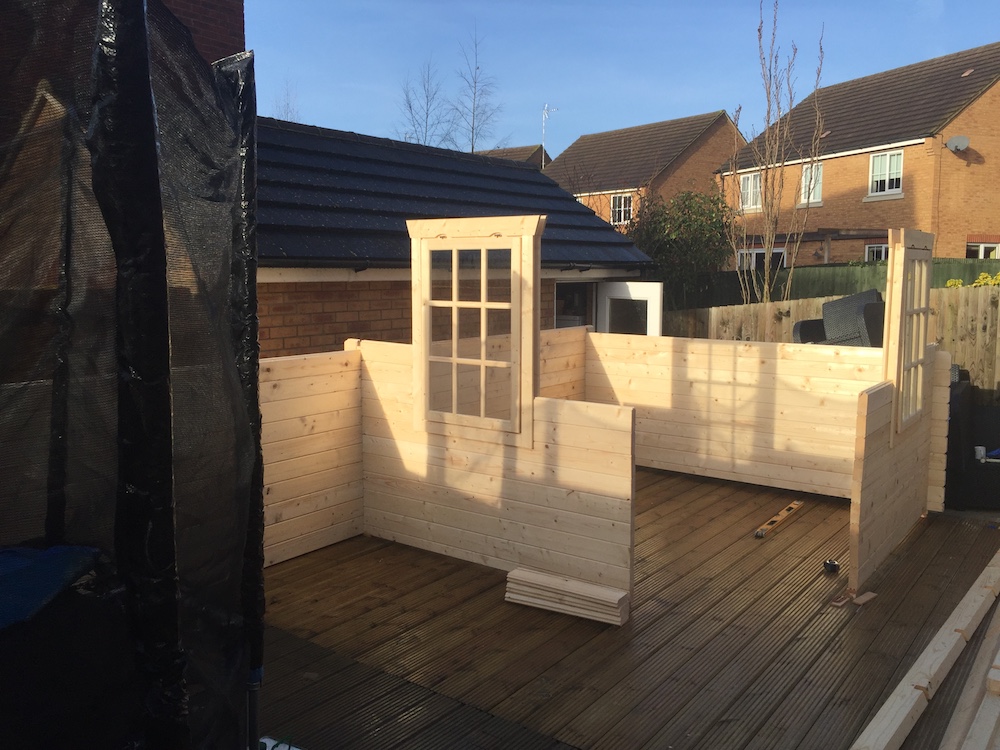
Building the Jannie Log Cabin – Day 2
Day 2 of the build saw the roof finished and the shingles go up. This took a lot longer than planned. This meant we hadn’t got to the final part- the door frame. I looked at the parts and try as I might I could not work it out. Your help that evening was excellent.
By lunch the next day all had been completed. And not a drop of rain!
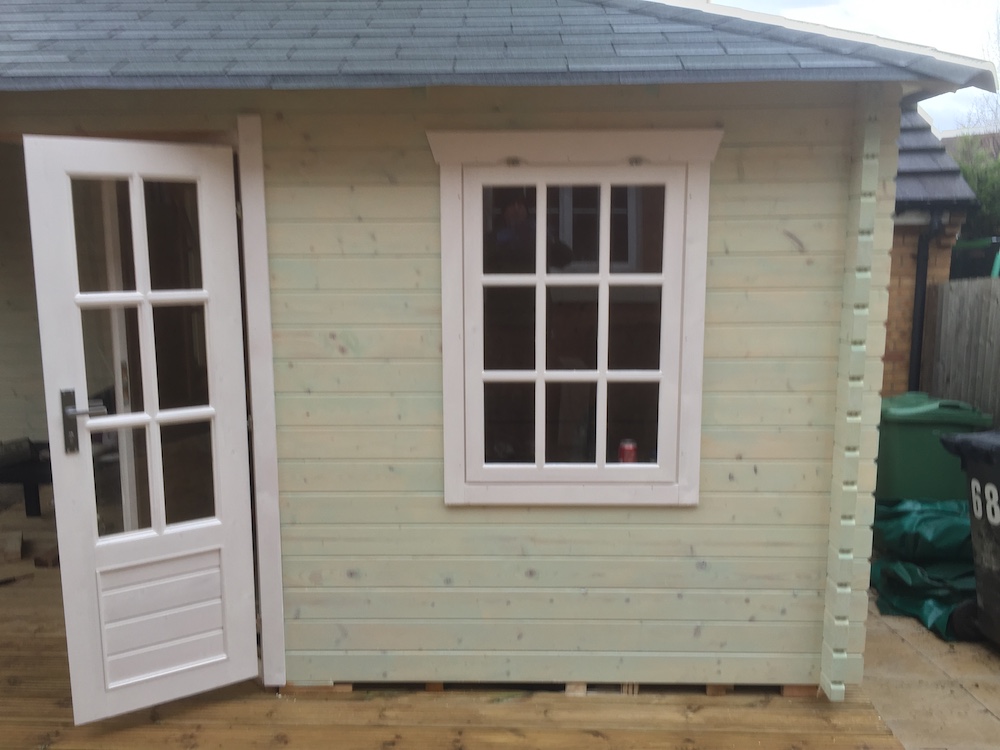
Now I wanted to get the building painted before it rained. I had 4 days. Using Sikkens paint, the whole exterior of the building got 3 coats. The windows and doors I used Sadolin as Sikkens did not have the shade I wanted. They all got 4 coats.
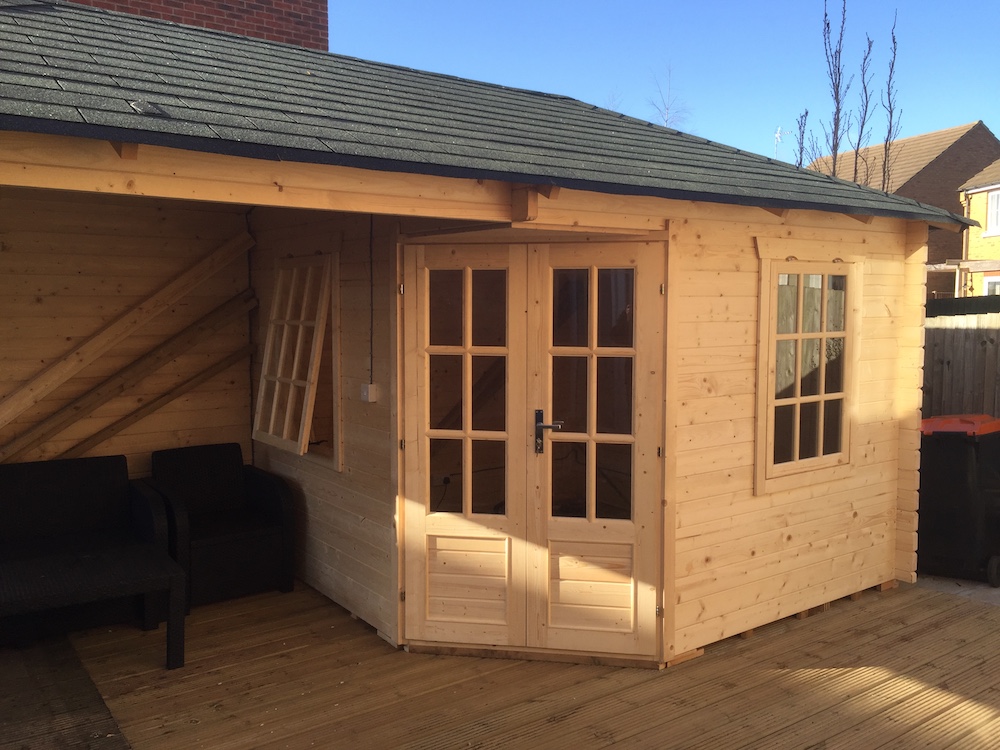
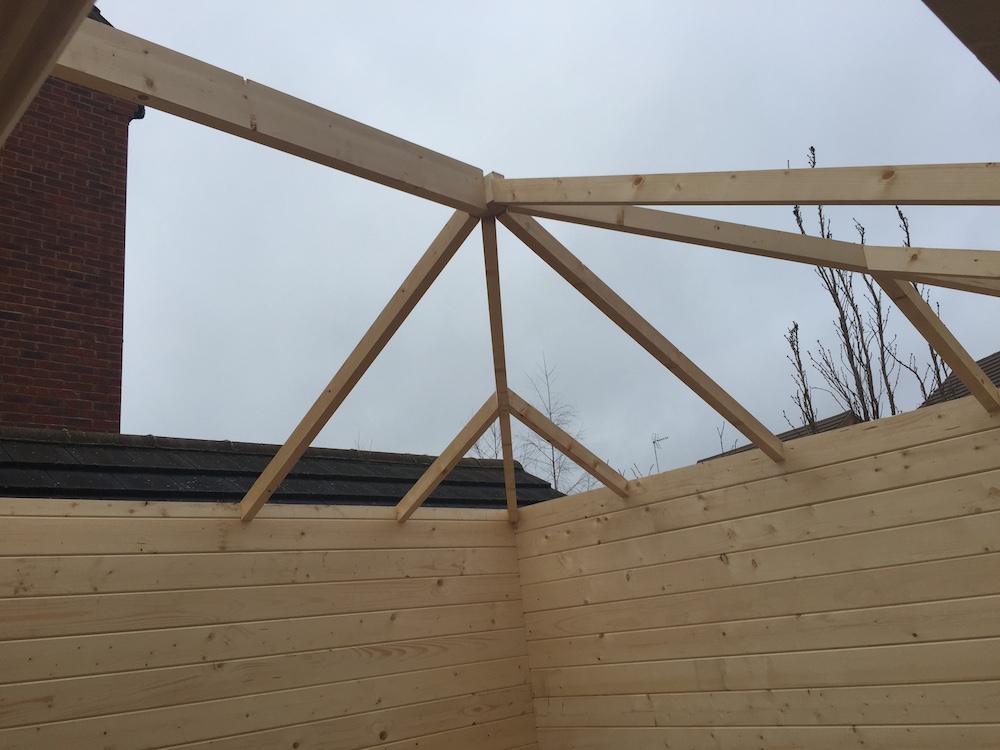
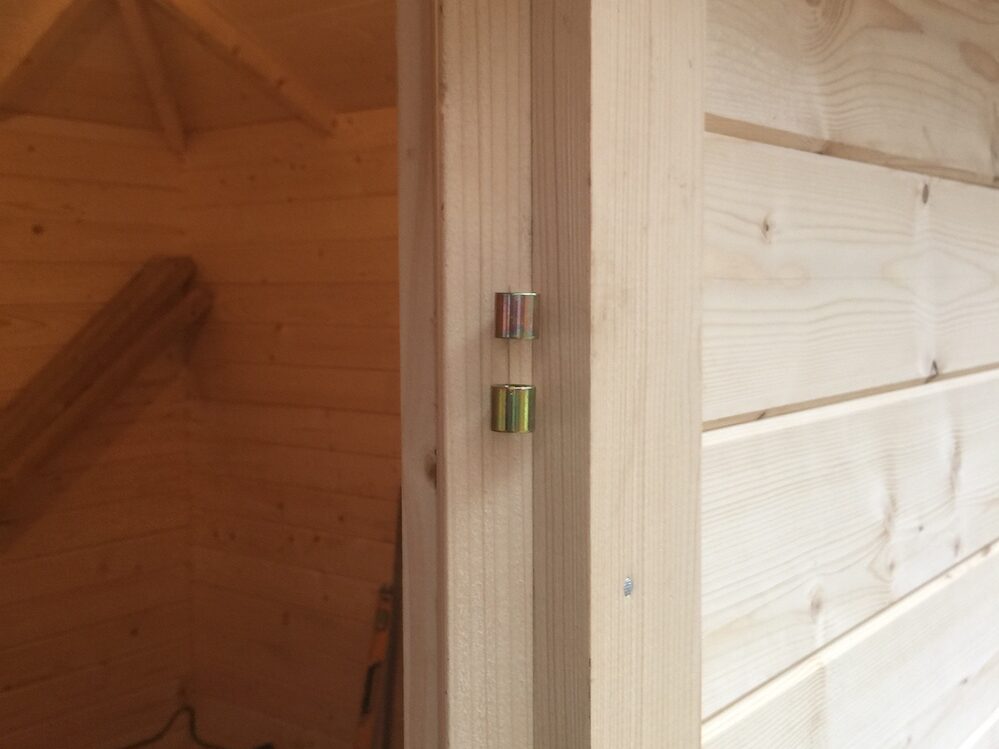
The door frame does need further explanation – two simple things that can help. One is the slotted strips that allow a 28mm door frame to be made into a 45mm frame. That rather simple explanation really does the trick. The other is to make sure you fit the V strip with holes for the door hinges to the outside. It’s 50-50 if you don’t pay attention. We ended up drilling new holes. I have included a picture to show how it should look once fitted.
Finishing Pieces
I had electrics fitted so I soon had light inside and out. Meant i could start at 7 and finish at 9! Mind you 40 hours with a paint brush…
More good news was the bearers were exactly what I needed for my false floor. These were also fitted and floor boarding too.
There are still a few things to do. The barge boards need to be fitted – a few more coats of Silkkens first. I will then fit skirting boards outside to tidy up the gaps.
There were also some rather nice pieces of wood left over. I plan to use them to adorn the building. I see now how someone has built their own base for the pillar!
The building itself is just supreme. The quality is outstanding. Not a single breath of air comes into the cabin. It just looks so very lovely.
I hope you find some useful information in the text and pictures.
Thank you once again – this project has been the most enjoyable of my life!
Bonus Video
A big thank you to Mr G for sending this in- We love a well rounded review full of information, pictures videos! We hope you continue to enjoy your Jannie Log Cabin along with your gift for many years to come!
You can find reviews Like Mr G’s here: Pictorial Customer Reviews.