


A very quick little post but someone may find it handy, I know I did when I was fitting log cabins and especially if i cocked up and was not as accurate as I could be with my hammer. I’ll demonstrate this with a purposefully dented floor board…
This hint will also work on your garden furniture and pretty much any timber you might dent inadvertently. In my case and specifically log cabin floors and facias.
Mistakes Happen…
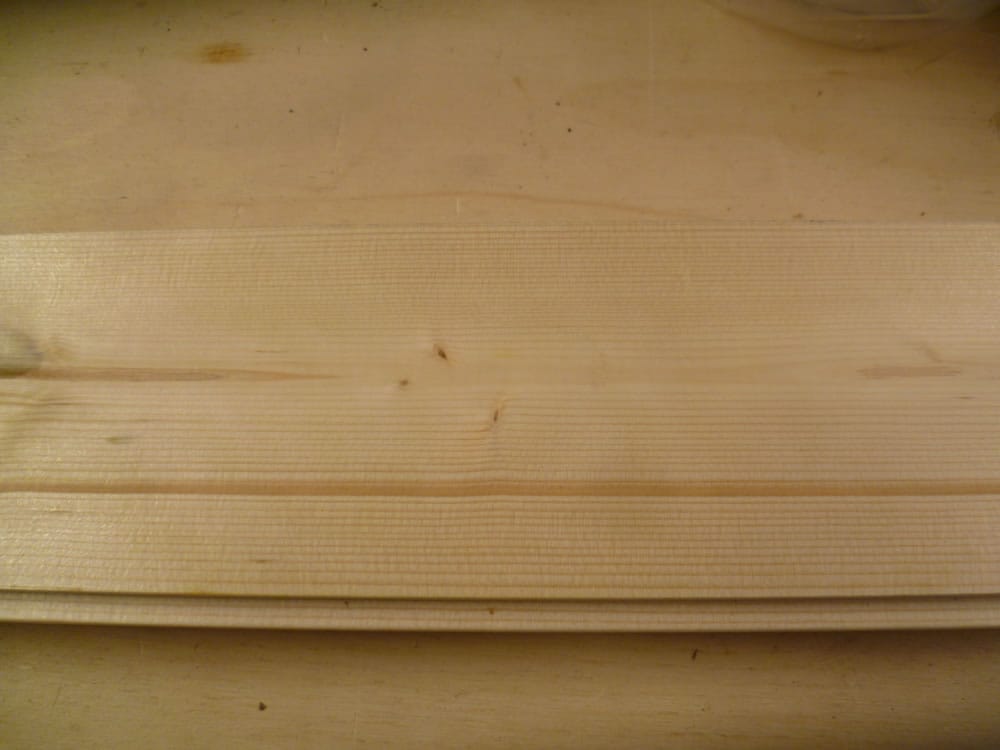
Here we have a perfectly good log cabin floor board, it could also be a facia or even a log in fact any piece of timber:
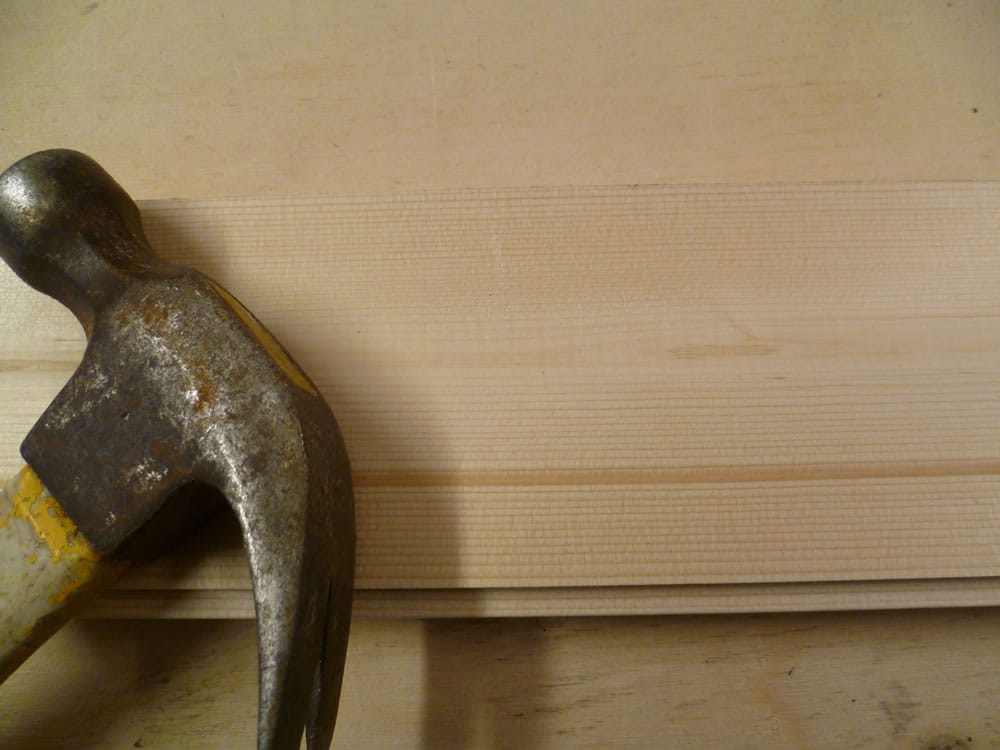
Floor board or facia or even a log, at the moment it is unblemished.
Here we have the same piece after a cock up. A bloomin’ great dent caused by a miss hit with a hammer. Of course, this one is set up but you will get the idea.
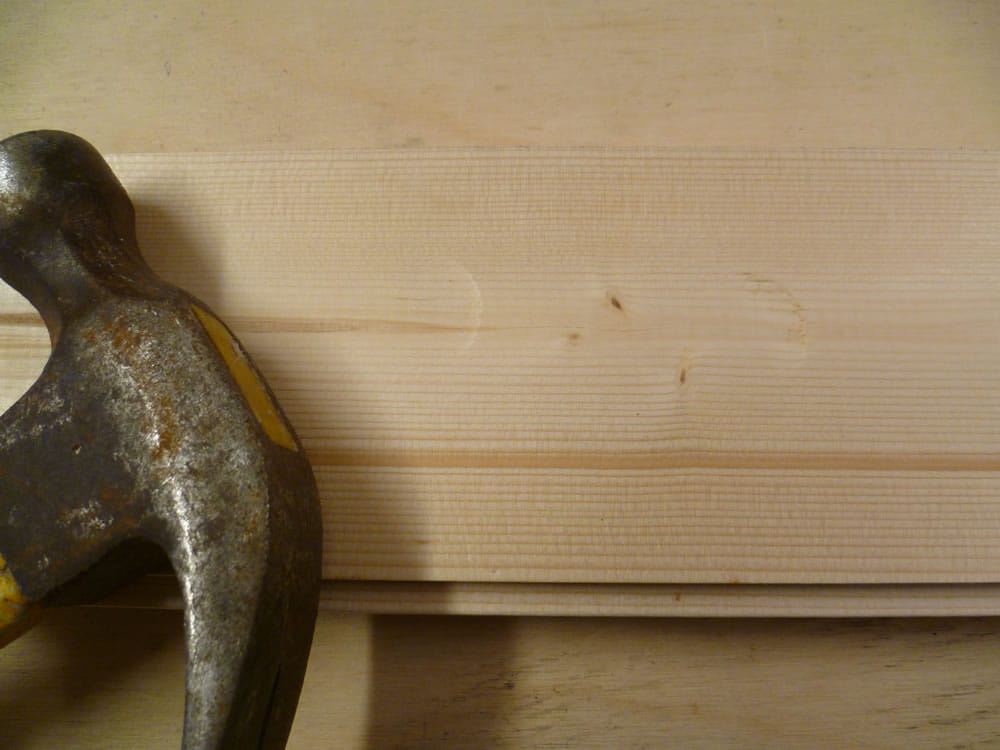
Dented log cabin floor after less than accurate and careful use of a hammer.
This has happened to me a few times in the past. After being so careful with the floor and the overall build I don’t like to hand over the building with something like this. Thank goodness it’s straightforward to fix.
If you didn’t know about timber, you probably think it’s impossible to remove a dent like this…
How to Fix our Mistakes
A while ago I posted about moisture content in timber we use for log cabins in it I also explained how wood loves to absorb and then expel moisture, in fact wood is basically a sponge and it’s this property we can exploit to our advantage for once in repairing it and all you need is a wet rag.

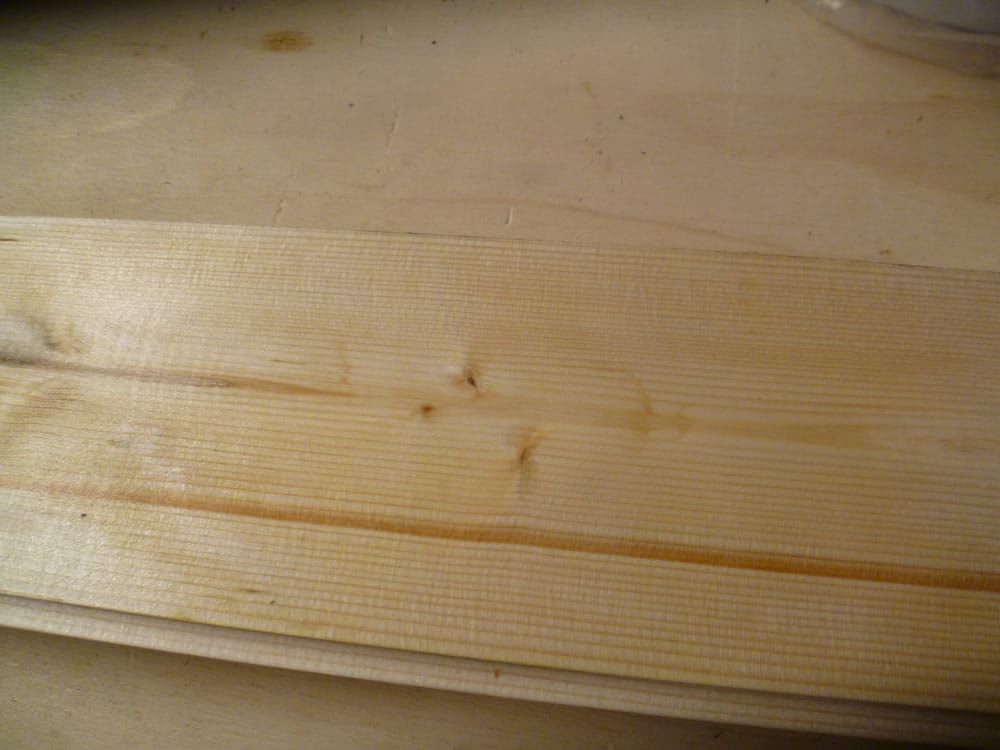
soak a rag and wring it out but keep it damp and put it over the area you need to repair the dent.
As my caption says, soak a rag and put it over the area that need repairing. Then leave it on there for about an hour and let it do it’s magic.
Just Like Magic!
Wet board after the rag has been removed
The floor board has absorbed some moisture from the rag and already the dents have lifted. Though you can still make out the outlines.
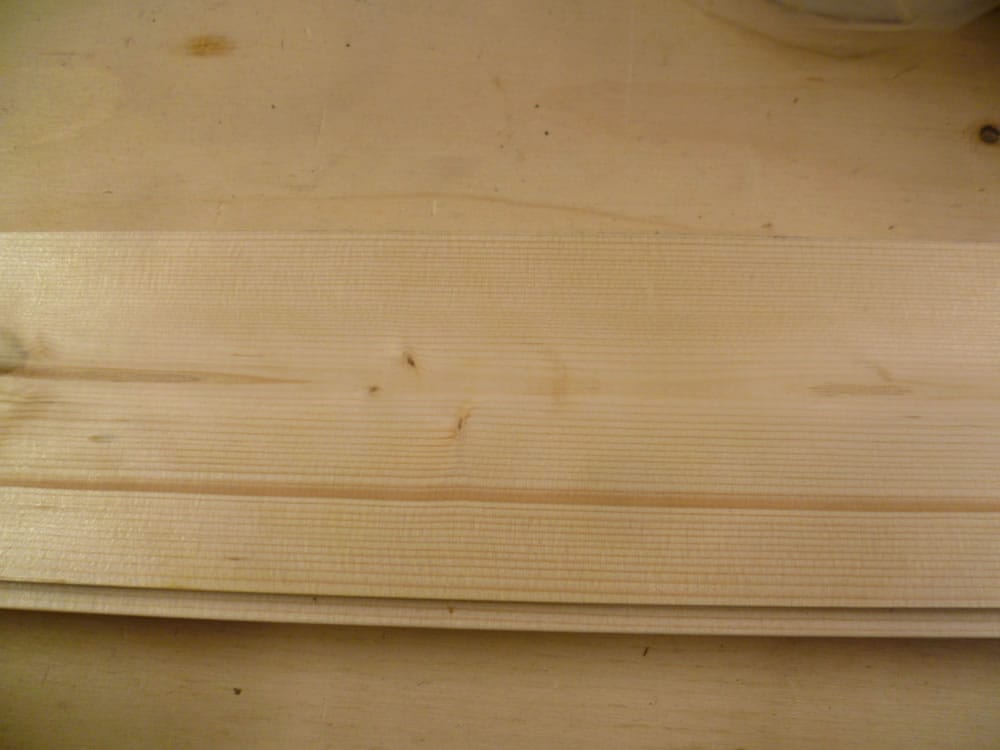
Very nearly dry and one dent has disappeared, the other almost
If you were to rub your finger over this you would now find it to be smooth and the dent has gone. There is still a fine mark where more moisture was absorbed by the hammer dent. That being said, in the next picture after drying completely, it disappears.
Now totally dry the dent is pretty much invisible and will not return.
Wood is an impressive material and if you understand how it works and what it is you can understand a lot more about the inherent properties of your log cabin. It’s also handy to know how we can fix a mistake, like the dented floor board in this post. No one would ever know.