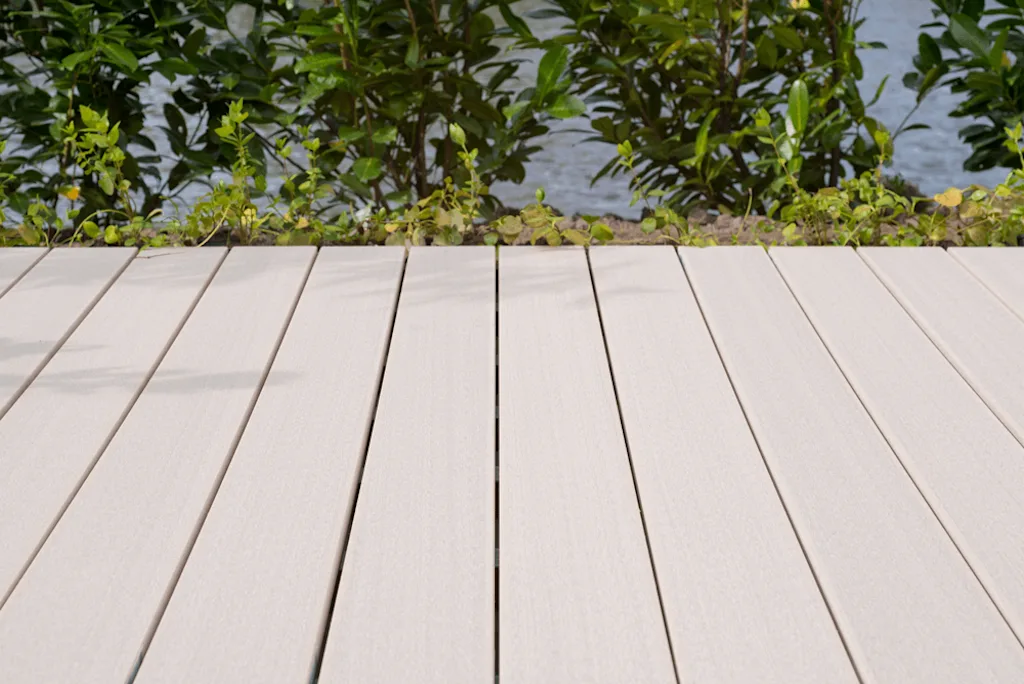
Decking DIY: How to Install, Secure and Maintain Your Decking
Building decking in your garden is a great way to extend your outdoor living space. However, to ensure it stays secure and safe so you can enjoy it for a long period of time, it’s essential to secure your decking boards properly. The way you choose to secure the boards will not only affect the appearance of your patio but also its strength, durability and maintenance needs.
This guide explains everything you need to know about installing and securing your decking so you can finish your decking project and ensure that it’s both functional and aesthetically pleasing.

Why is it essential to install and secure decking correctly?
Decking boards are exposed to sun, rain, frost and constantly changing temperatures. Both timber and composite boards expand, and contract so poorly installed decking can warp, twist or split over time and can be prone to developing mould which will eventually rot the boards.
Installing and securing your decking properly ensures it’s stable, durable, attractive and low maintenance.
How to install your decking properly
Step 1: Prepare your decking for installation
Before you start fixing your decking boards, it’s important to prepare properly to ensure your decking is stable, secure and durable. Here’s how to prepare your decking project:
Foundation: Make sure your decking is built on a level stable base built with treated joists, concrete posts or adjustable decking supports. This will prevent your decking from shifting once it’s been built, ensuring it lasts well.
Drainage: Adequate drainage ensures that water can run off easily as standing water can cause swelling and warping, affecting both the look and function of your decking.
Ventilation: Leave at space underneath your decking so air can circulate.
Wall clearance: Keep your decking boards at least 20mm away from walls or solid structures to prevent damage as the timber expands and contracts.
Step 2: Ventilation and spacing
Airflow and spacing are important when it comes to a long lasting and durable decking project. Without proper ventilation and spacing between the decking boards, you risk problems such as warping, mould growth and rotting.
Ventilation helps to prevent moisture from building up and allows boards to dry out more quickly after periods of wet weather, extending the lifespan of your decking by preventing mould and rot from setting in.
Spacing is essential because your decking boards need room to move naturally without cracking or buckling and gaps allow water to run off the surface of the decking, helping it to stay structurally sound and avoid problems such as rotting or splitting decking boards.
Step 3: Secure your decking
When it comes to securing your decking, there are two main fixing methods: decking screws and concealed clips. Each has its own pros and cons depending on the finish you want to achieve.
Fixing with screws
Screws are the most common fixing method and allow you to easily install your decking on joists or battens. If you’re installing hardwood decking, we recommend pre-drilling the holes to prevent the decking boards from splitting.
This method is suitable for a range of decking types, provides a reliable finish and makes it easy to replace individual boards later down the line if any of the boards split, crack or become damaged.
Don’t screw the screws in too deeply as this can cause the screw heads to break off, resulting in loose plants. You should also take into account the movement of the decking boards otherwise you can end up with cracks, splits, warping, bowing, loose fixings or structural stress. Leave room between the boards and any nearby structures to allow for the natural expansion and contraction of the decking boards.
Invisible mounting with concealed clips
If you’d prefer a sleeker, screw-free finish, concealed clips are the best option. This helps to create a clean, modern look with no visible screws and allows the boards to expand and contract naturally, preventing damage.
Remember that this method is only suitable for composite decking or hardwood and requires decking boards with side grooves to allow for clip installation. This option has a slightly higher initial cost than screws, but the finish is superior and provides a longer lasting solution.
Step 4: Maintain your decking
Once you’ve installed your decking, maintenance will protect it from the elements and keep it looking its best for years. Regular care can help to prevent costly repairs or replacements.
Clean your decking to keep it looking its best. Sweep it regularly to remove dirt and debris that can trap moisture. If you have grooved decking boards, these are more prone to build-up of debris so will need to be cleaned more frequently.
In the spring and autumn months, clean your decking with warm soapy water and a scrubbing brush to wash away any seasonal debris.
We also recommend treating your decking to protect it from the elements and keep it looking its best. UV rays, rain and frost can cause timber decking boards to fade, crack and lose strength over time. Make sure you apply treatment at least once a year to keep the wood looking its best.
Decking FAQs
Ready to install your decking?
Securing your decking properly is the foundation of a safe, durable and attractive garden decking project. Whether you choose the reliability of screws or prefer the sleek, modern look that the concealed clips provide, following best practices for installation and ongoing maintenance will ensure your decking stands the test of time.
Ready to get started with your decking project? Take a look at our full range of decking, screws, clips and treatments to build your dream outdoor space.


