3 Top Tips for Installing Log Cabin Doors
Are you building a log cabin in your garden to create your own outdoor retreat and wondering how to fit the doors properly? Or perhaps you already own a log cabin, and the door no longer fits properly?
Whether you’re creating a home office, adding living space for your home or simply a space to relax, installing the doors correctly is an important part of the build
Poorly fitted doors can lead to draughts, sticking in damp weather or gaps that make your cabin less secure, less protected from the weather or less aesthetically pleasing. Over time, this can also put extra strain on the hinges or frame which can affect the usability of your log cabin.
In this guide, we’ll provide three tips for installing your log cabin doors to help you install the doors properly and enjoy your log cabin for years to come.
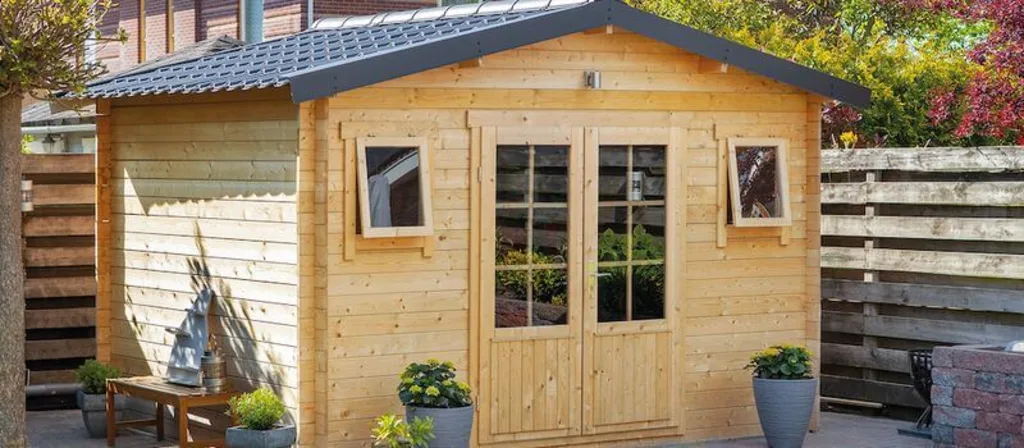
1. Install the door frame
Start by assembling your door frame. A well-fitted door starts with a properly assembled frame. So, before you install the frame, check the following:
Ensure the frame is level
The frame is strong and stable
Check the door leaf aligns centrally with the frame
Look out for any natural curvature in the door leaf
Assemble the door frame on the floor using a carpenter’s square to keep all corners at perfect right angles. We recommend screwing the frame together and, if you want added stability, you can glue the frame too. Before gluing the frame together, ensure that the frame is correctly positioned.
If you're installing a double door, make sure the frame is level. If it’s not, it will be noticeable where the two doors meet.
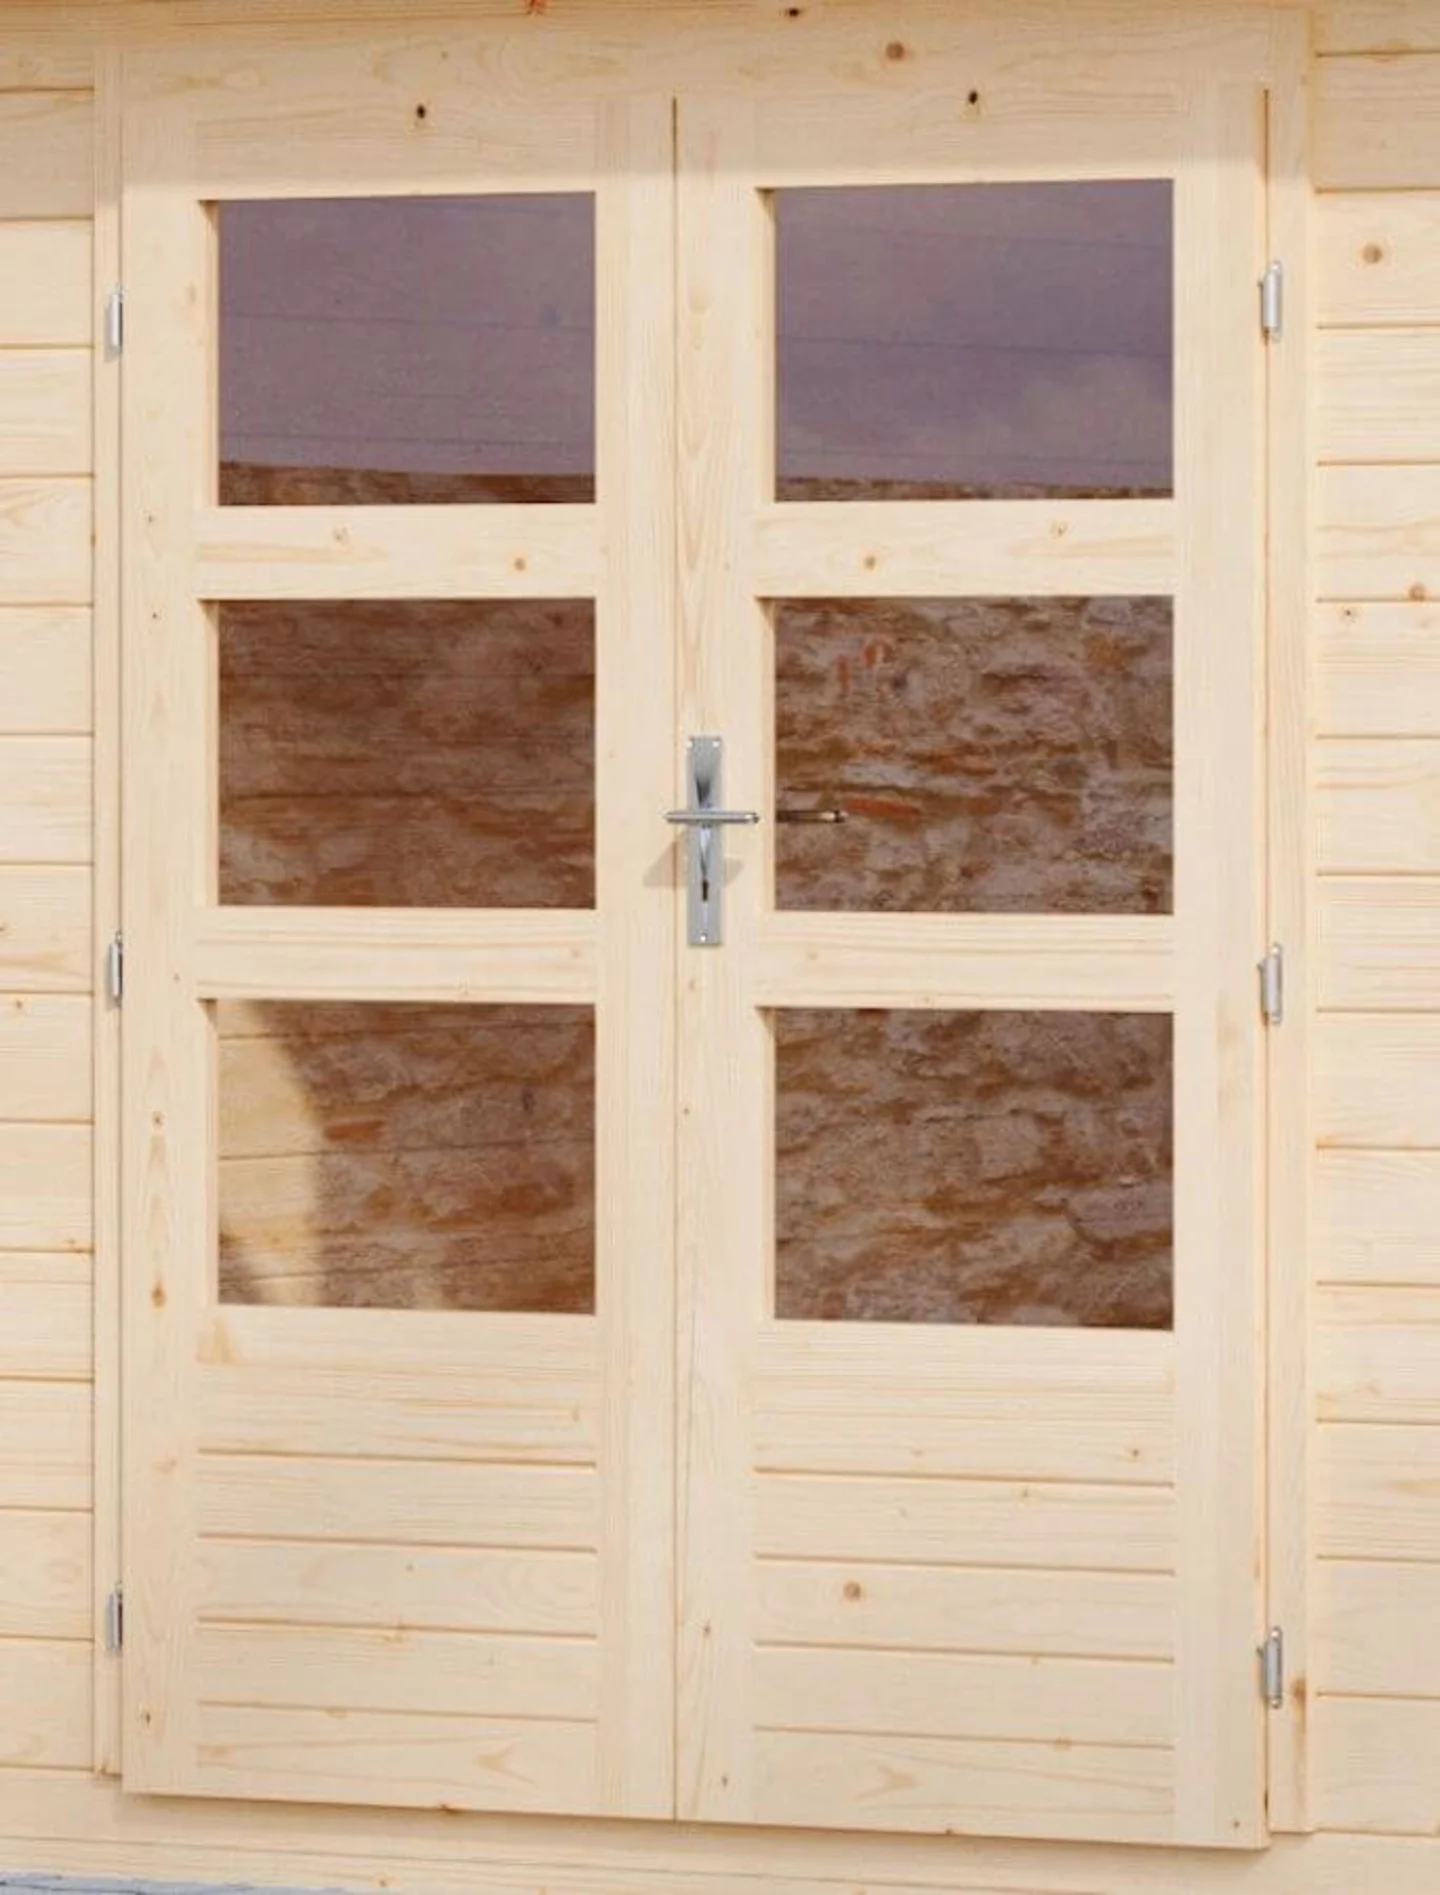
2. Choose the right hinges for your log cabin doors
The type of hinge you use for your log cabin doors can make a difference when it comes to the stability and adjustability of your doors. Here are the hinges we suggest:
Surface mounted hinges: These hinges are ideal for thinner wall boards or log cabins. This type of hinge attaches directly to the face of the door and can be secured with tamper-proof screws for added security. These hinges allow you to adjust the door on both sides.
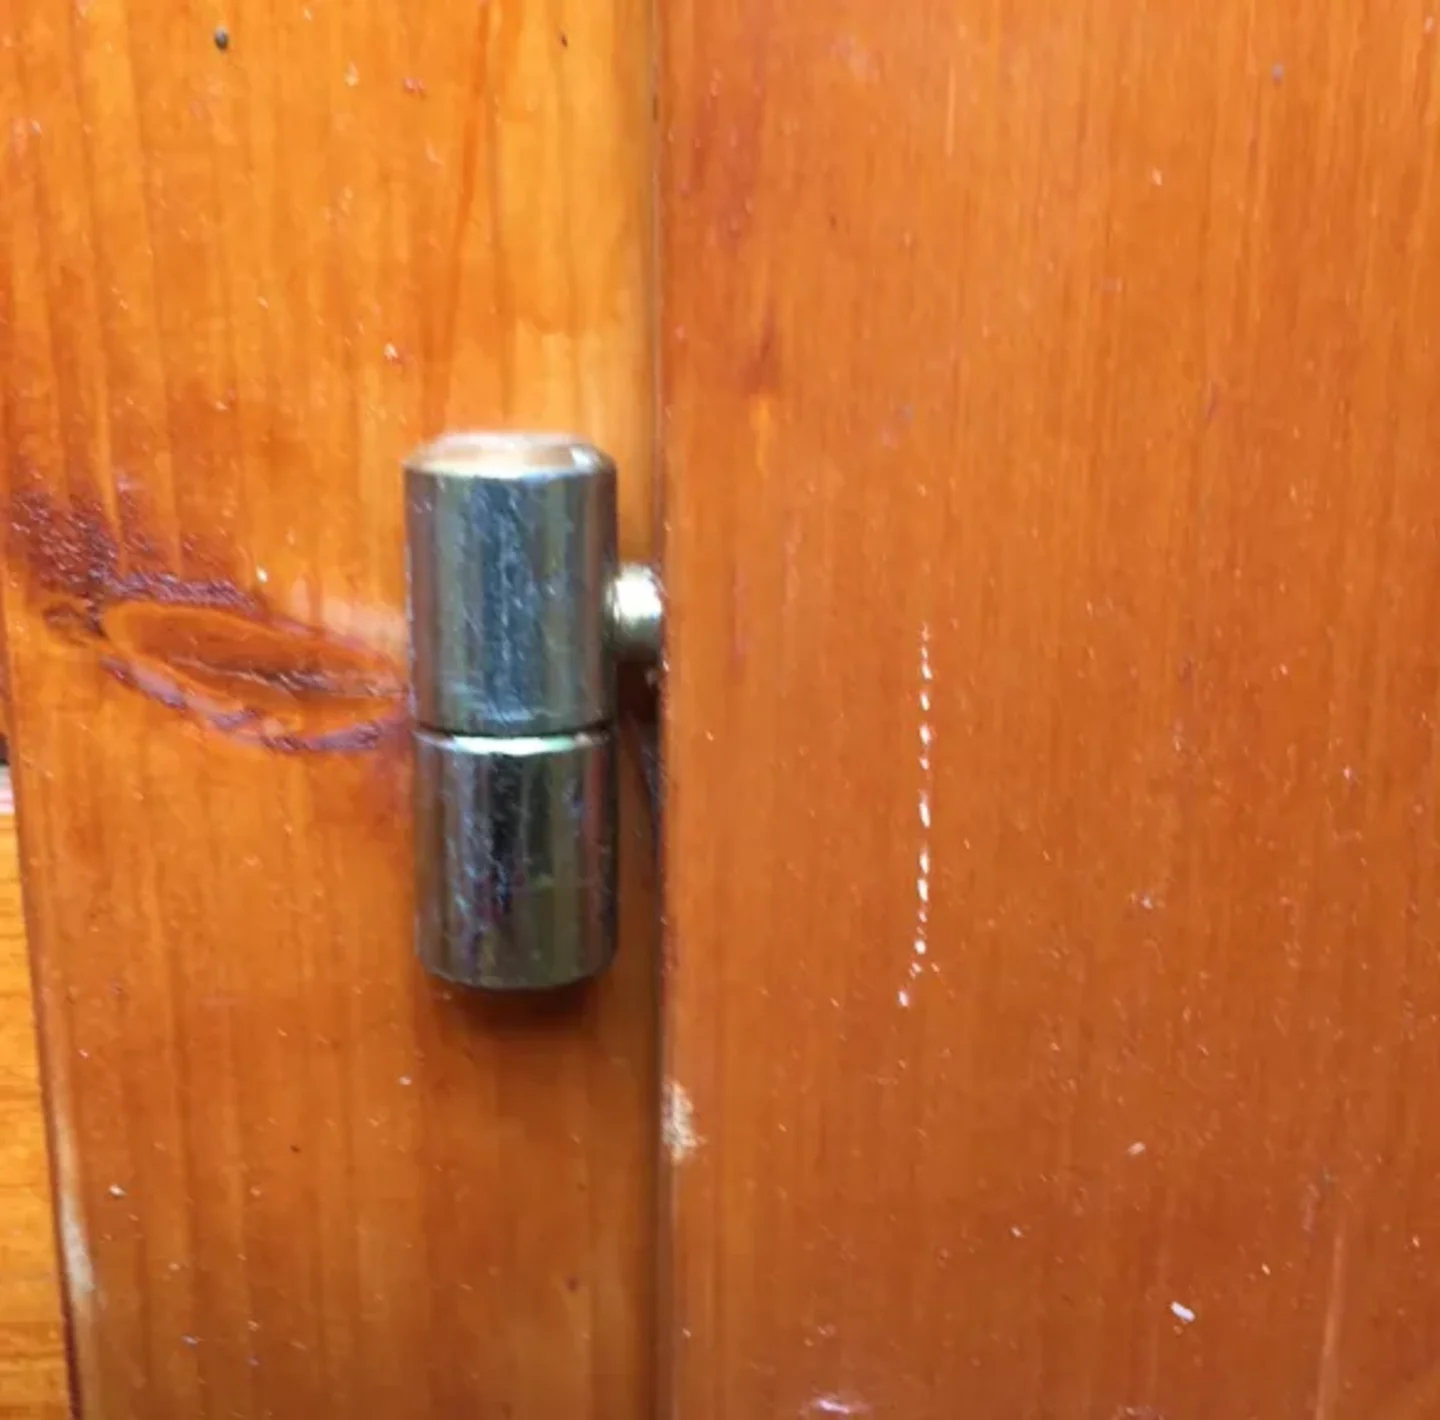
Two-piece hinge: These hinges consist of a tube and a pin and allow you to adjust the door on both sides. This type of hinge is most used on log cabins with thinner logs and lighter doors.
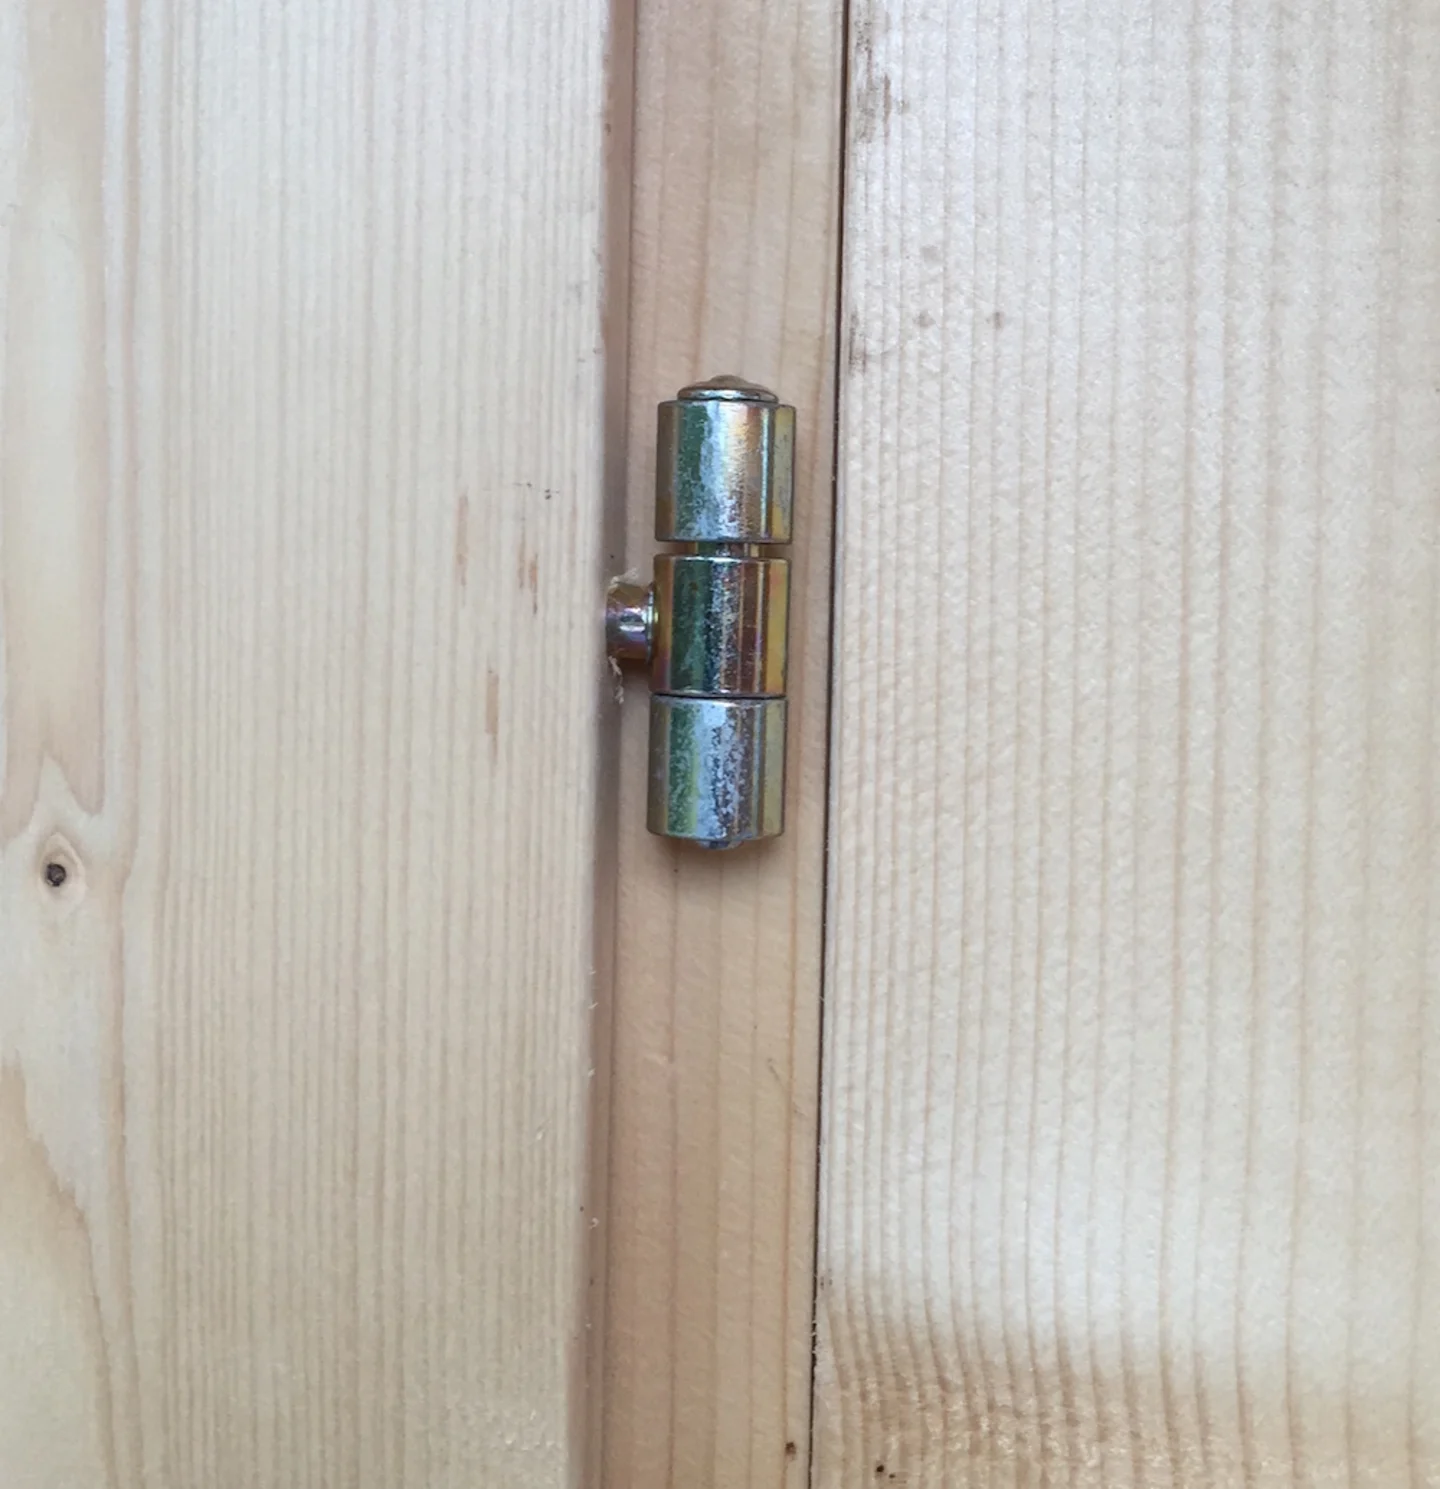
Three-piece hinges: This type of hinge consists of two parts with one part screwed into the door frame and the other into the door, with the two parts held together with a pin. They allow adjustment up or down but not side to side. They are often used for heavier doors due to the strength offered.
3. Adjust the door hinges
For this section, we’ll focus on adjusting a three-piece hinge as this is the most common type used in log cabins. This type of hinge is held together by a pin which allows you adjust the doors, so they hand closer to or further from the door frame. It also allows you to adjust the doors closer or further apart from the centreline.
Here’s how to adjust three-piece door hinges:
Step one: Remove the pin from the hinge by using a small Phillips screwdriver. Be aware that you’re likely to encounter some resistance so you’ll need to use a hammer to tap it out.
Step two: Determine which way you want the door to swing.
Step three: Turn the hinge in or out (a maximum of three turns)to adjust the door’s position. By only using three turns, you keep everything consistent and simple.
Step four: Once the doors are in the desired position, loosely replace the pins to check for proper adjustment.
Step five: When you’re happy, drive the pins back into the hinges.
How to adjust a three-piece hinge
A three-piece hinge is the most popular choice for log cabins so let’s have a look at how these can be adjusted:
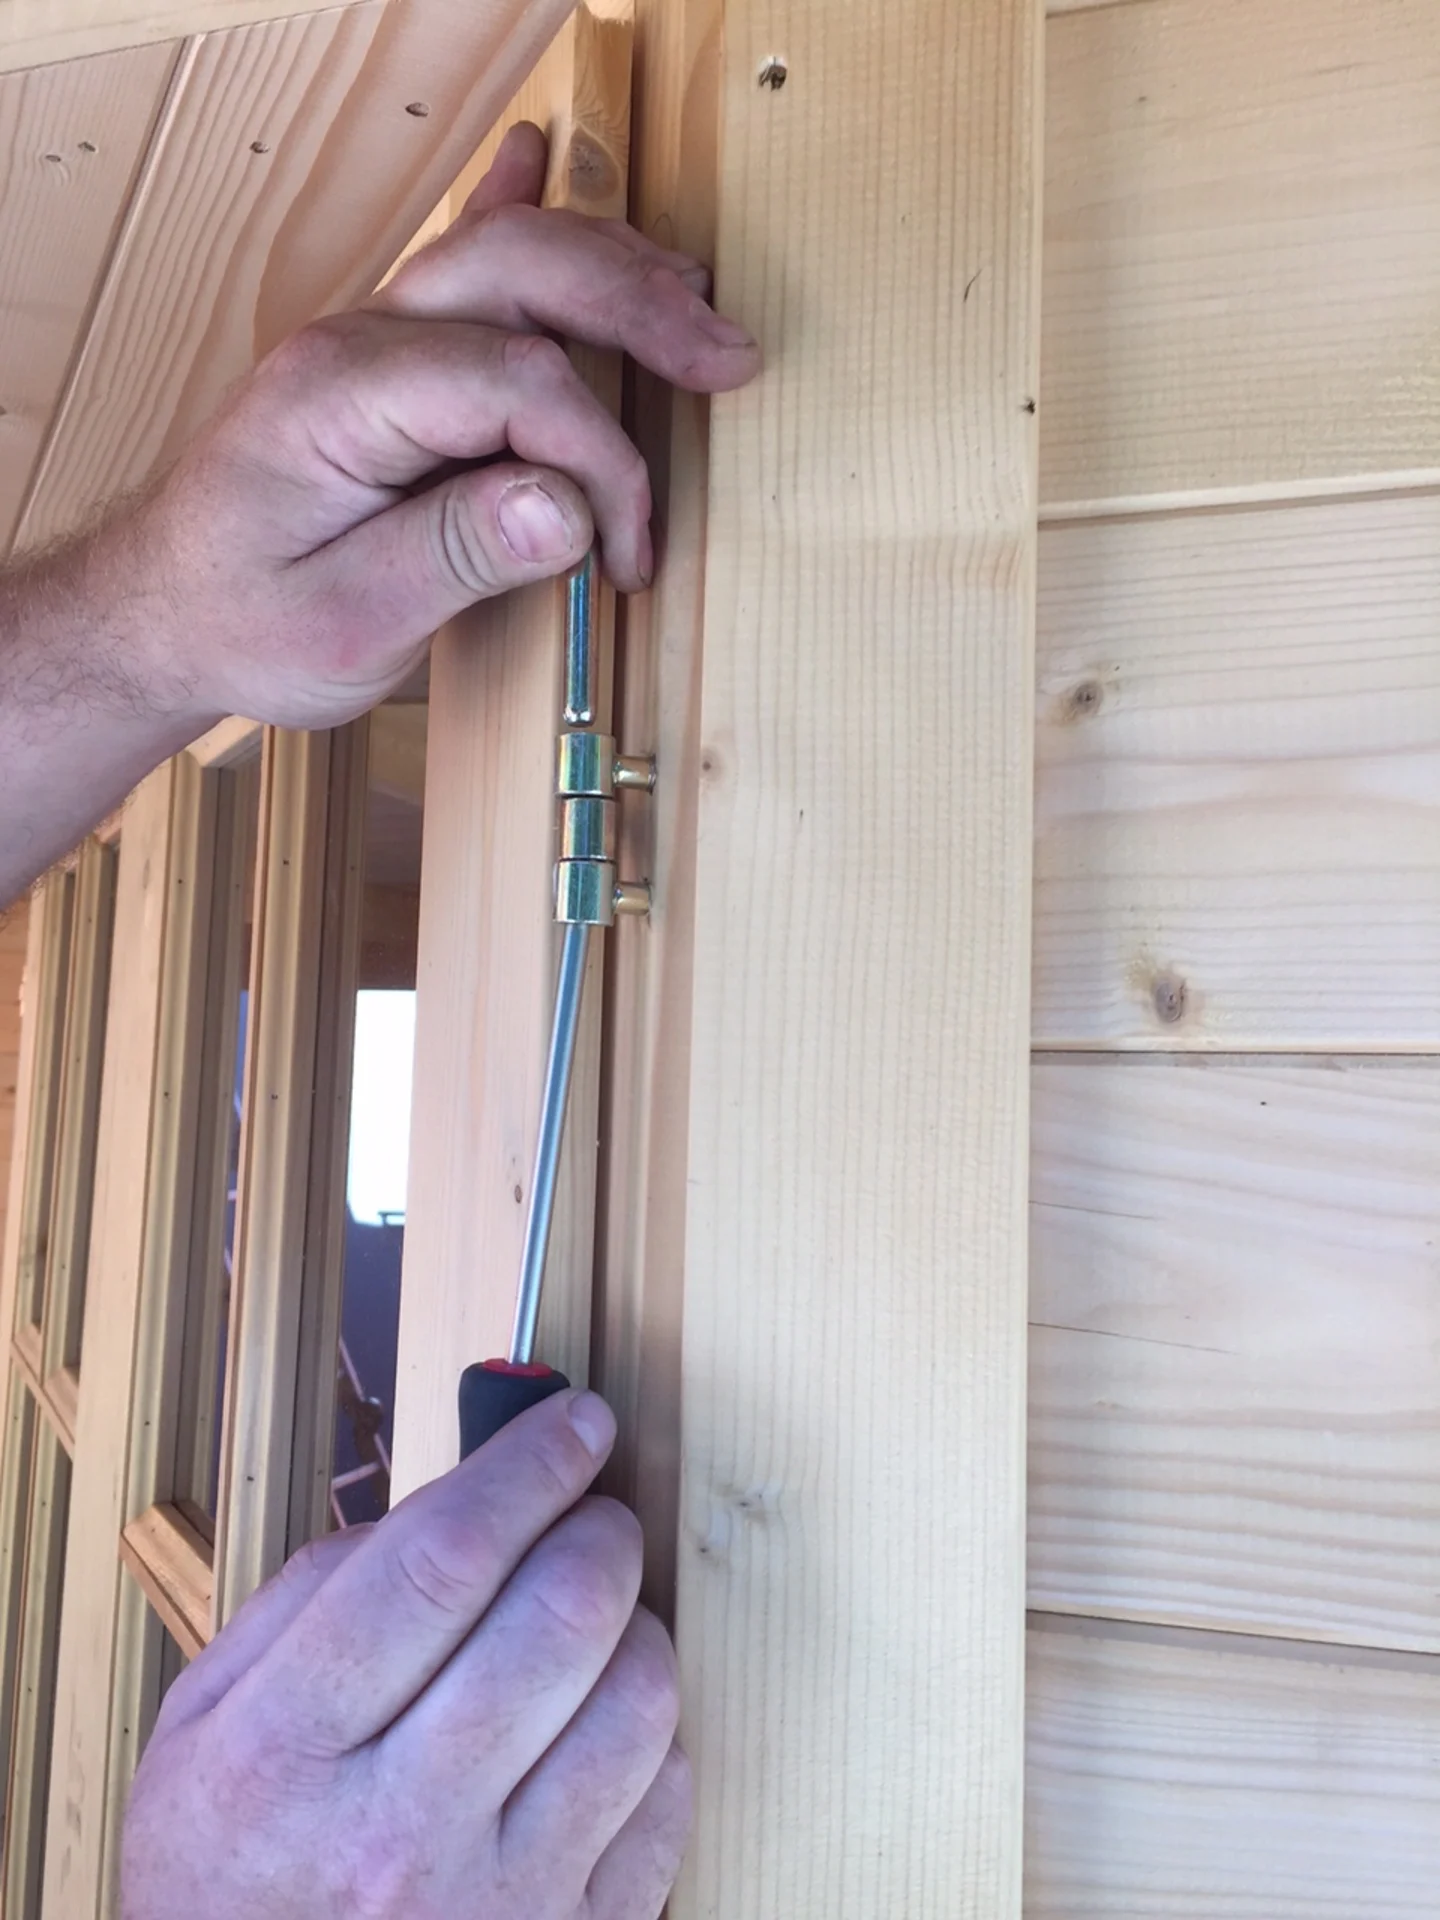
This hinge can move the door leaves closer or further away from the door frame. It can also move the door leaves themselves closer and further away from each other at the door centre.
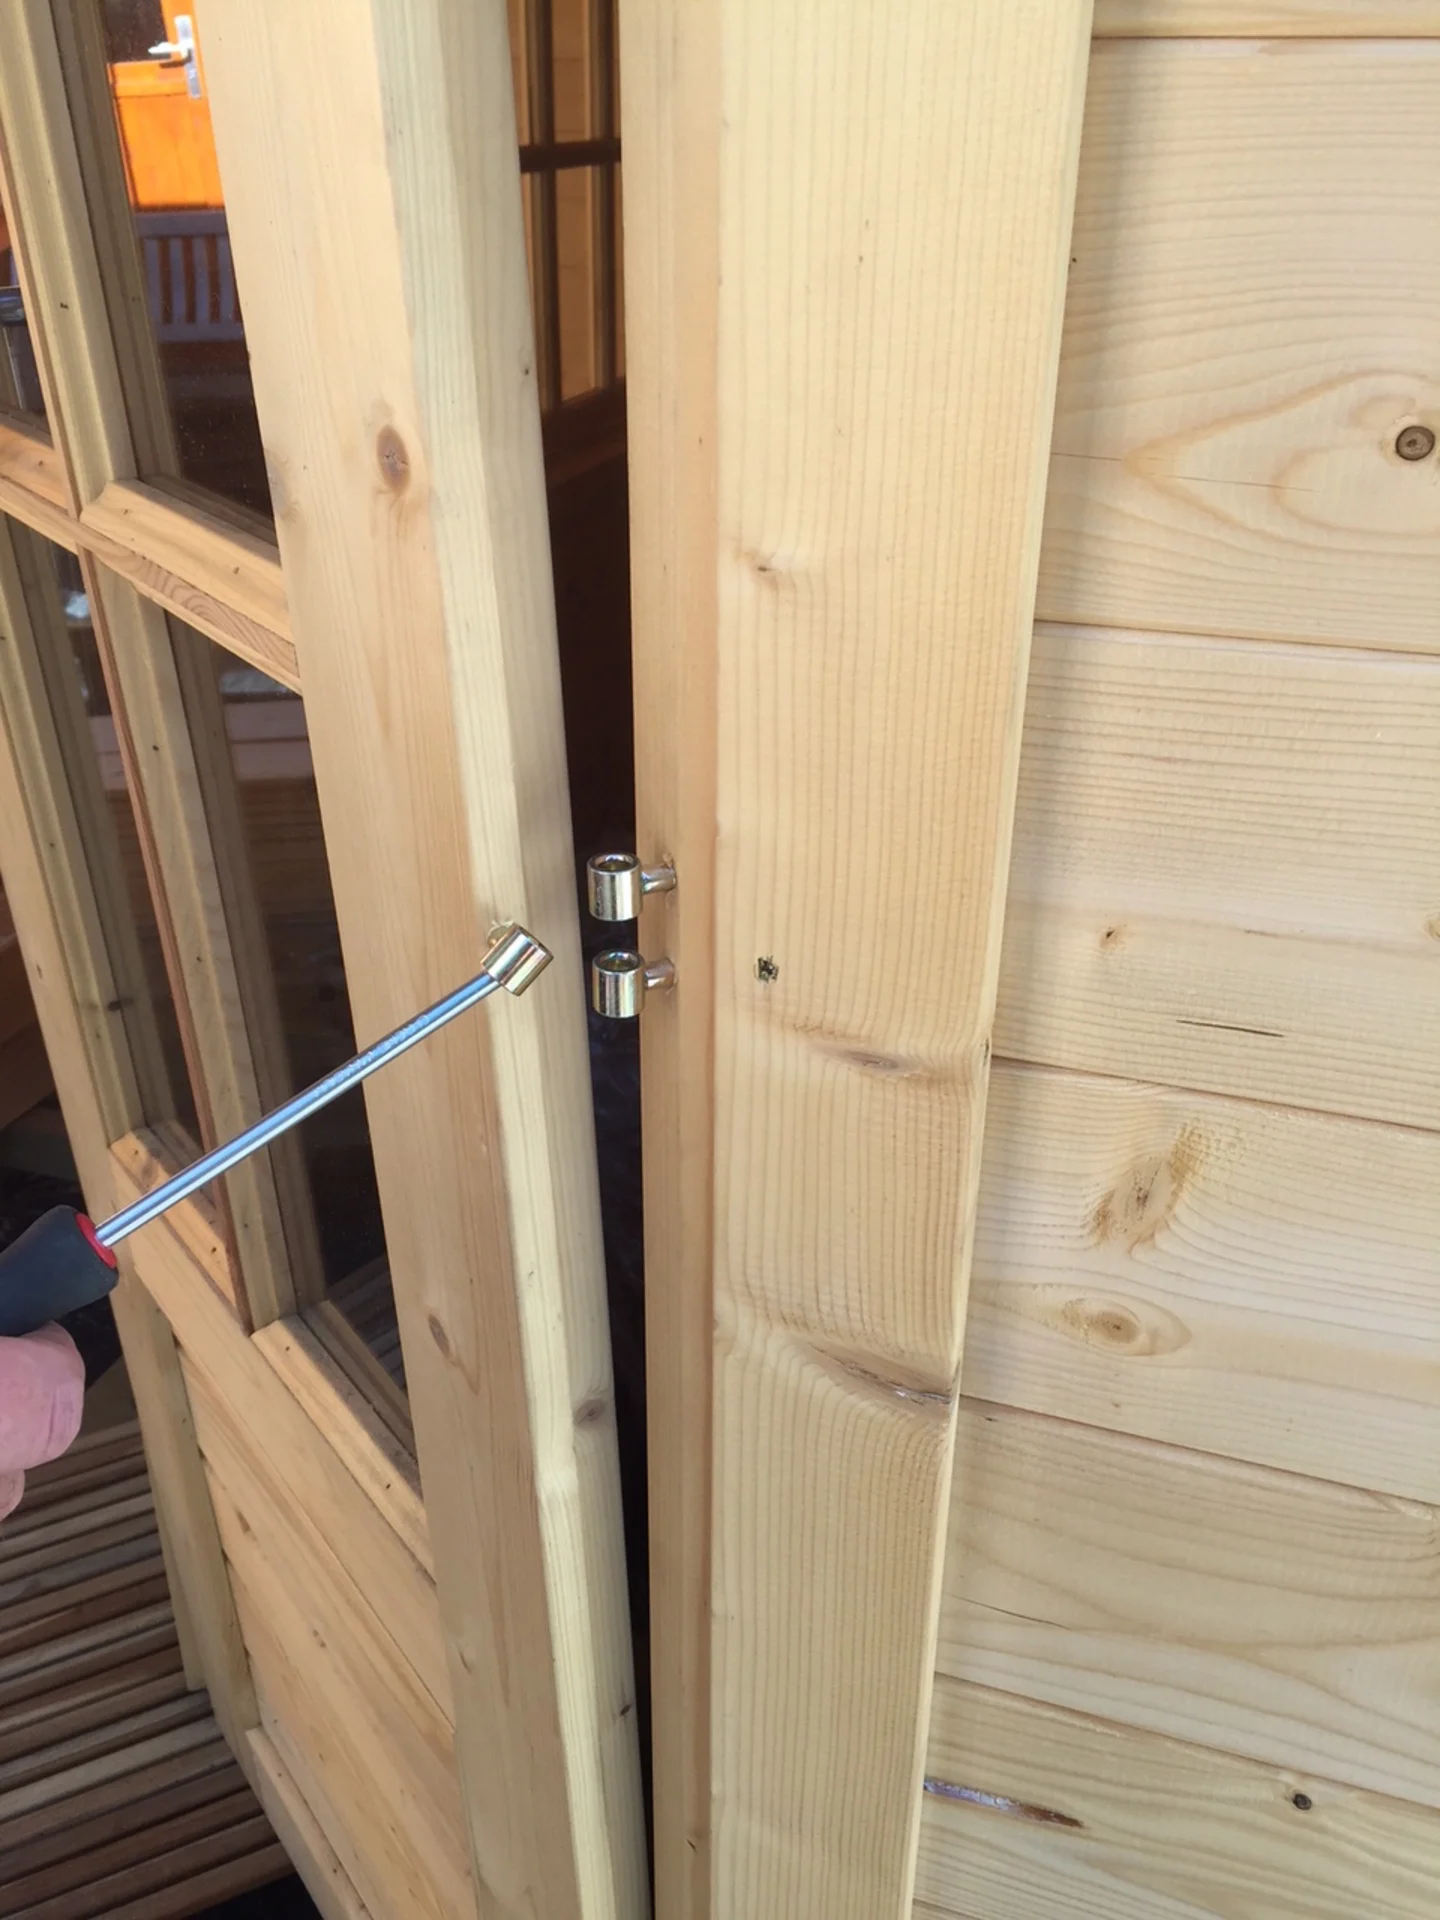
Remove the pin: The pin can be removed using a drift or a small Philips screwdriver. You will encounter some resistance, and a hammer will usually be needed to tap pin out. The hinges can then be turned in and out to either move the door leaves closer or further away from each other or to move the doors closer or further away from the door frame adjusting the two parts on the door frames.
Other factors to consider when installing your log cabin doors
Preventing and fixing warped log cabin doors
Even with the highest quality timber, wooden doors can sometimes warp over time. This is unusual but it can happen due to weather conditions, natural wood movement or improper storage before installation.
You can learn more about this in our blog: Common log cabin problems: Timber movement, contraction, gaps & how to prevent them.
Proper storage
When your doors arrive, ensure they are stored completely flat and stacked on top of each other until you’re ready to fit them. Once installed, gravity and the support of the hinges will help prevent any movement in the timber.
Below is an extreme example of a door that has been left to rest up against a wall for a few days before being installed:
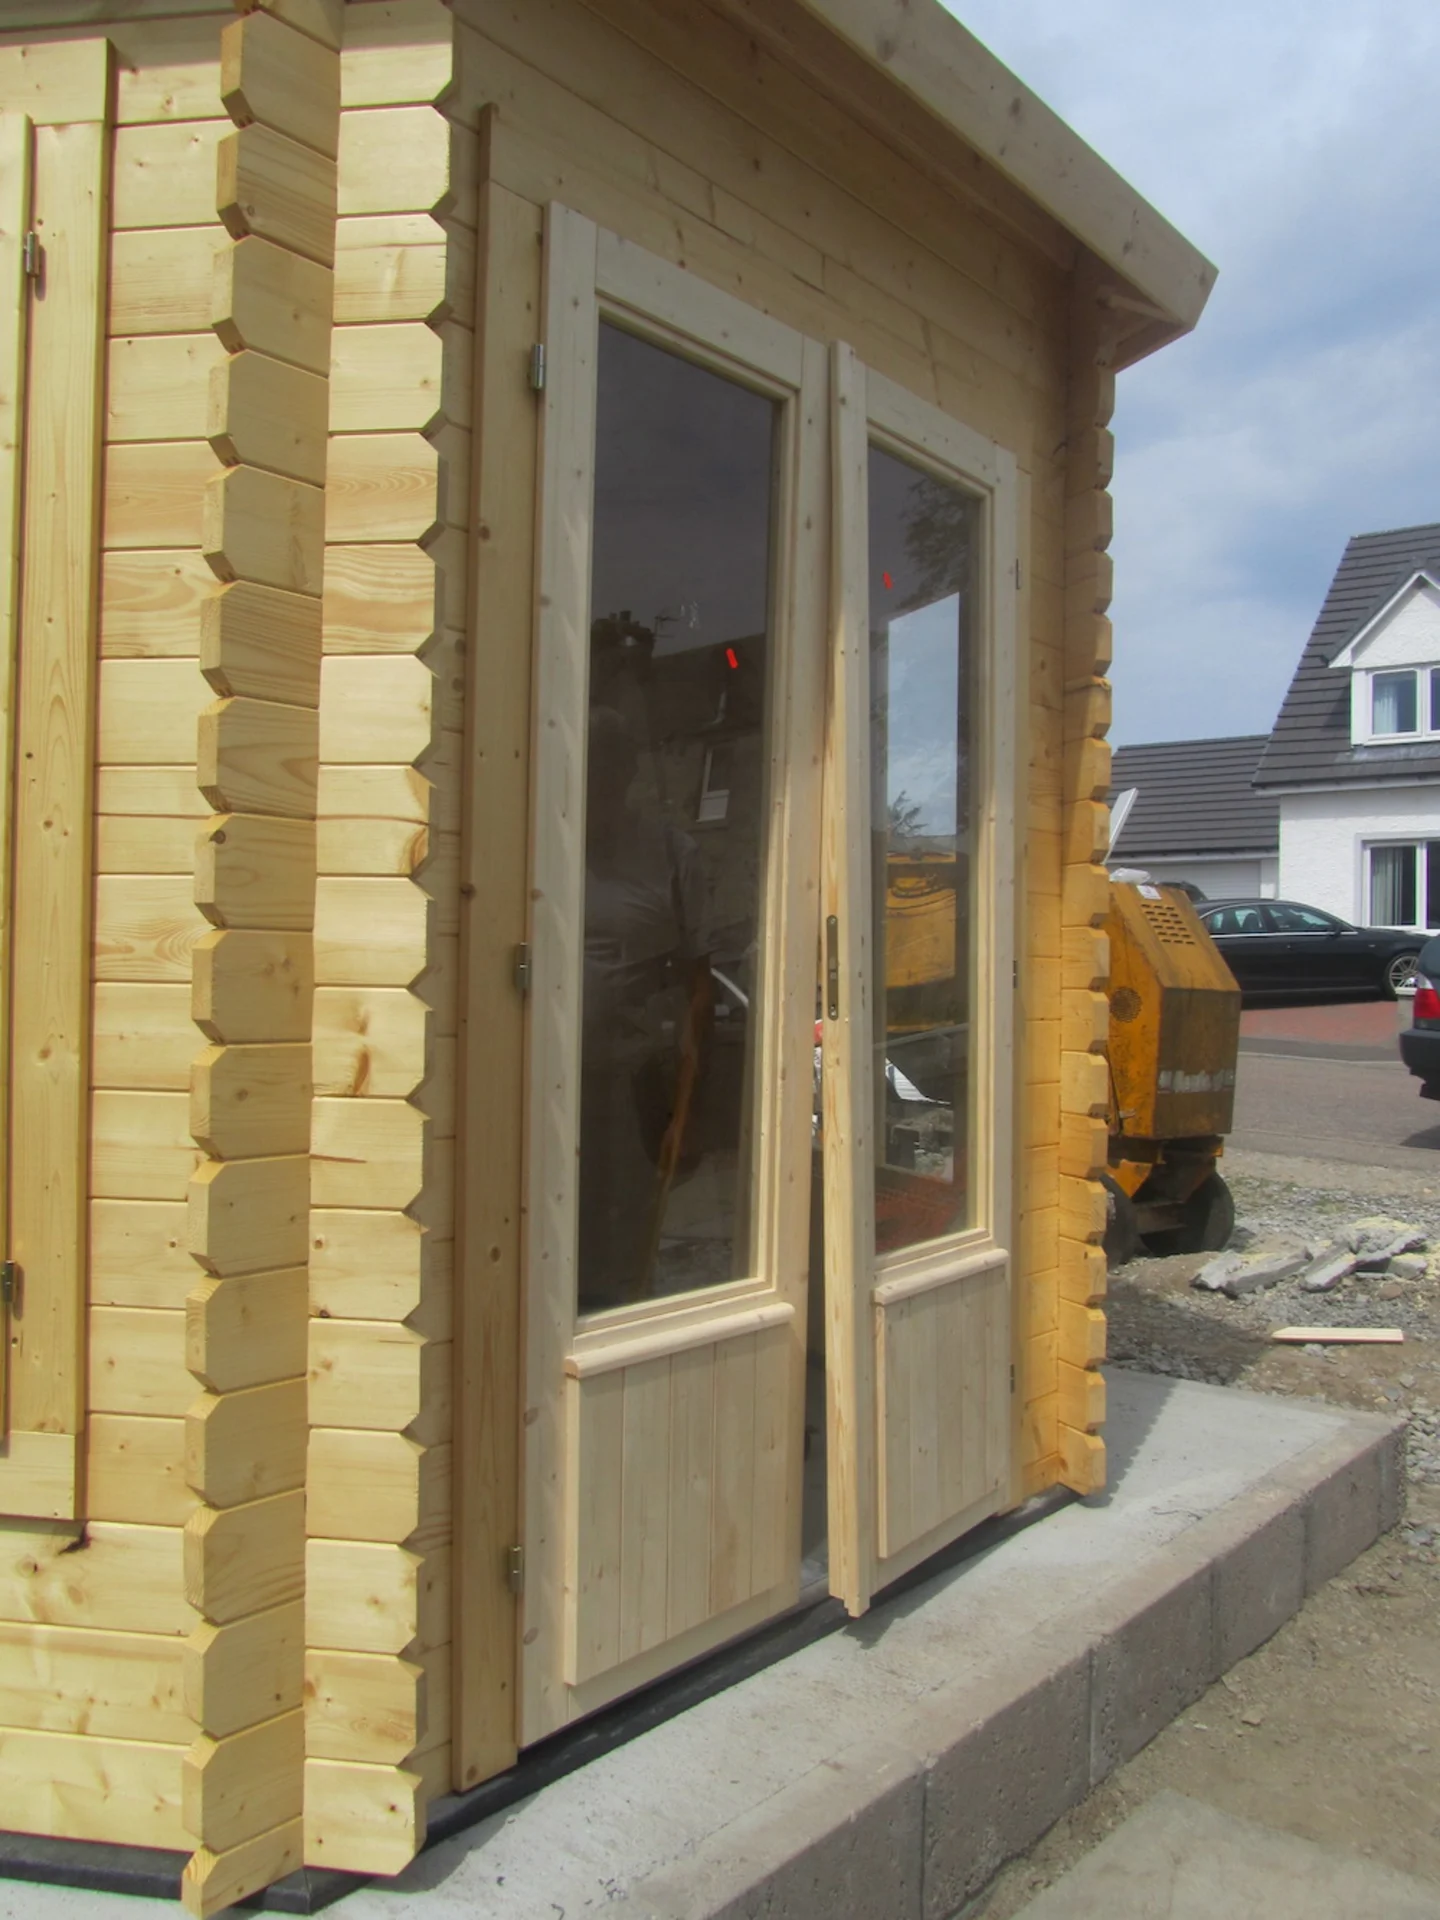
This problem is easily fixable but can be prevented with proper storage.
Pre-treat before hanging
Before fitting your log cabin doors, apply a high-quality wood treatment, oil or stain to all sides. This will protect your doors from moisture and UV damage, extending their lifespan and reducing the risk of warping.
What to do if your door warps
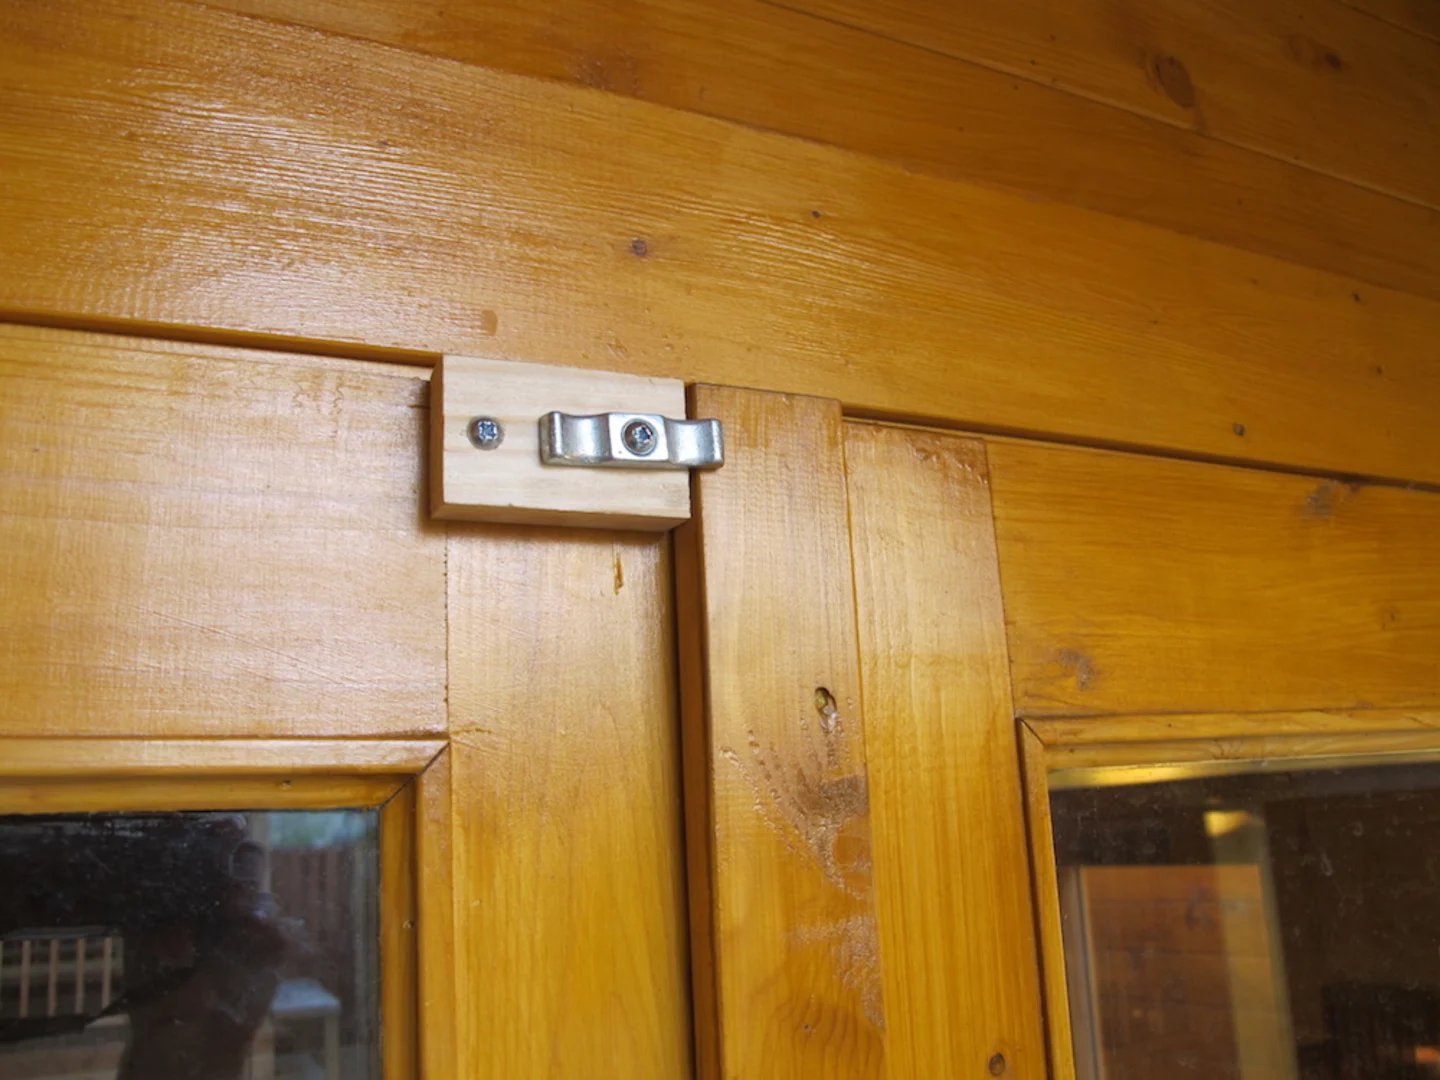
If your door starts to warp, don’t panic! It can usually be corrected. We recommend using thumb turns which can be found in most DIY shops. They will remove a warp or bow from the door within 6-8 weeks of application.
The importance of a level log cabin foundation
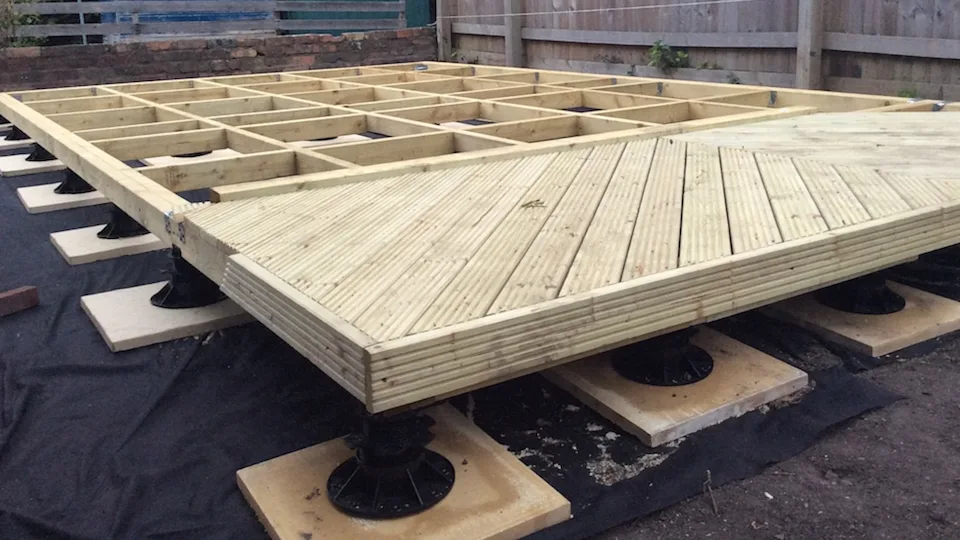
A log cabin built on an uneven foundation will cause endless issues with doors and windows. Always start with a perfectly level base. Remember: A good start is half the battle.
Your log cabin will need to settle for a few months after assembly so it is only then that you should carry out final adjustments. Always install ventilation grilles and storm anchors to keep walls secure and allow the building to breathe as it settles.
Extra tip: Install your doors using the supplied patent bolts or Phillips screws (and always use a screwdriver and not a drill!)
FAQs
Ensuring the perfect installation of your log cabin doors
Installing log cabin doors correctly is key to the comfort, security and longevity of your garden building. Remember: timber is a natural material and some movement is expected, especially in the UK climate. With the right installation, preparation, treatment and a few simple adjustments, you can prevent problems such as sticking or warping and enjoy your log cabin for years to come.
Explore our full range of log cabins to find the perfect fit for your outdoor space. If you need help installing your log cabin, or need additional advice, please contact our expert customer service team.


