


As the drastic change of seasons starts, you may find yourself weary of starting your Log Cabin build. It’s during these times where you should keep a close eye on the weather reports and strategically plan your build around those few days of mediocre weather. Just as these customers have done, in this post we will see Mrs R’s review of building her Ulrik Log Cabin, completed with pictures to show us the process.
Delivering the Ulrik Log Cabin
We went for the Ulrik 3.8 x 3.8m cabin as it wasn’t too big but a nice size for our garden.
The delivery came mid-morning and took about 3 hours to unload and put in some order for the build. It started to rain (typical) but we managed to cover all the parts.
The build is on a raised concrete base and so we opted for the free composite foundation beams that were on offer at the time of purchase. They are never going to rot.
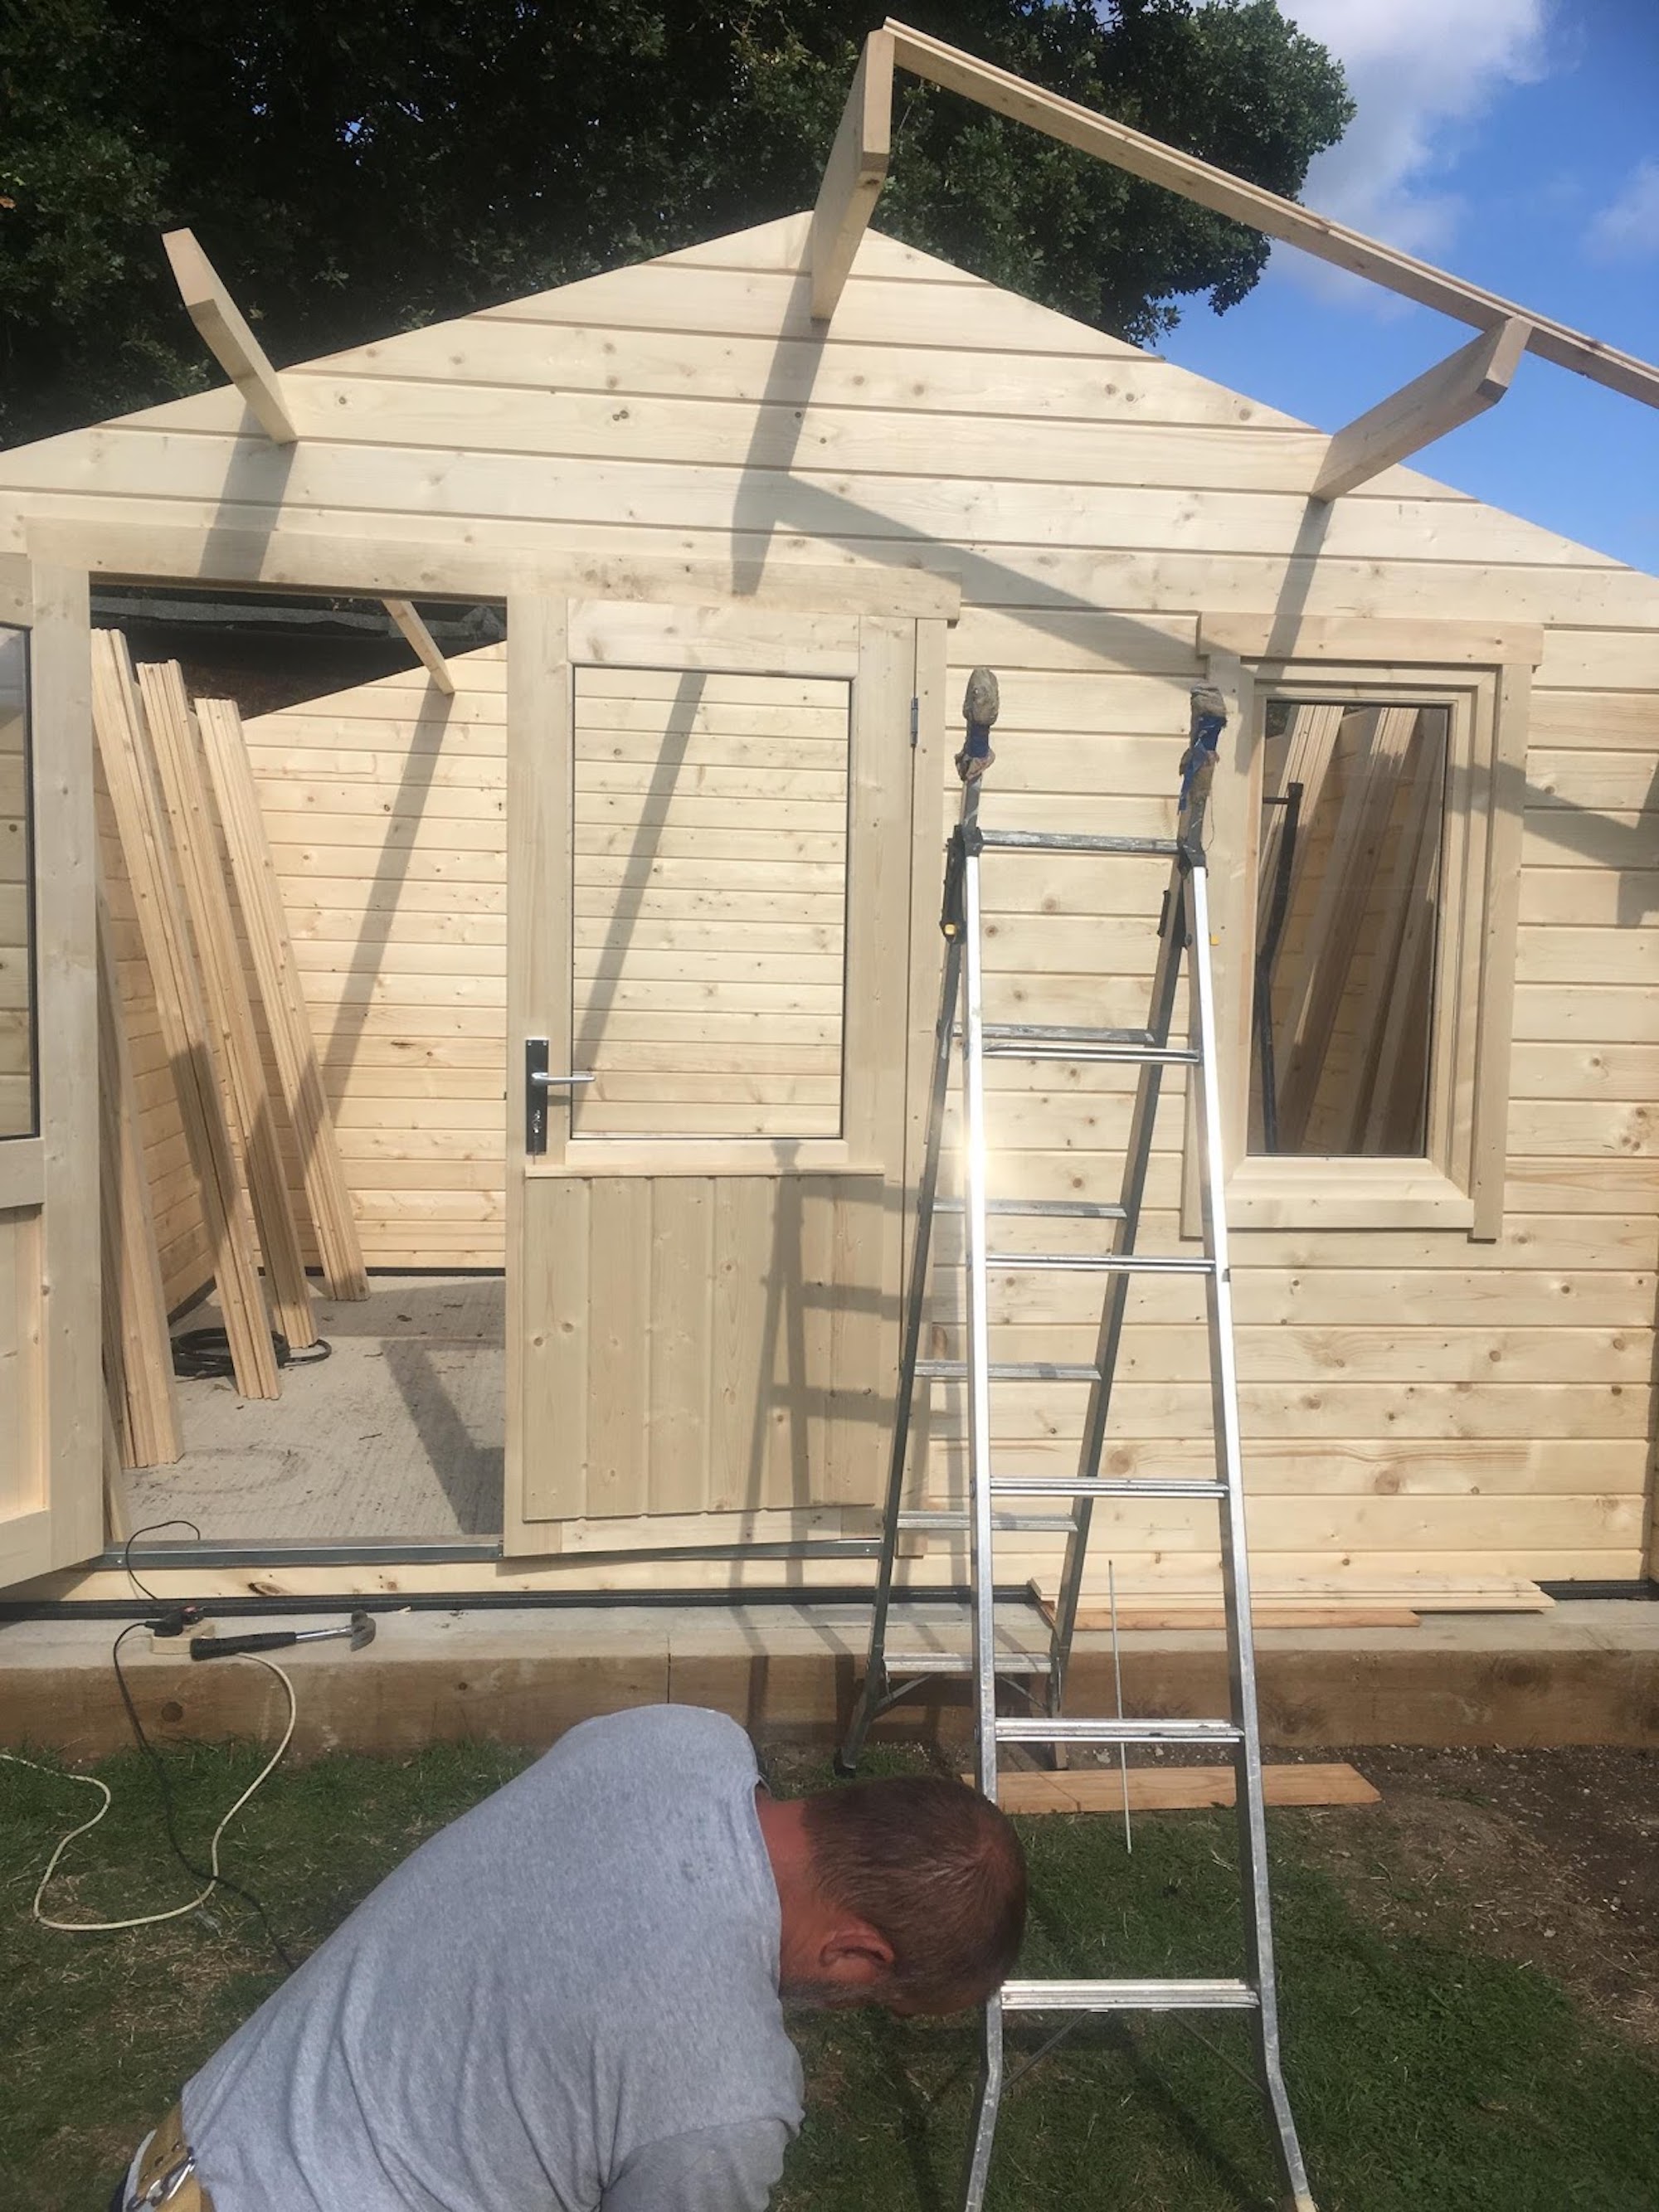
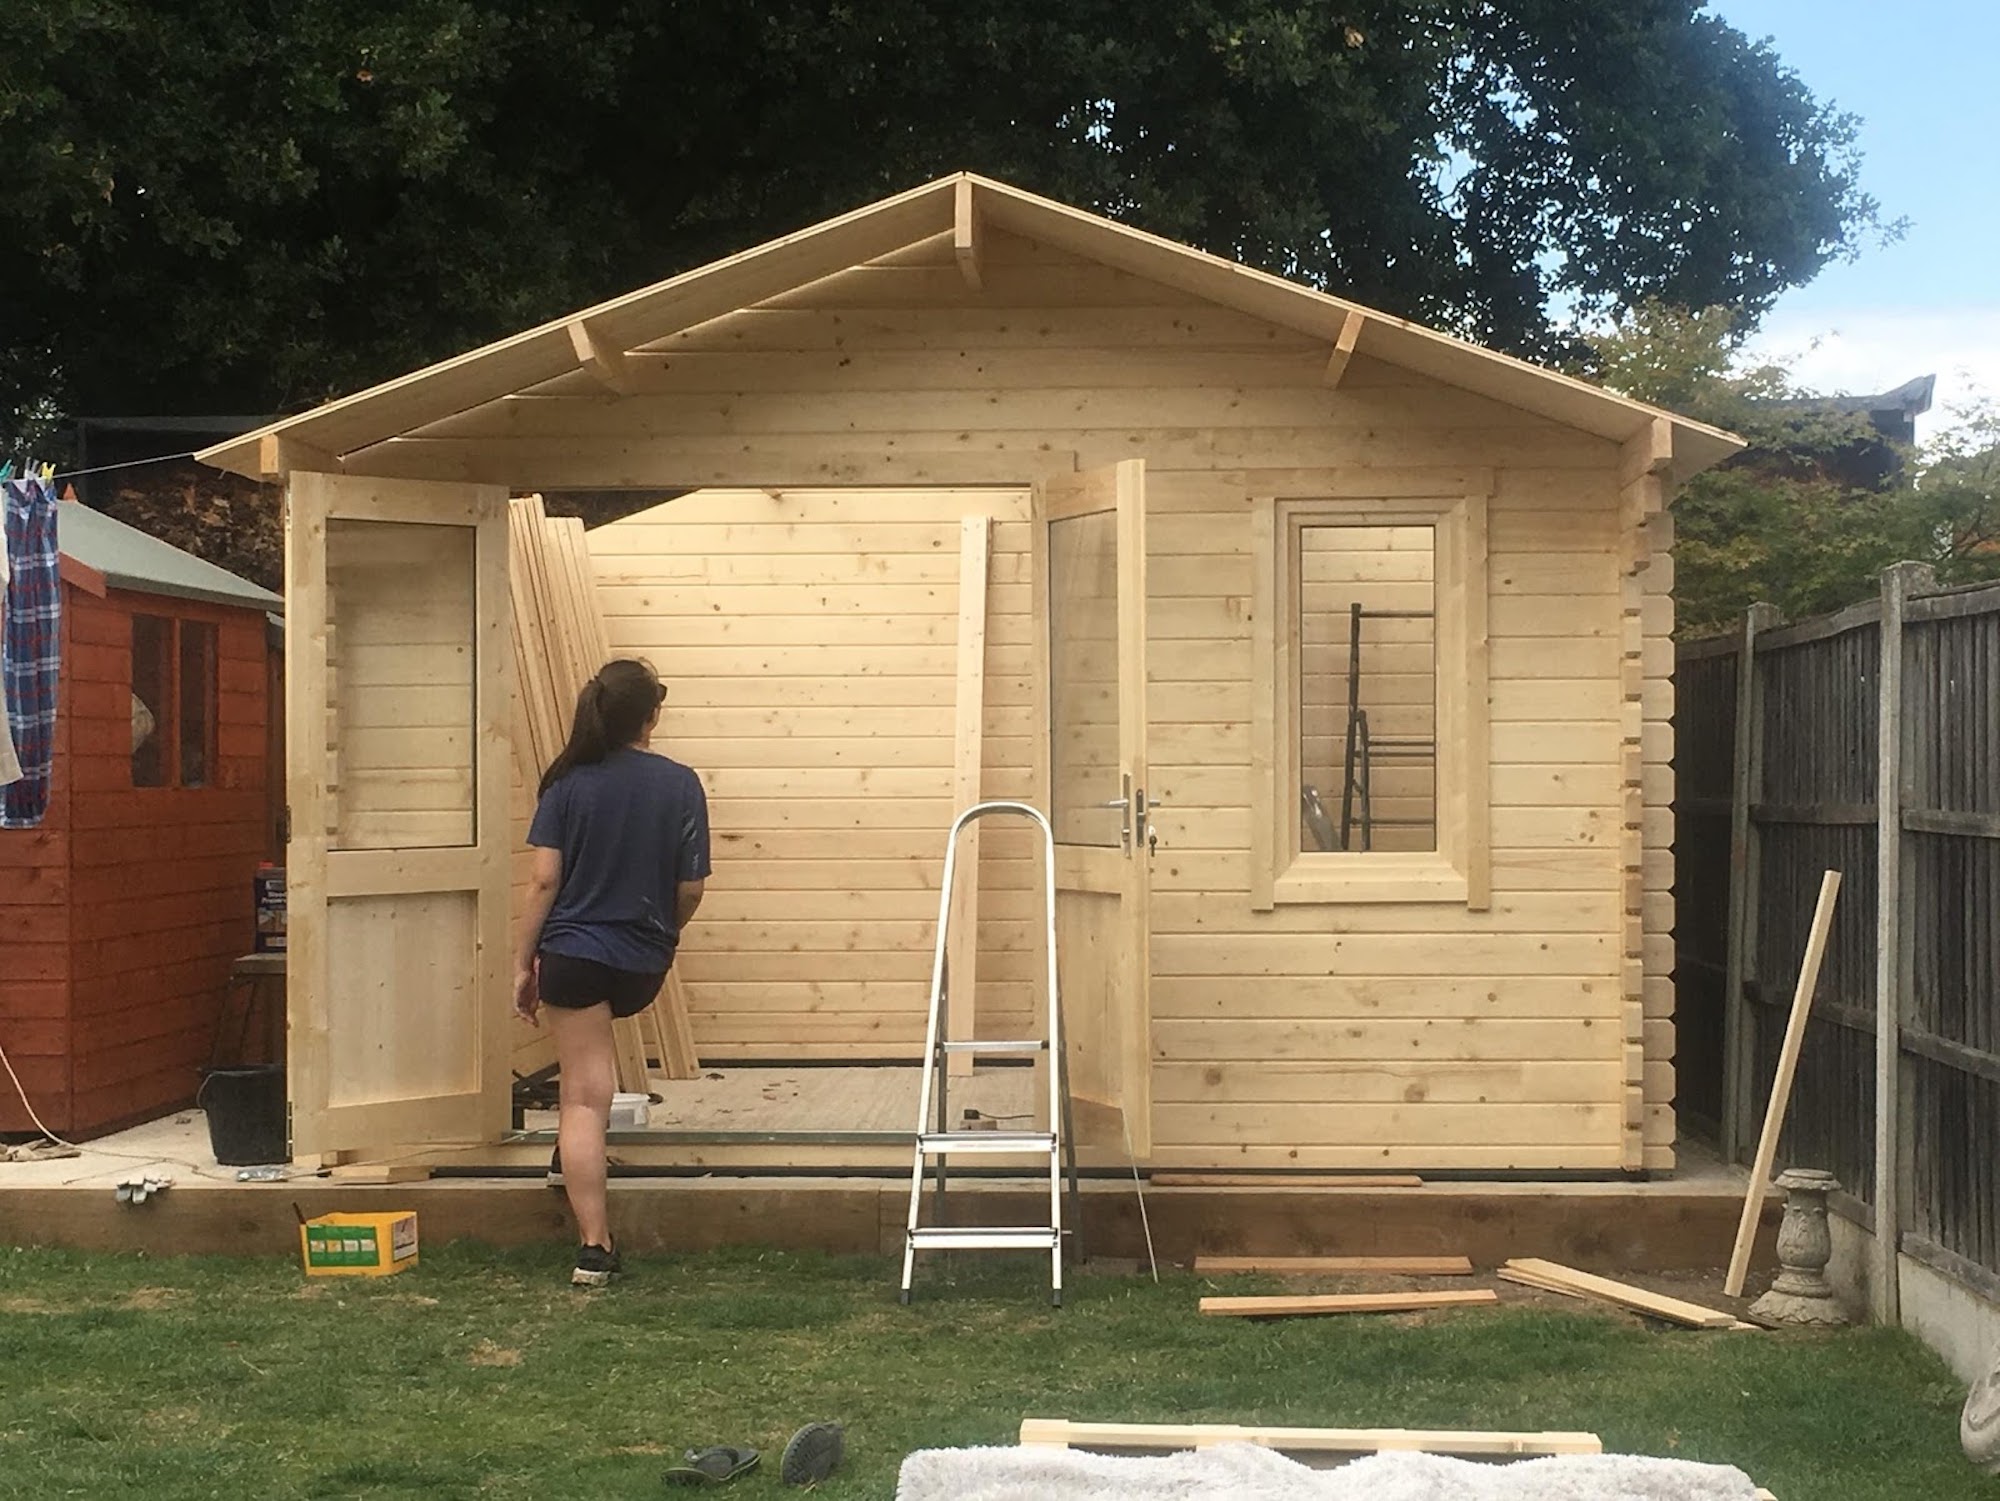
Starting Construction
The following day the job was started. I must admit it looked a bit daunting but definitely exciting. Once the first few beams are down and making sure it’s as square as possible the build is pleasantly easy. We had very little issues with bent or warped timbers, some needed a little persuasion, however.
As each timber was put in place it was treated to a generous splosh of wood preservative including all the joints. This made the build a bit slower but whose rushing. We didn’t go mad with the camera probably because we forgot but we did manage to take a few snaps along the way.
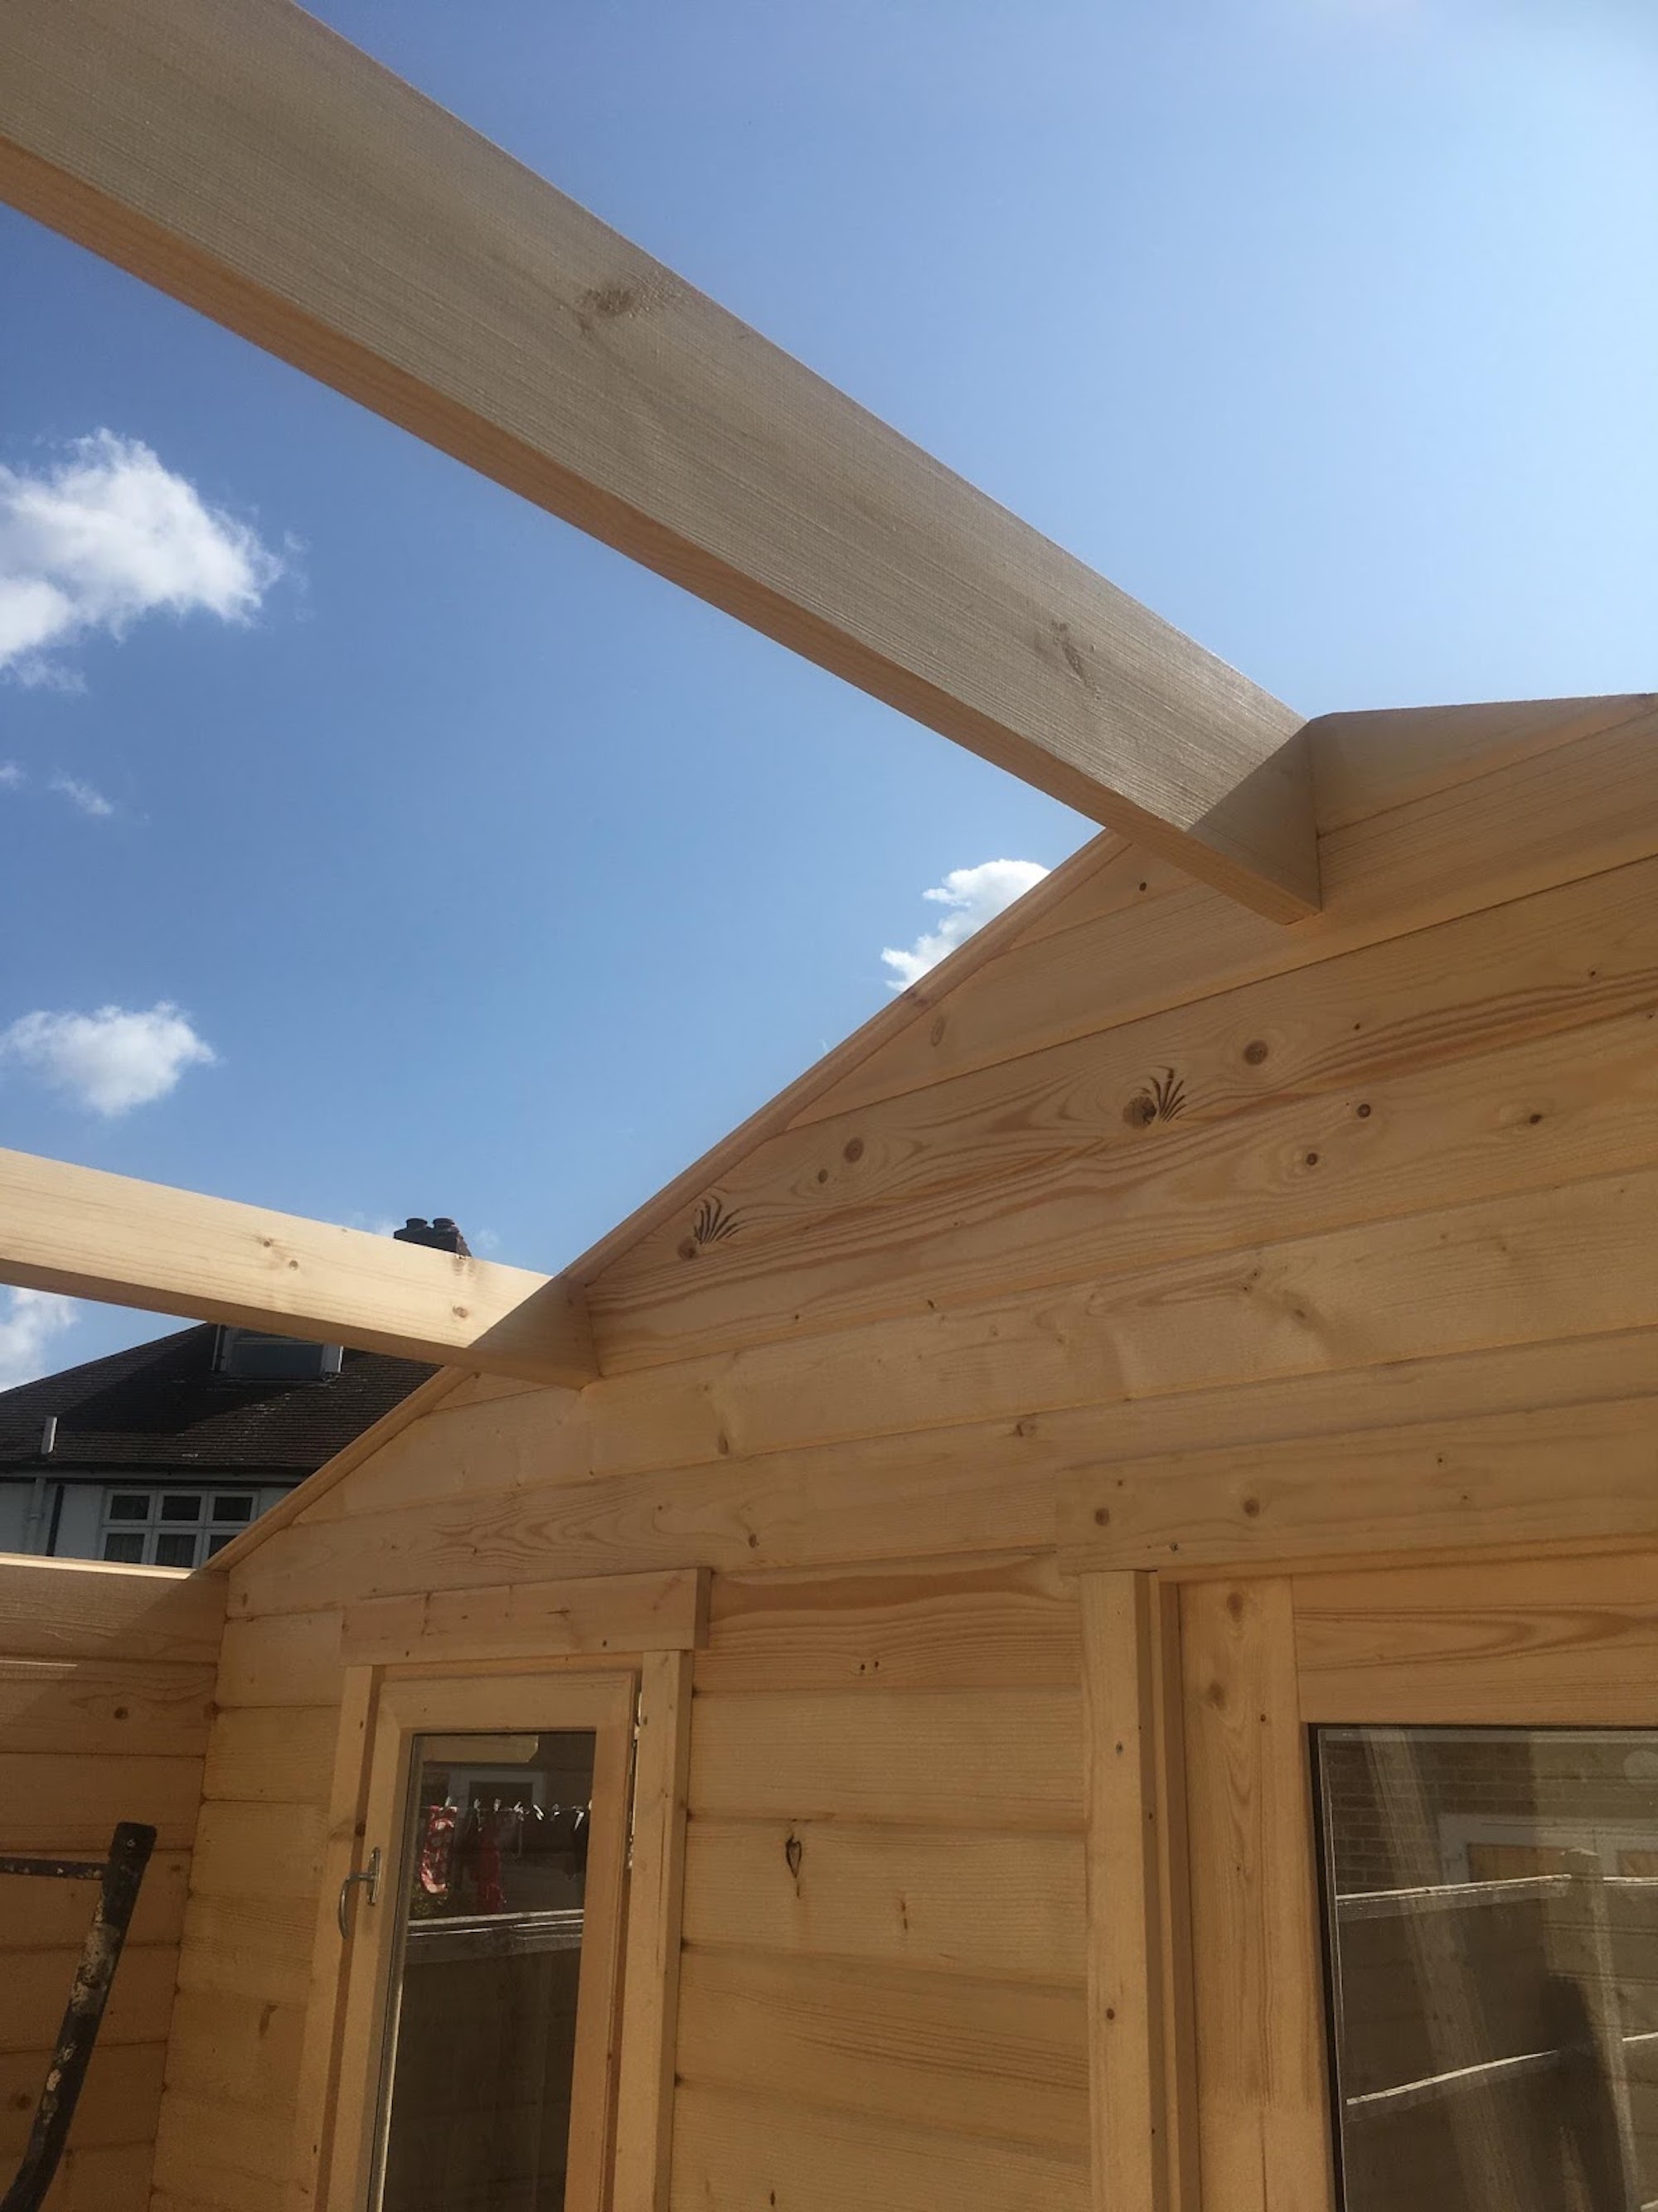
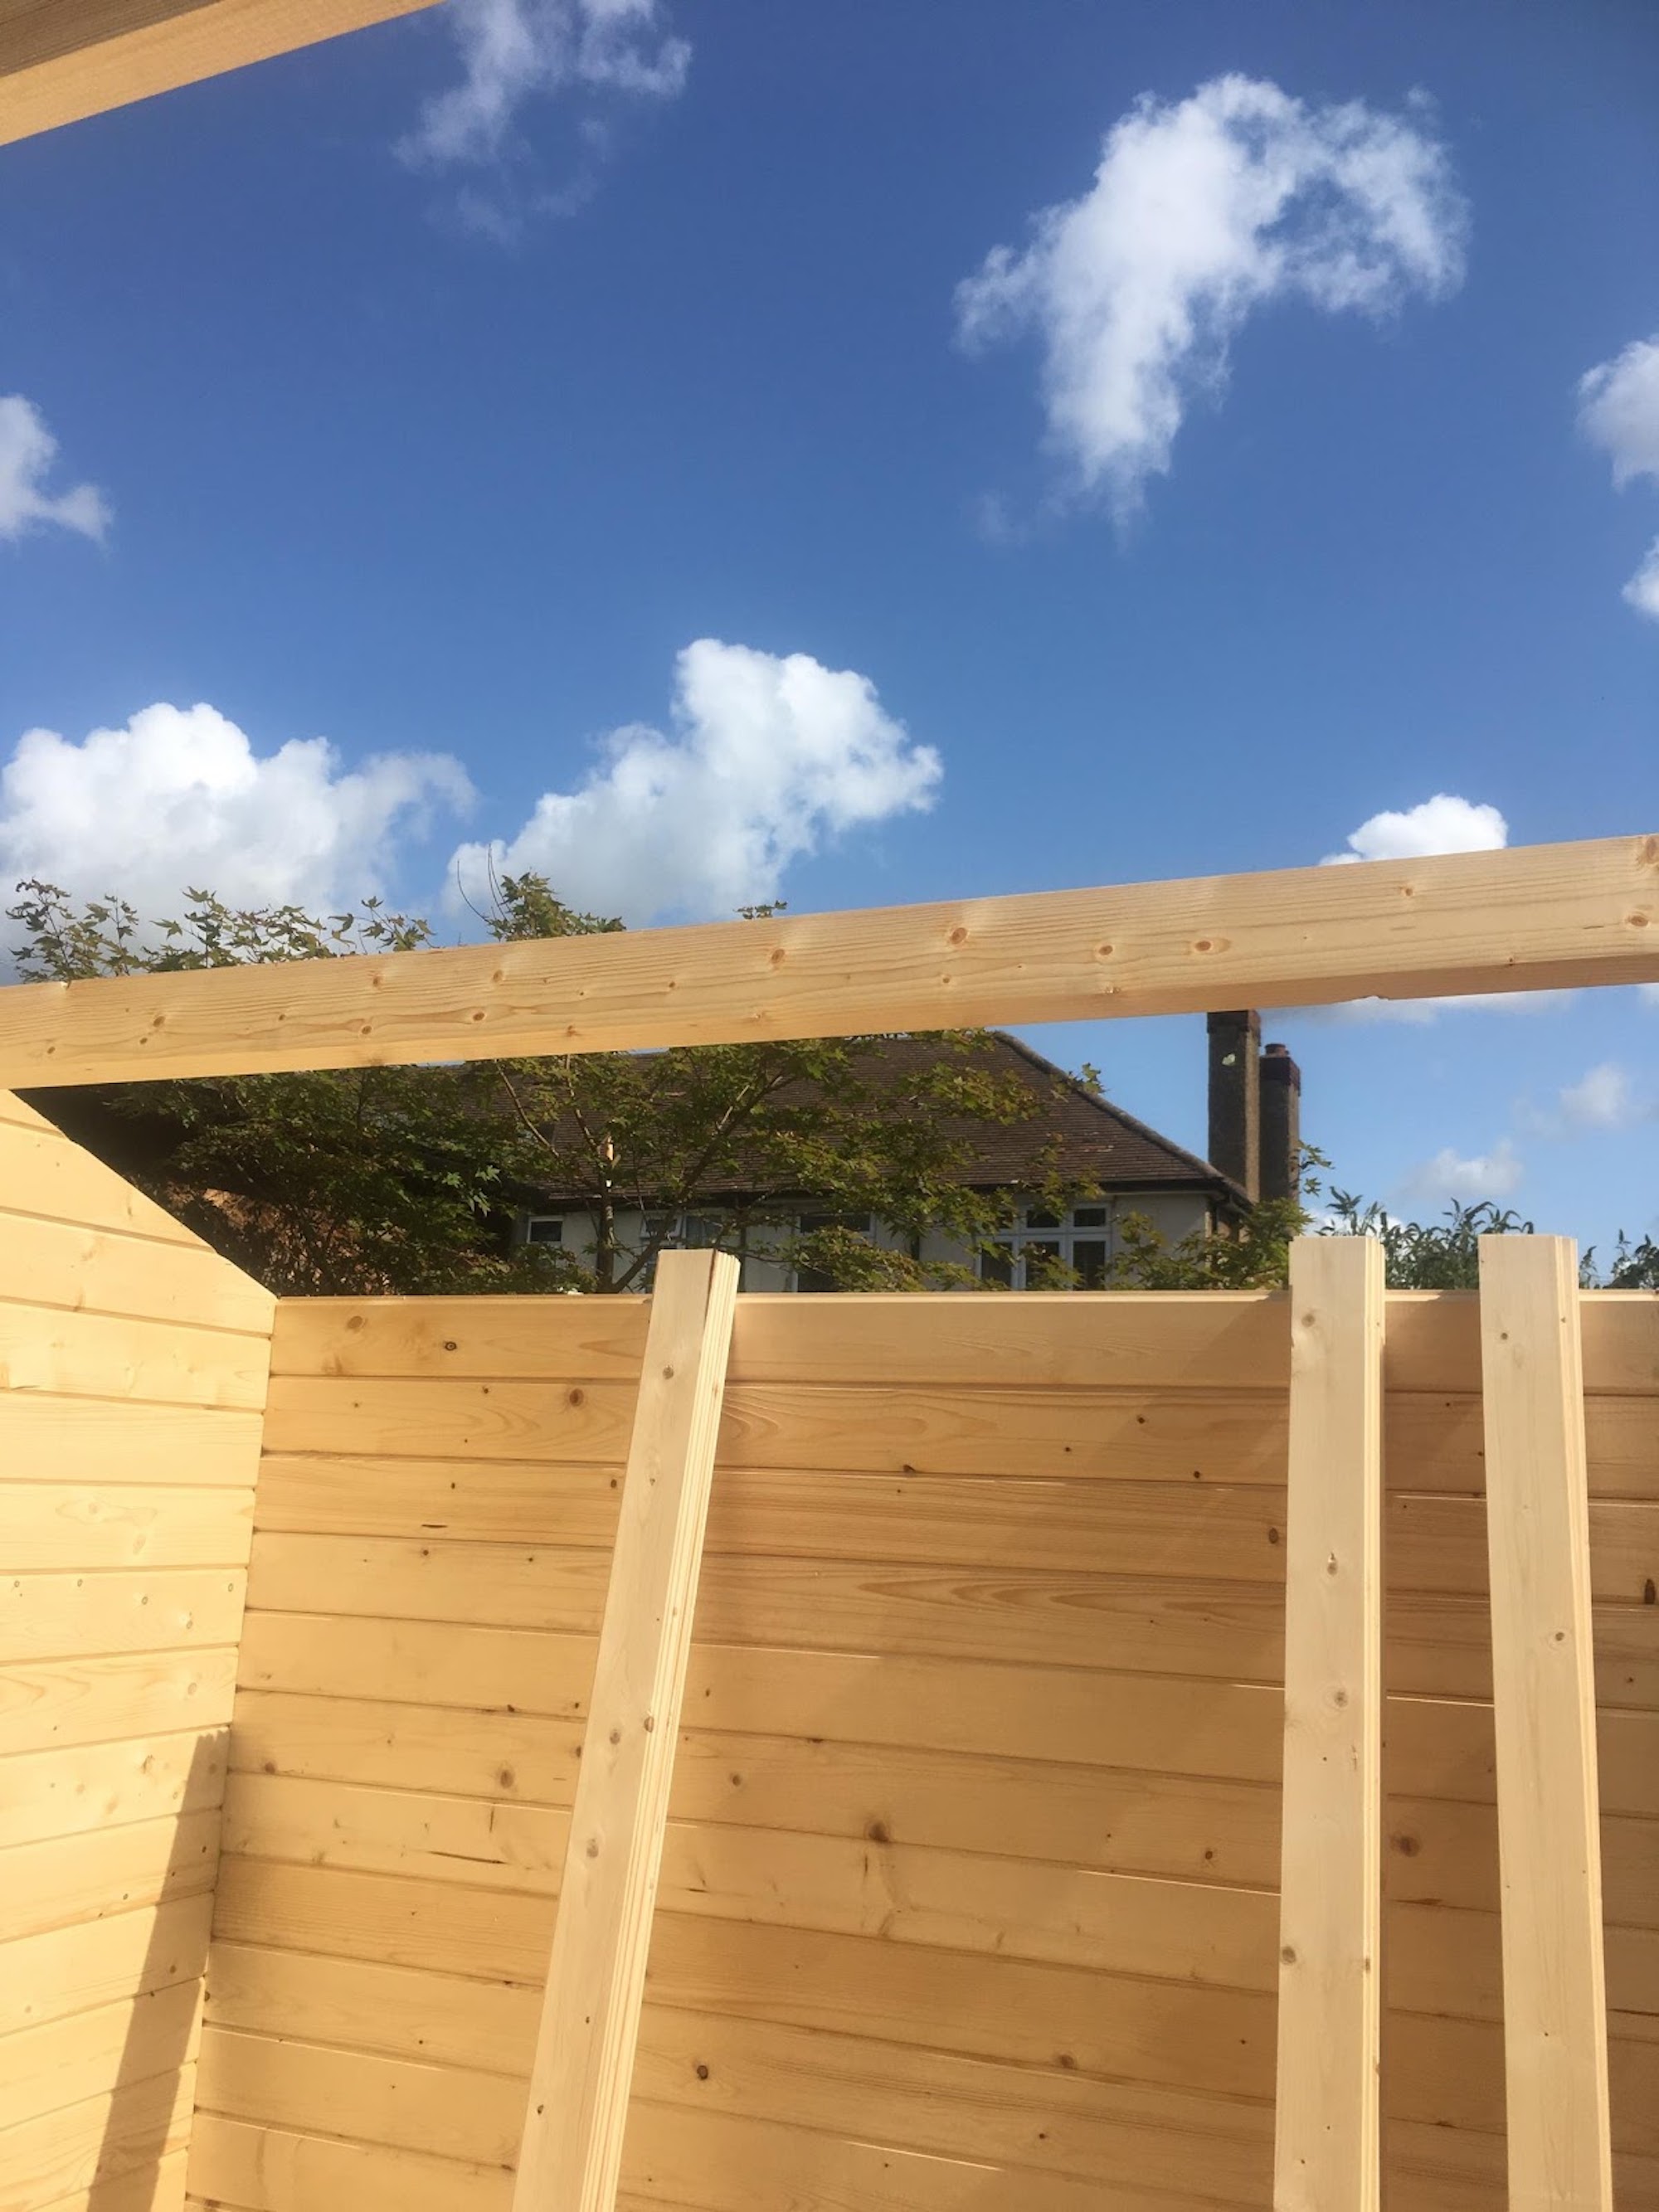
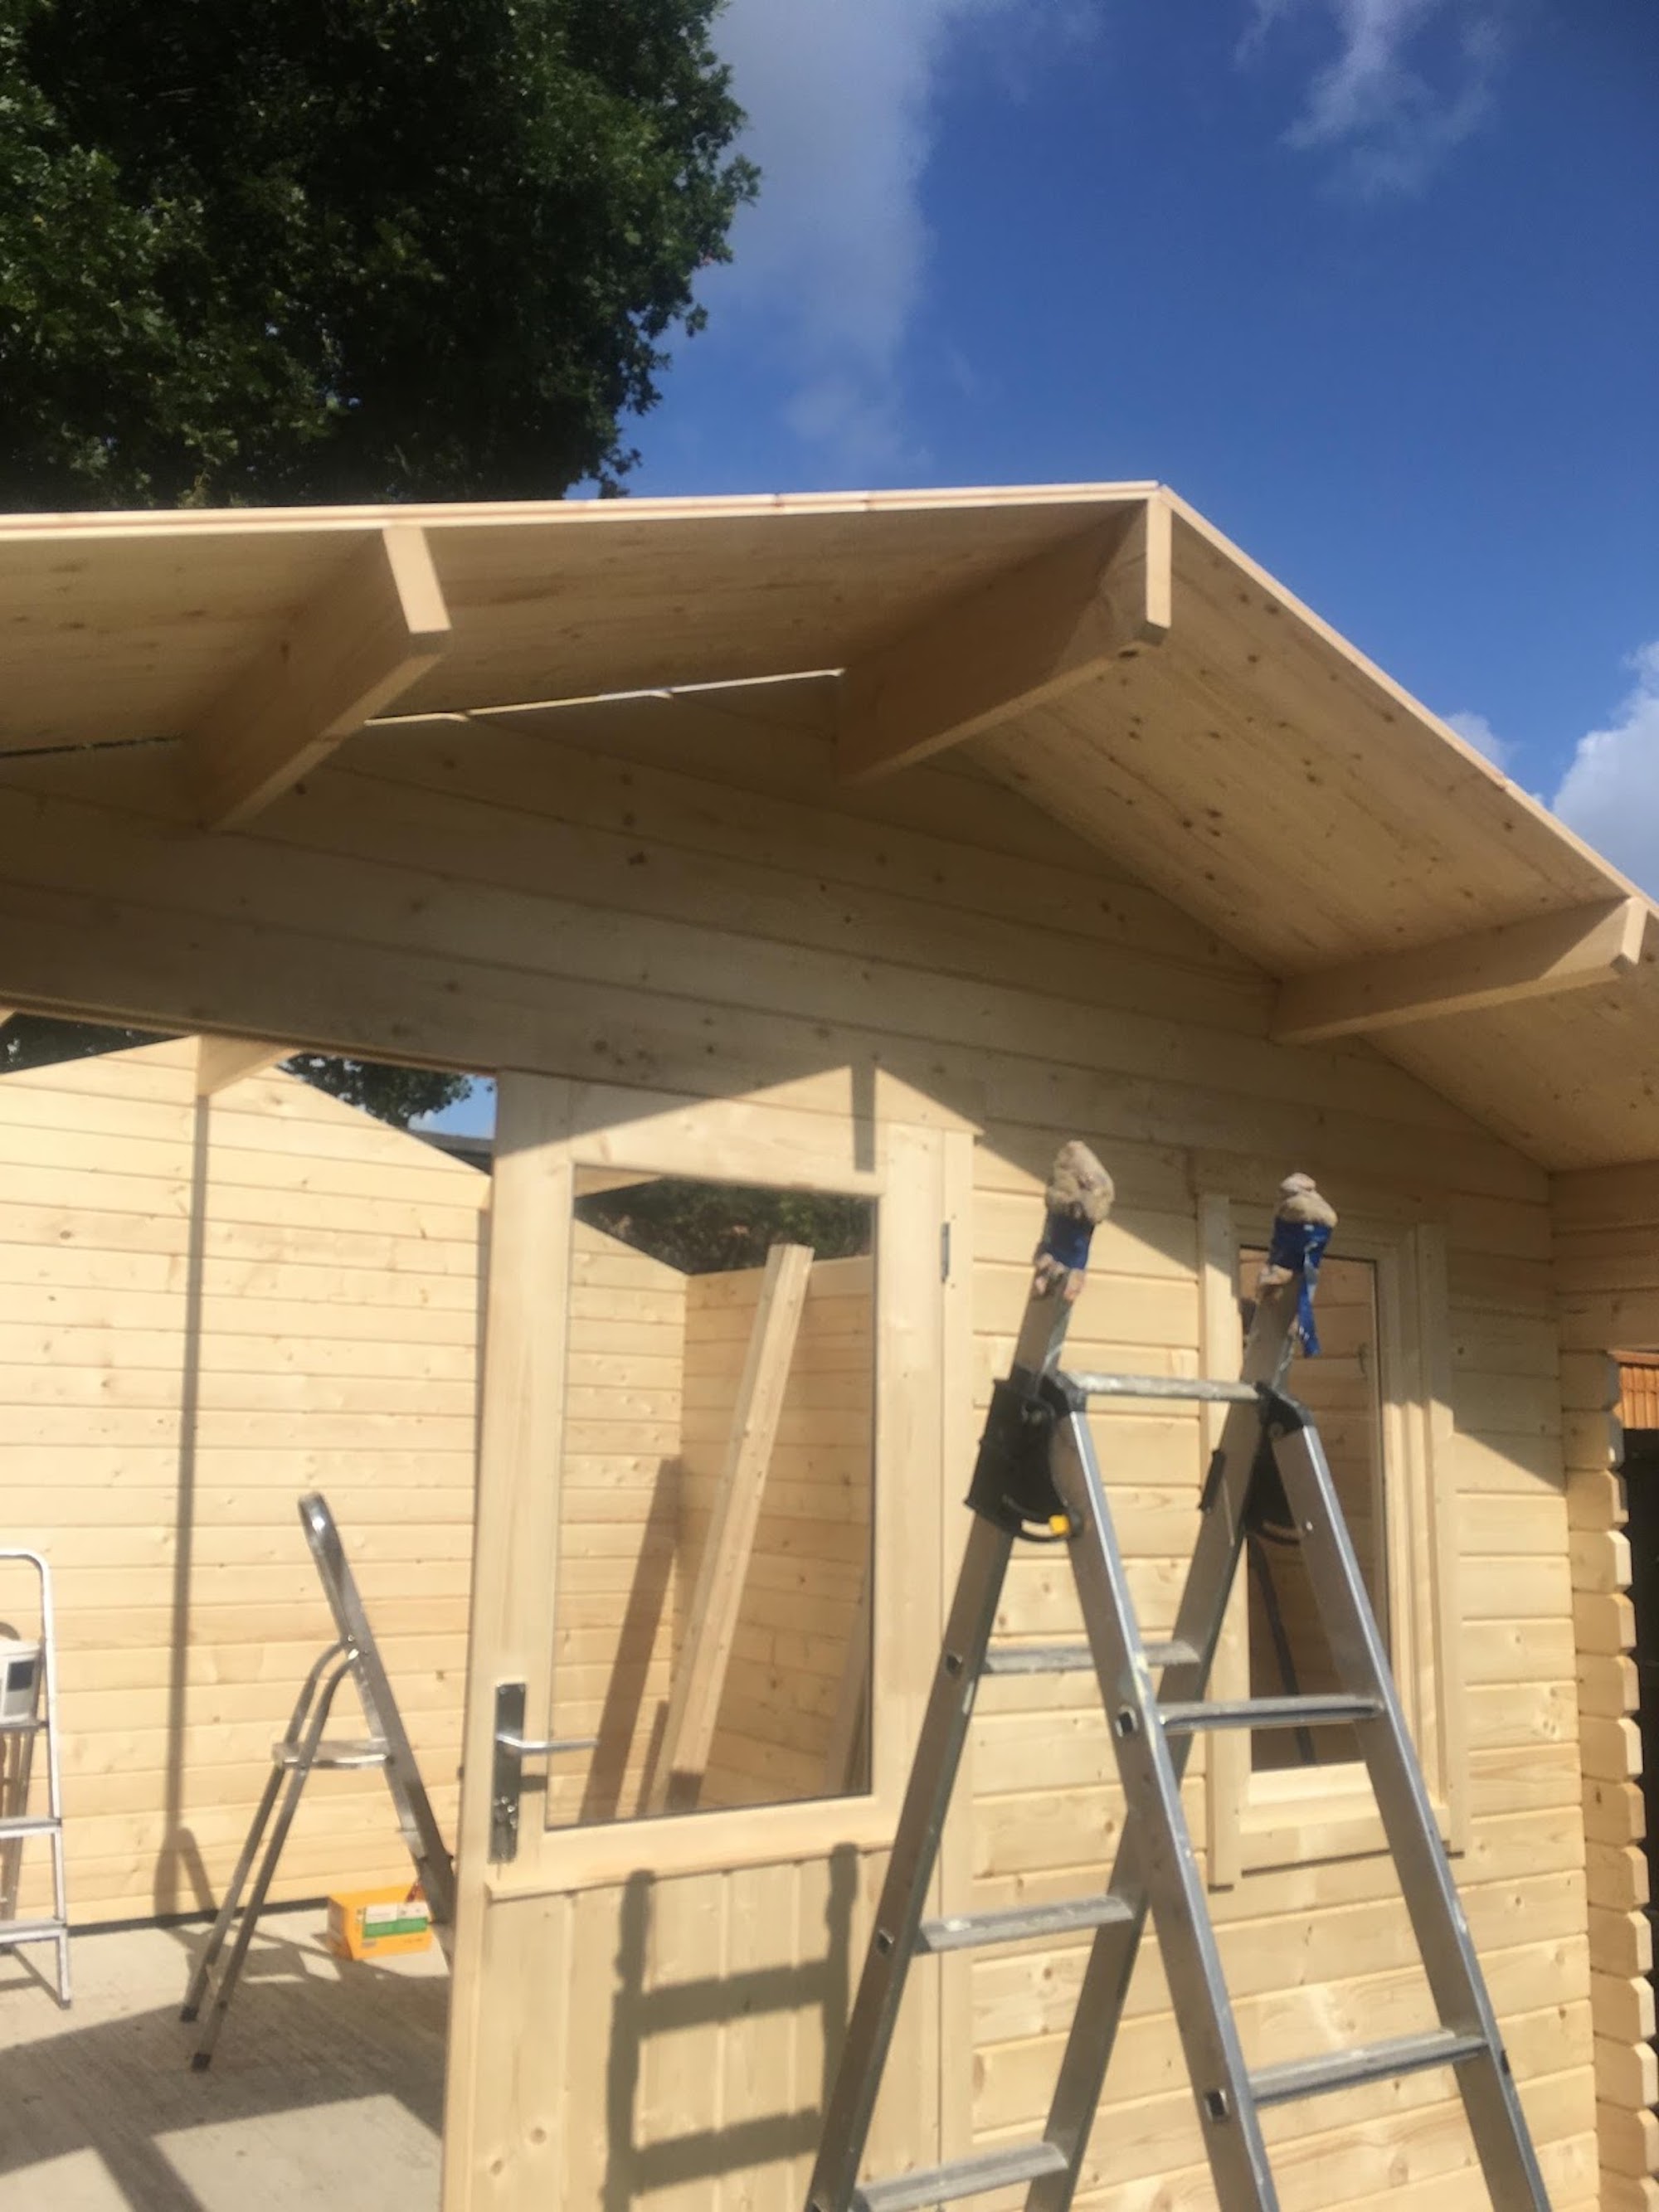
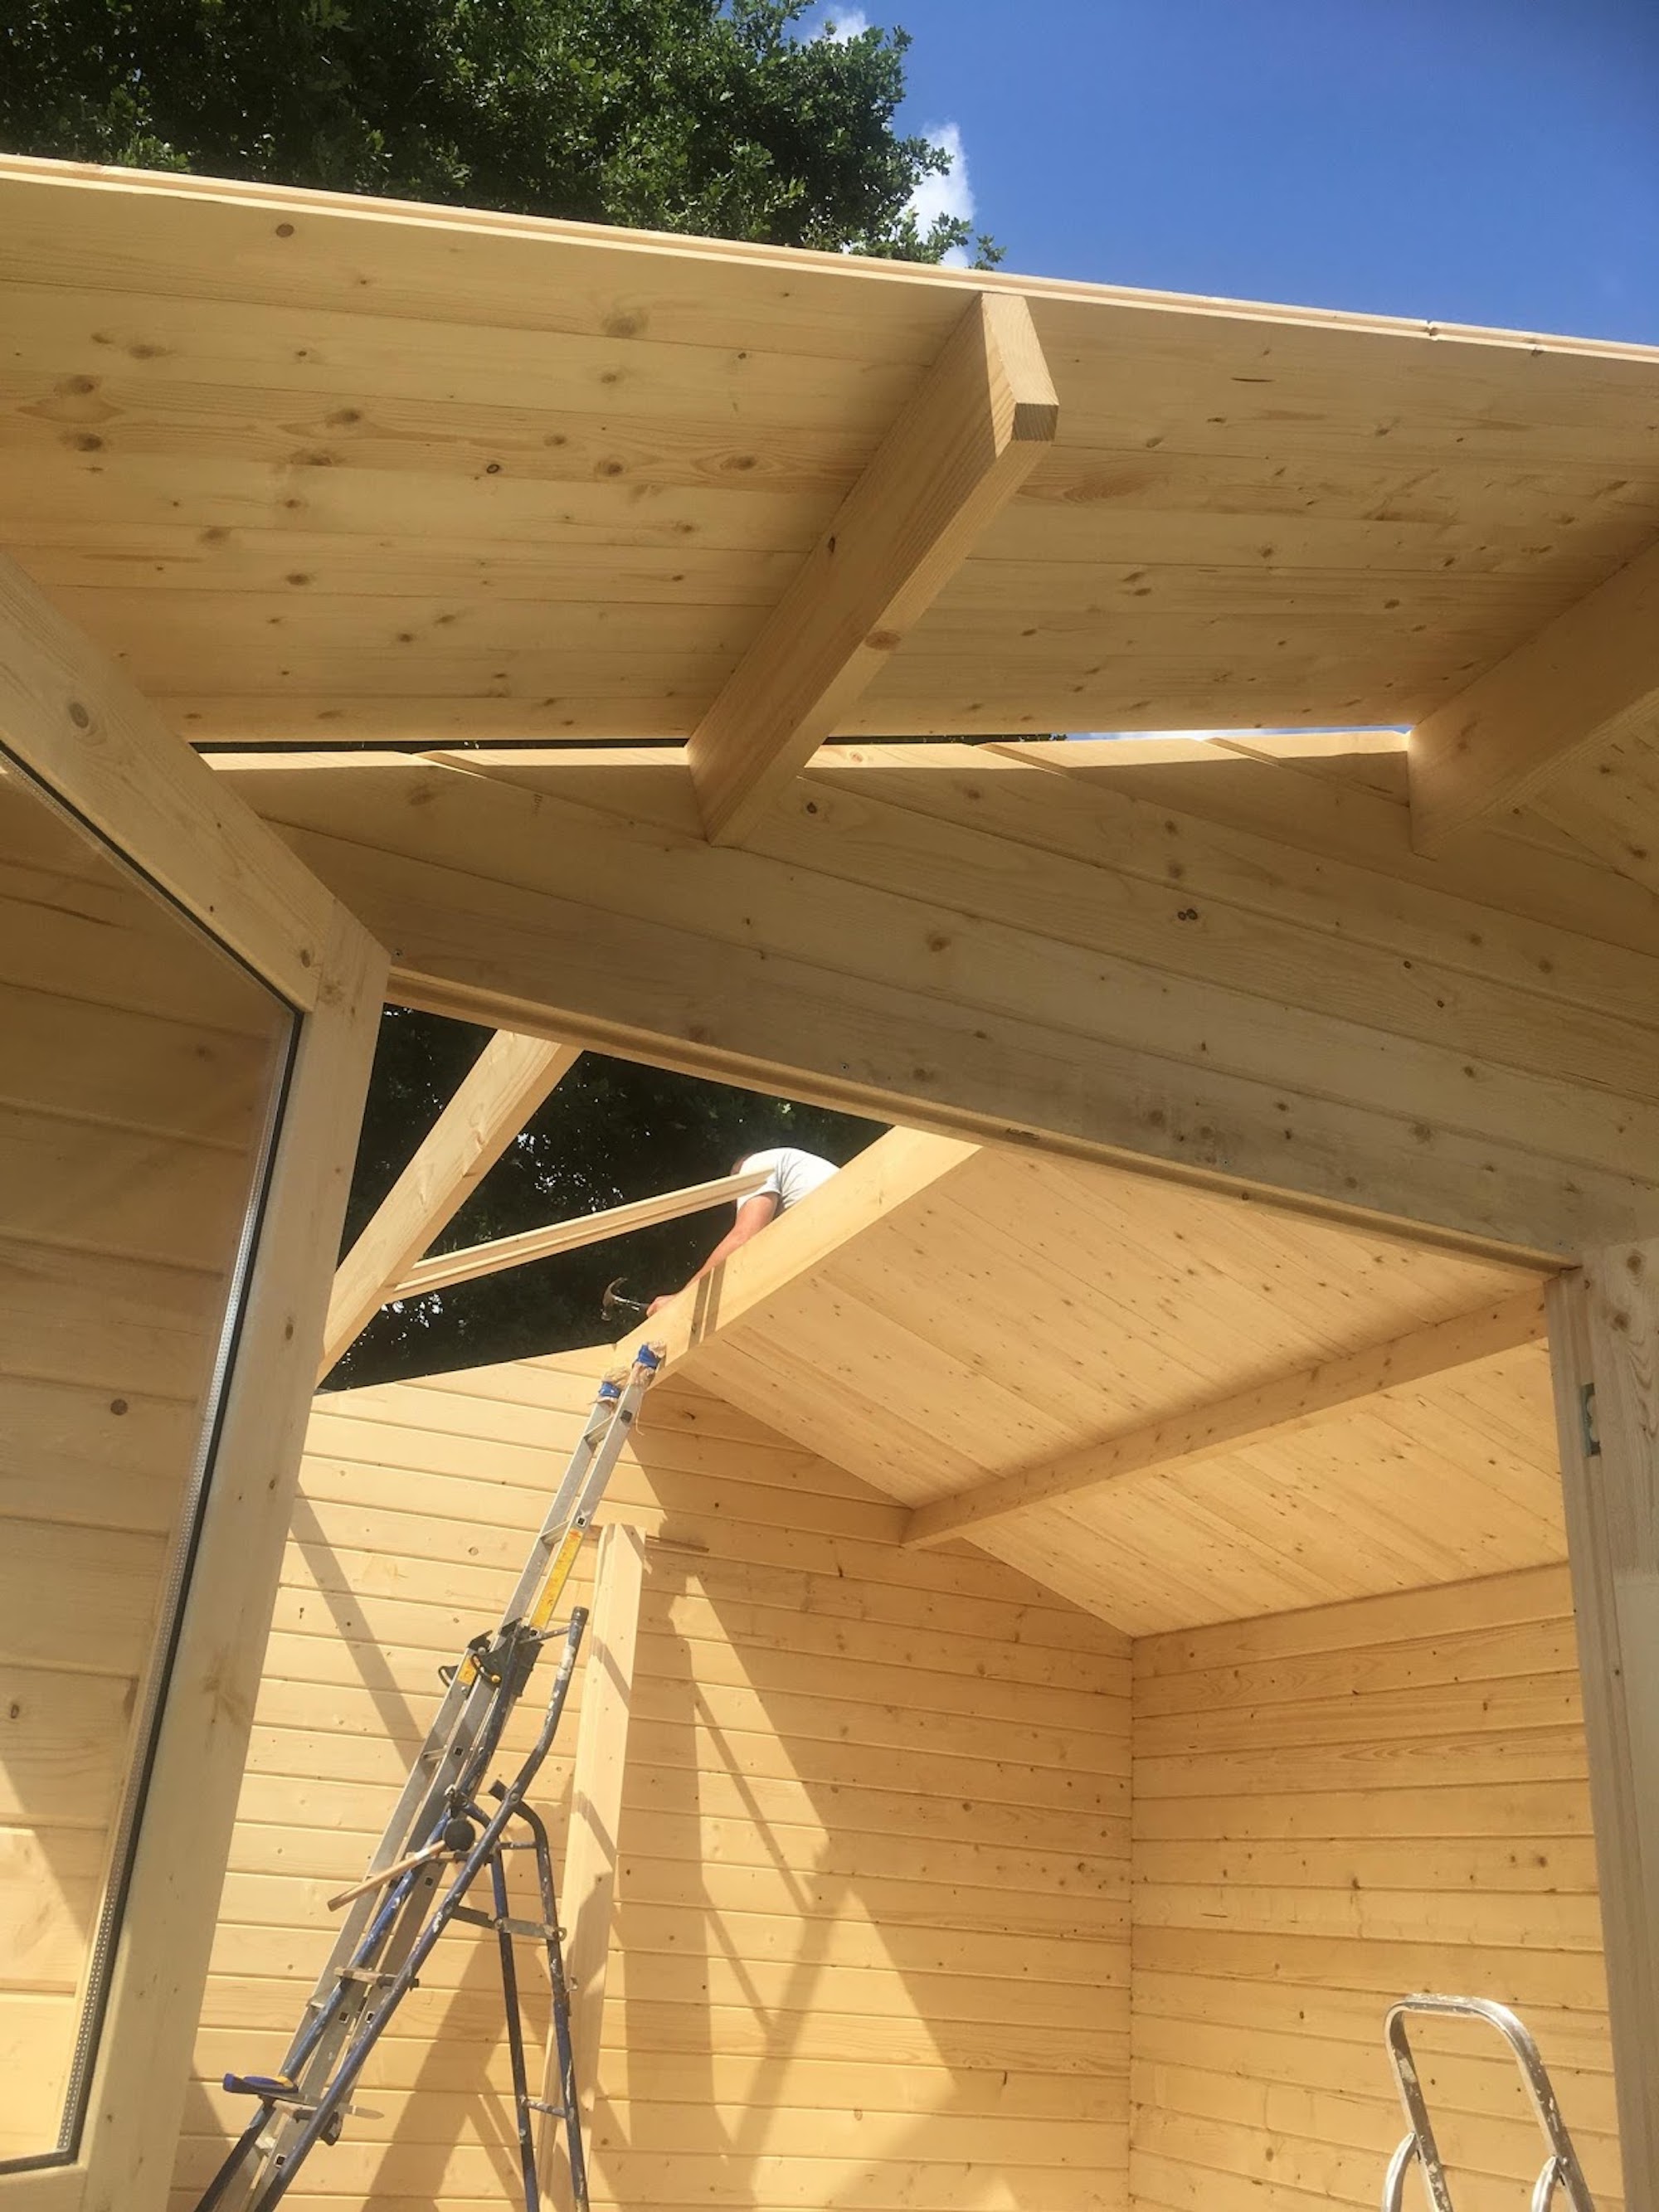
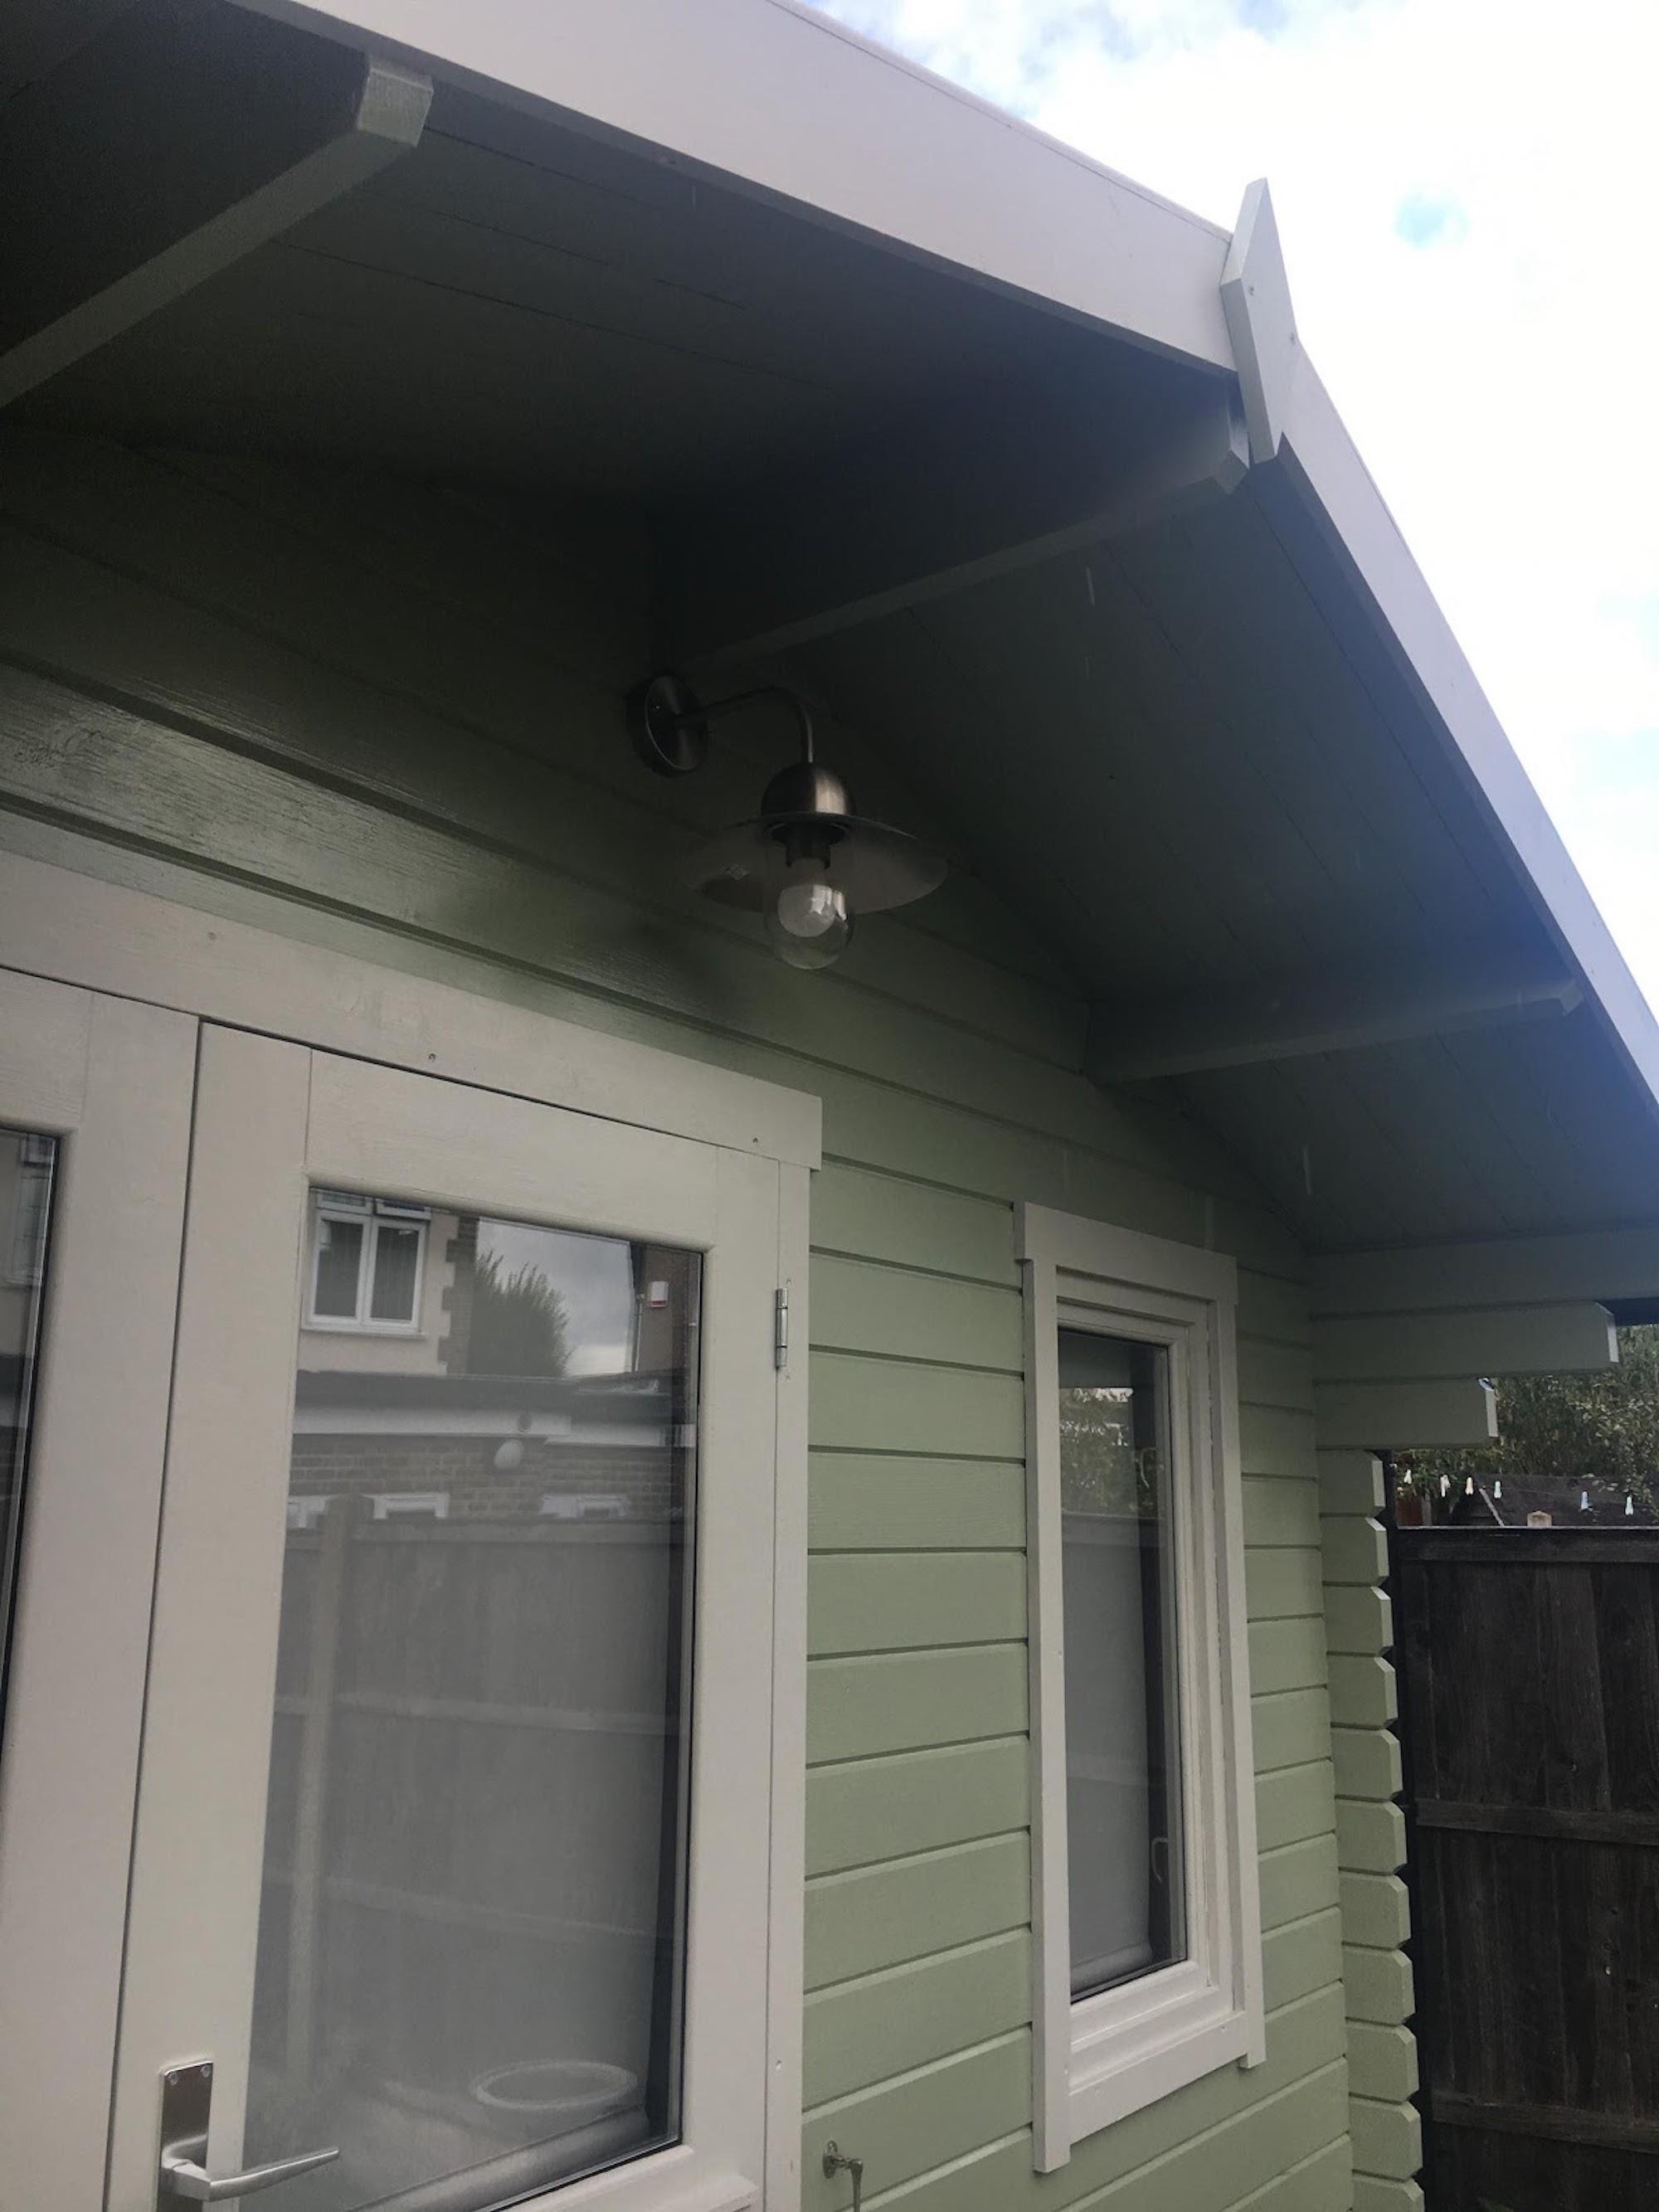
Ulrik Log Cabin Roofing
By the roofing stage (day two) the kids had deserted me. This was to be expected, besides there was little help they could offer. Again, this is straightforward just a lot of nails to bang in… Tongue and groove complete. It starts to look like a cabin – Nice!
We went for the free shingles (green) which we thought would look better than felt. My husband had never laid shingles before found it to be not difficult. The only hassle is working on the roof and its angle. The shingles can be unforgiving on the knees.
-
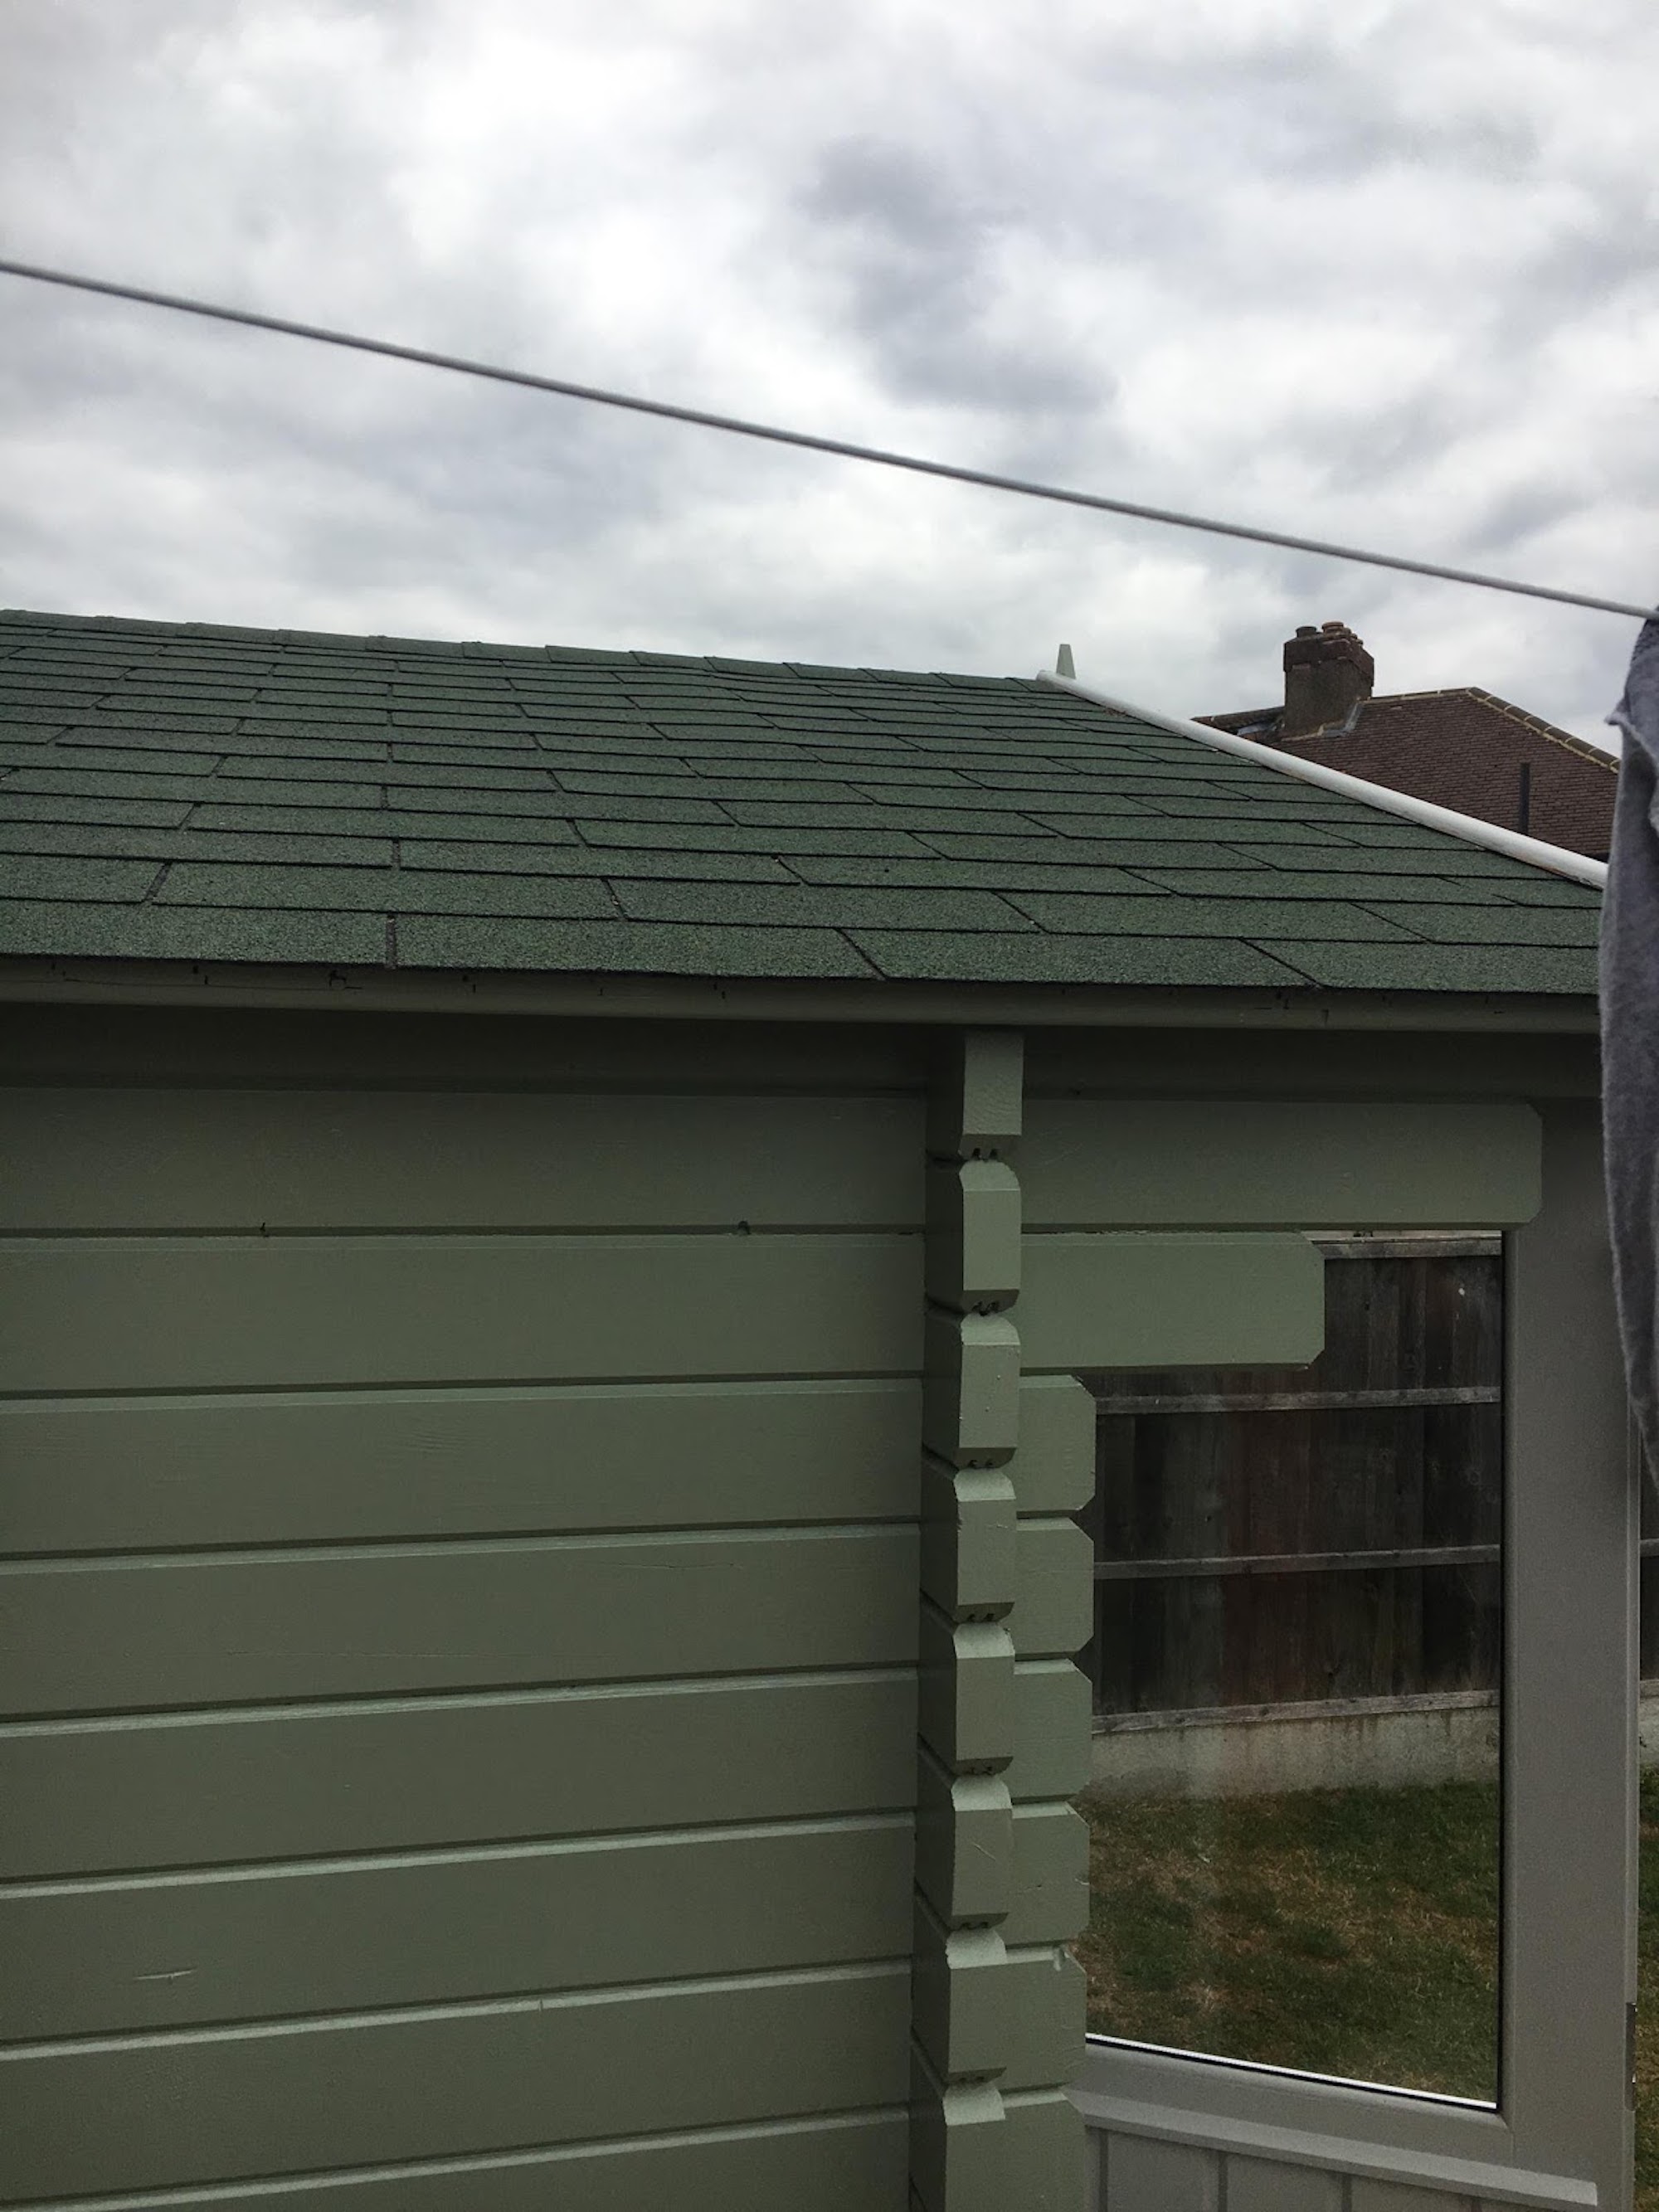
- Yeah, I know it’s already been painted but you can still see the shingles.

Treating and Painting the Ulrik Log Cabin
The wood that was first treated with preservative now gets a “ten Year” guarantee undercoat from Sandtex.
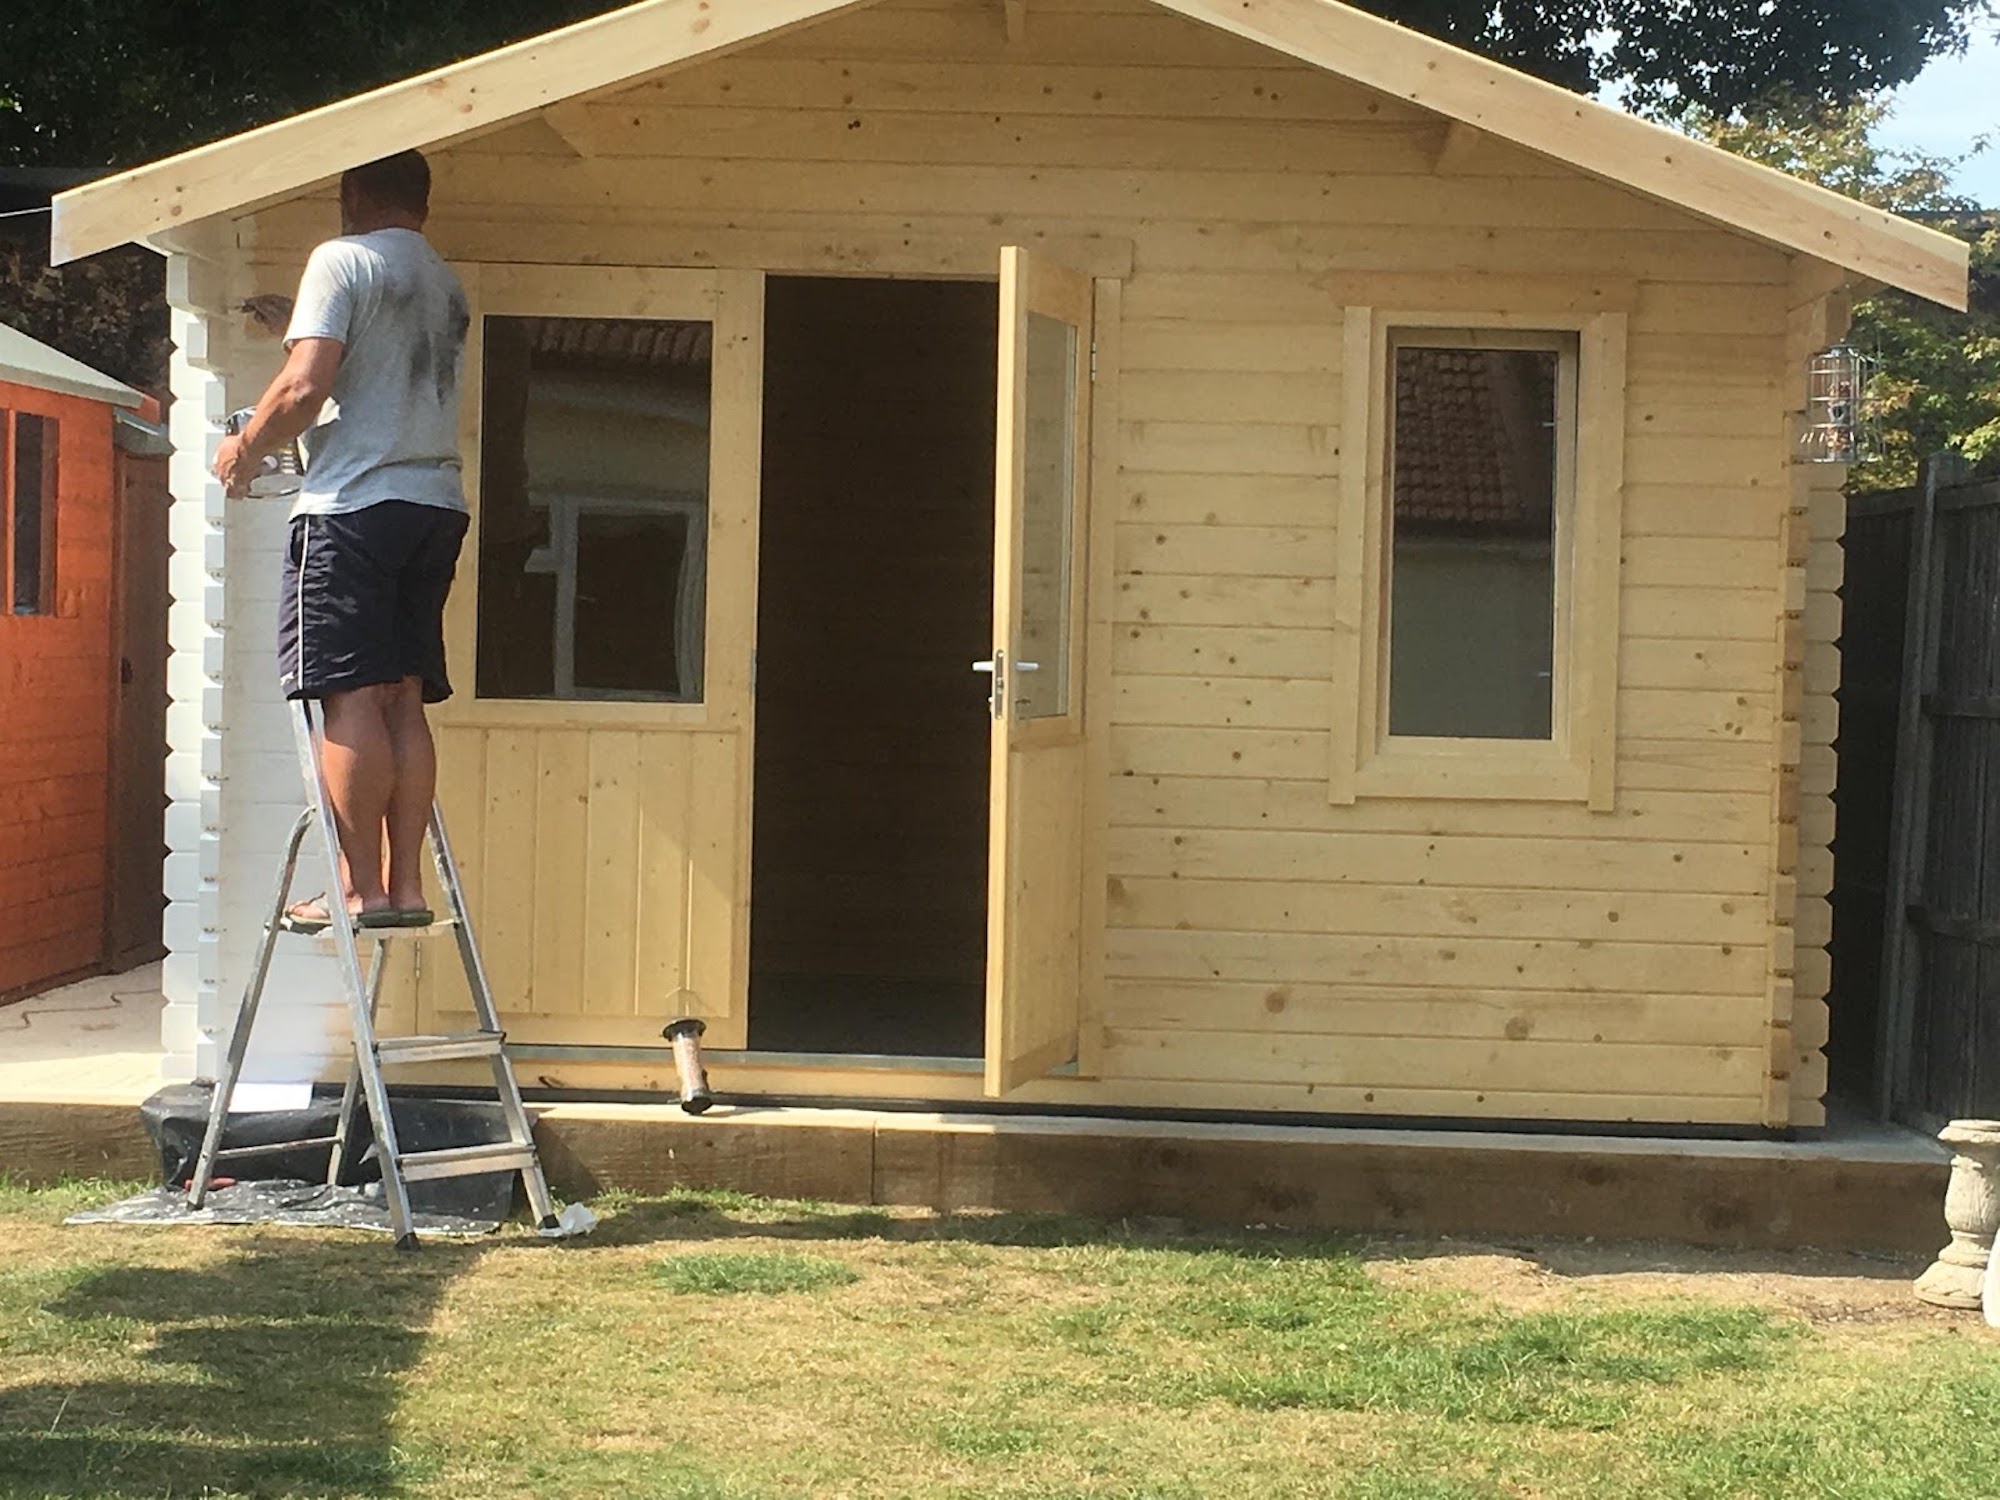
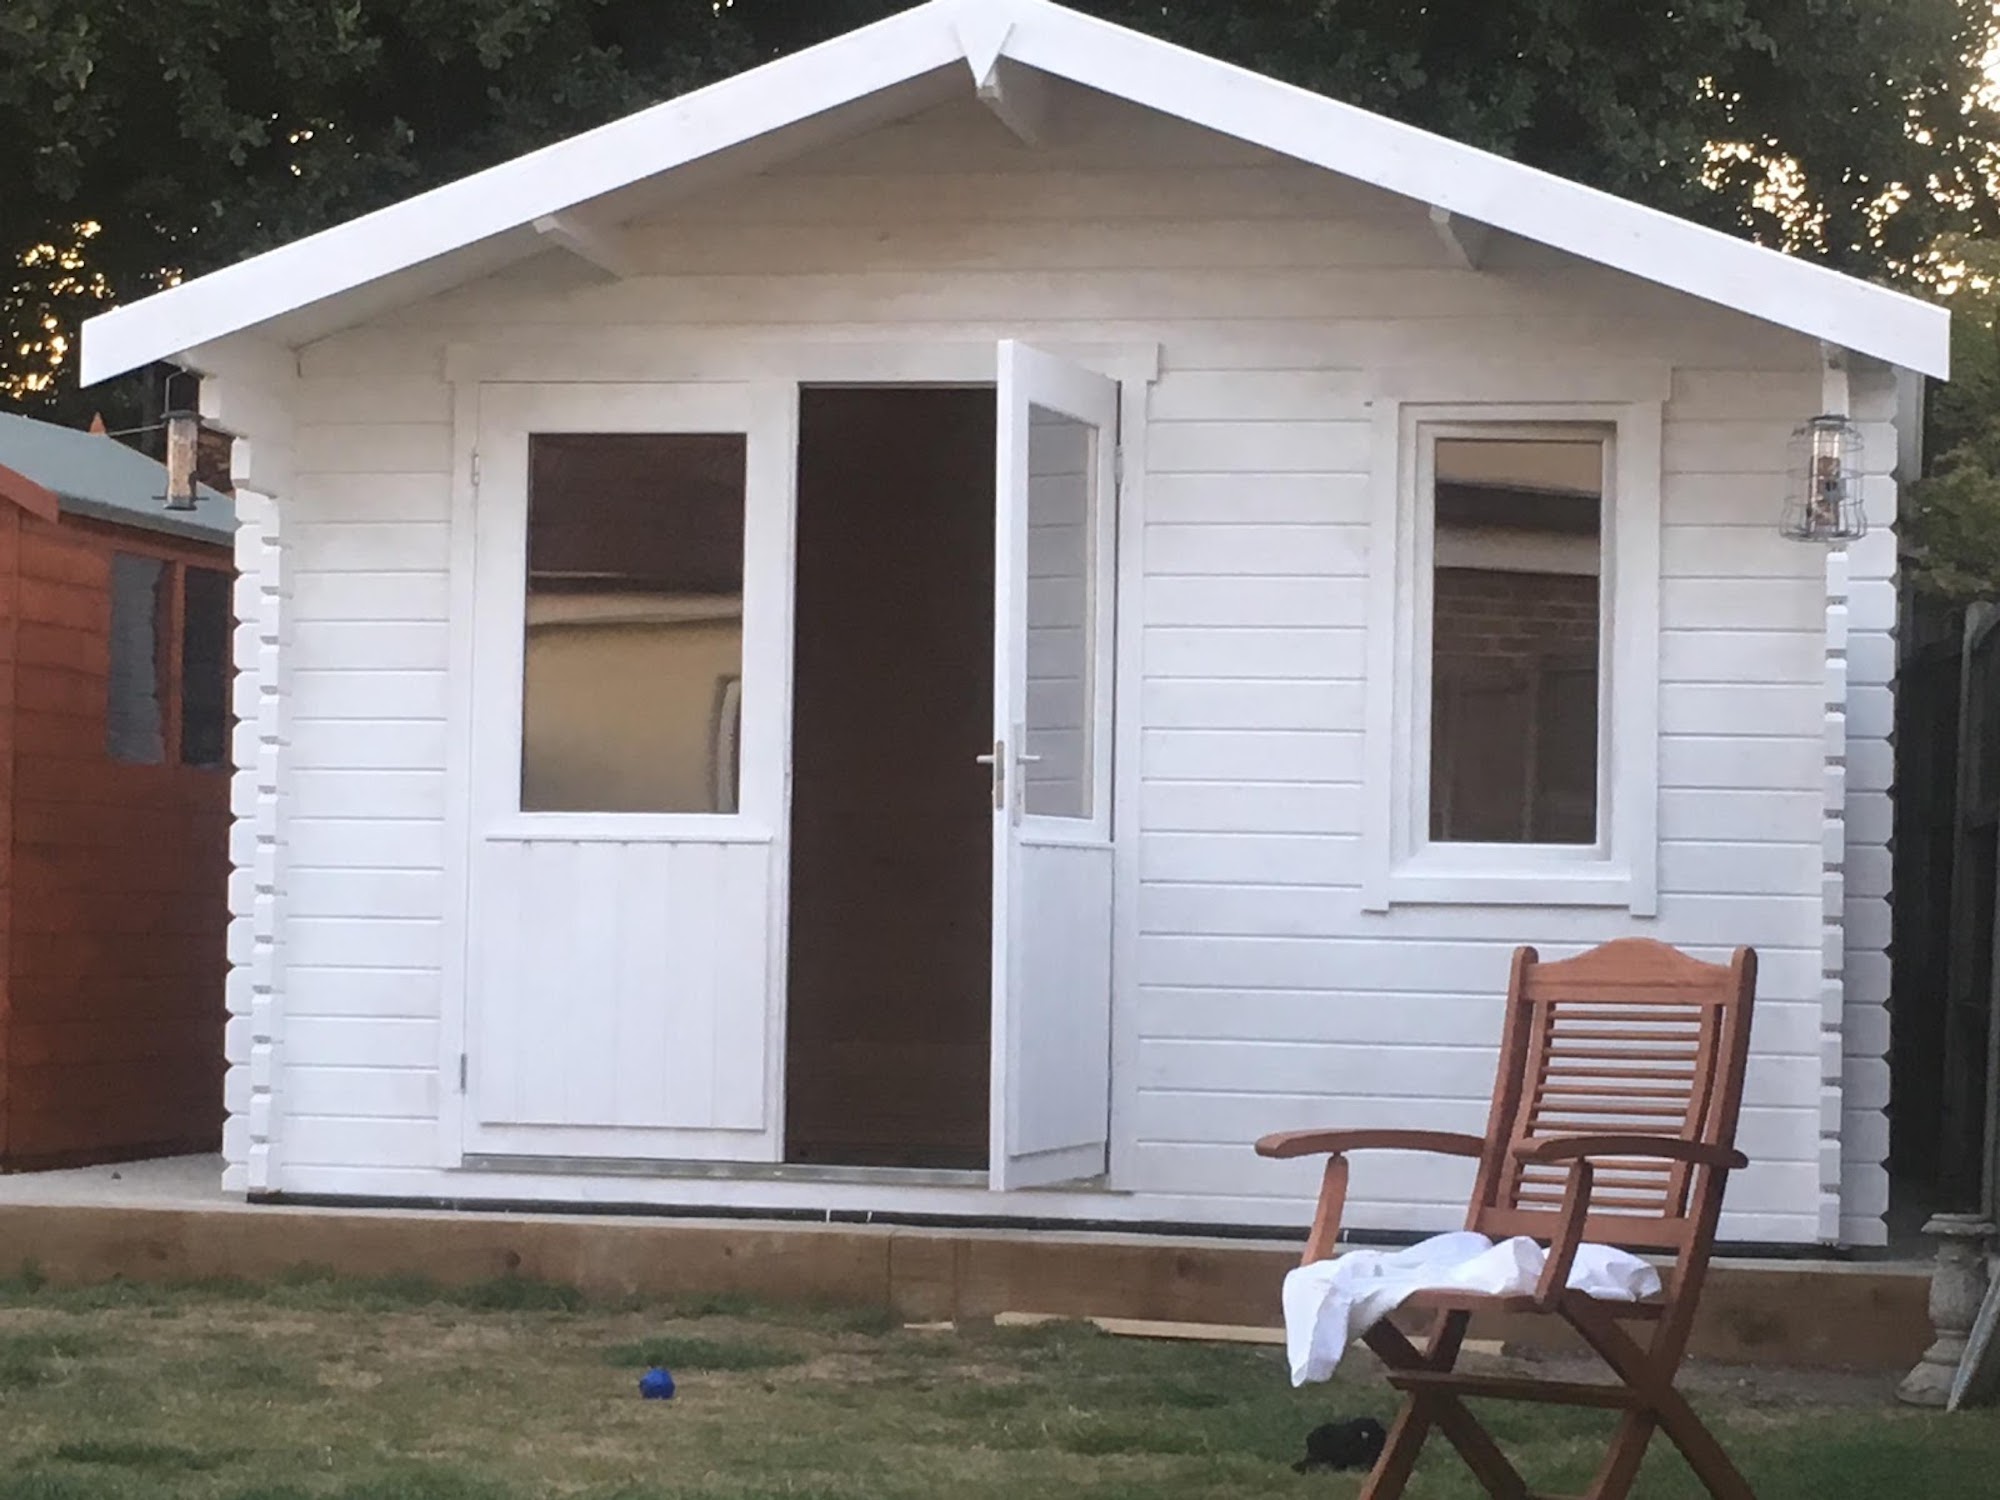
Had to send the kids down the side of the cabin as it was a bit of a squeeze to paint. They had more paint on them than the cabin! What colour to paint it though?
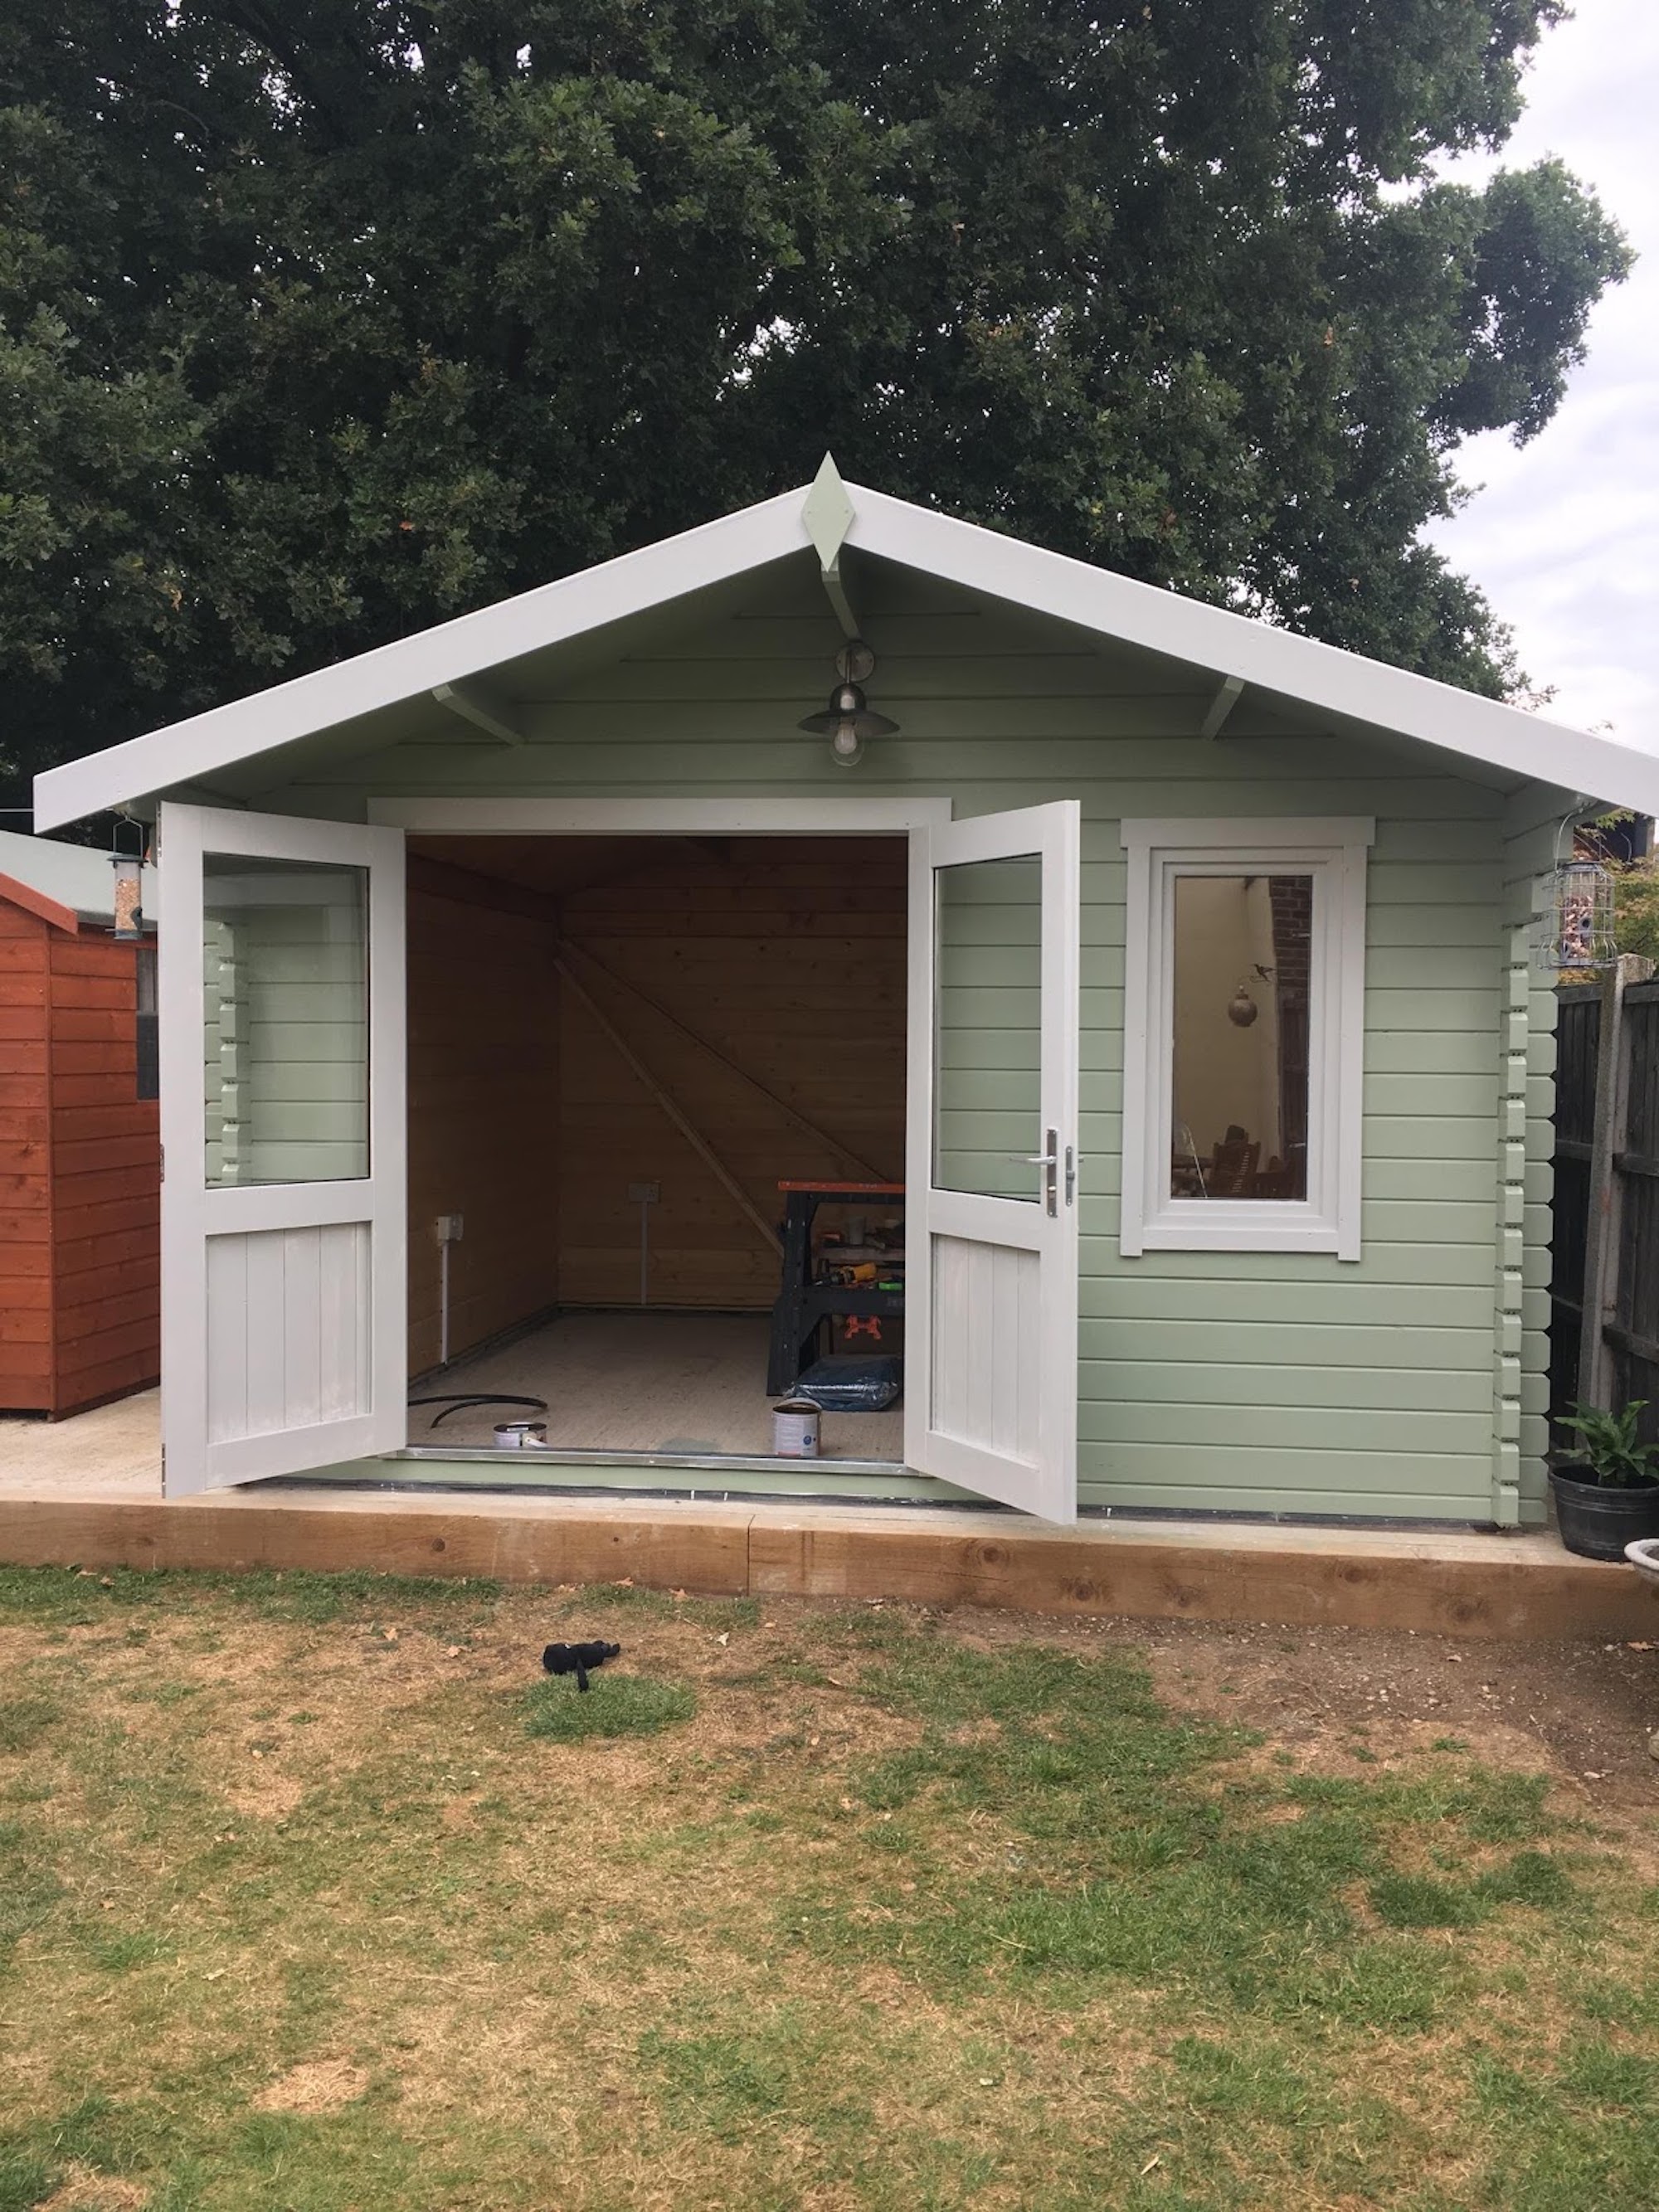
We went for Bay Tree green, again by Sandtex (10yr) with a Grey Stone satin trim.
Two coats of each.
Guttering
Wasn’t going to bother with guttering but its surprising the amount of water that comes off the roof, and we have had some rain as of late.
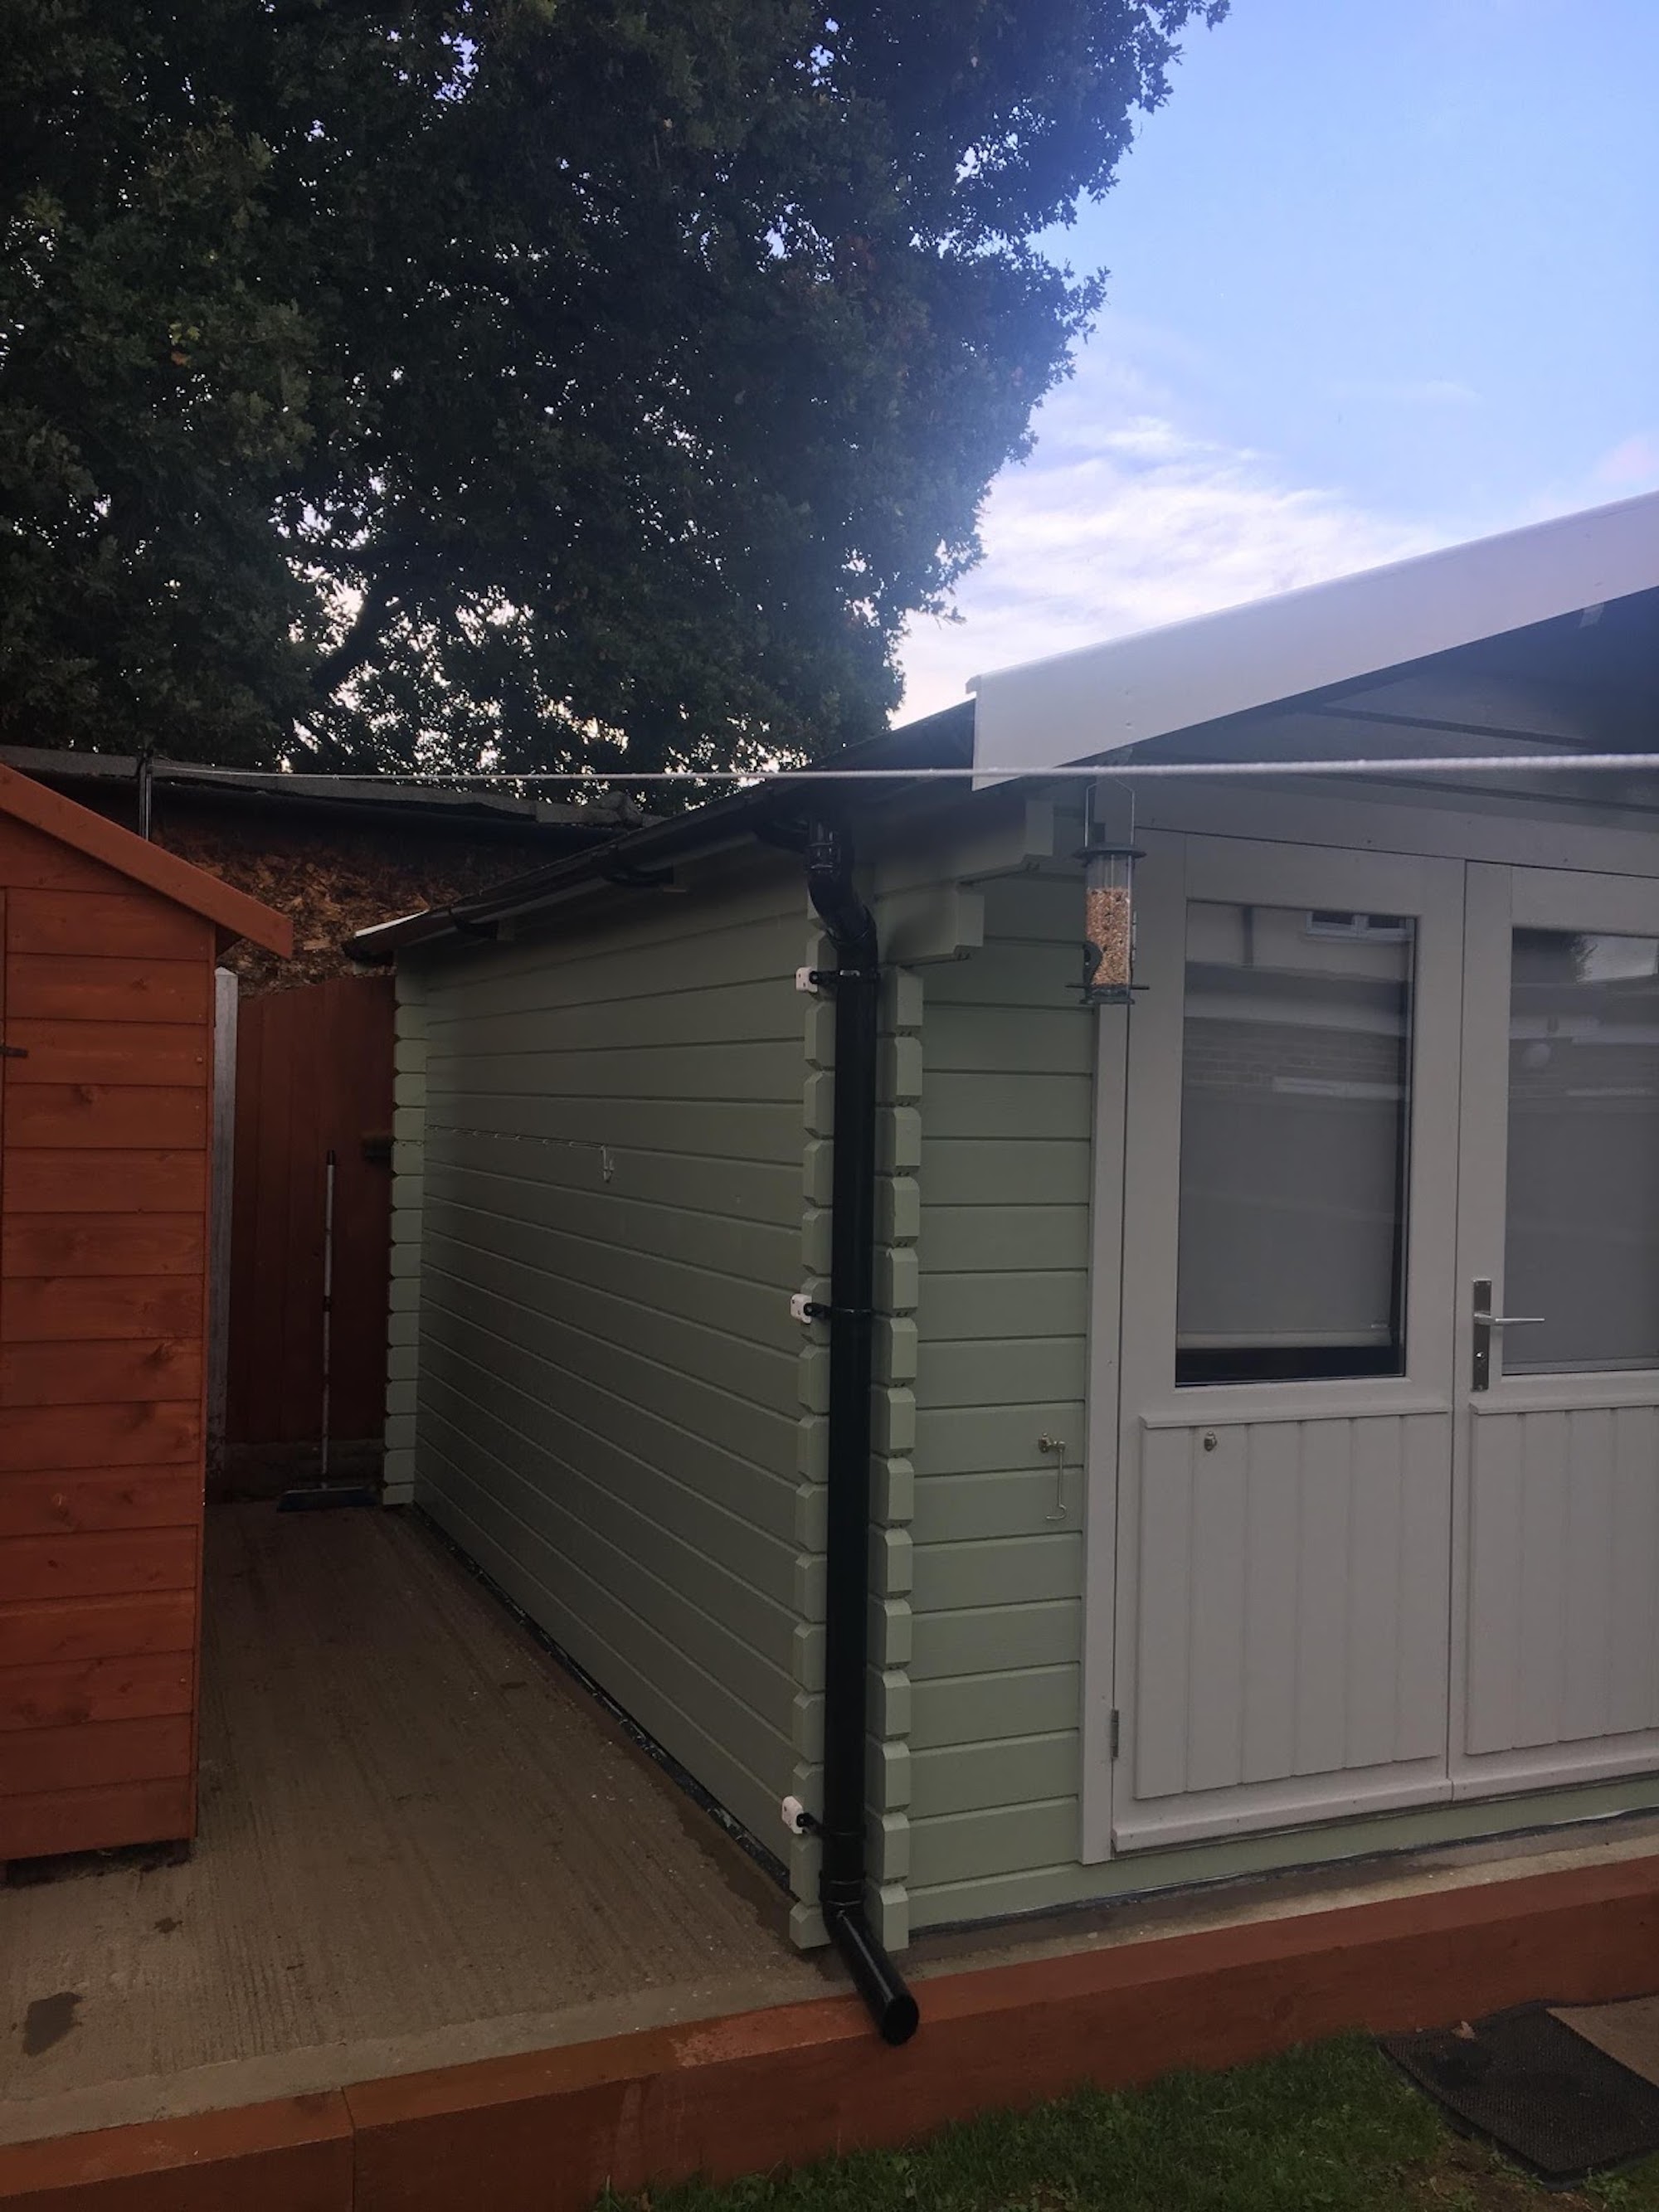
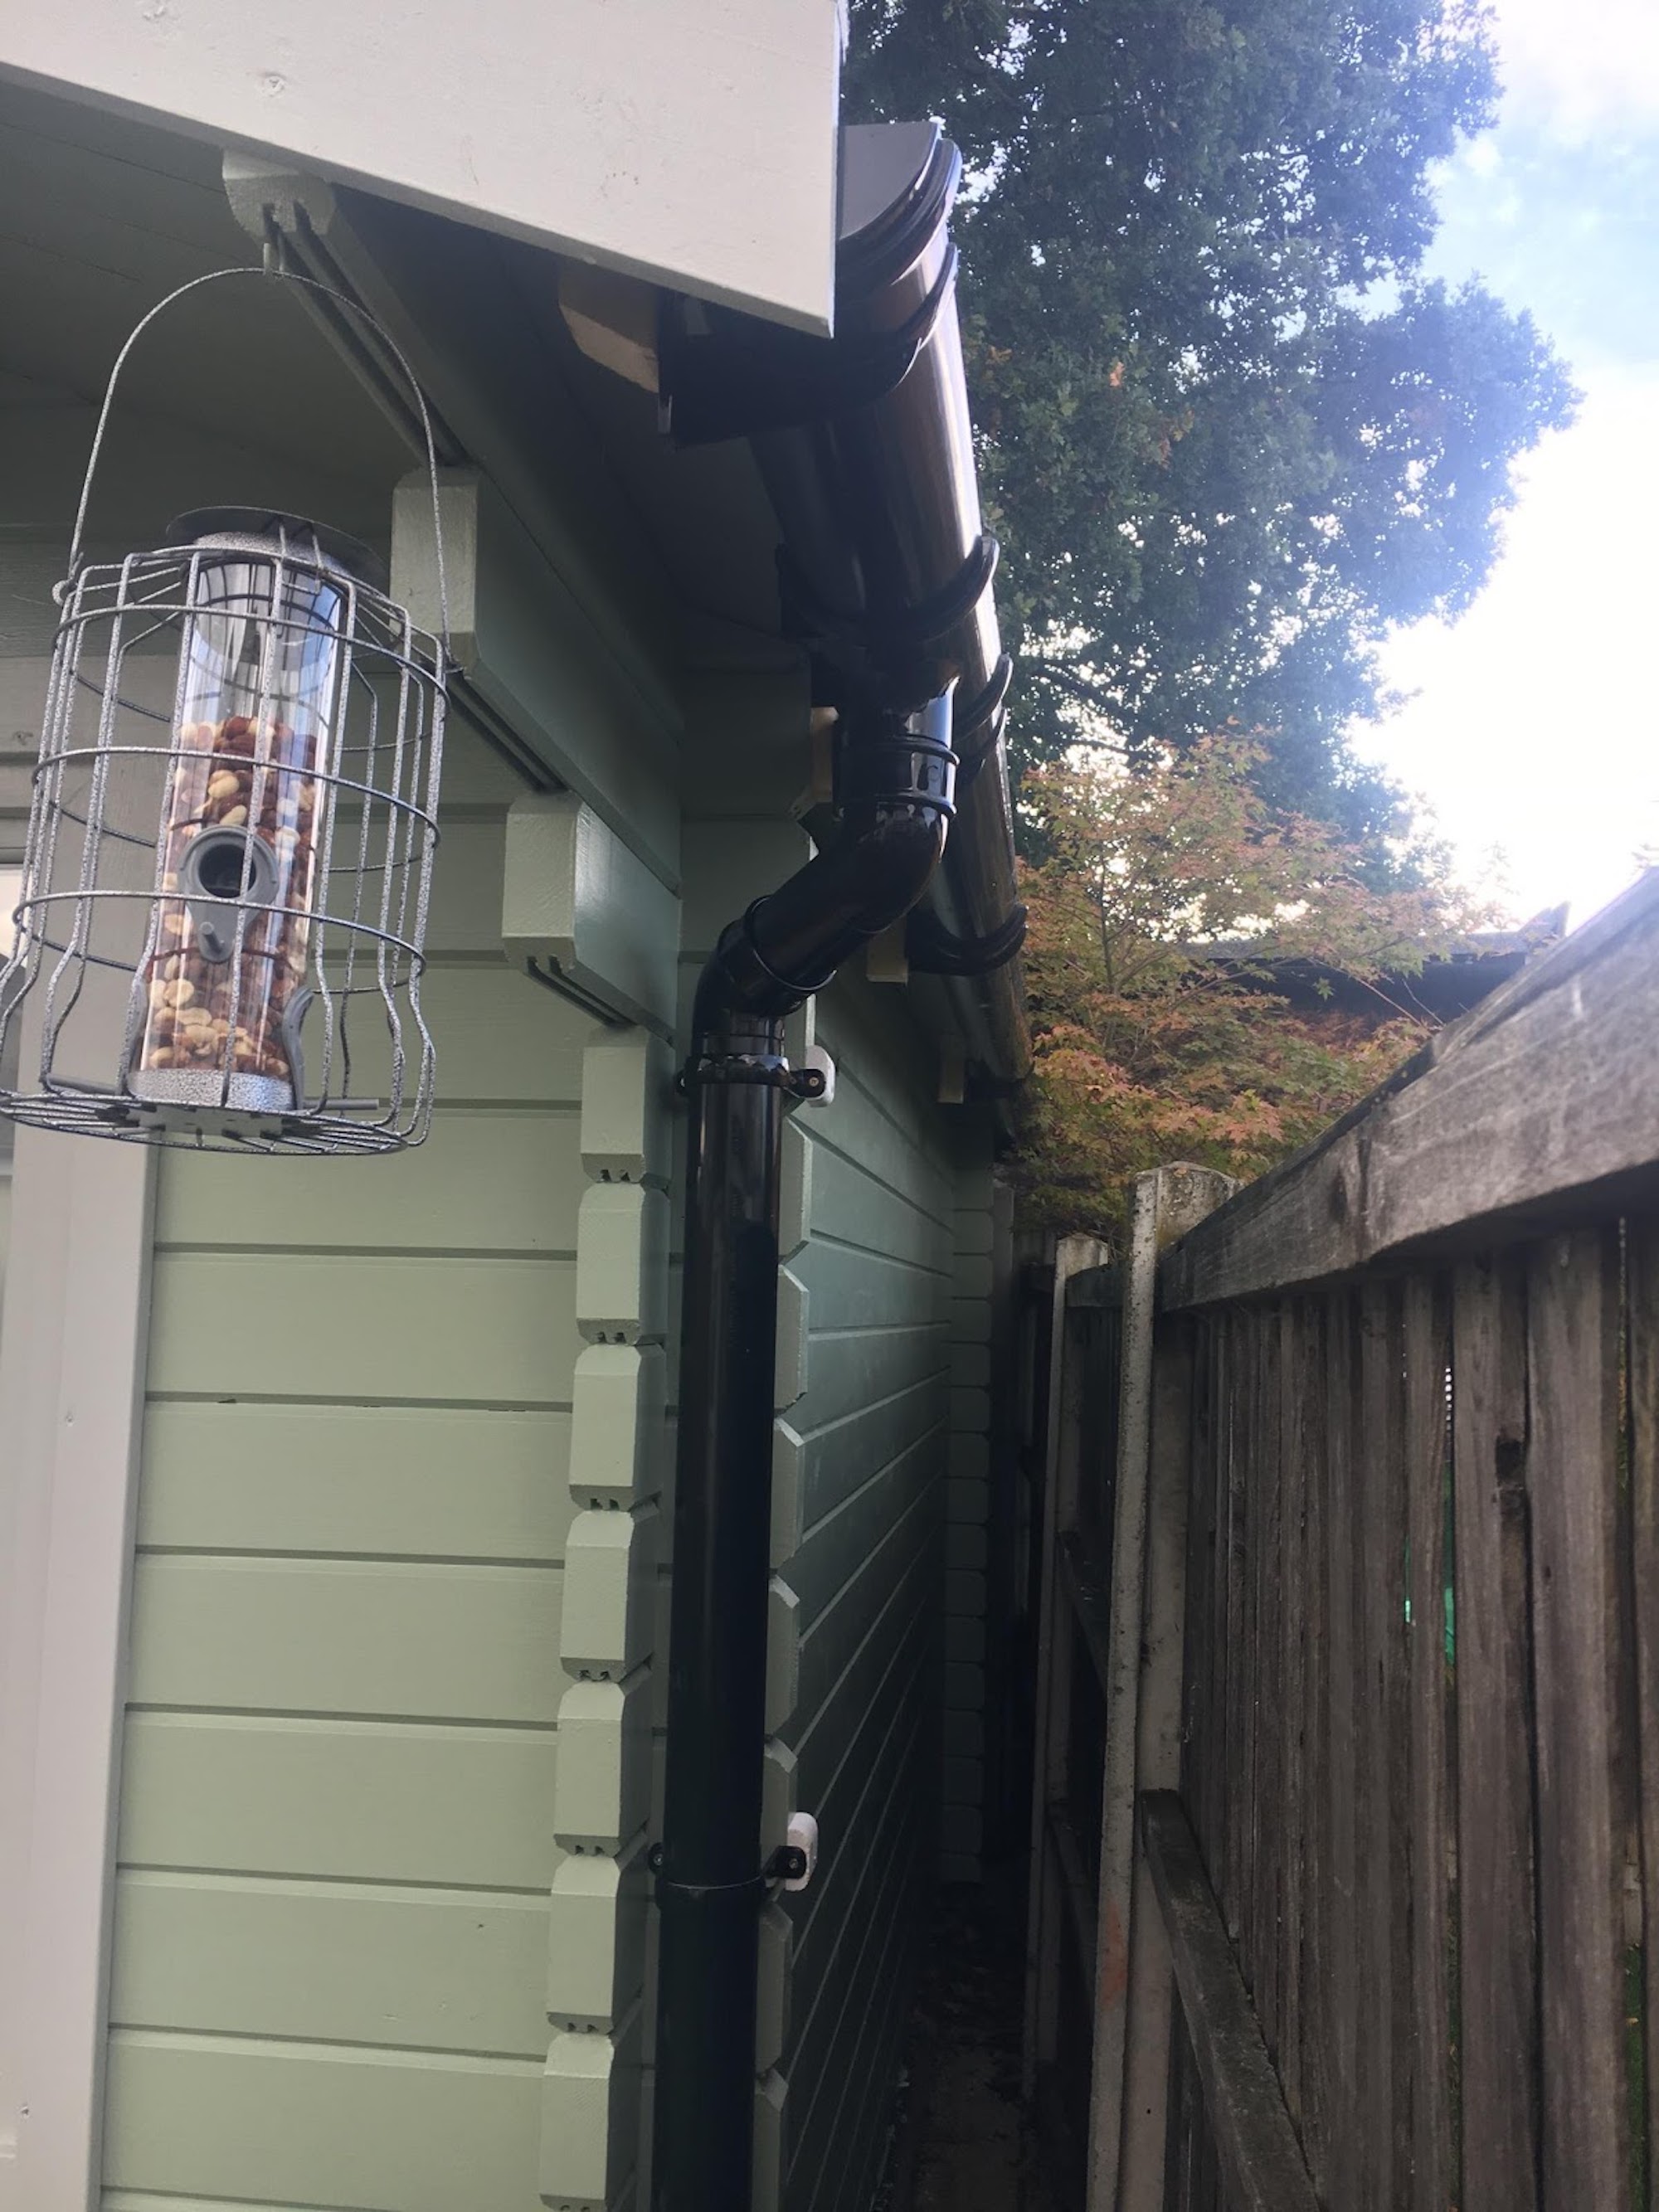
With the outside complete apart from a bit of paint for the guttering fixings it was time for the inside.
Installing the Electrics
The electrics first. We had already run in some armoured cable when we done the base. This was now connected to an RCD consumer unit with a separate breaker for a ring main and a lighting radial circuit.
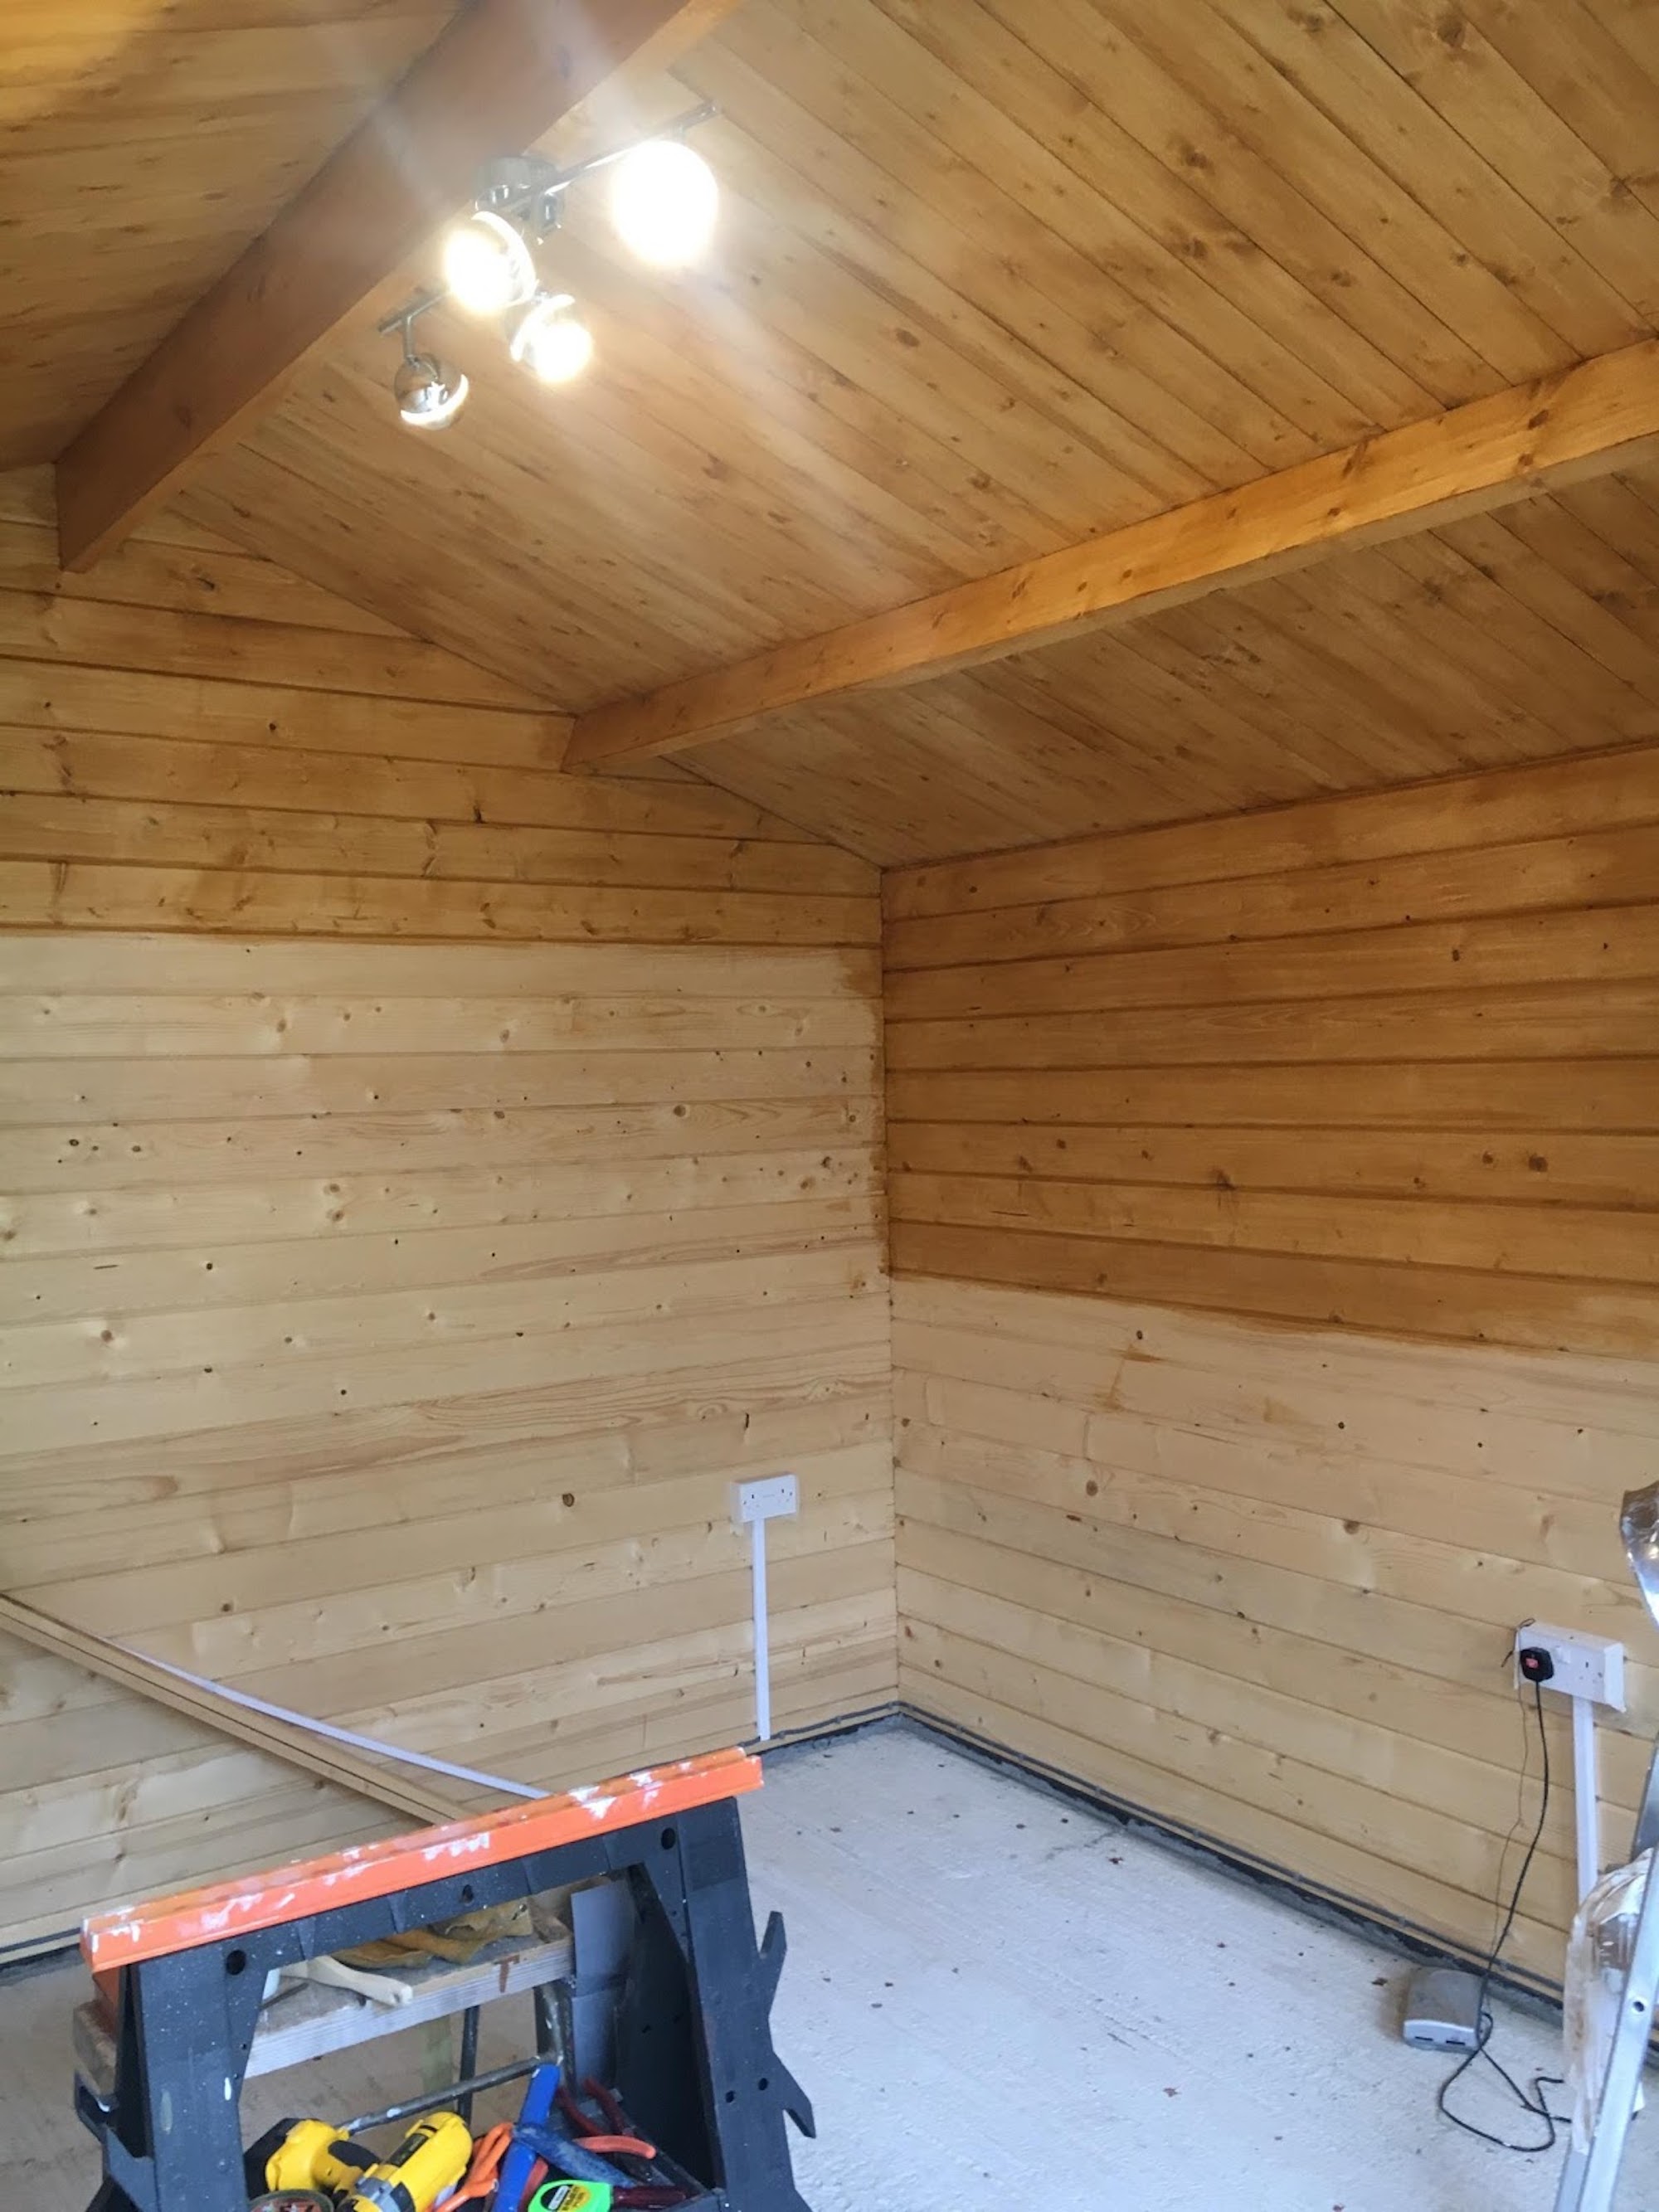
The electrics complete and certificated. The inside was stained with Ronseal 10-year Natural Oak in satin twice. Now it was time for the floor.
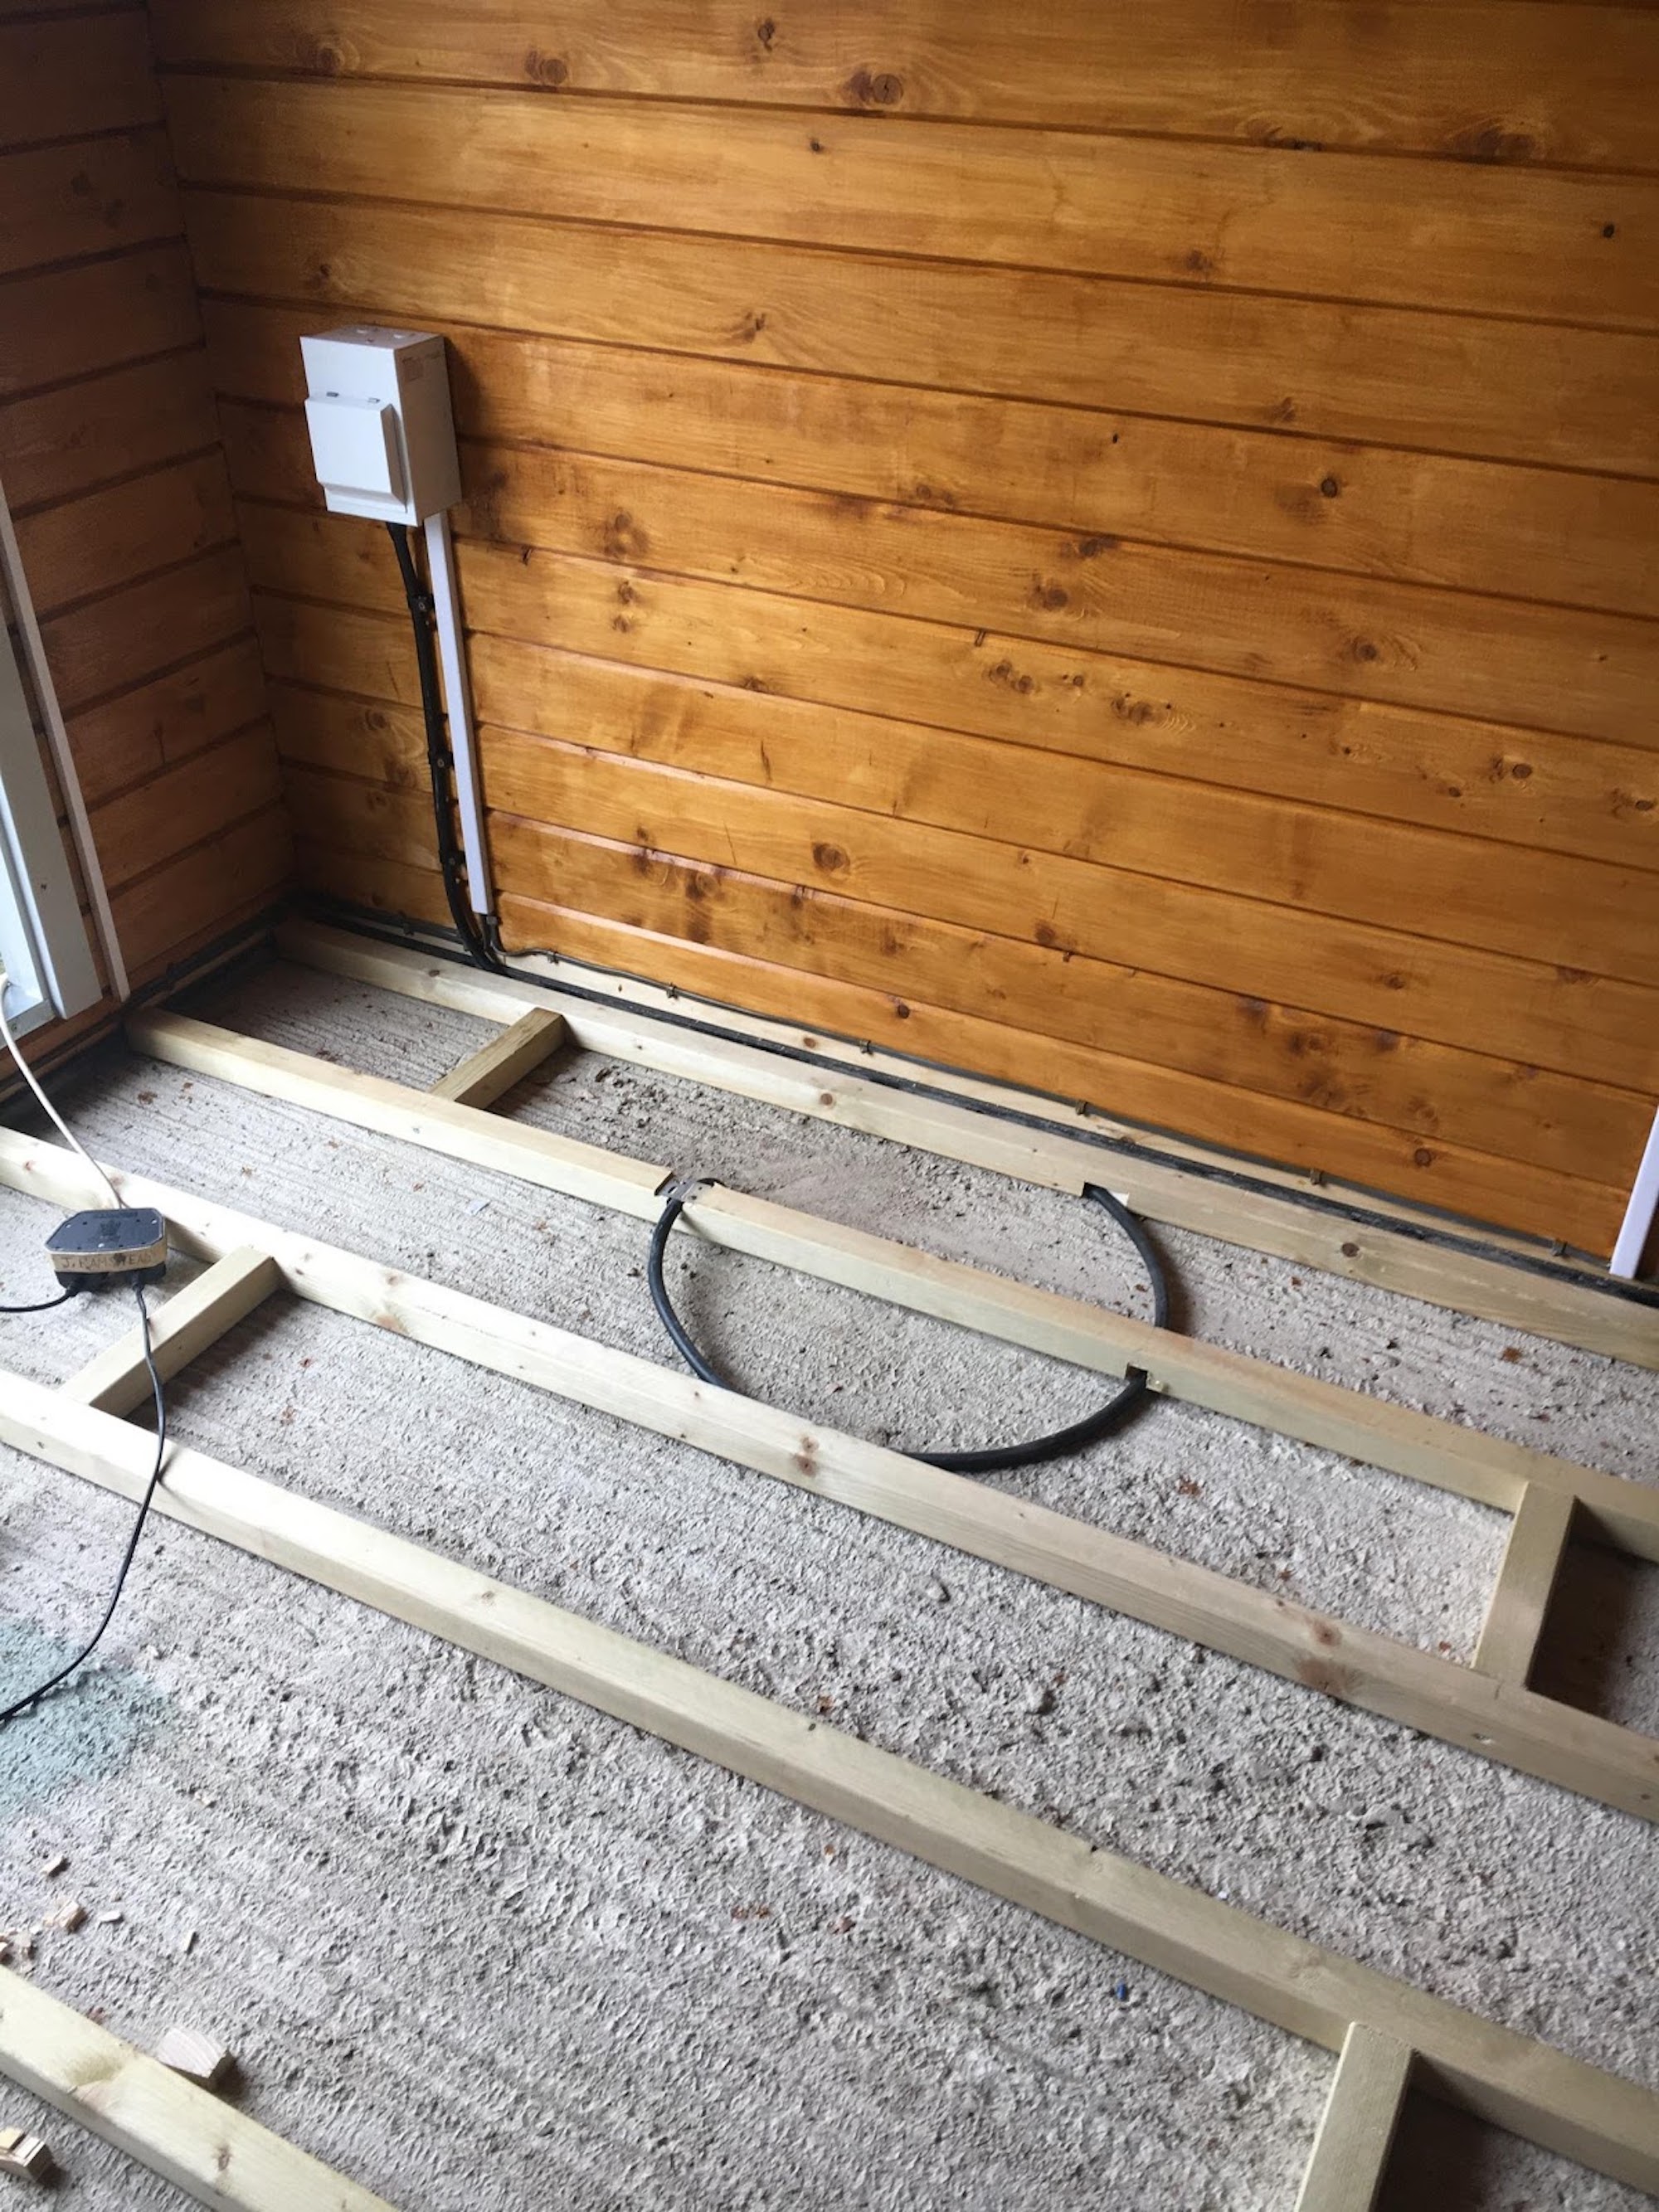
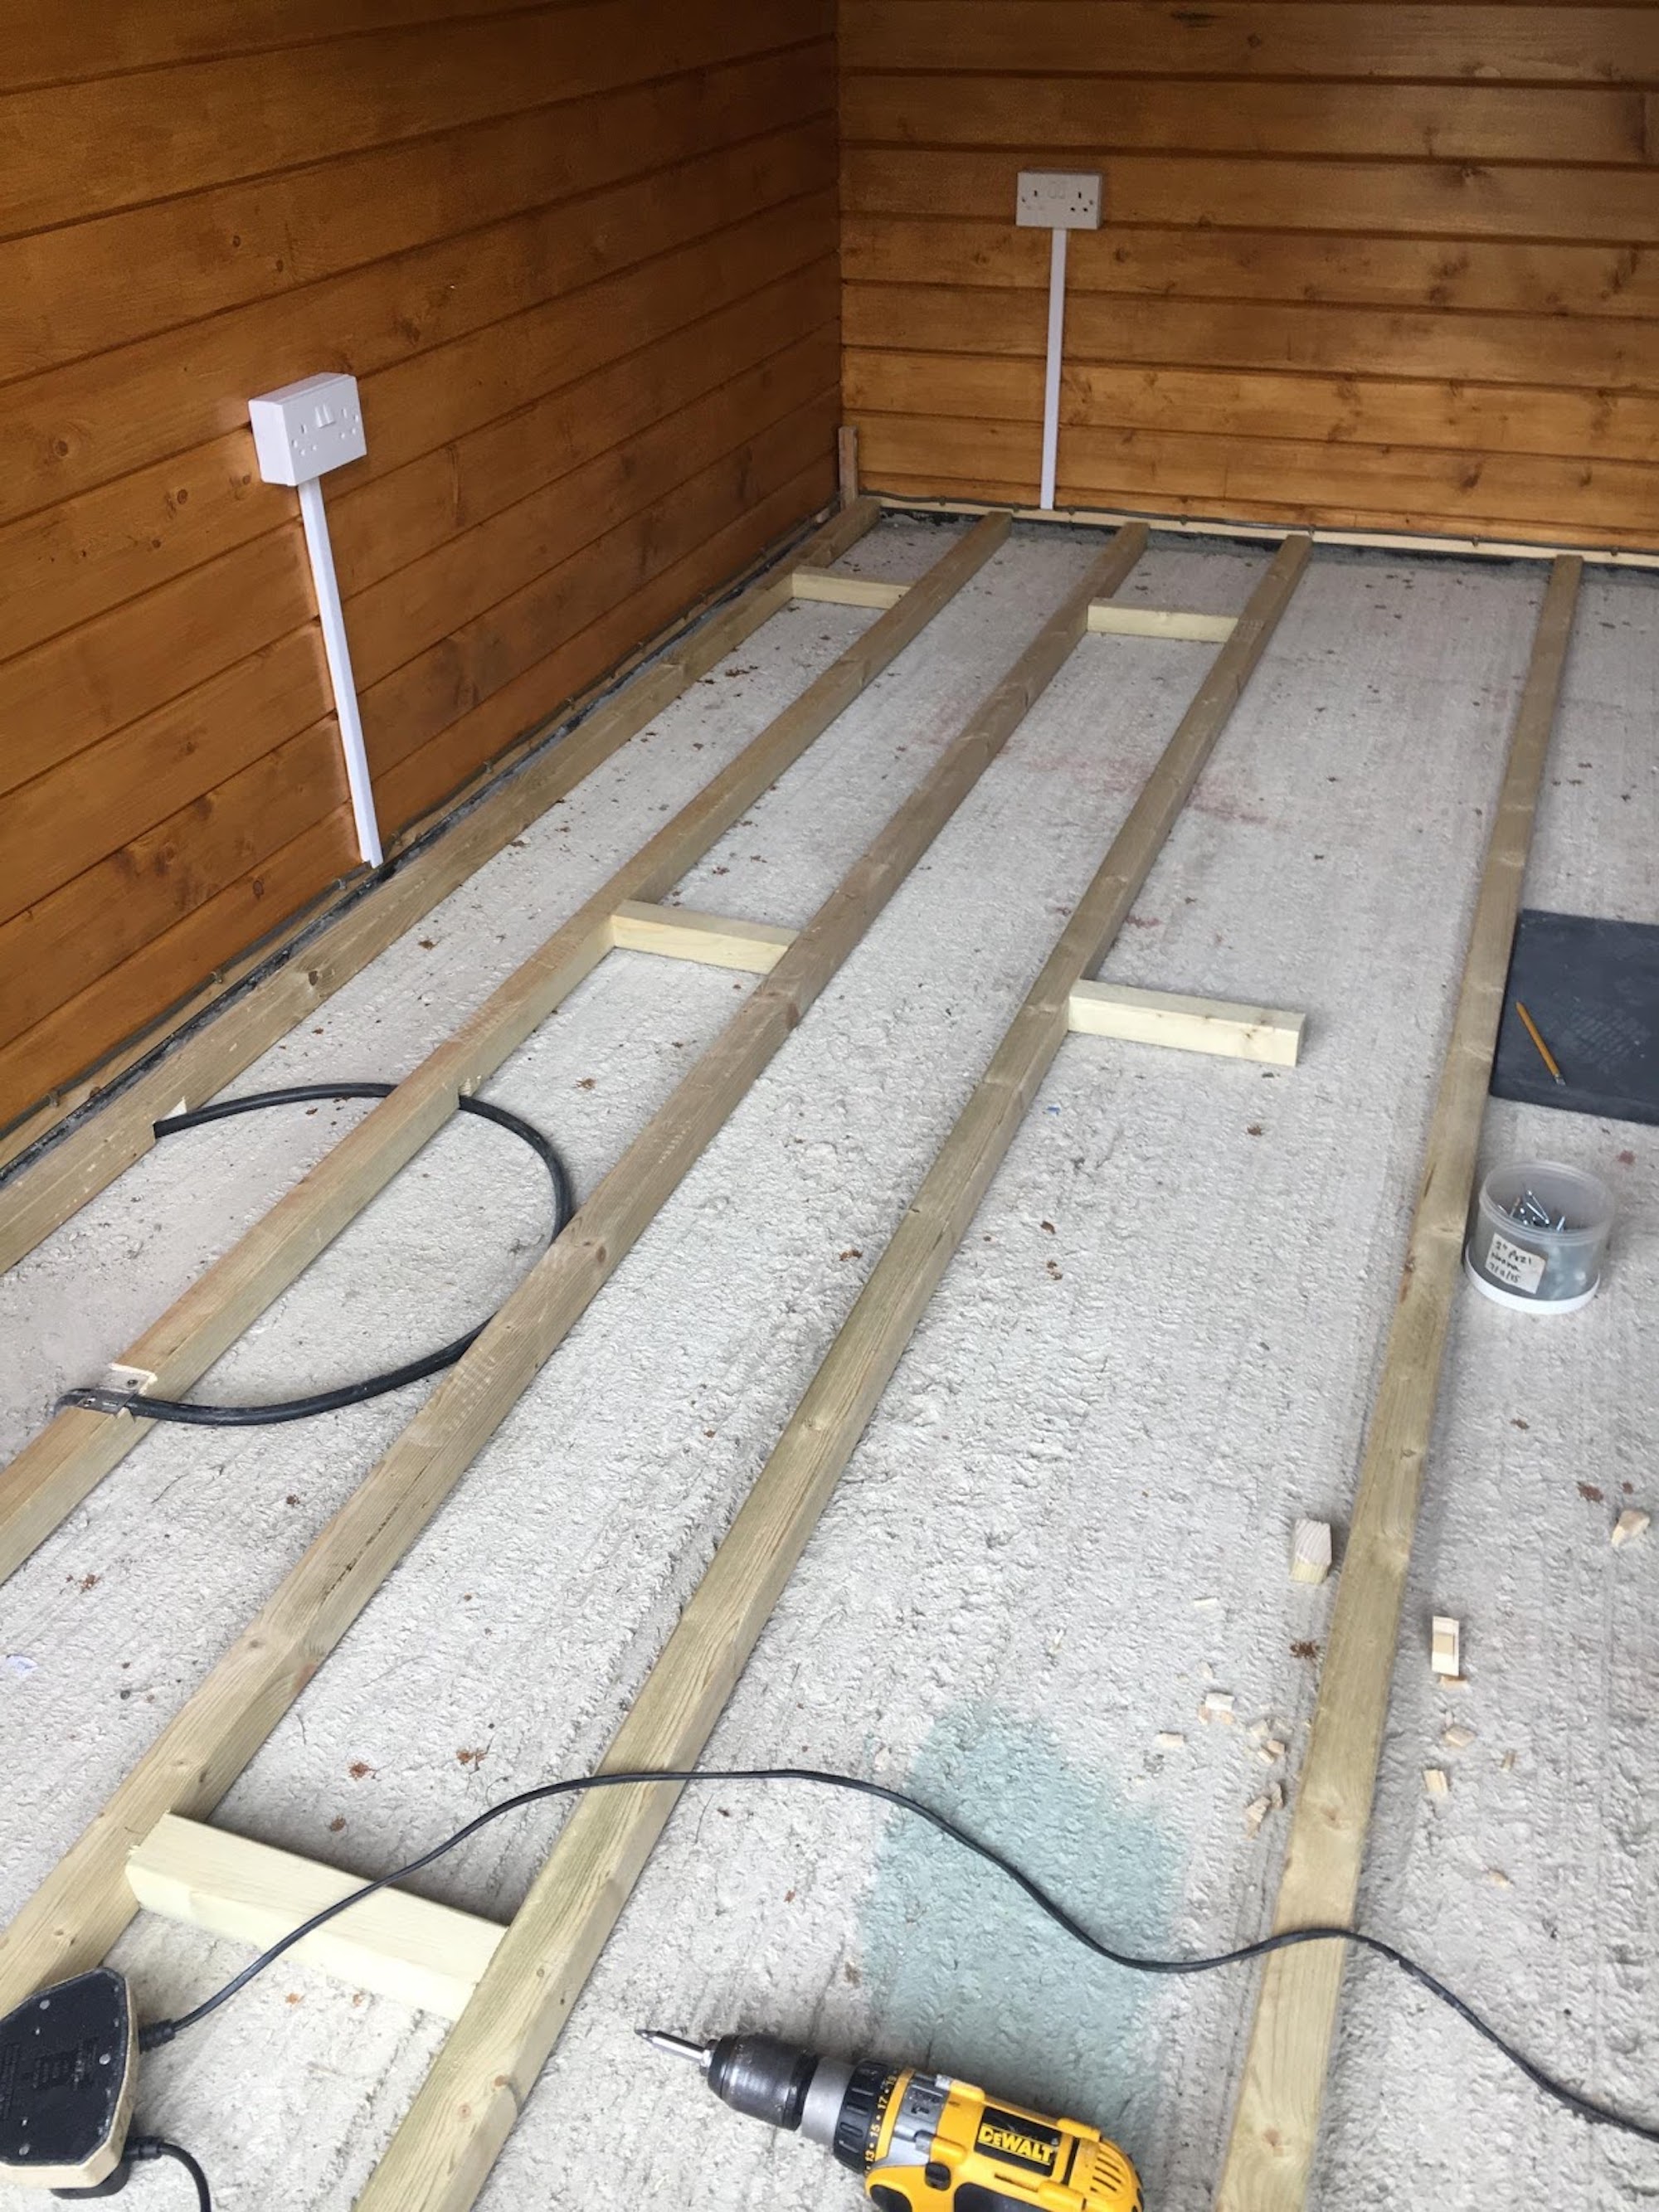
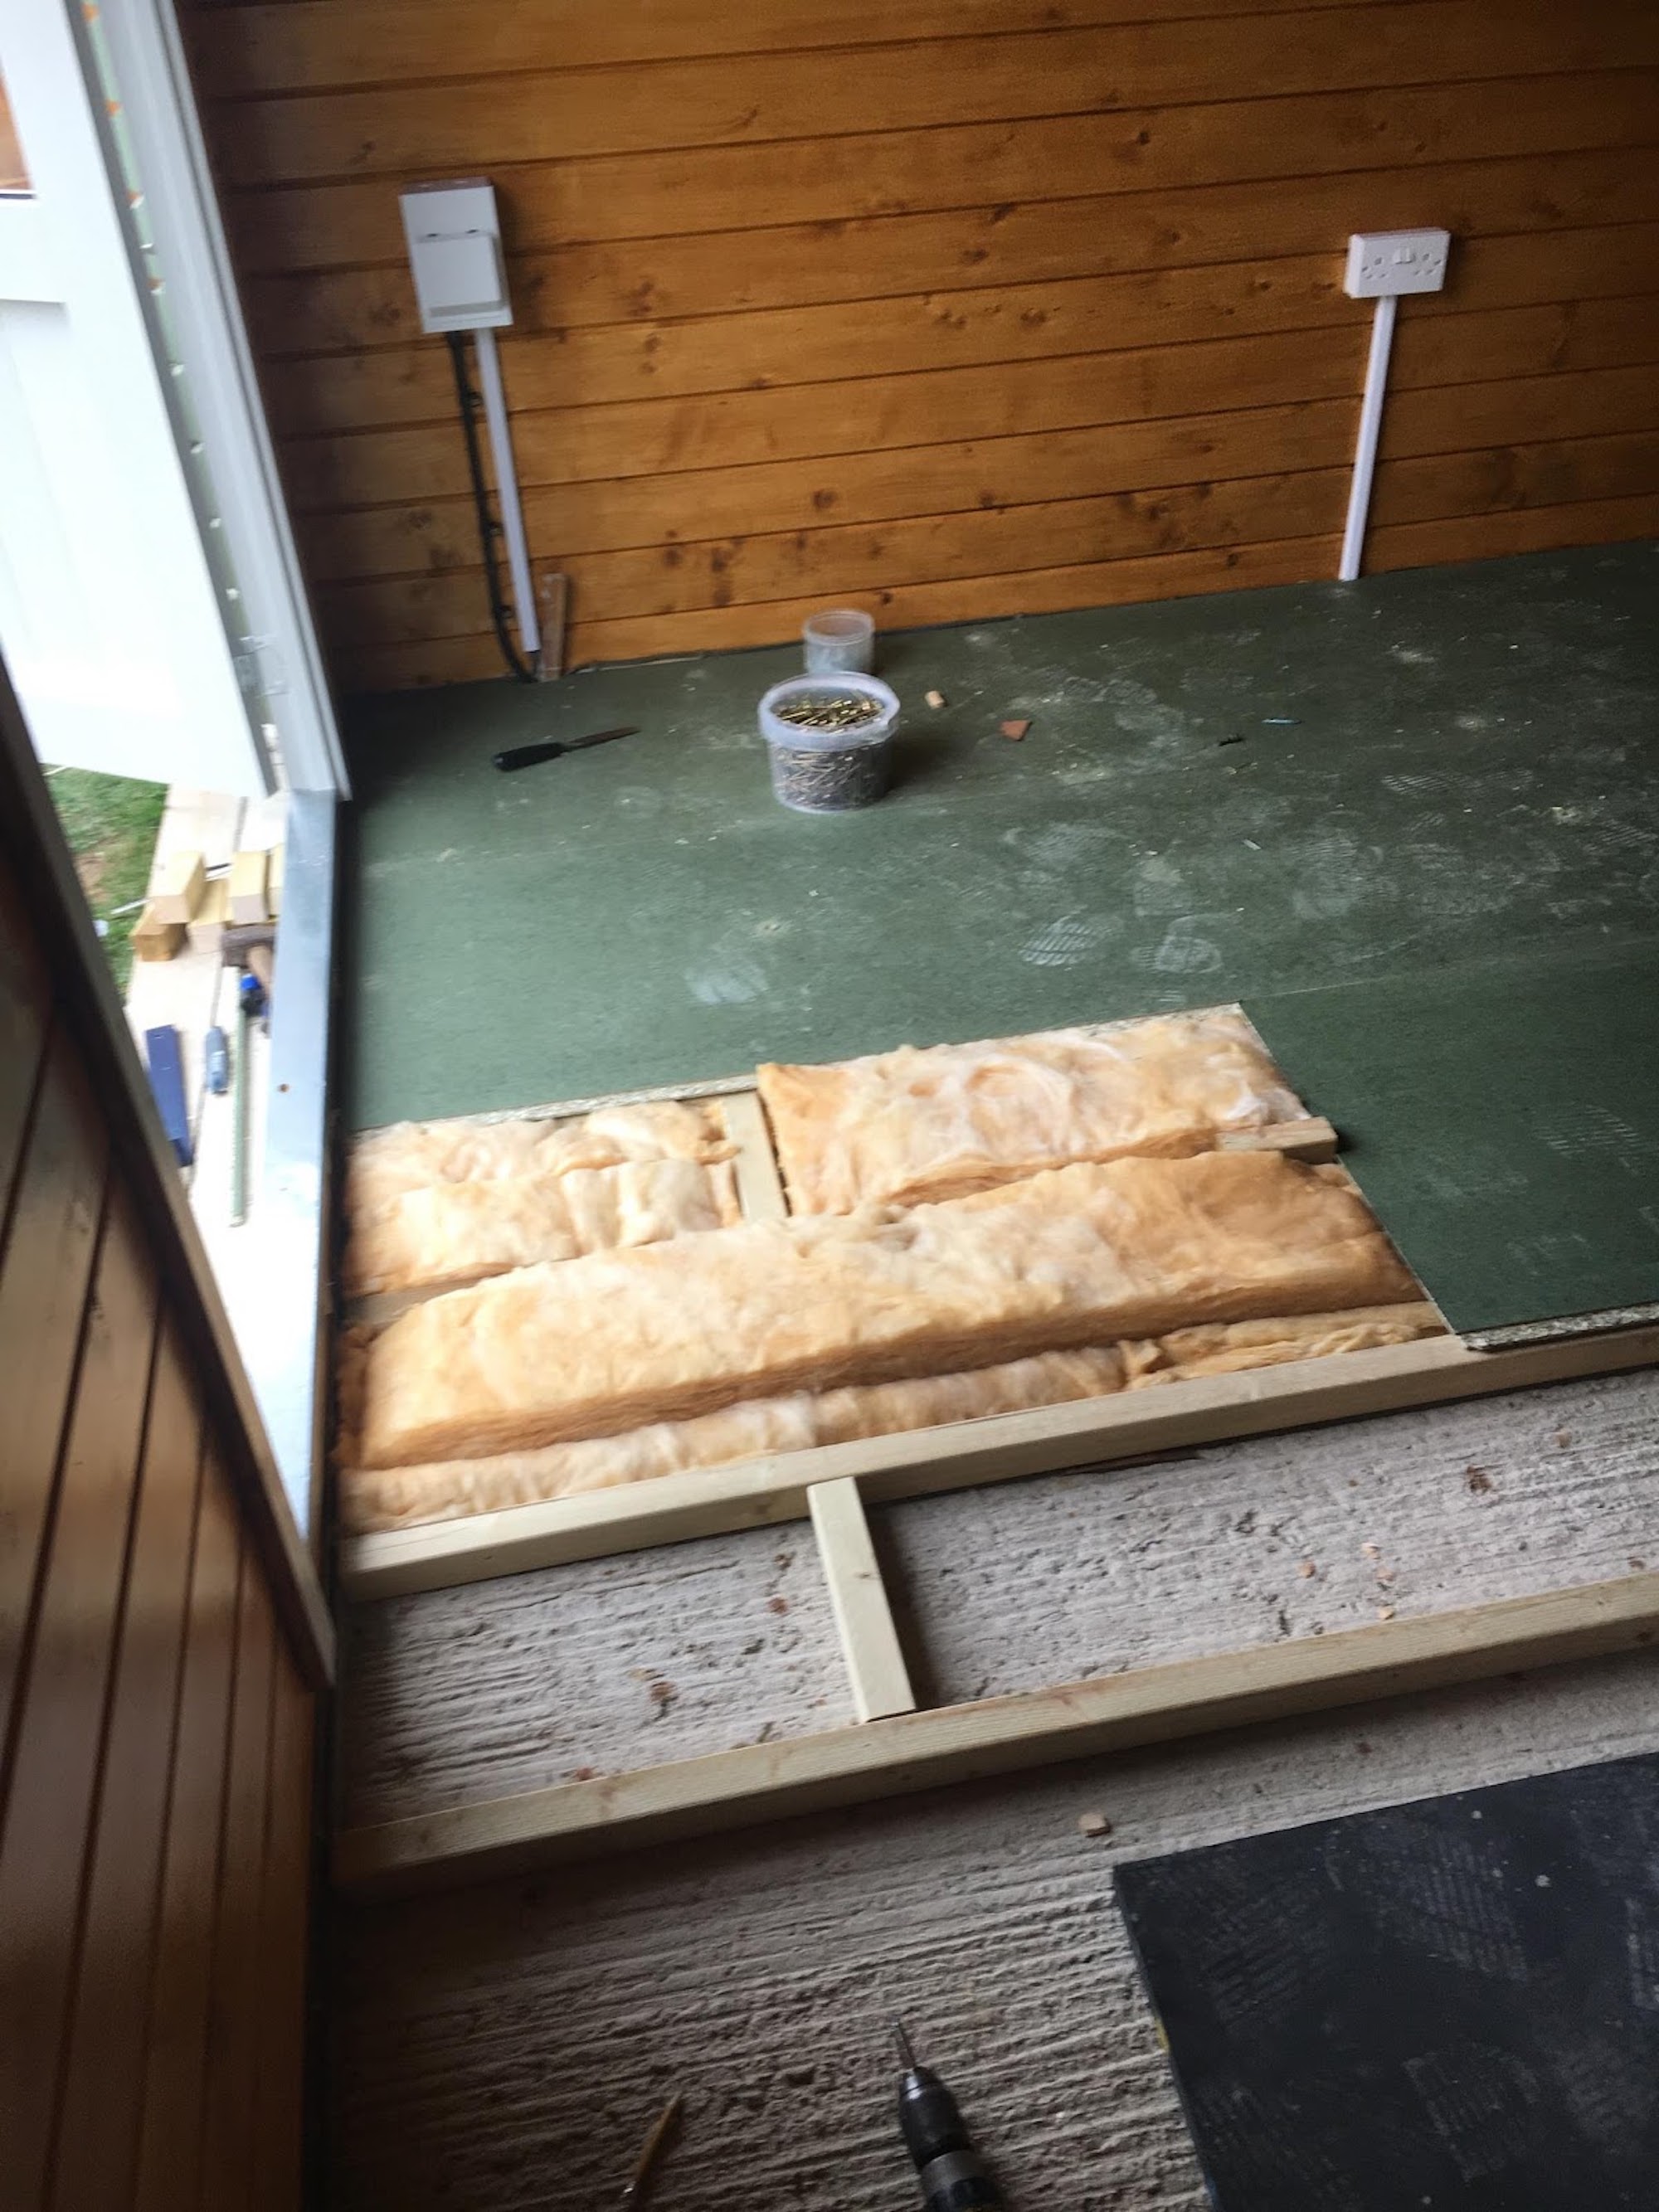
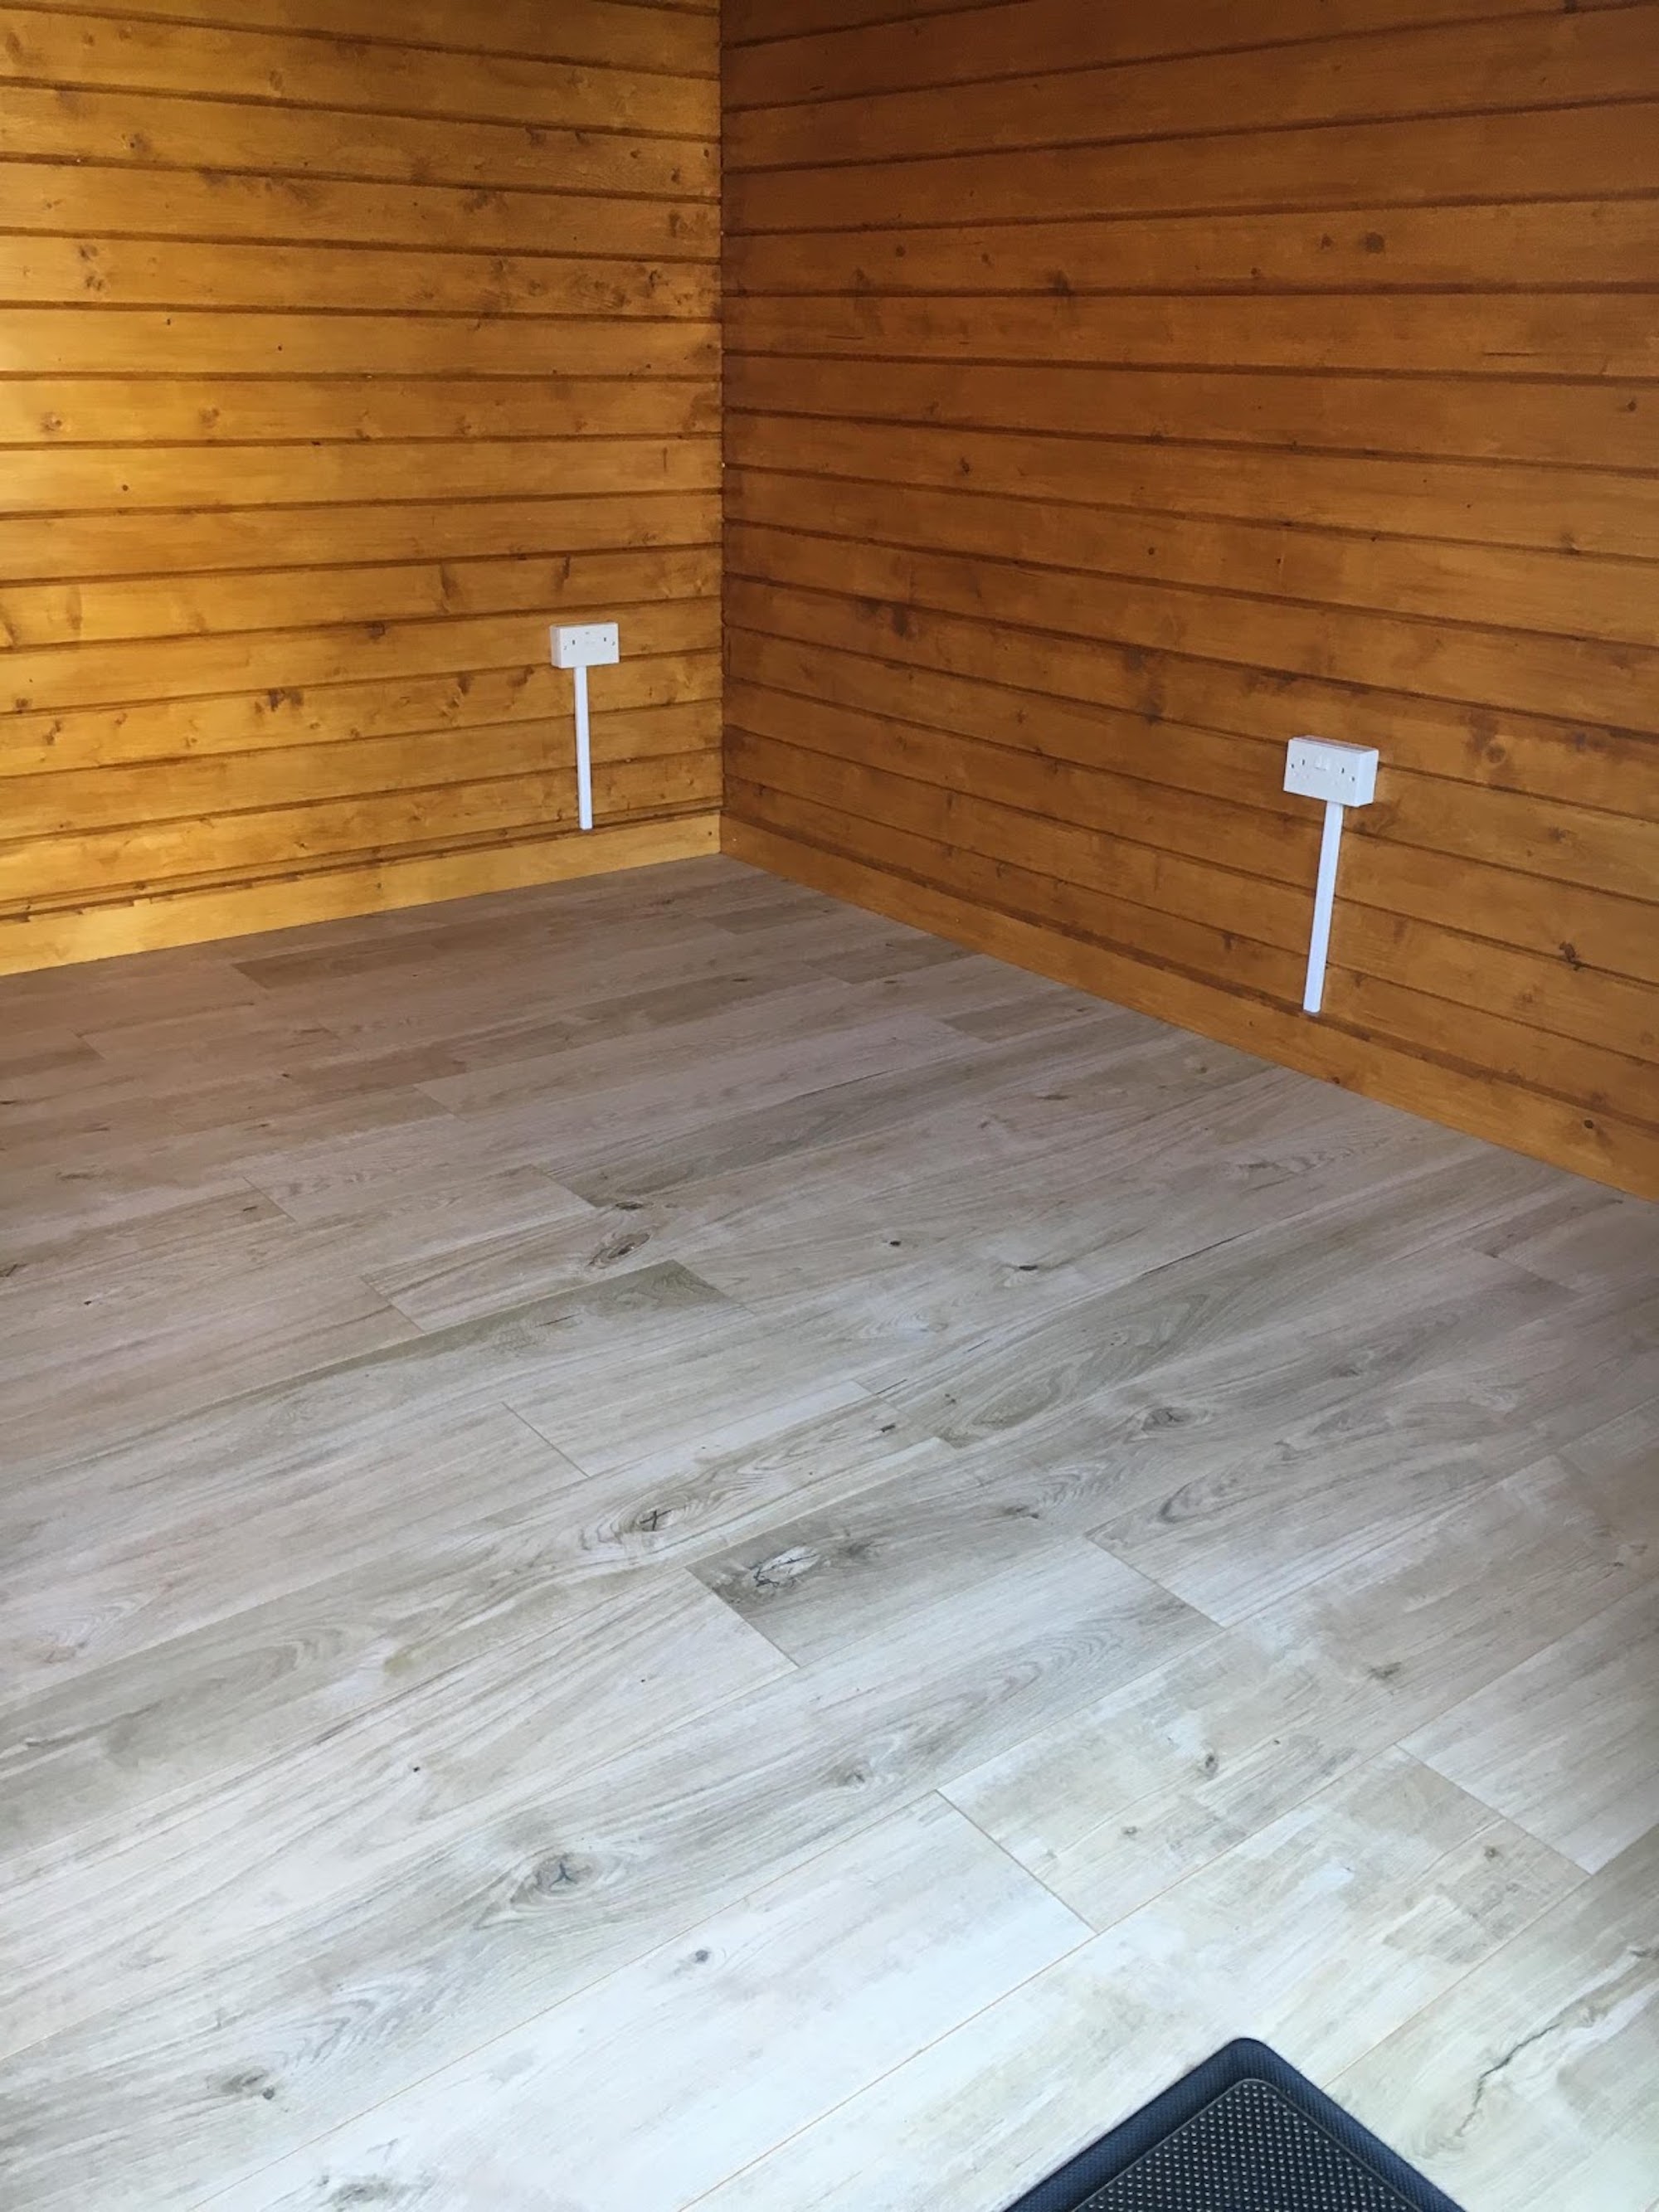
Flooring and Furnishings
2 x 2 beams, insulation in-between and moisture resistant T & G flooring followed by a light oak effect laminate top.
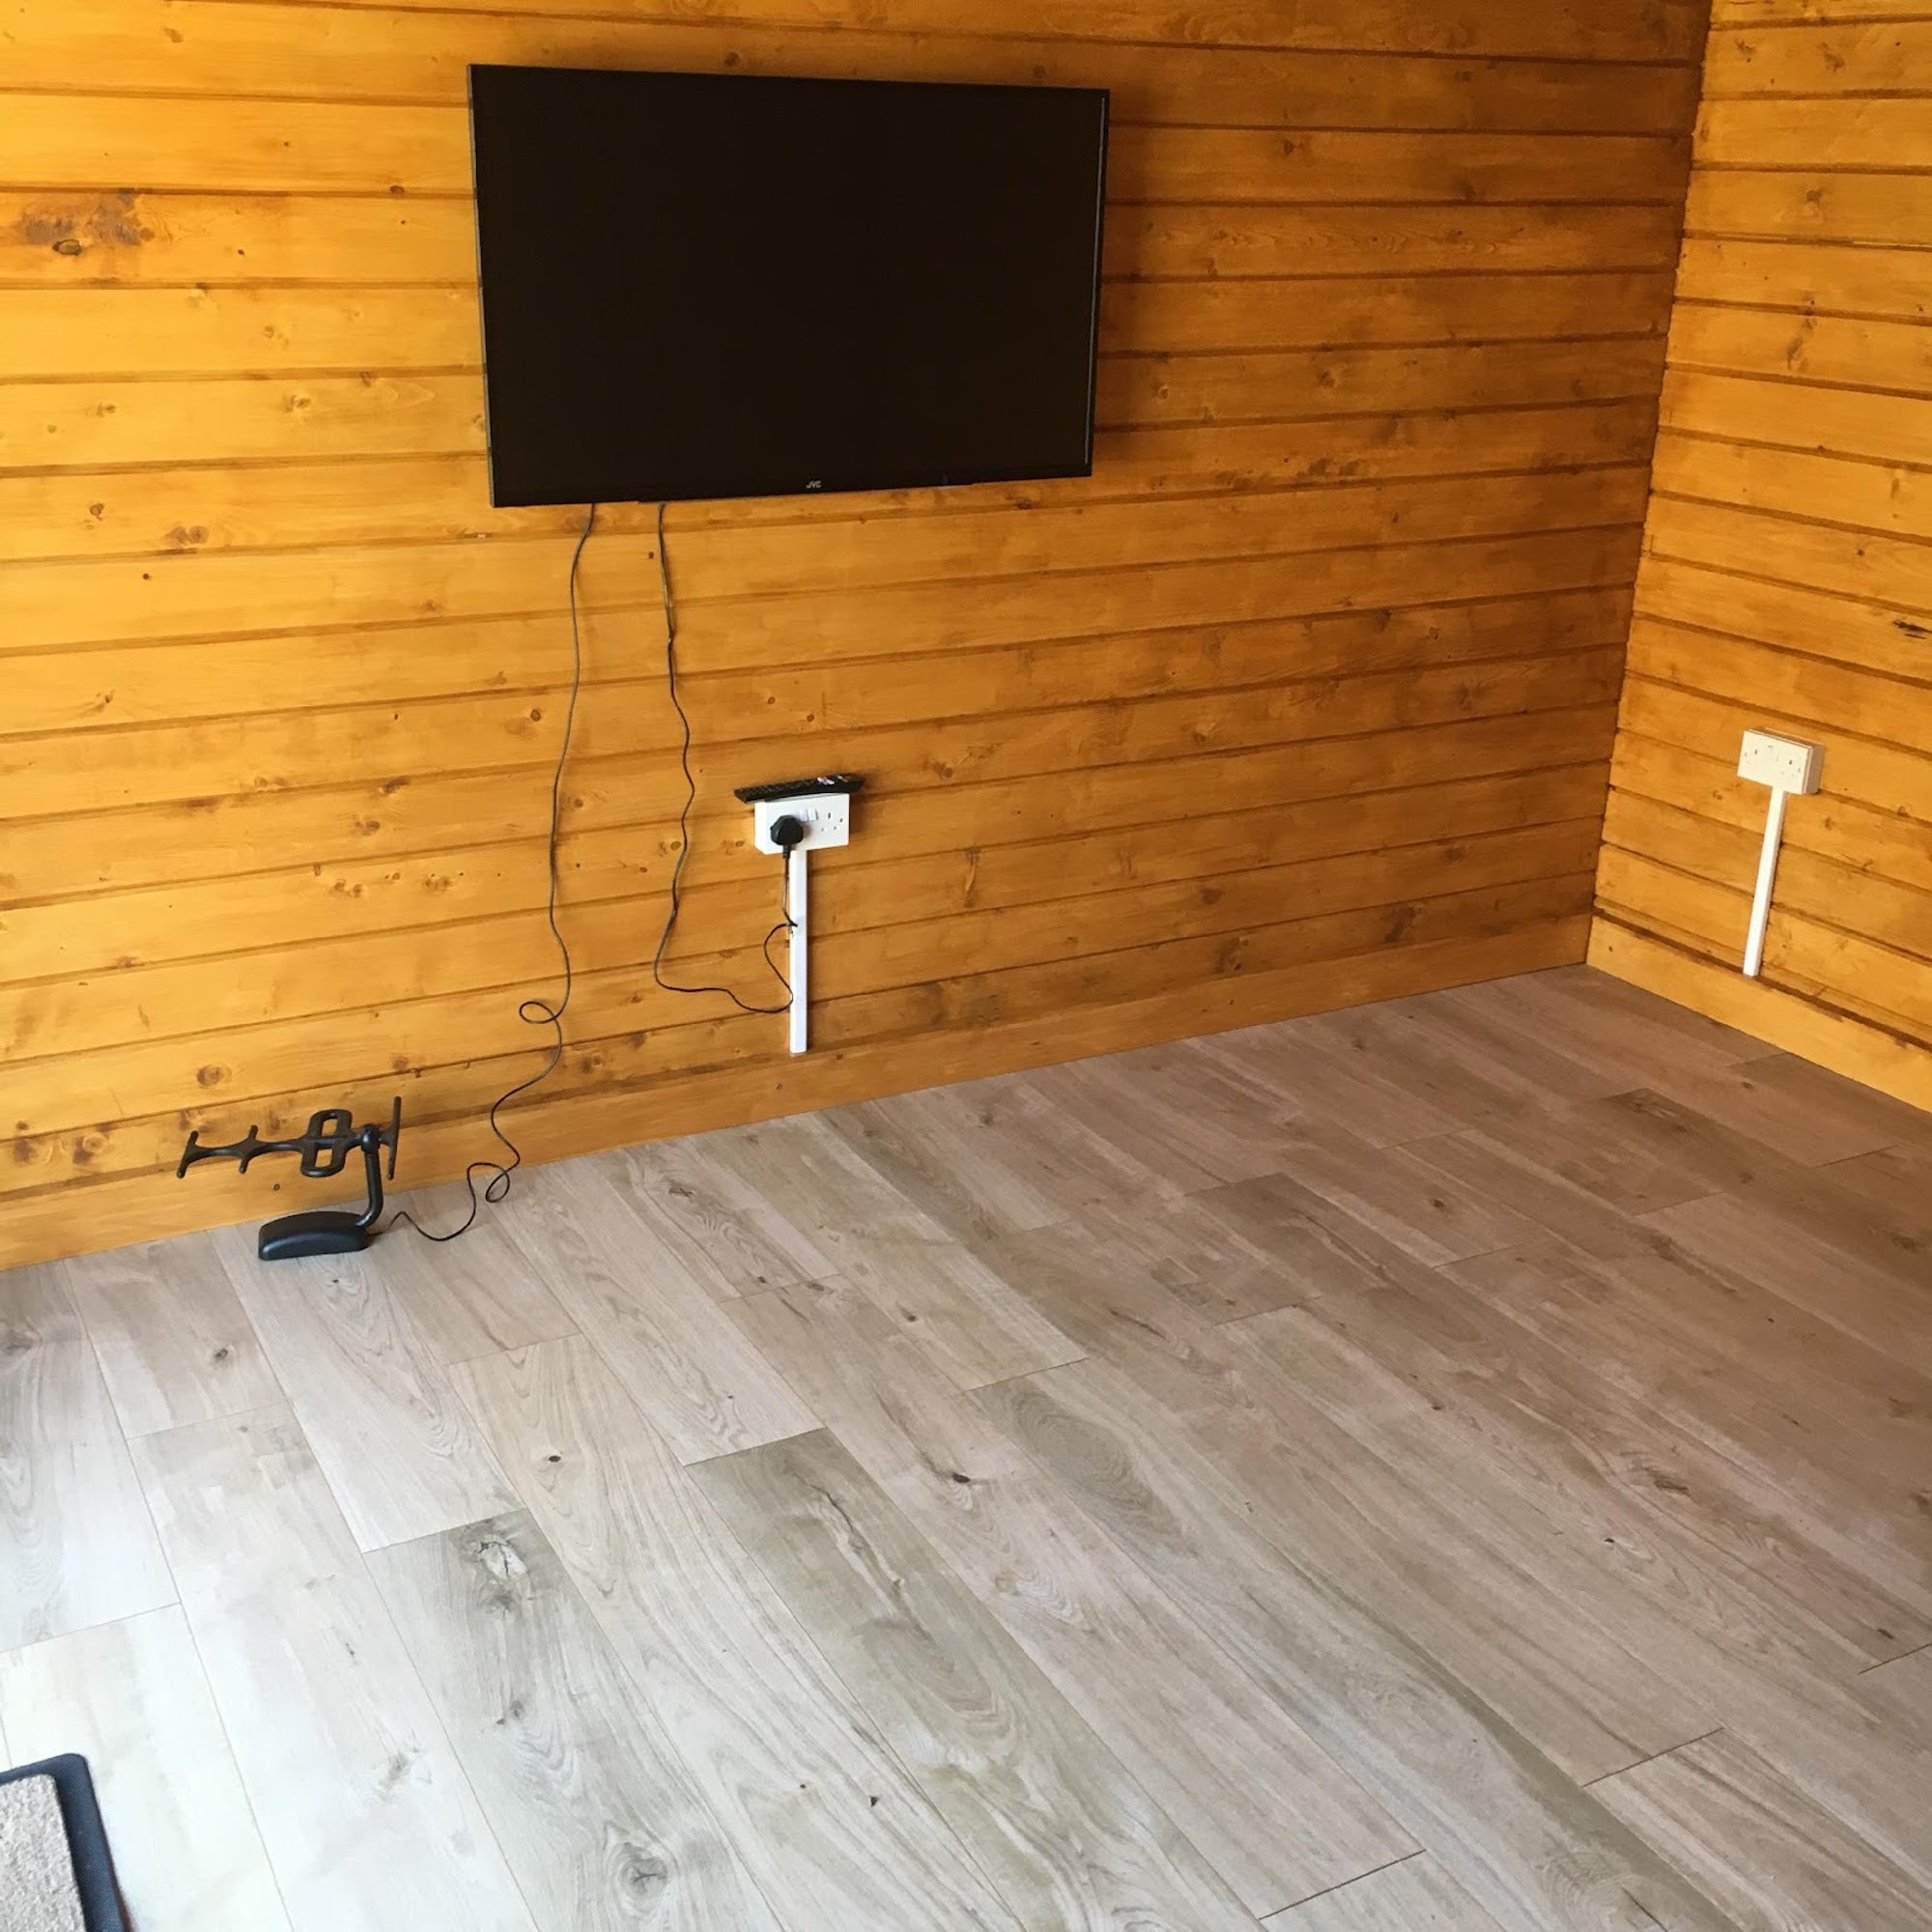
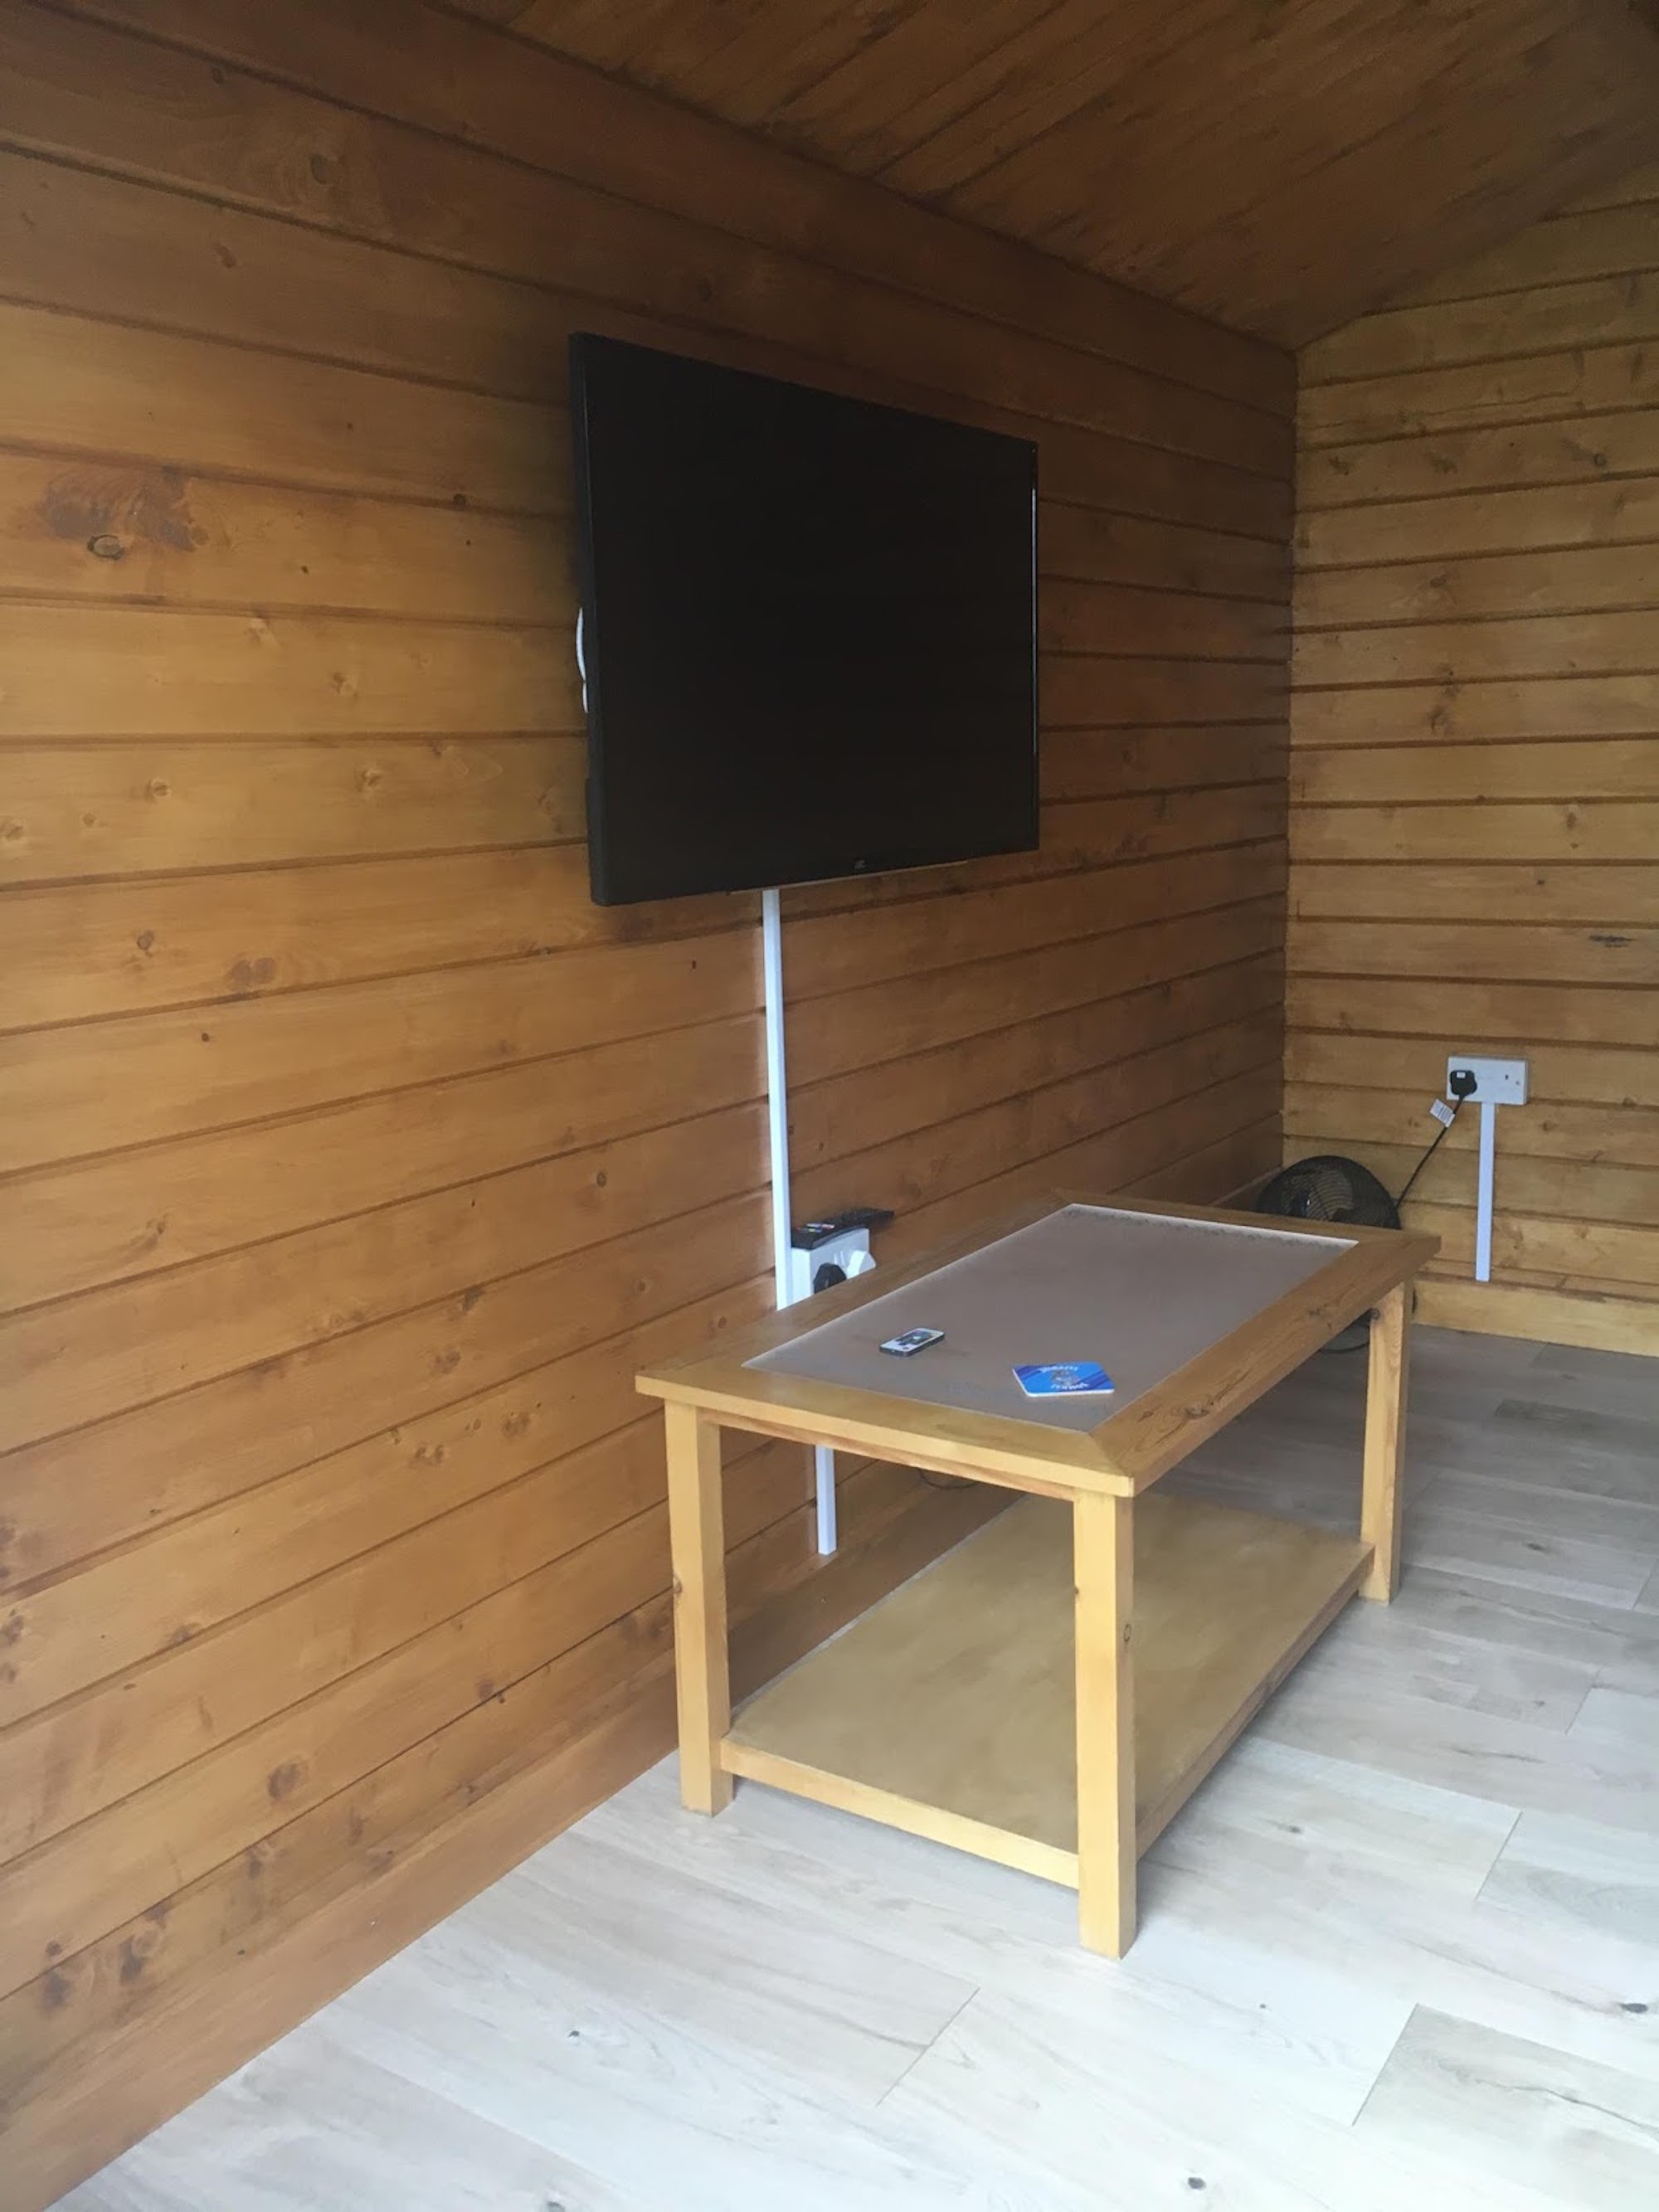
The floor complete it was just kitting it out. Of course, the T.V went in first. The kids said we can’t get Netflix. So, I had to get a Wi-Fi extender that works a treat thank God.
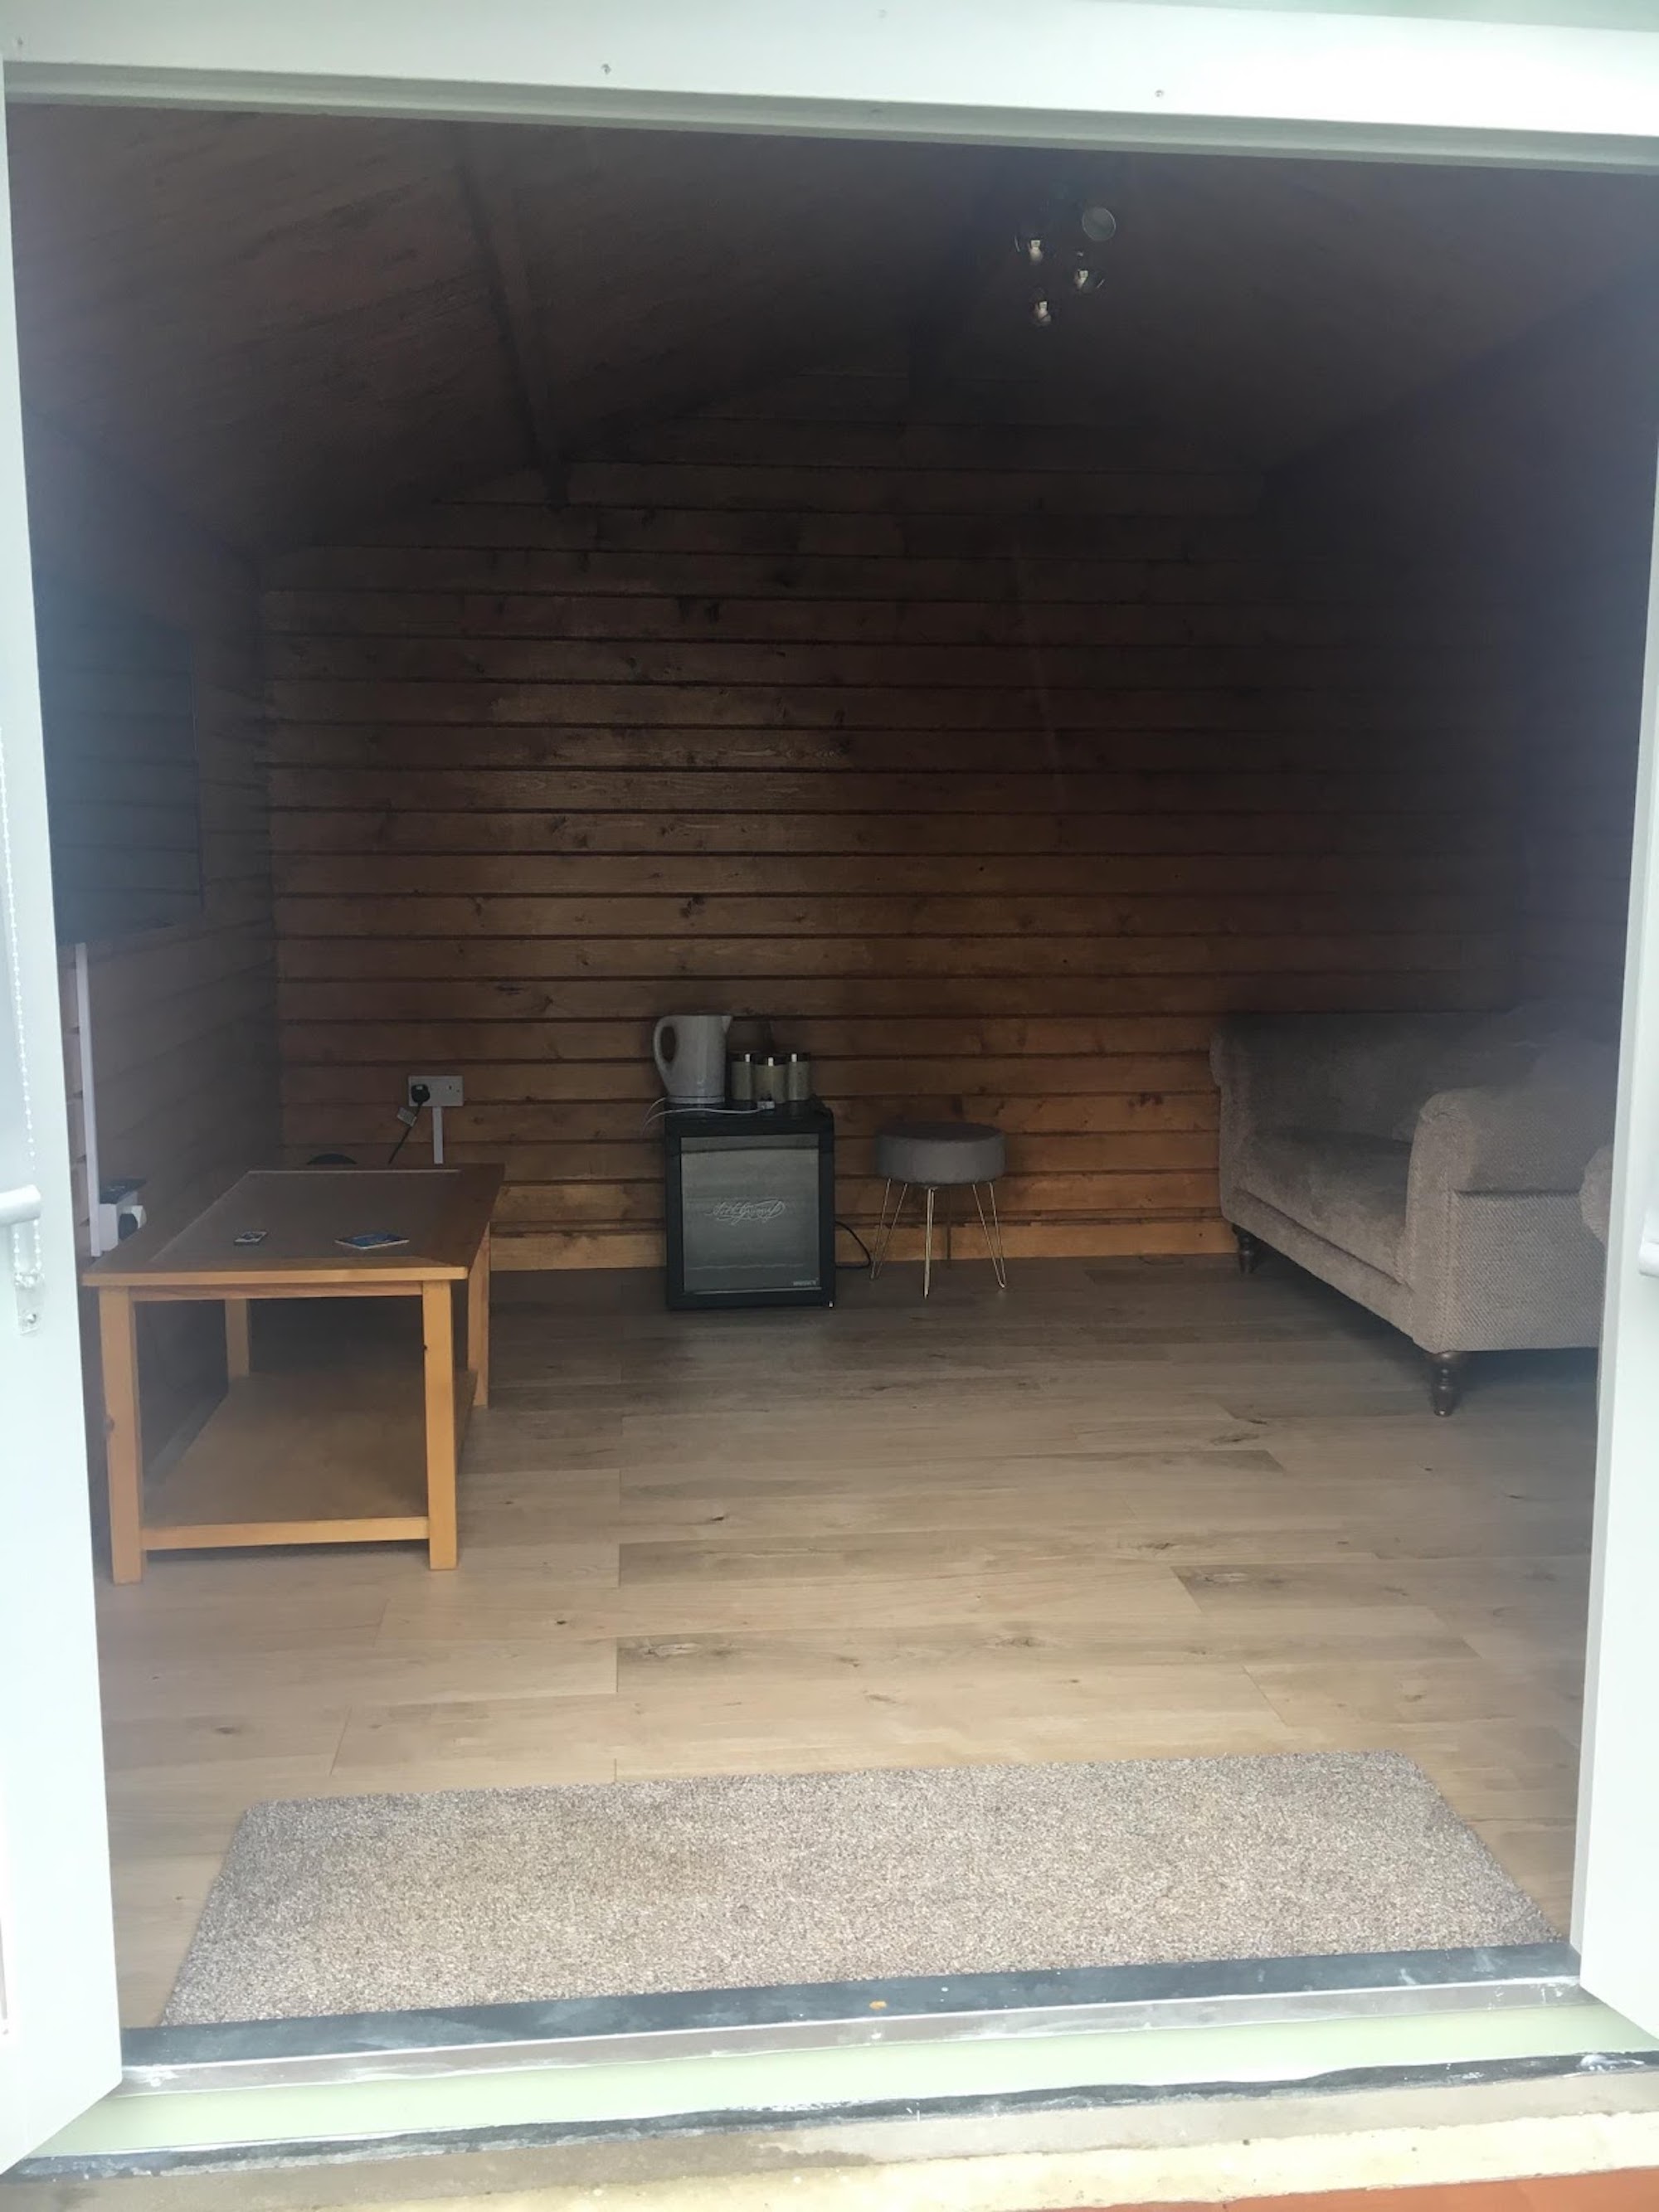
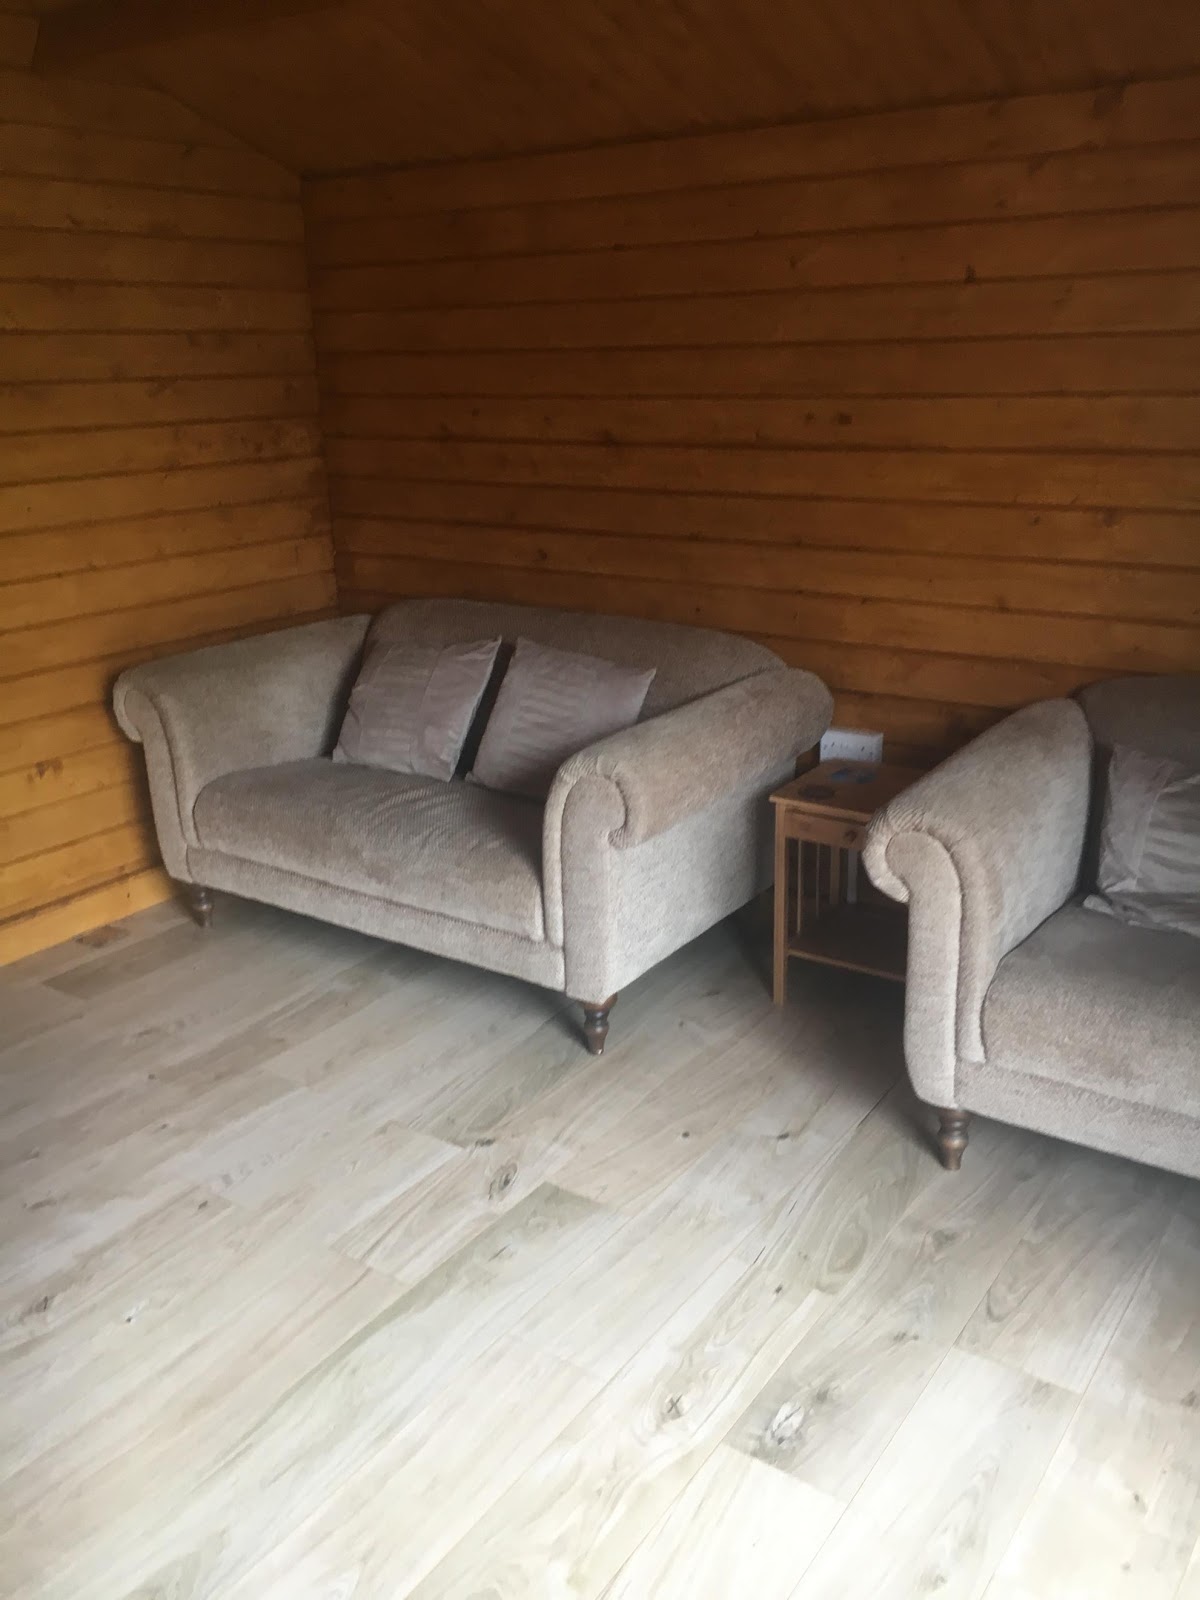
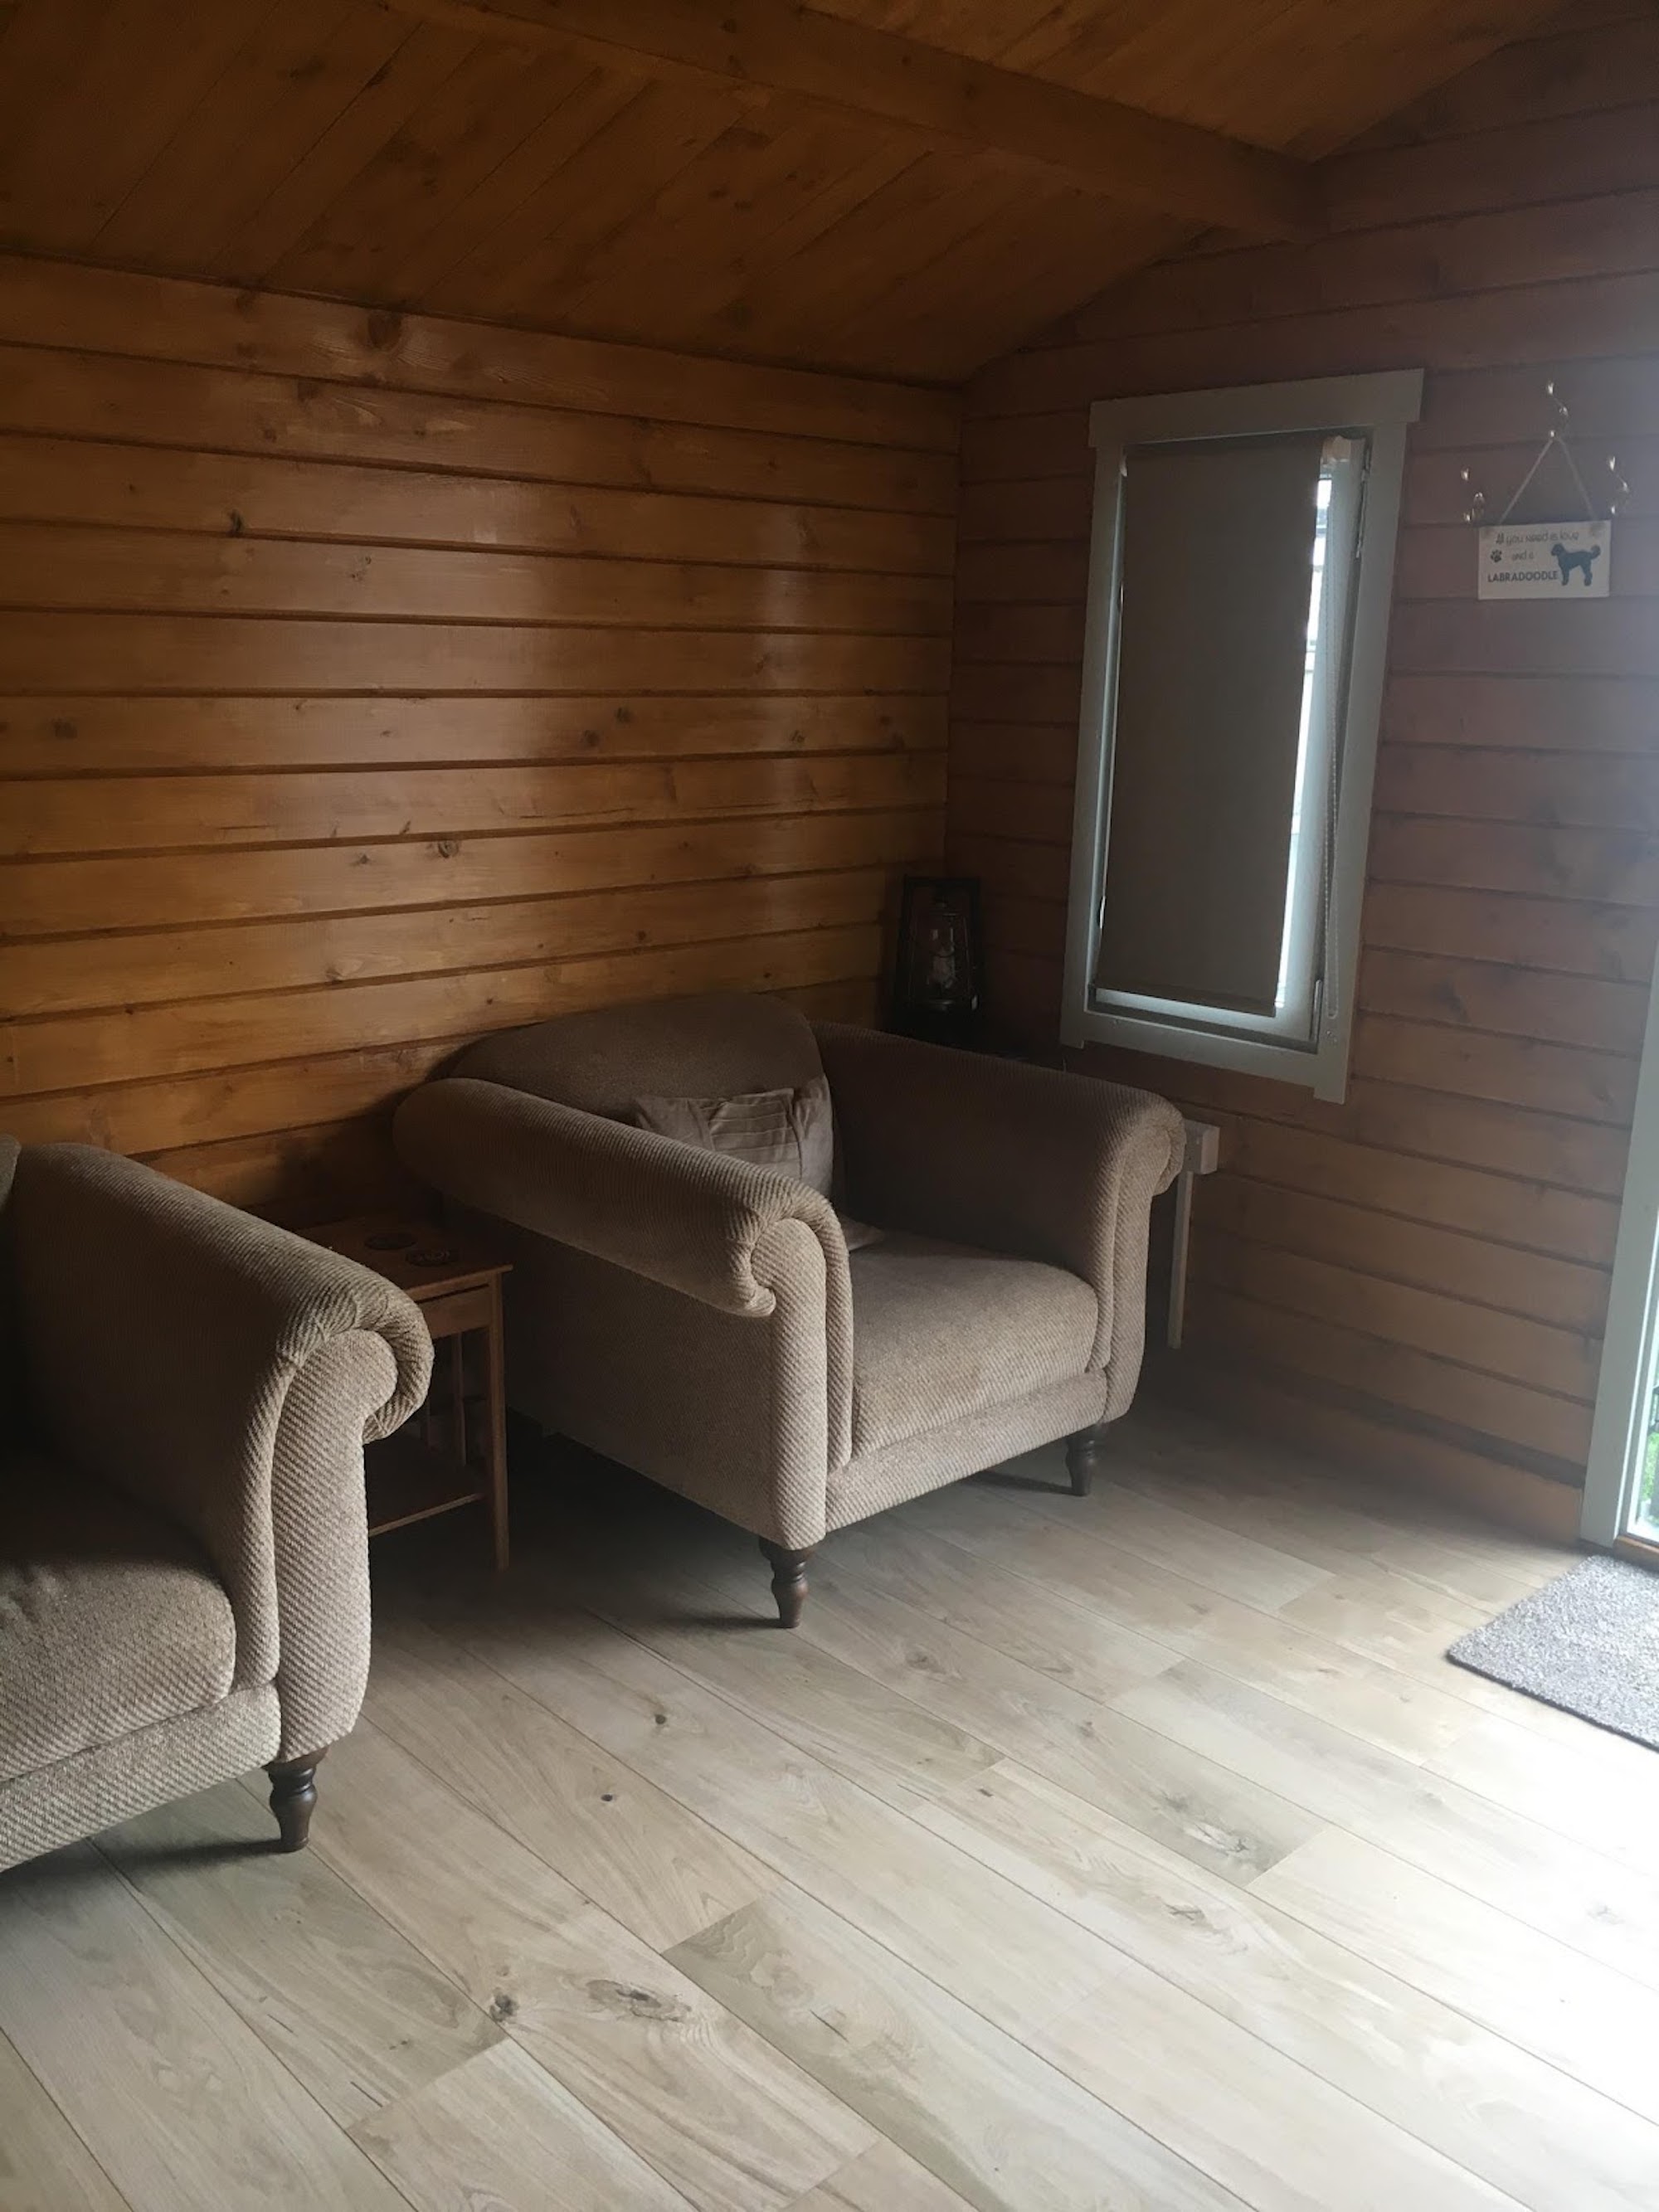
A cheap sofa and chair from DFS, a small coffee table in the middle. The table under the T.V was made by my daughter whilst in her last year at school. Very nice – it has LED lighting as well ☺
A beer chiller (of course) and some blinds etc.
That’s my review over. Still some bits to do but almost there. Hope you enjoyed taking a look. It was a lot of work but very enjoyable and anyone can do it.
-
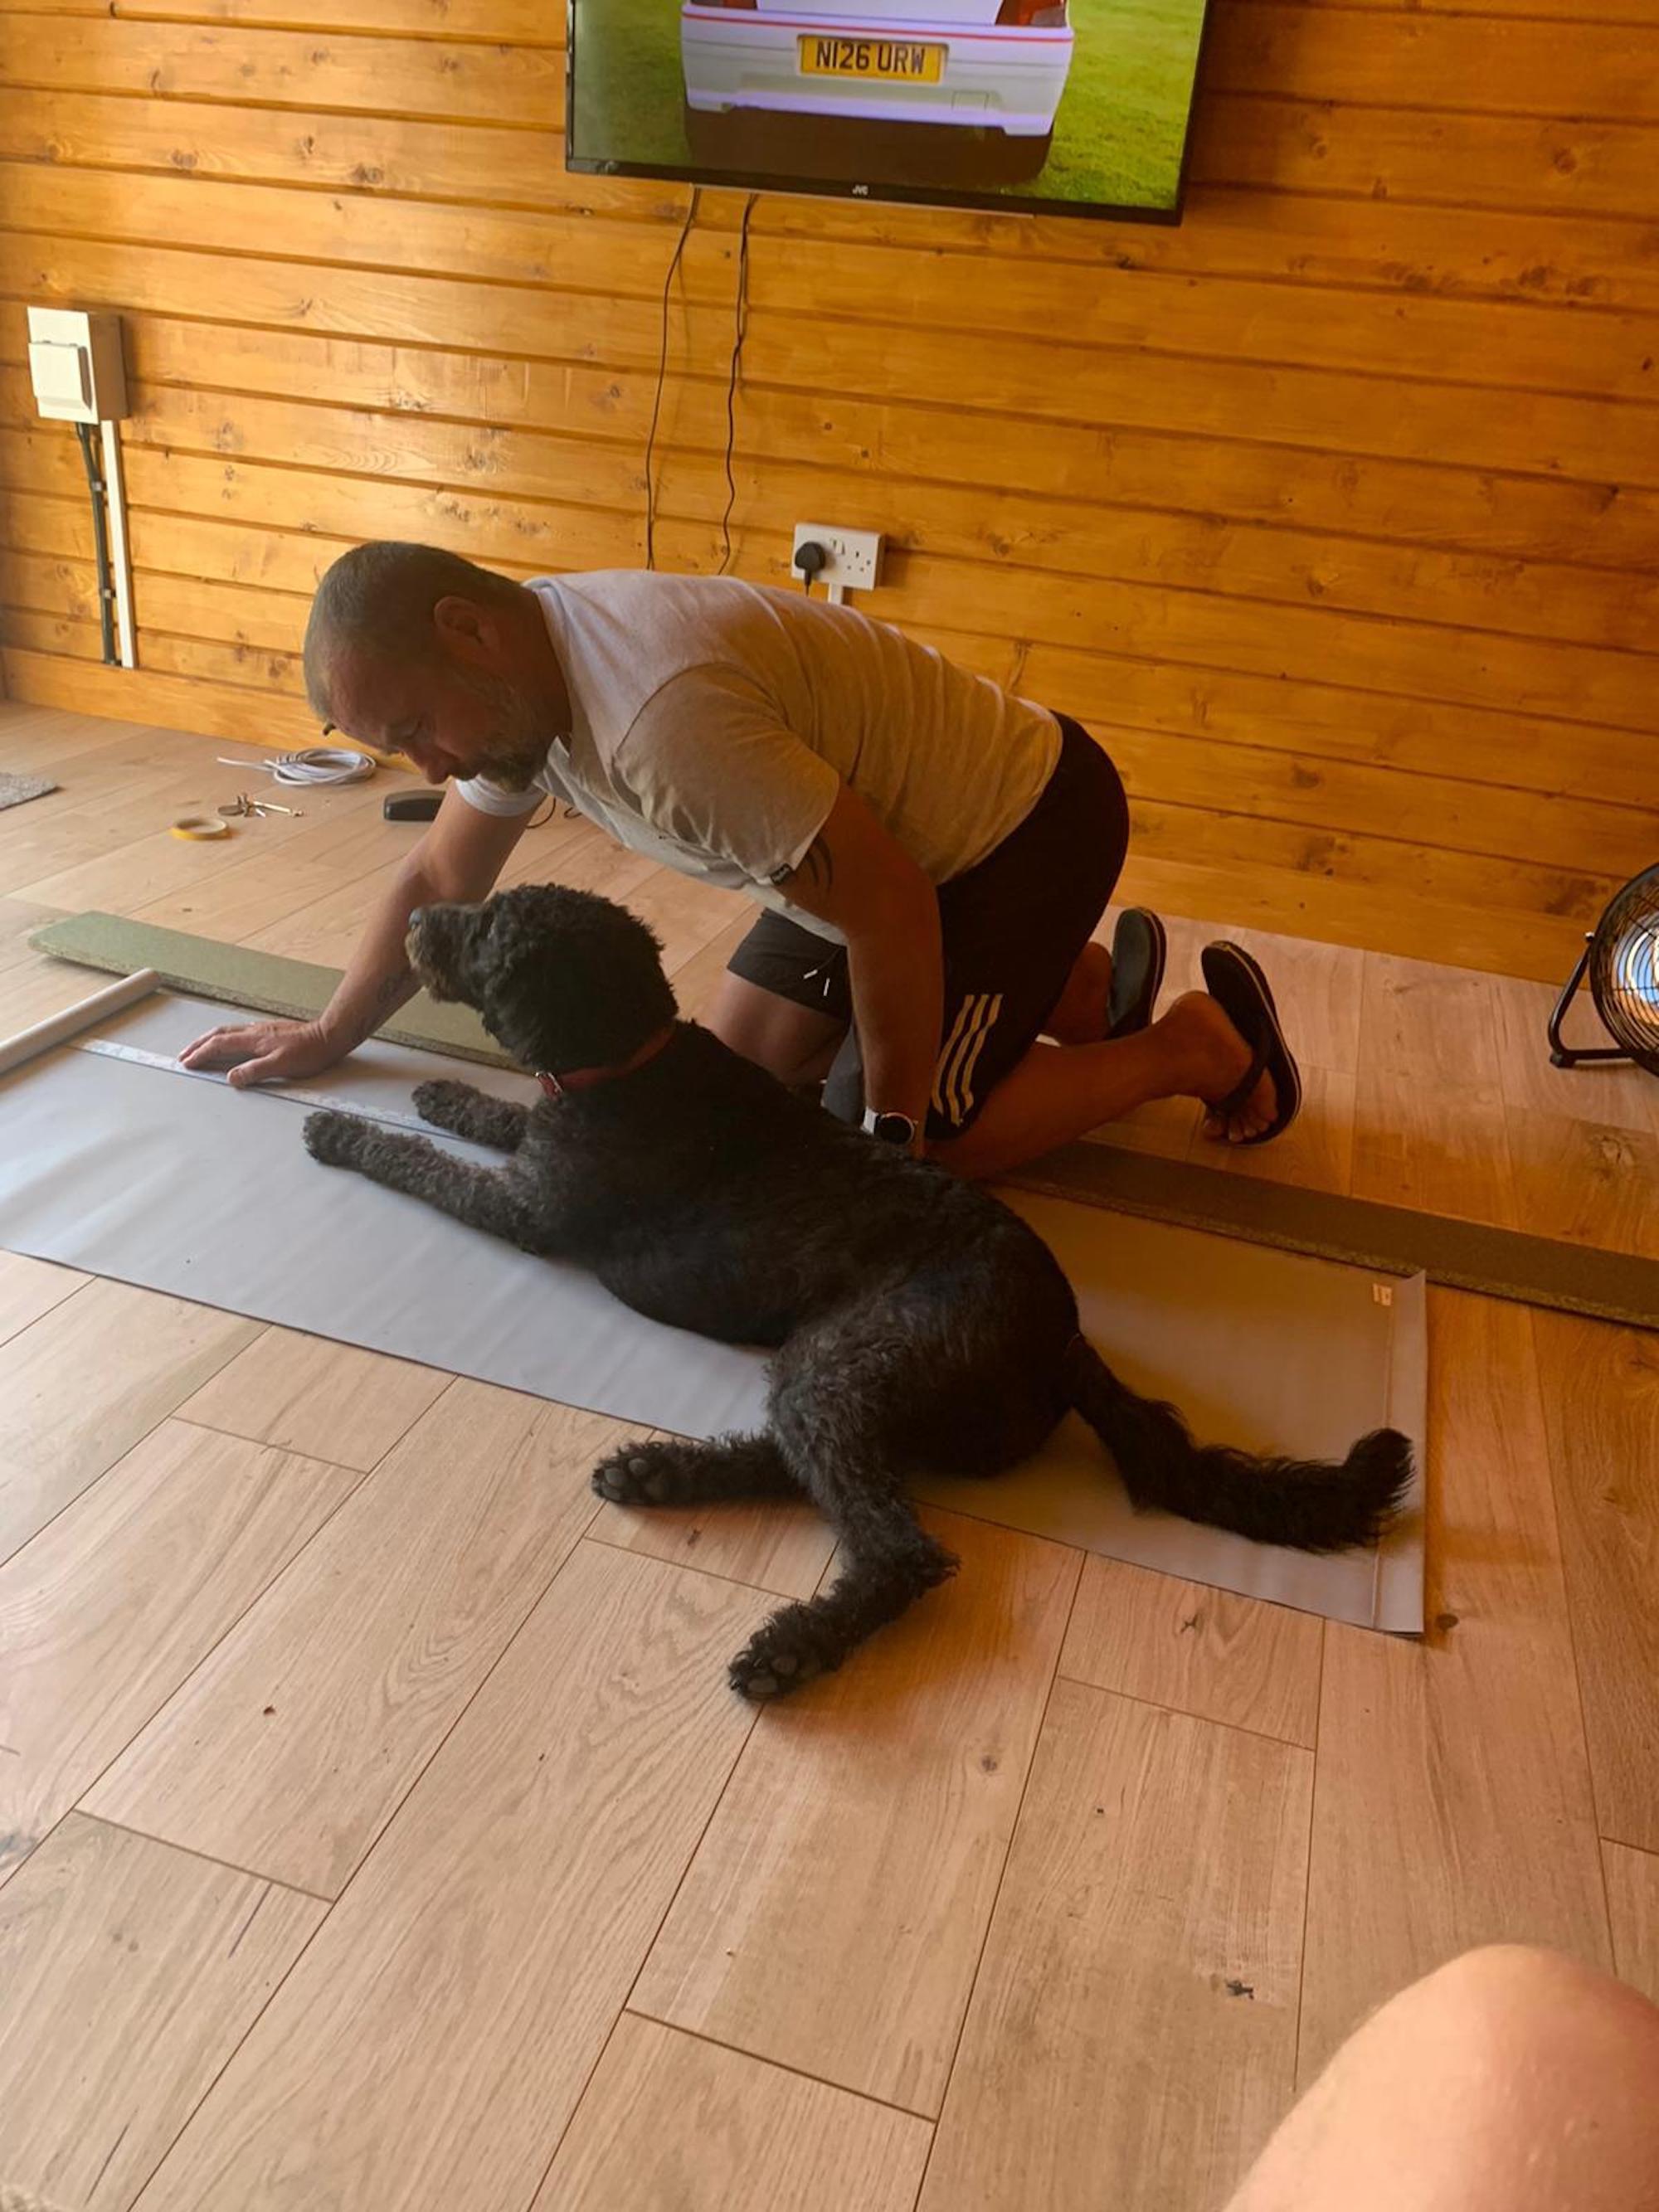
- The dog helping as usual.
-
- She loves it!
Have fun!!
Who could resist a helper as cute as the dog! Thank you to Mrs R for sending in this review filled with progress images, now that the WiFi has been sorted to reach the cabin, I can see myself spending hours in this Ulrik Log Cabin!
Looking for some more Log Cabin inspiration? You can find more reviews like this at: Tuin Pictorial Customer Reviews.
Is the Ulrik Log Cabin too big or too small for your garden? We have hundreds of Log Cabins in our range to choose from.
Bonus Photos
Here are some more images our customers sent in of their Ulrik Log Cabin


