


Hi everyone, Meg here!
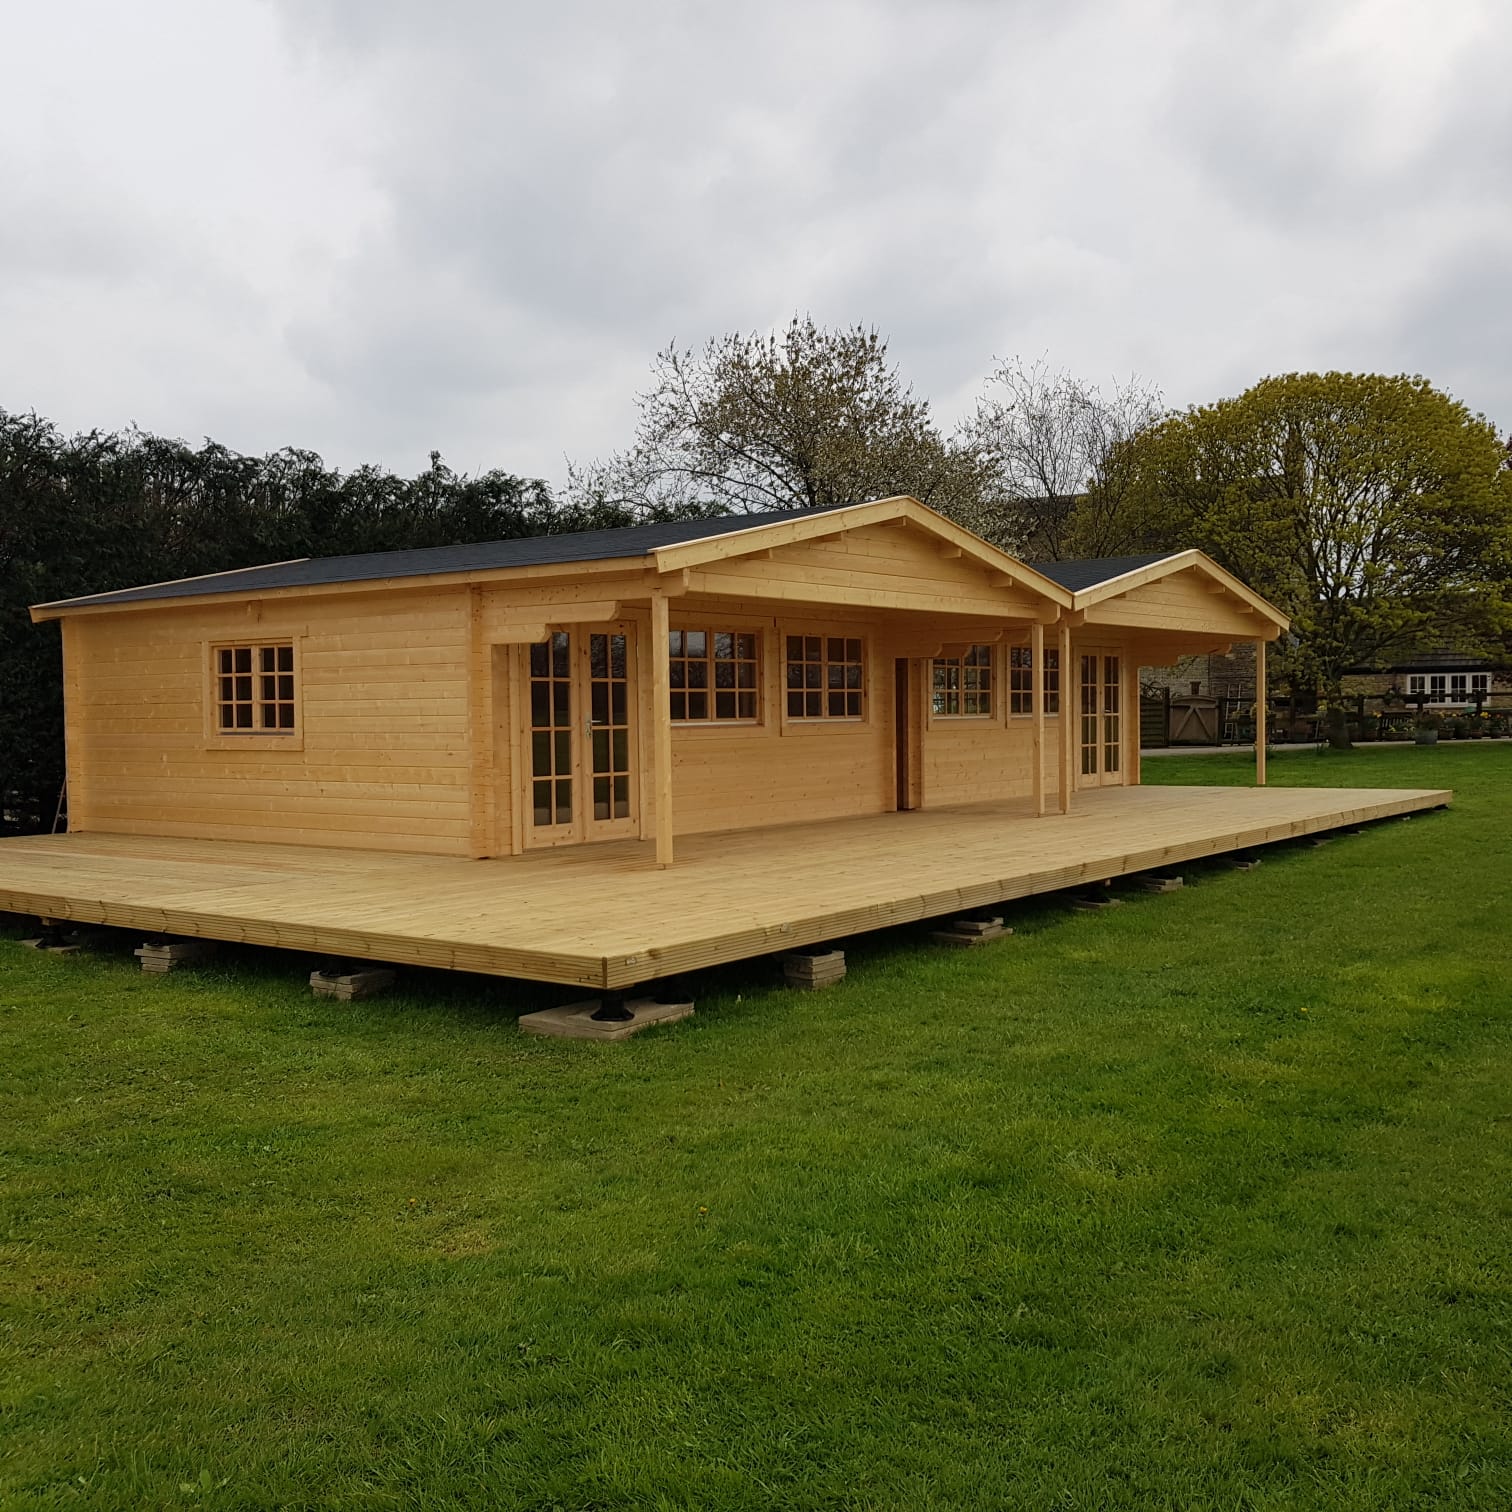
Today I’ll be showing you an interesting but well carried out modification, see below two Rune Log Cabins installed side by side. But then connected together via a small hallway.
Not a dramatically long hallway – But certainly a clean way to expand the already large Rune Log Cabin.
How did these installers do it? The rest of this blog will involve me breaking down the contents of the video:
Rune Log Cabins Video
The Building Process
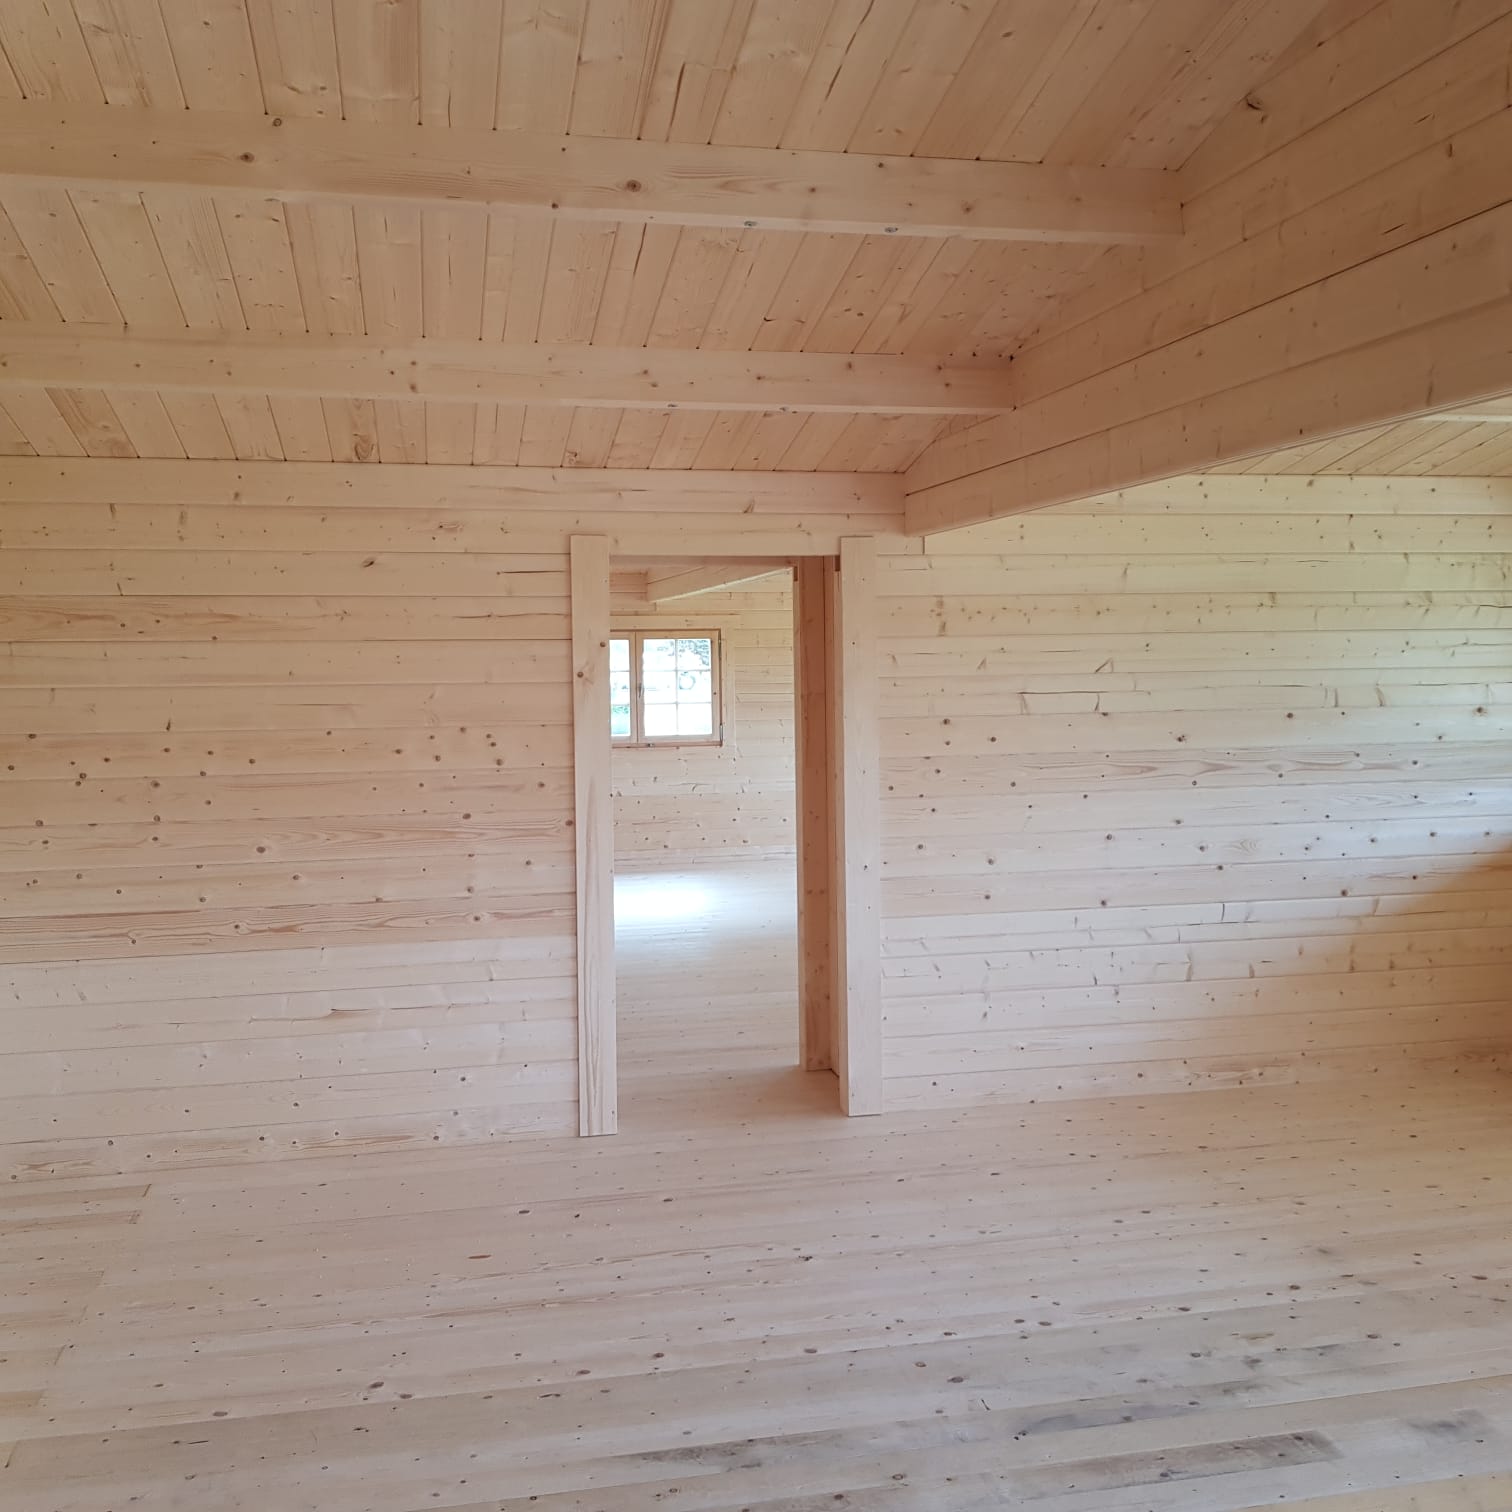
The two cabins have been installed with a suitable distance between them (exact measurements are unknown, sorry!). Then, upon mapping out the hallway on both Log Cabins, they cut/modified the logs to accommodate the walkway.
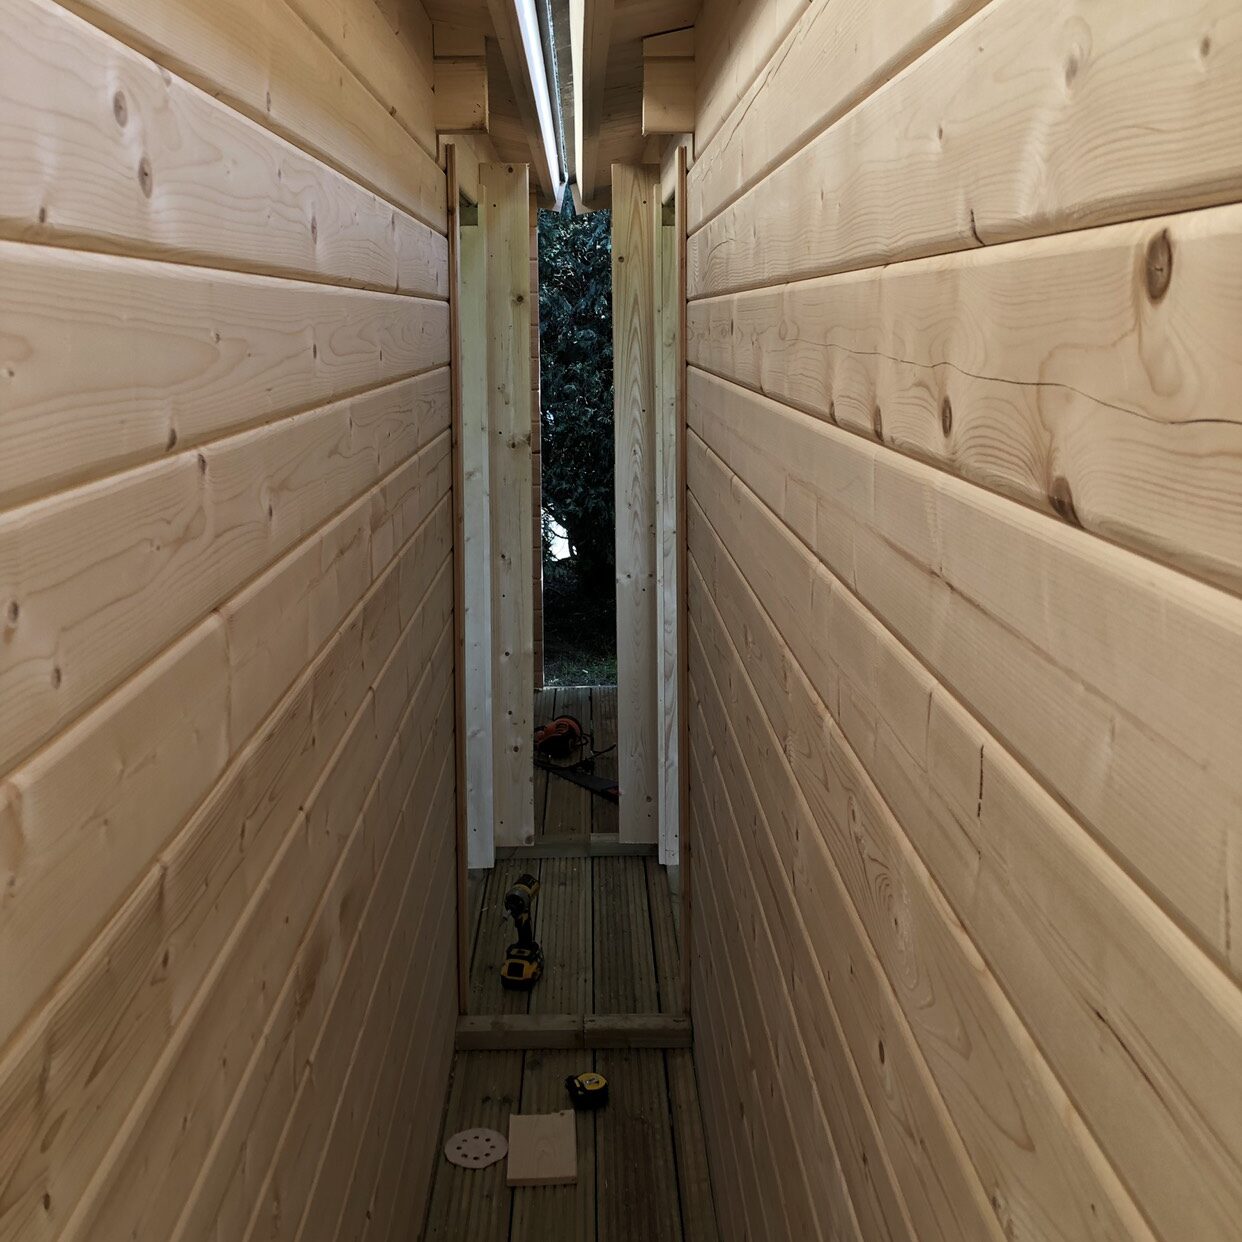
A lot of thought went into the positioning, see how the doors are an almost mirror image?
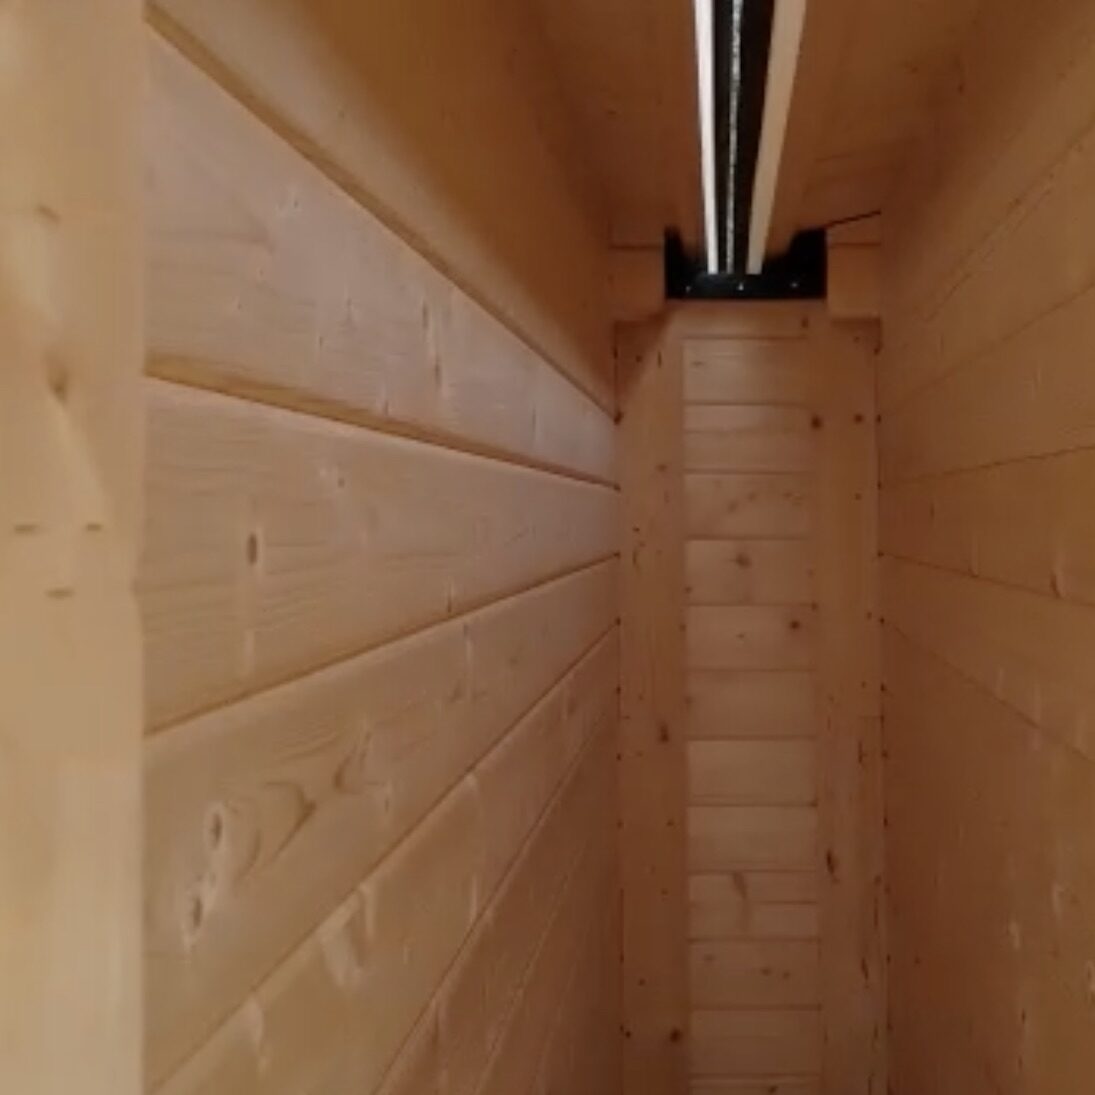
Using the leftover logs, they then created the walls, connecting the two Runes together as well as a roofboard or two, keeping the hallway enclosed. Along with a start to the floor for the walkway.
Looking at the image below, you can note the use of our Log Cabin Connectors as the structural framing for this modification, topped with fascia boards for an added covering as well as keeping the hallway aesthetically smooth, as if it’s in the original cabin plans!

Clean in appearance, these connectors will also have the spacing needed to work with the natural contraction and expansion of timber.
To future-proof the hallway, take note of the shingles on top of the hallway outside. Roof shingles are a great way to help protect your Log Cabin from the English weather.
-
- A great way to recycle the leftover logs from creating the doorways.
-
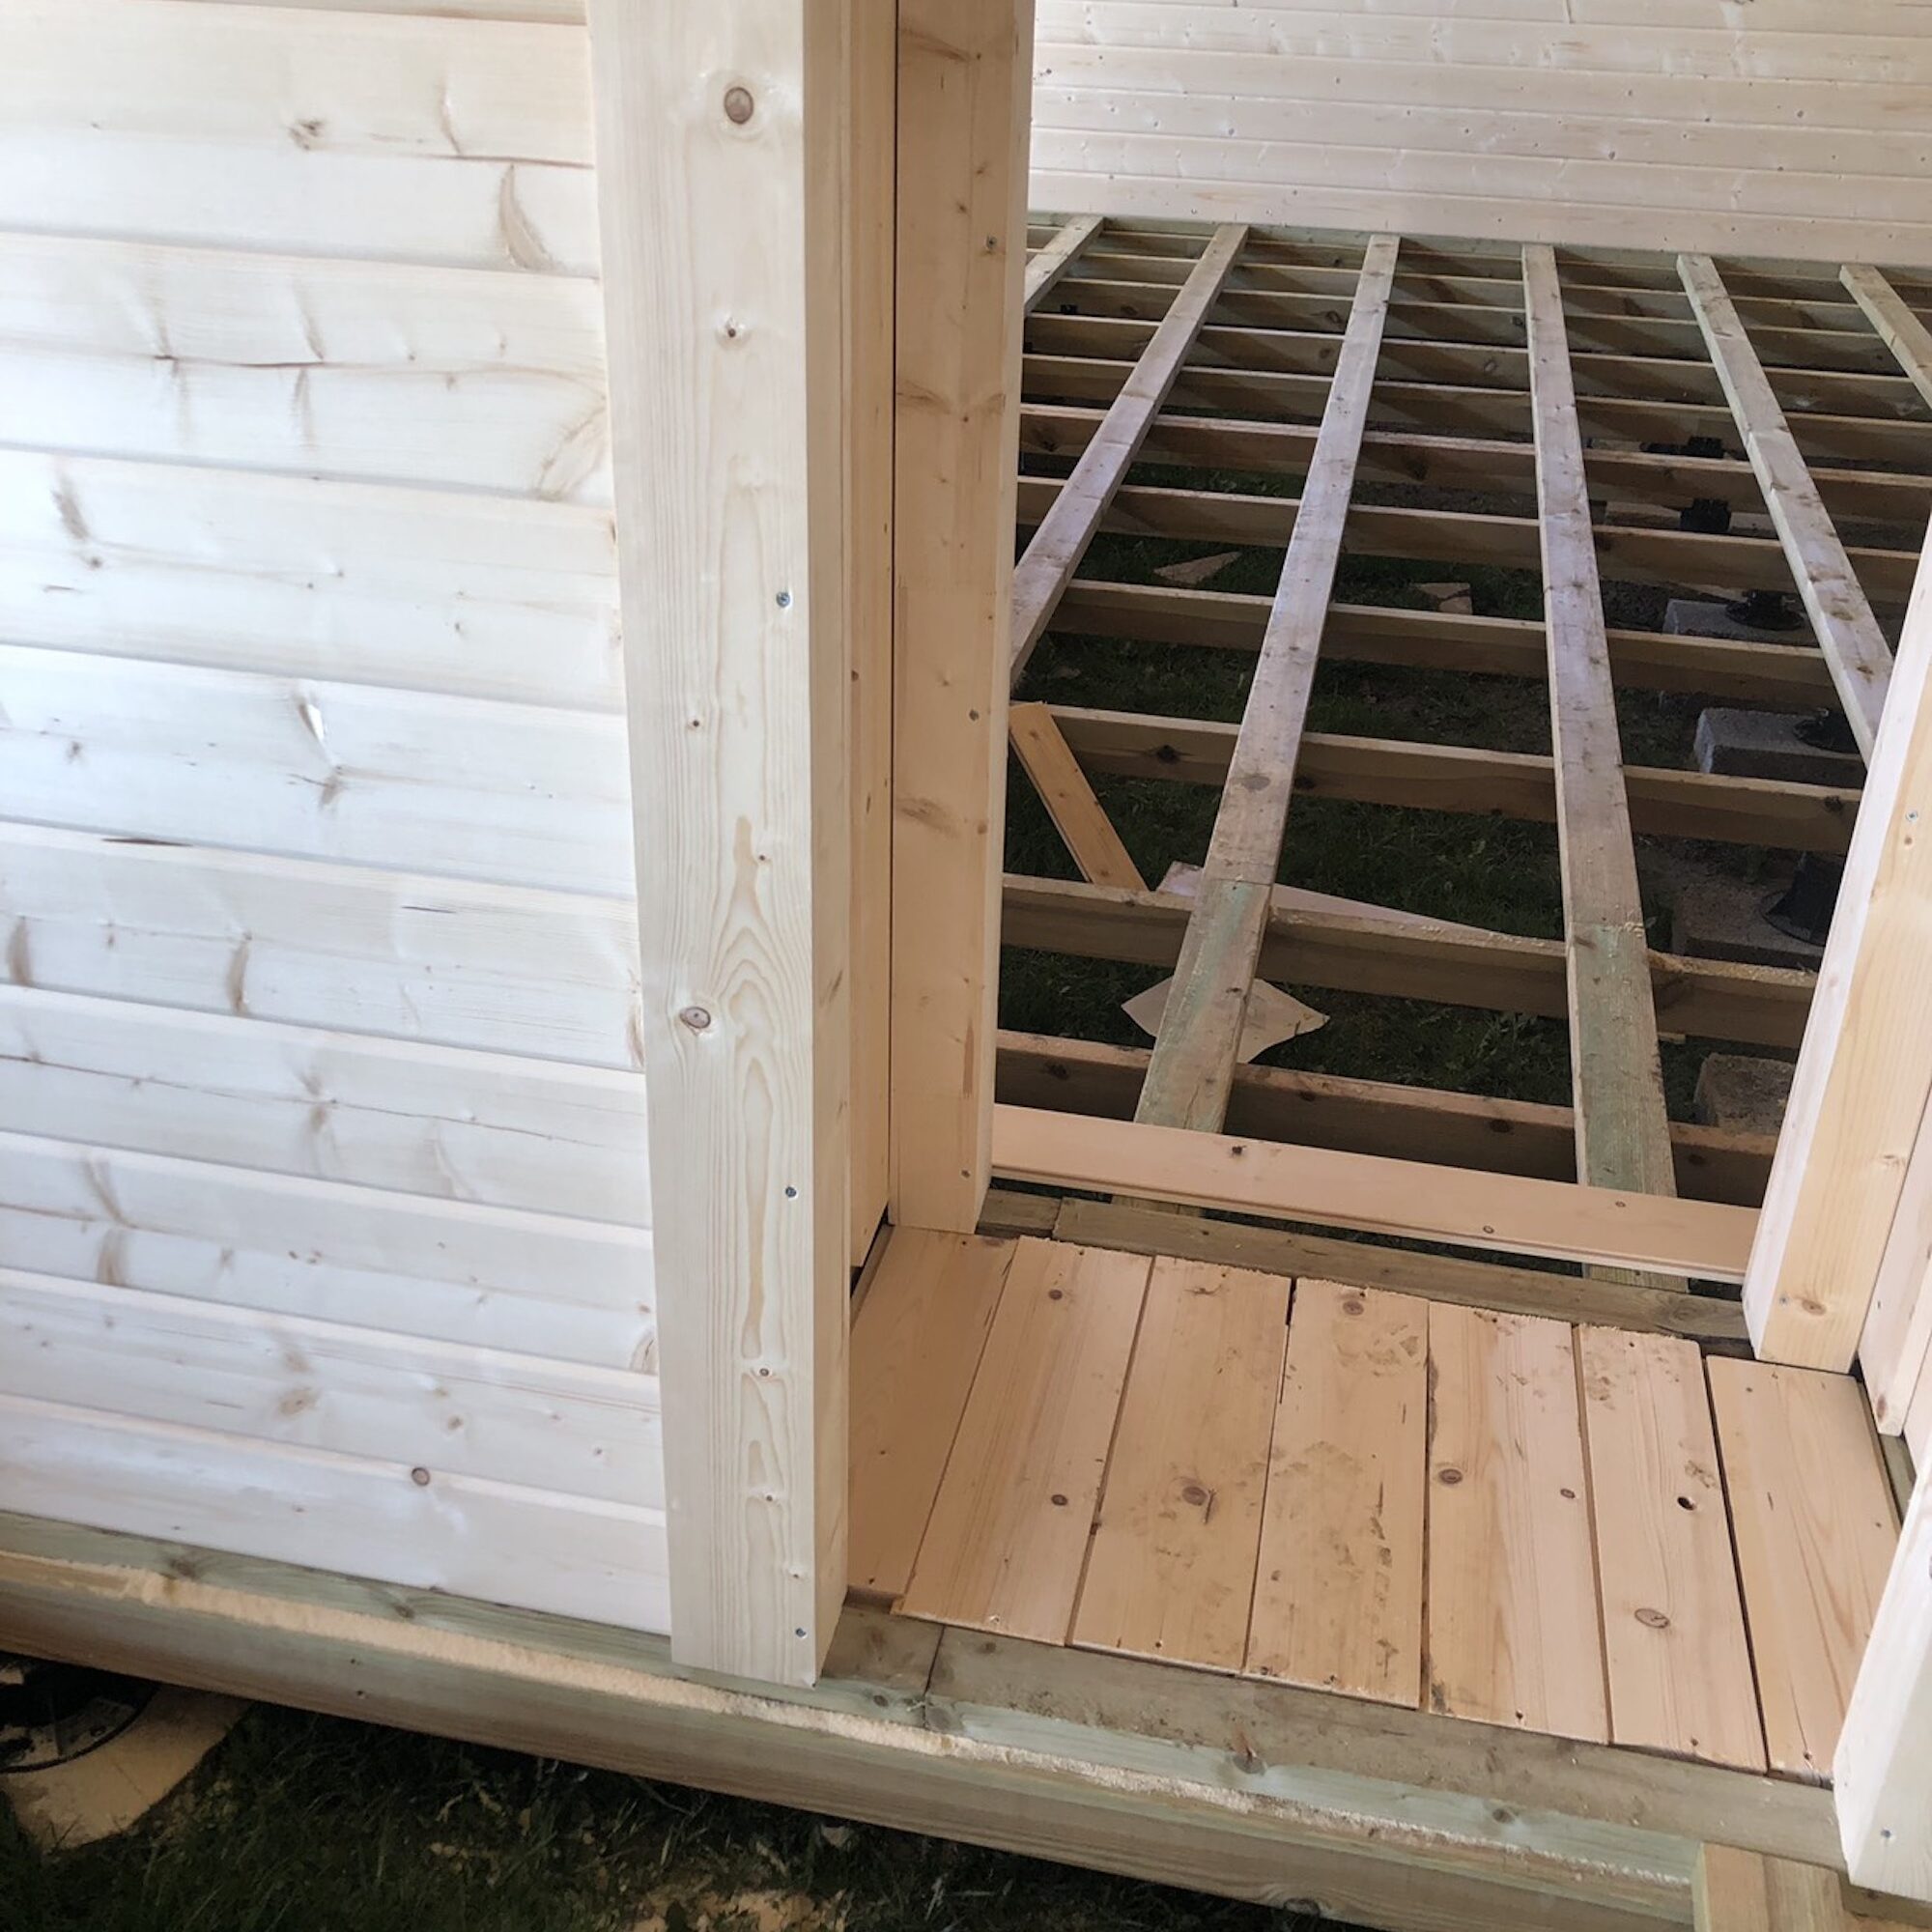
- Looks a little odd right now – But it does all come together when the installers lay the rest of the floor.
-
- The positioning of the hallway seems to be in line with the window on the opposite wall.
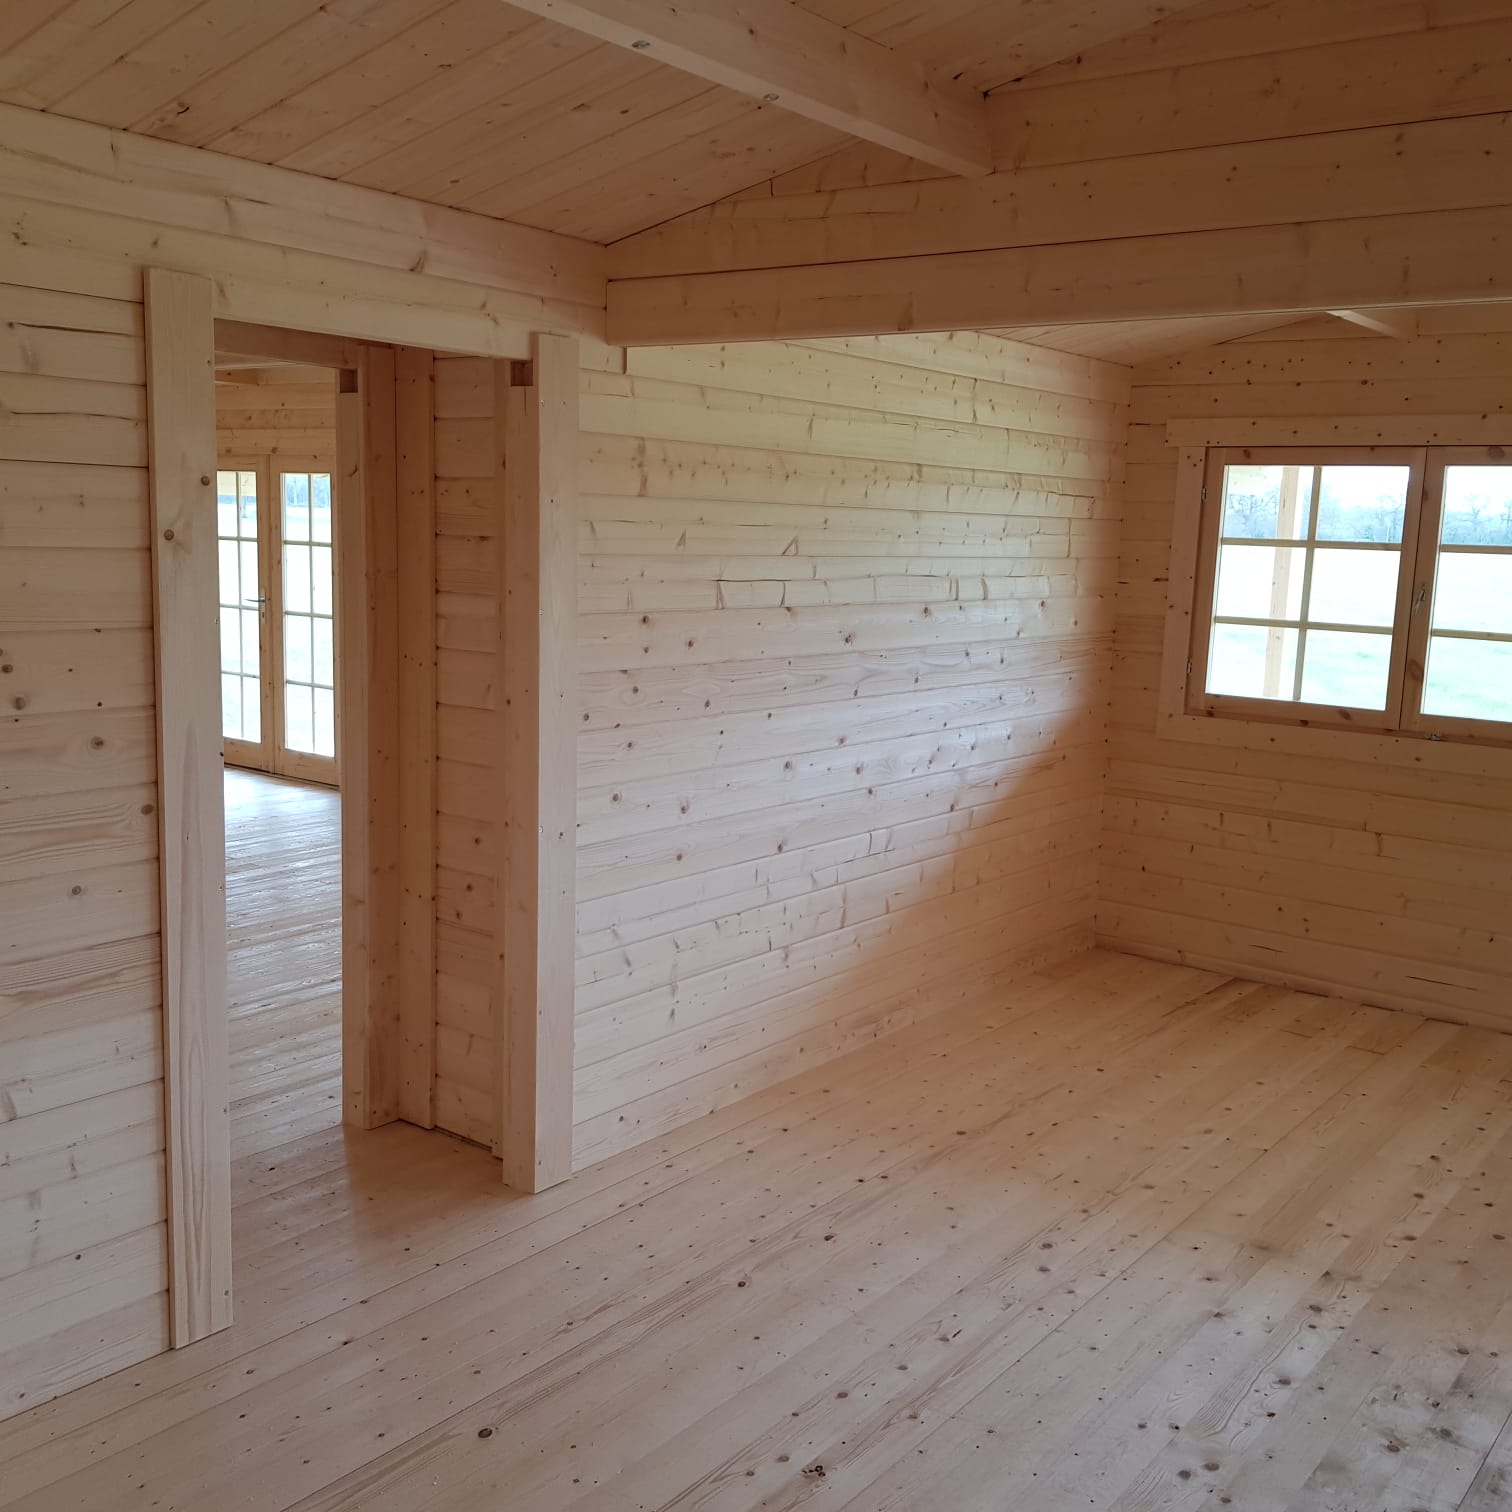
The Finished Cabins
It’s not just the modification that’s impressive. The fact that these customers have now gained an additional 5.95m x 5.95m space to use. Resulting in a large, substantial set up- But perfect for a range of uses.
This modification was carried out by our recommended installer Phillip and his team. For more information on how to contact Philip or a recommended installer in your area, see our recommended installers list.