


We have a very handy video showing you the standard install of any Log Cabin. The same process takes place across the board. We host the video on YouTube and it was nicely ‘annotated’ with more information. For some reason this facility is now turned off. So I thought I’d write an article explaining some of the finer points that we show you in the video and generally talk through it as you watch the film:
0:12 Laying Out
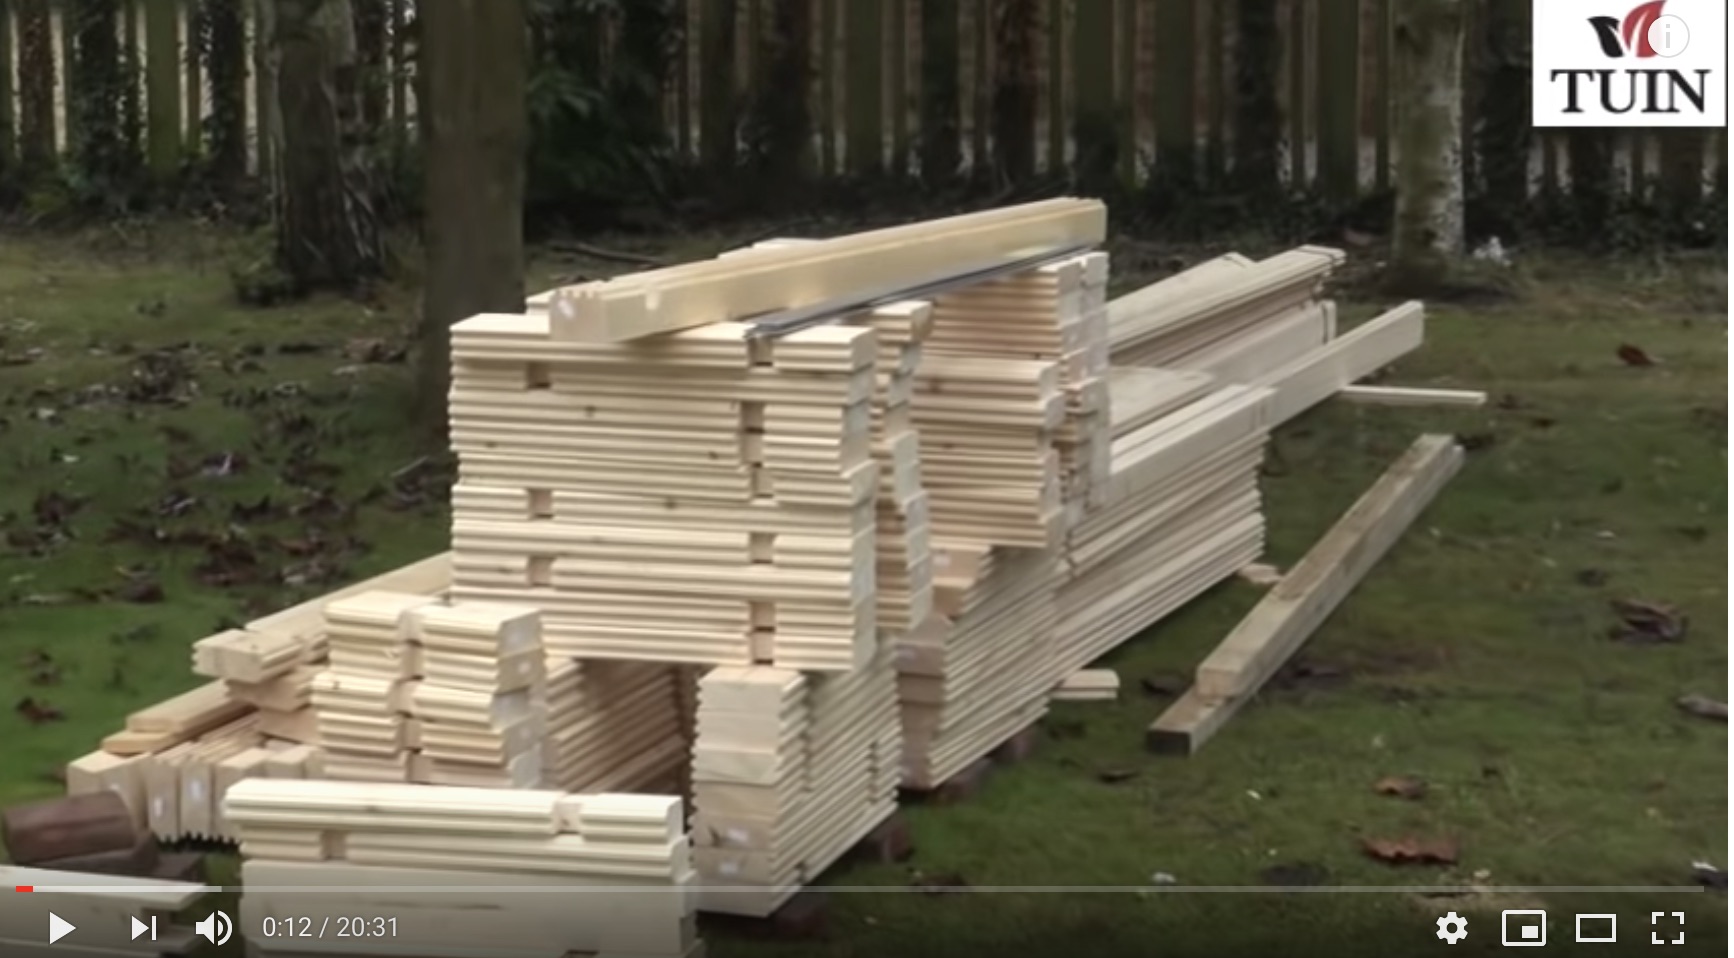
Unpack your pallet fully and lay out the logs around the perimeter of your base. Try to keep them in the same lengths in stacks. Try also to make sure they are laid flat and supported. As you are setting them out you can easily identify the main wall logs. You will find other parts you might not recognise such as purlins and cutouts for above or below doors and windows. Make a note of these and place them to one side. At this stage also look out for half height logs. These will be your starter logs on two opposing walls. Put these also to one side and remember where you put them.
0.22 Base and Plans
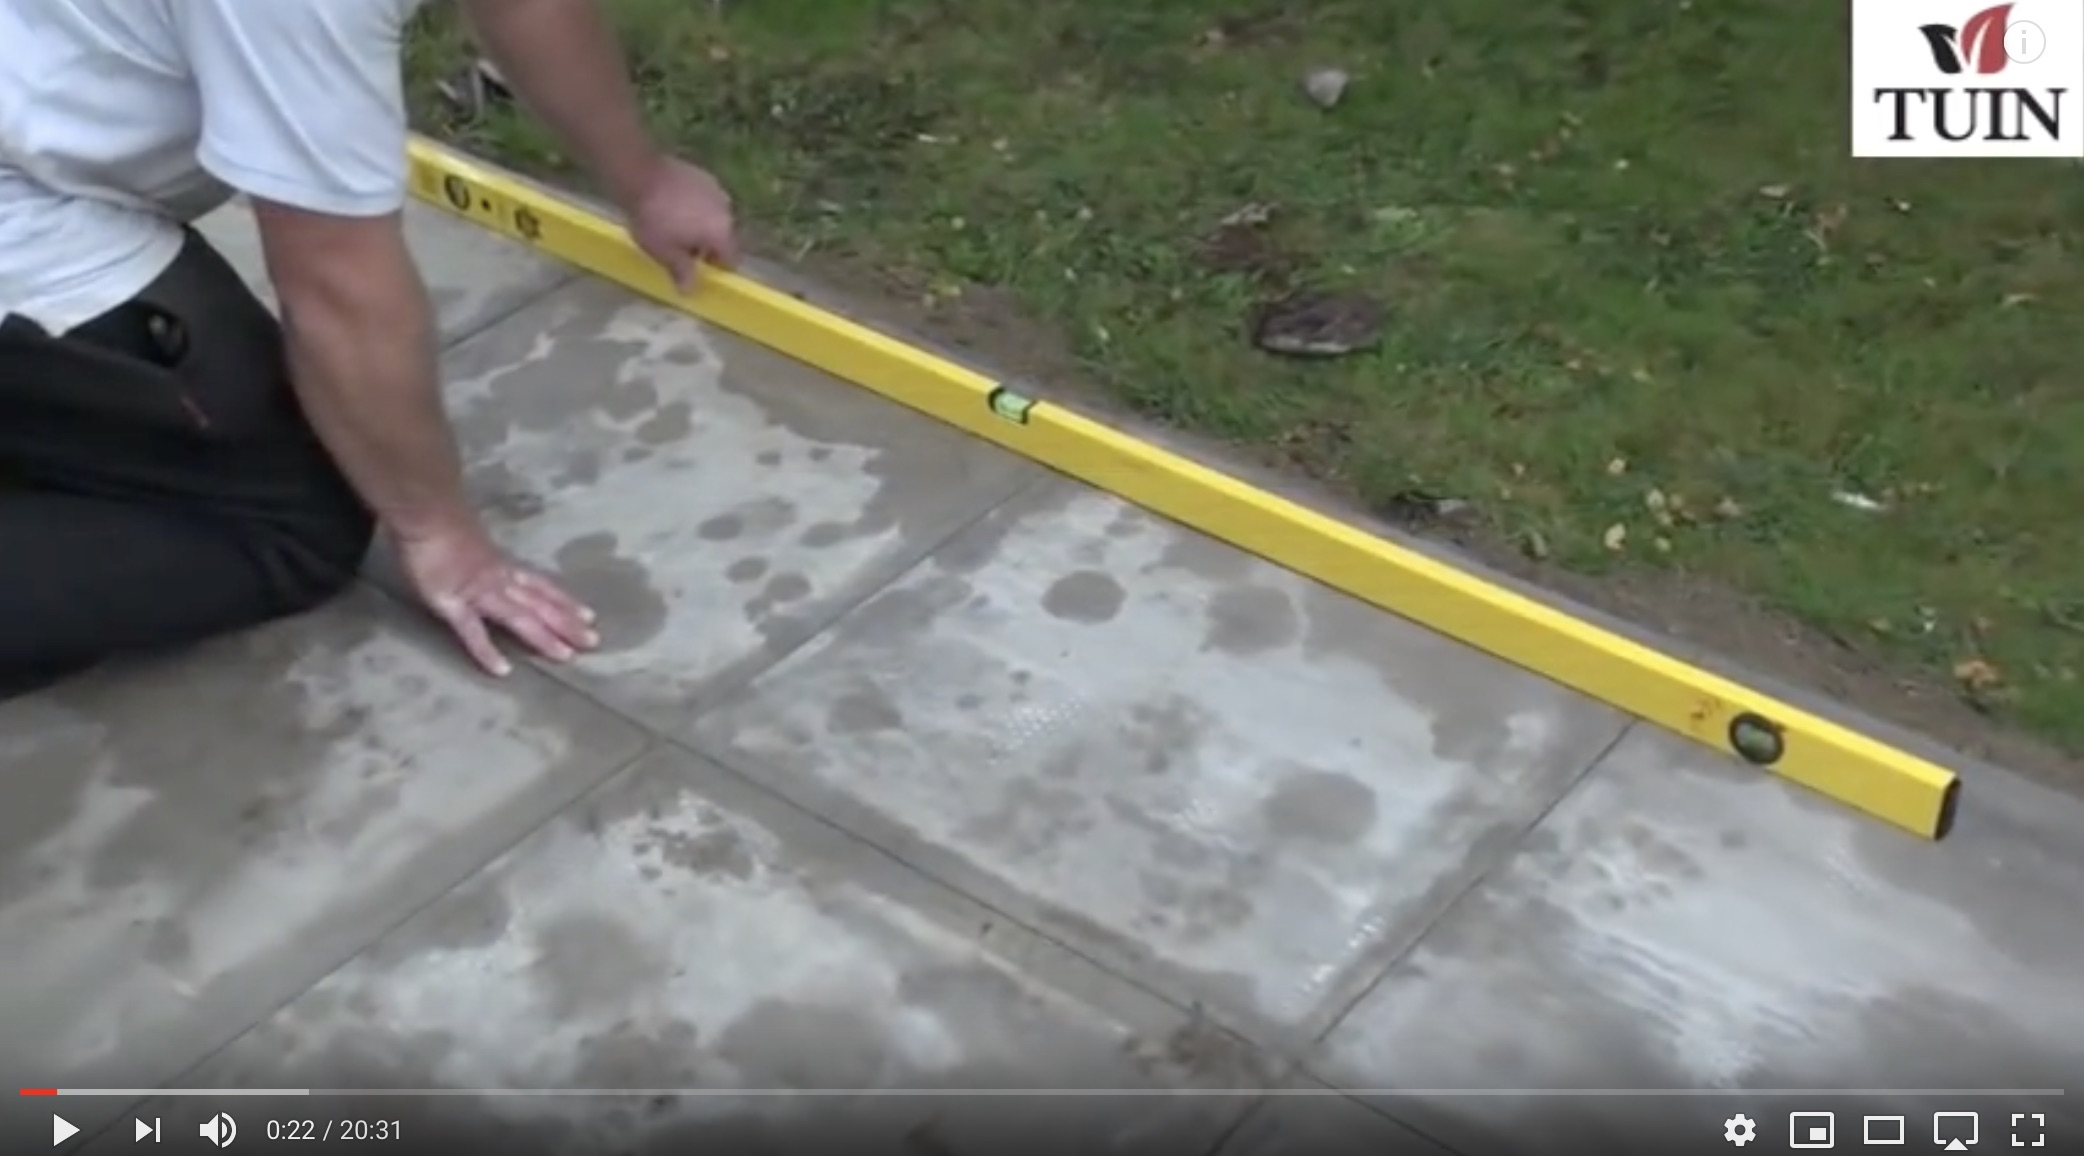
Check your base is level and check the plans
You should already have a level base but just quickly check it again. If it isn’t there are things you can do which other articles help with in the blog. Check the plans. You’re looking at each wall elevation and noting the size of the logs as well as familiarising yourself with the numbers and positions of the various logs. You will also have a general manual explaining the process. If it is not enough this article will help as well as the extended Log Cabin installation advice page and numerous further articles linked from it. If you get really stuck we’re always pleased to help and offer further guidance.
0:51 Setting out the first logs
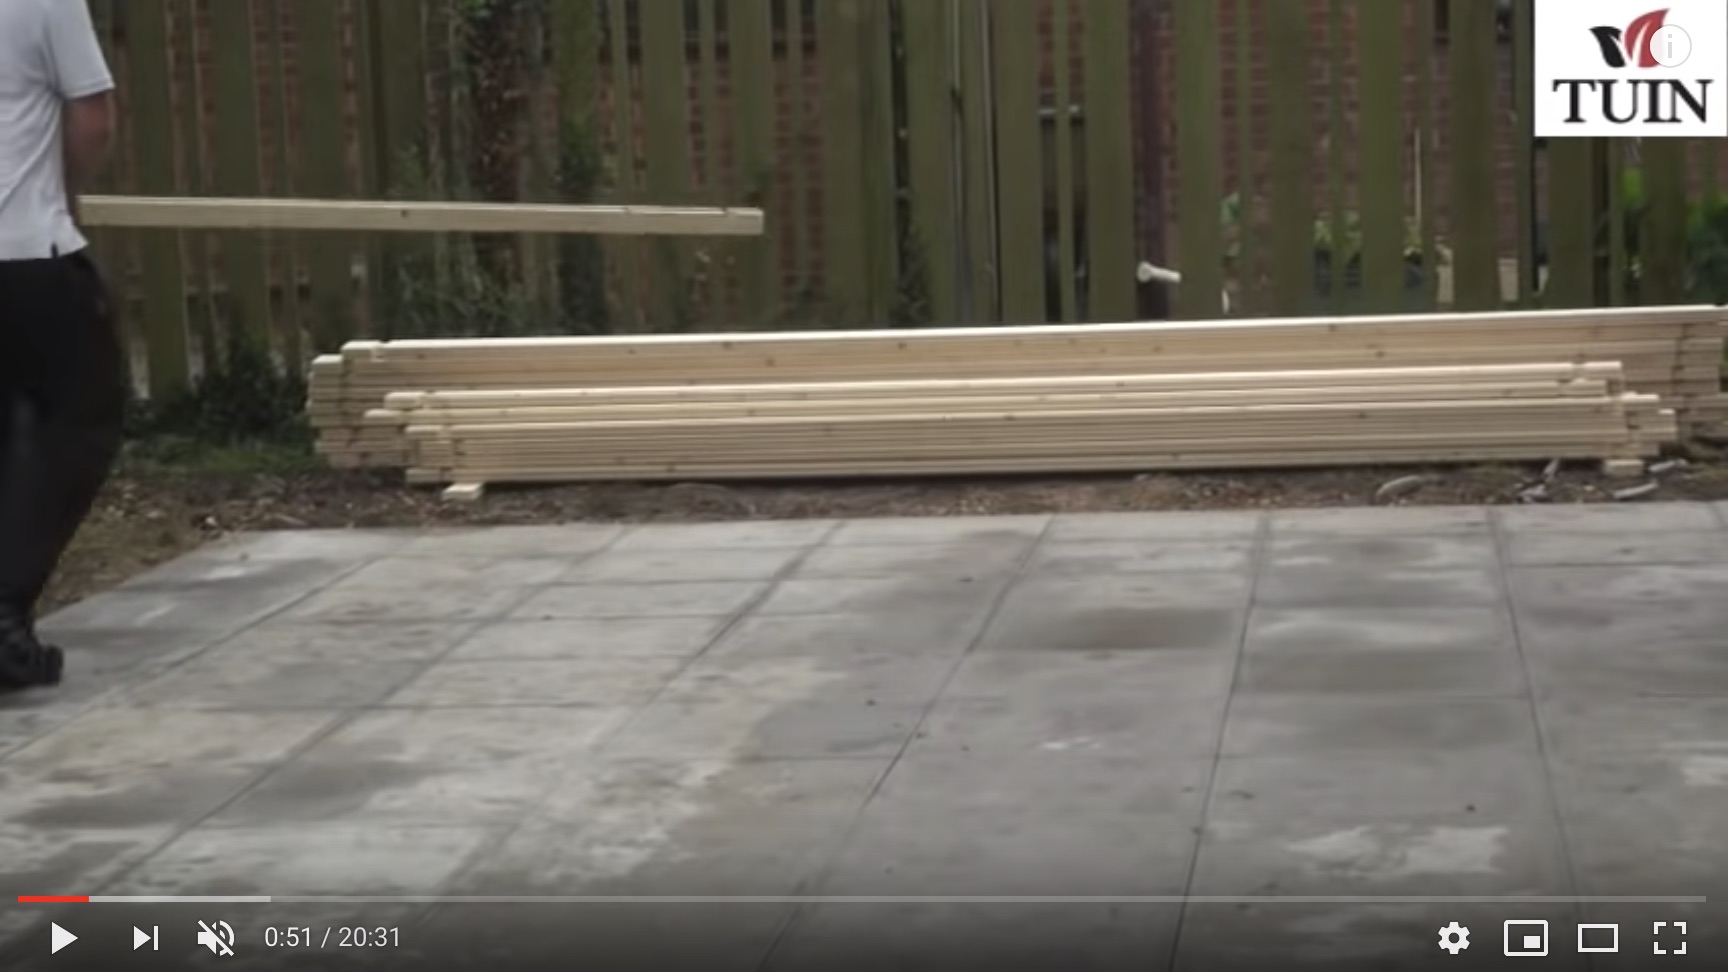
Setting out the first wall logs
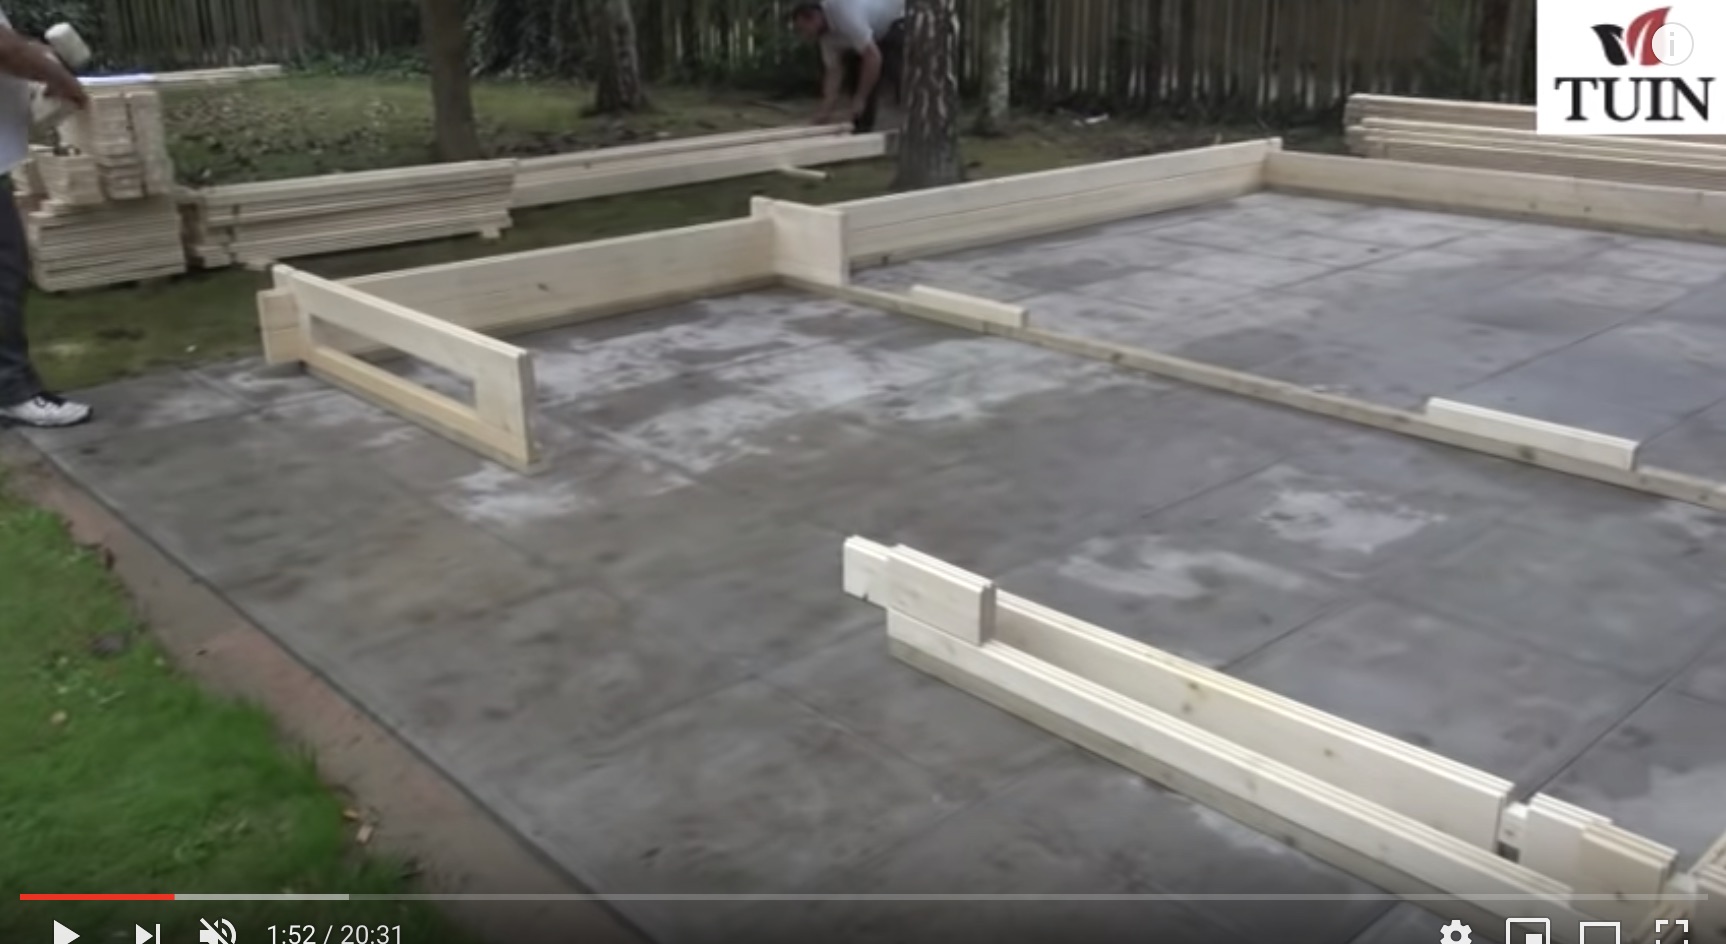
You will already have found the half logs I mentioned. These are logs that have been cut directly in half and will have a flat bottom. Remember the tongues face upwards throughout the build. The logs that interlock into the half ones are full size logs, there is nothing special about them. Once you have laid out the initial base logs you put the foundation beams under them. You will need to measure and cut these but it is much easier to do so once the first layer is established.
You will have already considered a damp proof membrane in your base. If you haven’t now is the time to add the damp proof course to the foundation beams. It is a good idea regardless to add a DPC under the foundations as the plastic can help to seal if the base is a little rough. More details on DPC and DPM can he found in our Log Cabin Base page.
It is a good idea to fix the half logs to the foundation beam, especially at the door way area for extra strength. It also helps to stabilise the lower logs as you square and build.
You can also fix the full logs if you would like to. It is best to go in at an angle into the foundation beam or directly through the top if you have long enough screws. Note: We do not supply screws for this purpose, it is though my preference to do this and you might like to.
01:52 Build up the Layers
With the first logs in place the install will start to fly up as each layer is added. Use a white rubber mallet to tamp down the logs. Check that there is no swarf in any of the grooves and that each log is seating on top of the one below. When you have reached about 5 – 7 layers of logs then double check your square and adjust if necessary. Check every corner! As the layers build up do not worry if doorways / window holes start to splay or twist slightly. If your base is 100% level and you are square this will not be a problem.
03:37 Window and Doors
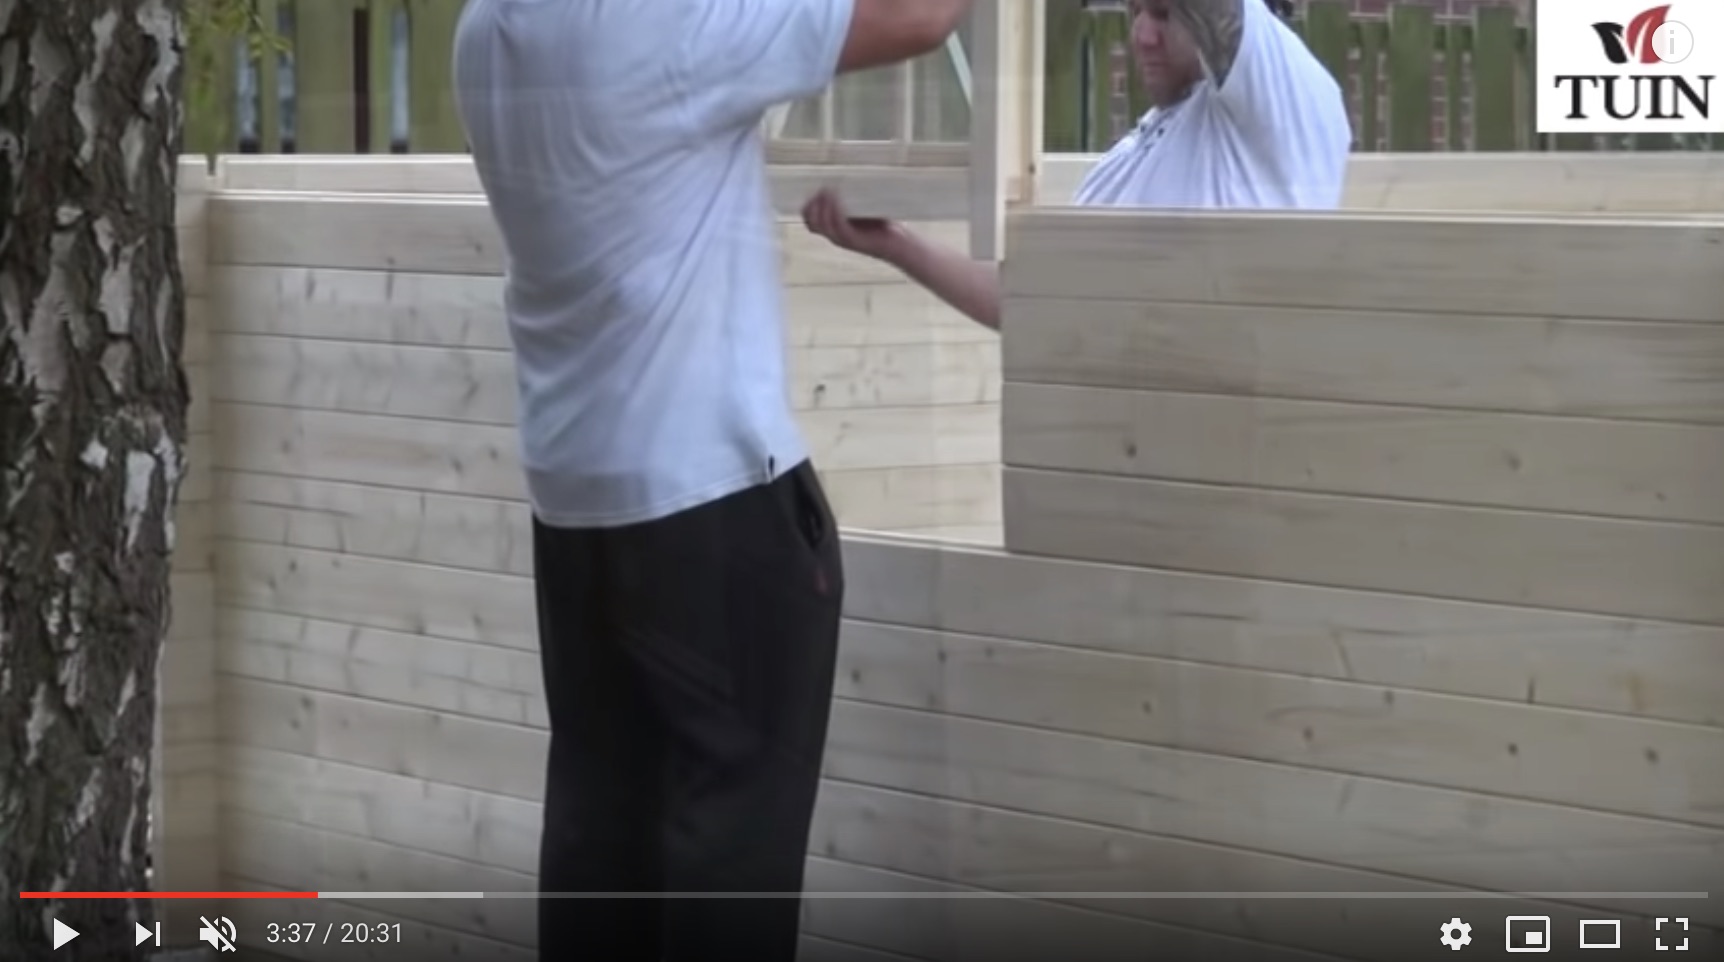
Keep a close eye on the plans and the elevations, keep counting the number of logs as you work up the layers. Check specifically for window apertures and the logs that surround them. Some cabins will have a cut out log below the window so keep checking! When you are about four logs in height either side of a window you can add the windows, you can also consider adding the doors on some buildings.
This example has double doors flanked by windows so the fitters will fit that towards the end. However if you wish you can install windows after the main building has been completed by removing the fascia surrounds. It does depend on the fitters preference. Note: No fixings should be used to fix the sides or tops of the window or door frames into the logs.
Continue to build up the wall logs. Keep checking that the logs are being tamped down periodically and checking for swarf in the grooves. Keep checking the elevation plans and keep adding the layers of wall logs.
6:01 Top logs
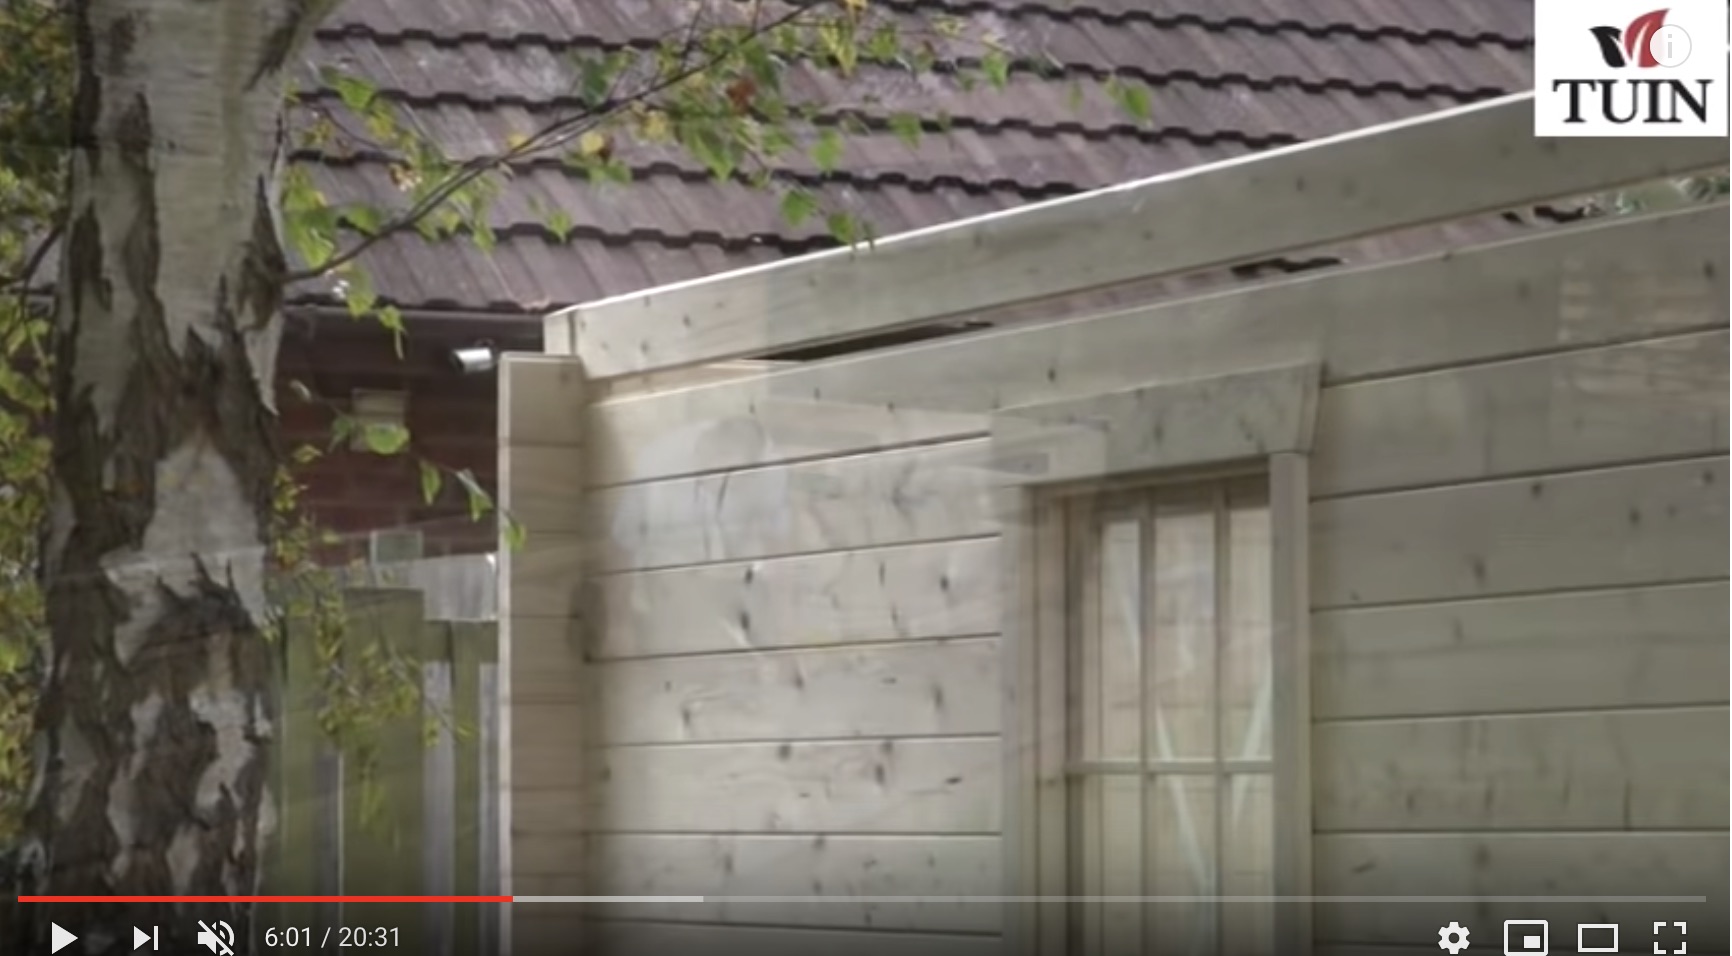
As you get higher you will need to use step ladders. On larger building scaffolding is advisable as is fall arrest equipment. Some of our thicker, much larger buildings have bolts that run in the corners, these can be put in at this point. If you find any logs that have slightly twisted after being left out for most of the day they can be eased by use of a carpenters clamp.
7:29 Apex Roof Sections
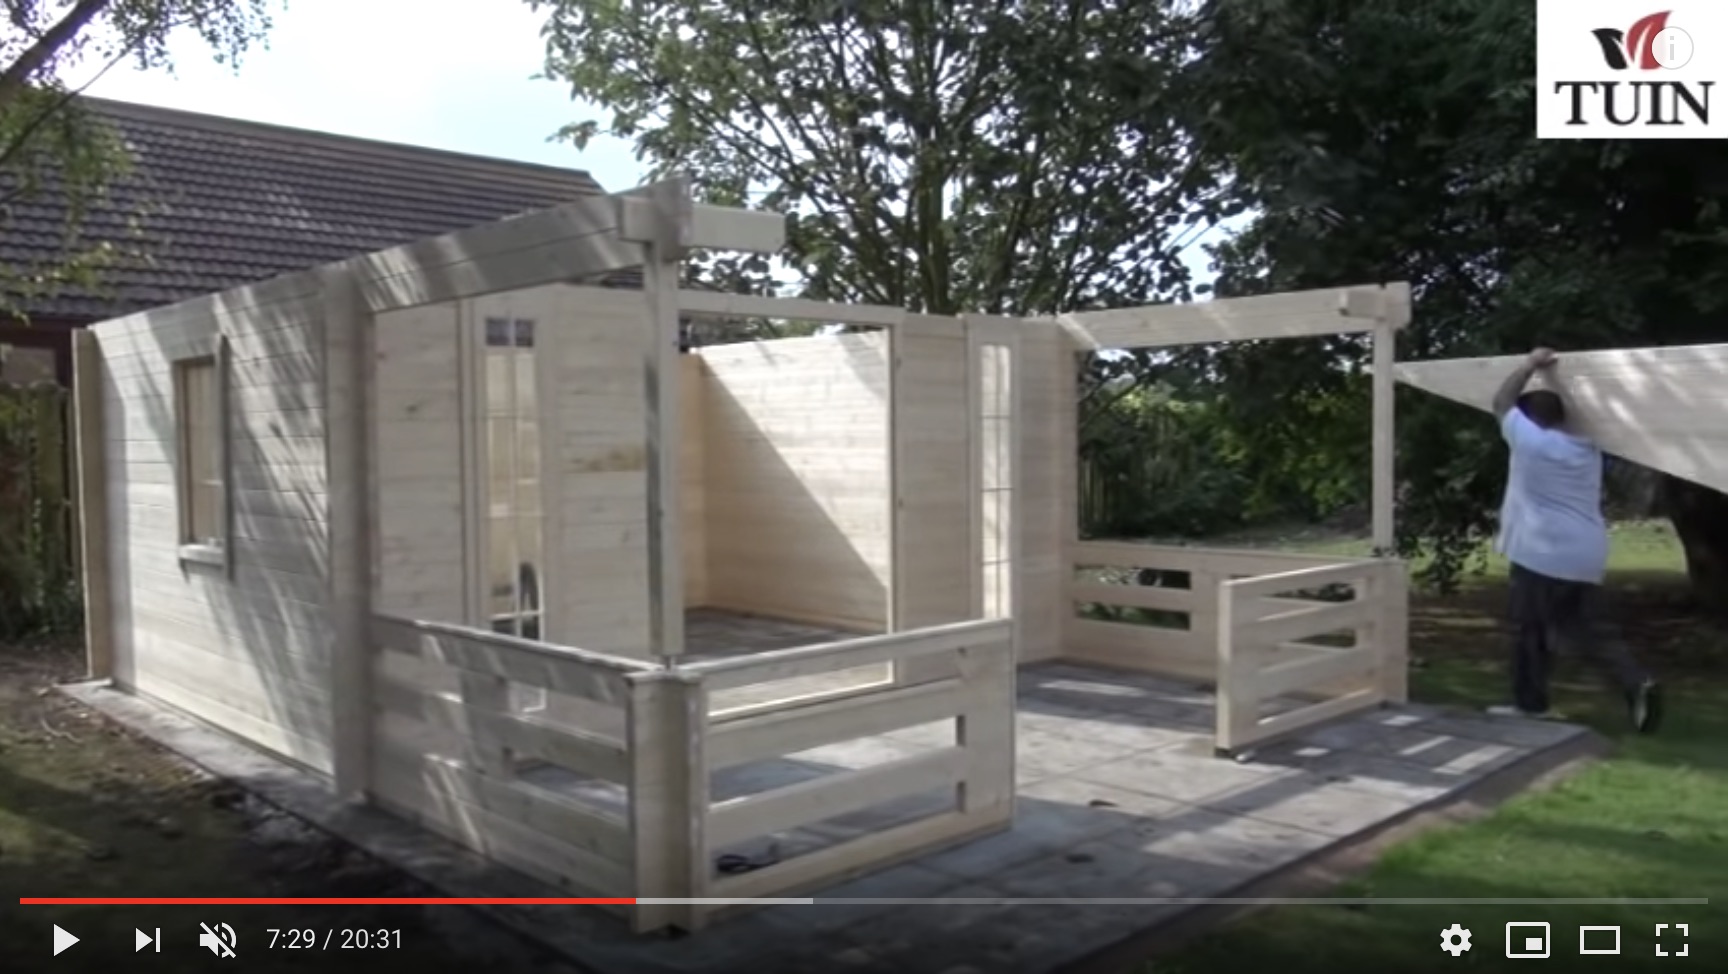
The apexes need very careful handling, when moving them is is very, very easy to break the points off. Watch out for this! It’s not a problem if they are but it is annoying. Apexes generally come in one piece for the larger buildings but if you feel they are too heavy or unwieldy then take them apart. They will take some manipulation to get in, often a front wall has splayed and these will need to pushed together and aligned. Take your time and work as a team. Be Aware of safe working at height.
With the apexes in it is the most unstable point of the build. Be careful of gusts of wind. As mentioned you can take them apart and work gradually by putting in purlins and working you way up. The process is up to the fitter. Once all the roof purlins are in place there is more stability but it is still best to be wary and not lean on the apexes during the install at this point. Purlins can be very tight to get in, expect to have to hit them quite vigorously on occasions. The top most purlin is often the hardest to get in due to the working height, be careful!
Although not necessary I find it a good idea to screw the purlins into the apex logs for extra security, this will also ensure they do not lift and are more thoroughly connected to the building especially in highly exposed areas. If the apexes are seperate it is a good idea to fix them at the corner with a small screw or nail for added stability as you build the apex up.
9:38 Roof Boards
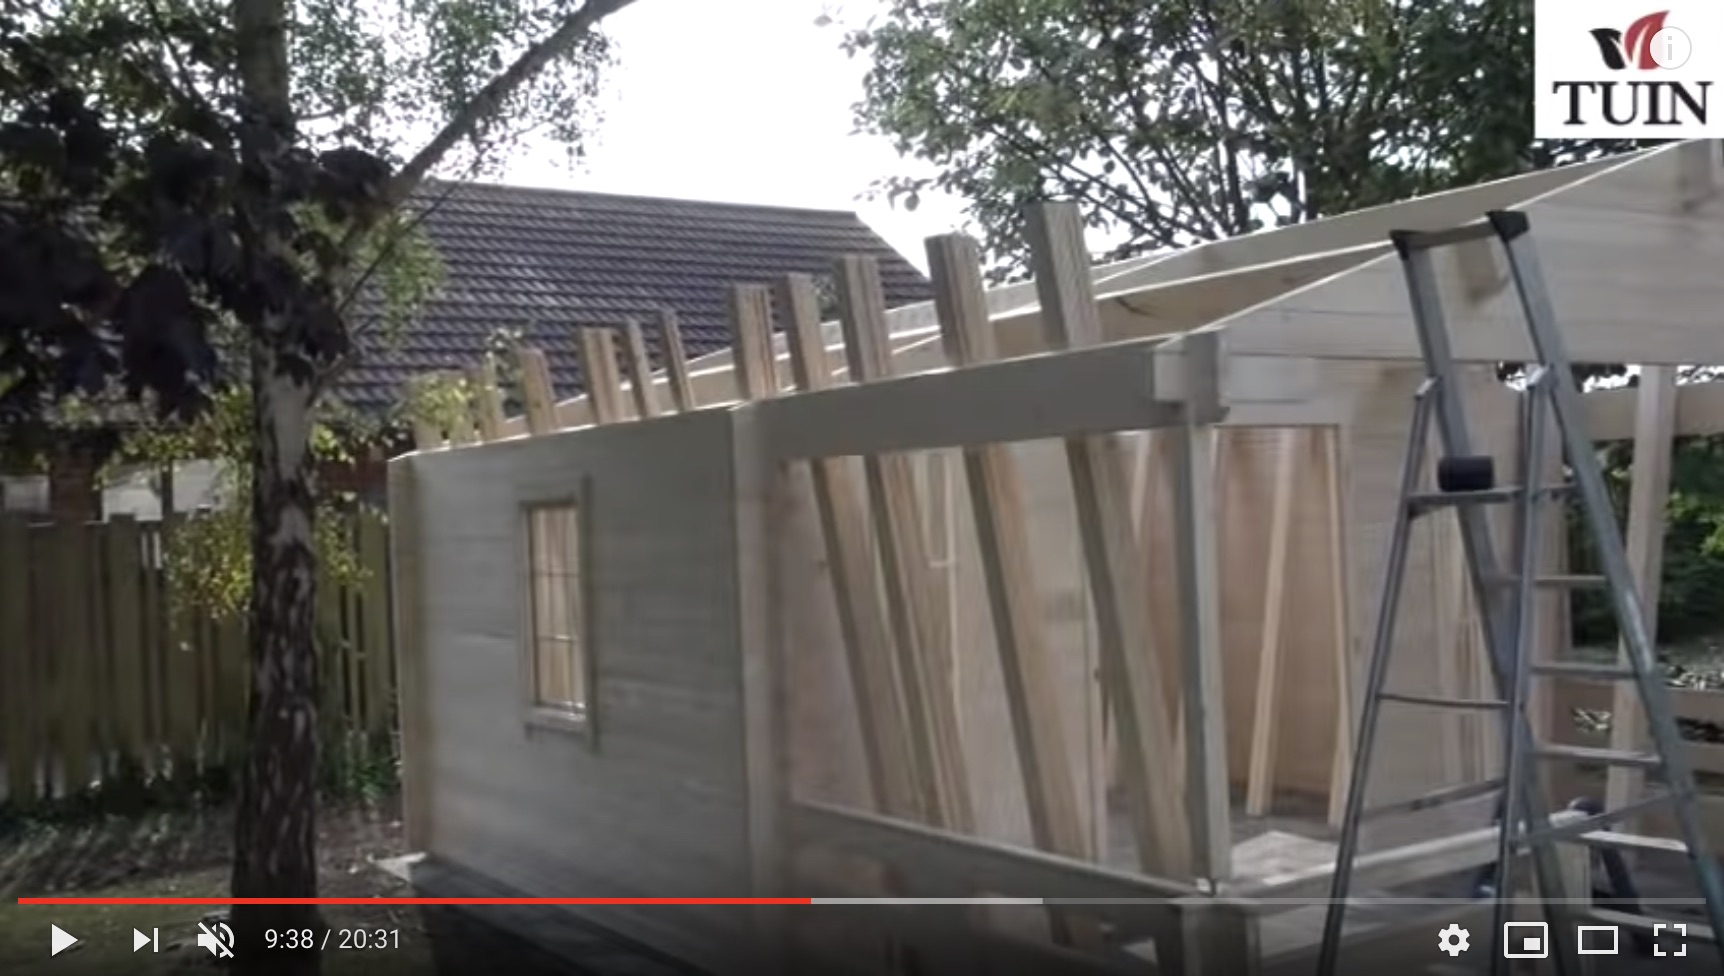
Ideally set out your roof boards in stacks along the side walls with the tongue or groove facing one direction. Before you start laying its important to re-check your buildings square as this is the last chance to really correct it.
Start laying from the side that is seen the most, generally this is the front of the building, set the groove in line with the end of the purlin. Use the nails supplied with two nails in each board across each junction. This will provide a great deal of strength and will stop the boards lifting if they expand.
Consider the time of year you are fitting. In the winter months the boards will have expanded due to moisture in the air so make the joints tight. In the summer months consider leaving the boards a little looser so they have room to expand in the winter. Try to work as a team and periodically check the boards are running true. On thinner logs keep an eye on the angle you use when nailing into the top log.
Don’t be tempted to lean your ladders on the walls before the roof boards are all laid as this could throw out your buildings square, When you then nail the boards in it will be fixed out of true.. Always use self-supporting step ladders
10:30 Doors
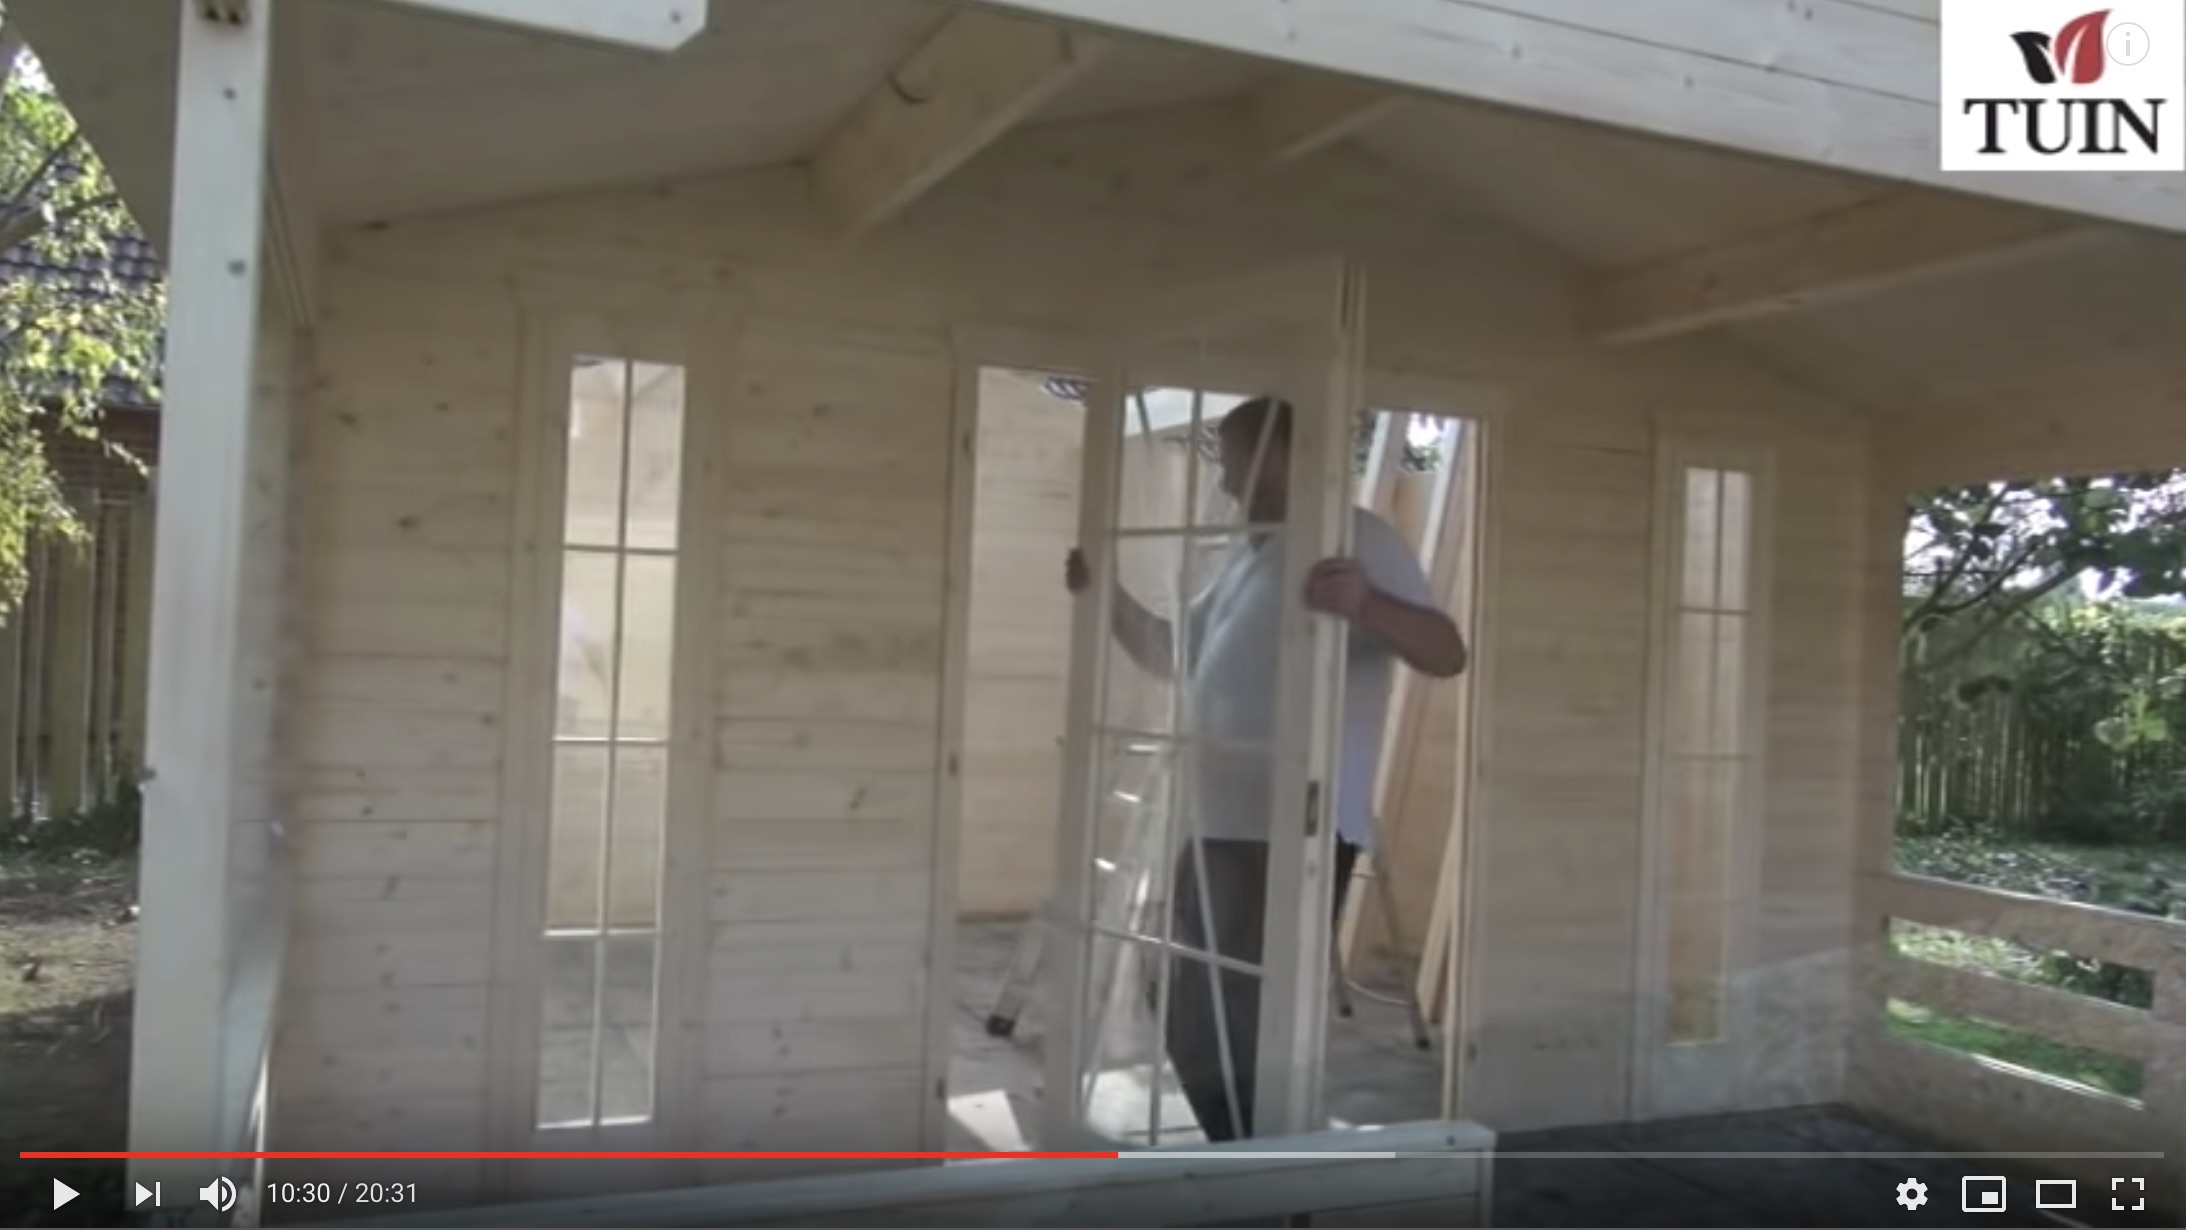
Fitting the doors may require adjustment of the hinges. If you find this to be the case and it is not self explanatory this article will help: Adjusting Log Cabin Hinges. If your base is not 100% level it will be slightly harder to fit the doors and you may need to use packers under one corner of the frame to level the door set. Please note how the fitter is installing the door bolts and lock.
11:40 Finishing the Roof Boards
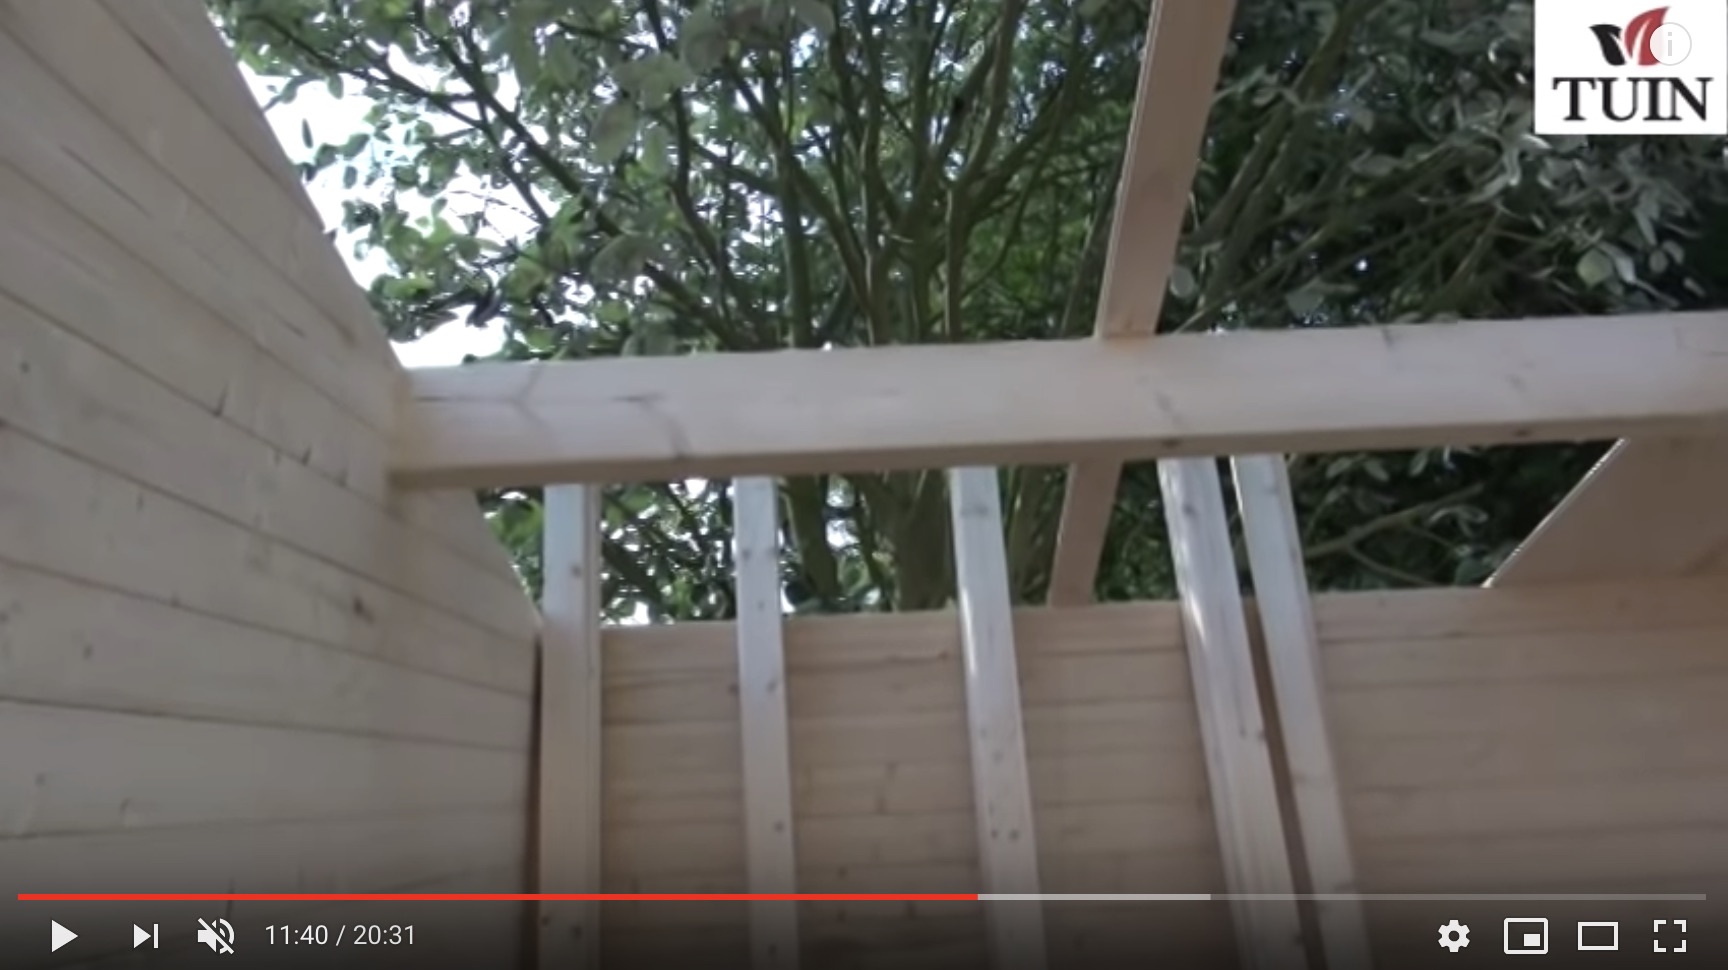
For larger buildings with longer spans it is a good idea to use a roof board fixed to the purlins in order to keep them straight.
This prevents them twisting. Work together with your partner, it is easier if one is at the apex and the other on the wall logs. It is best to fix about ten boards one side and then another ten the opposite side. This will help them all stay in line with each other. The last board at the rear will need trimming flush with the end of the purlin.
It is a good idea to nail the boards along the apexes. Please note: It is often necessary to adjust the purlins using a plane for a perfect finish where it joins the top wall log. The purlins may also need adjusting by chiselling the notch slightly.
13:38 Roof Trimming
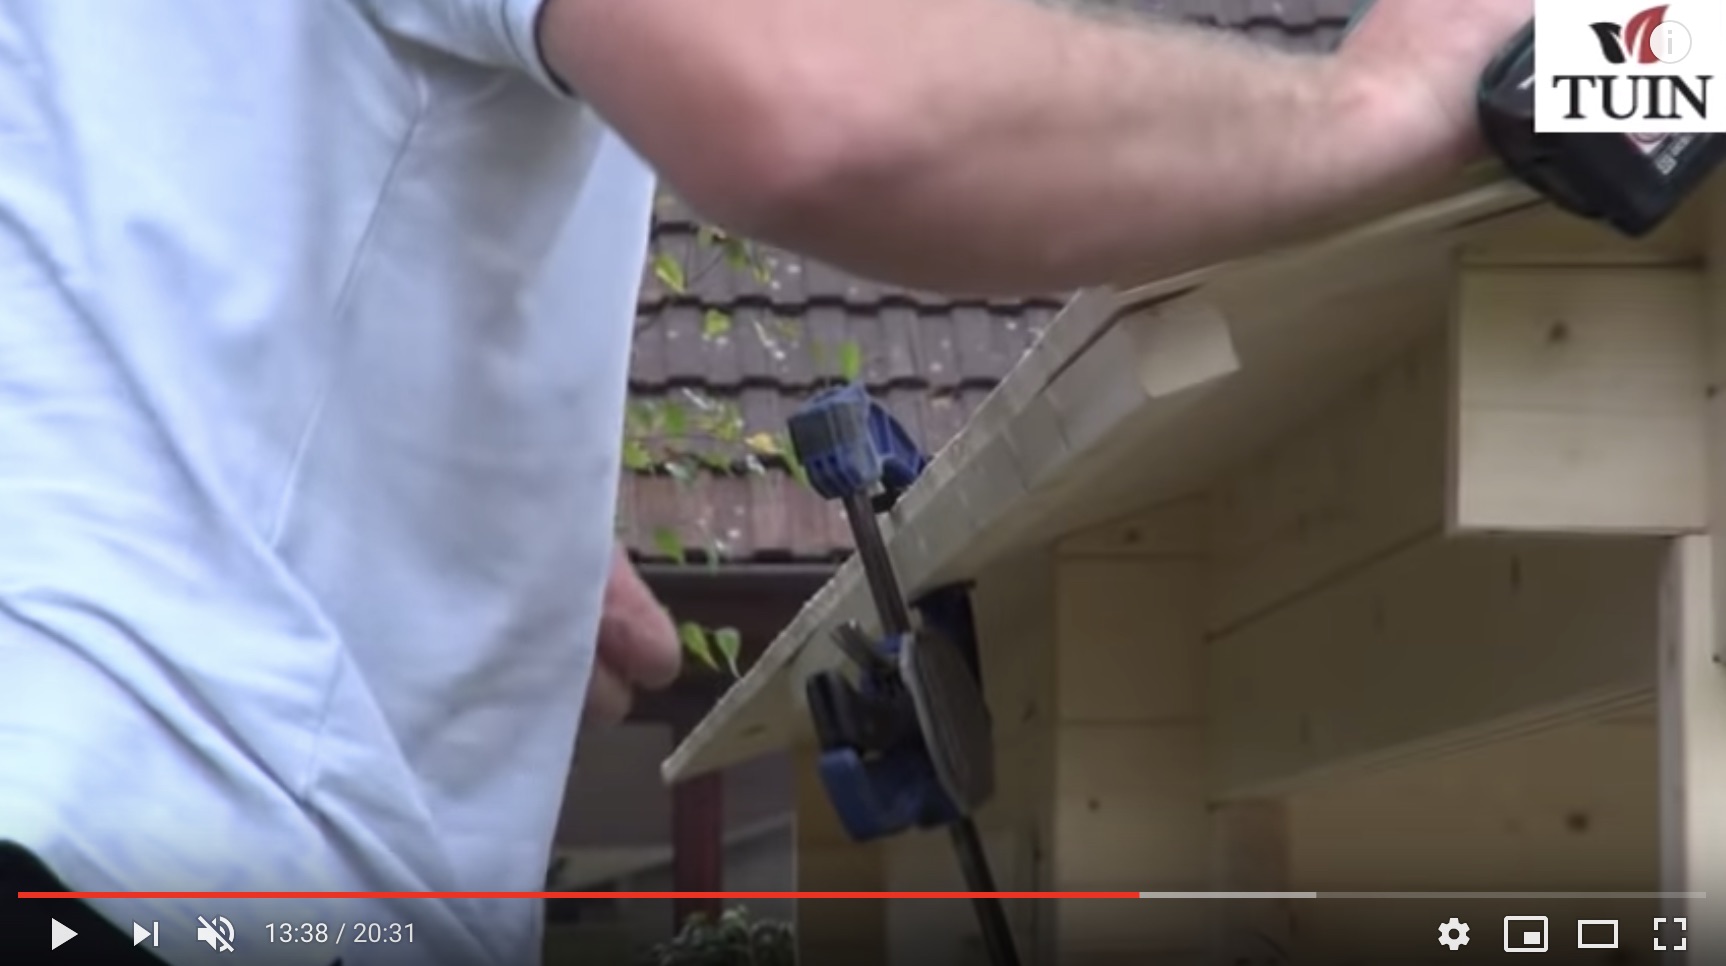
Depending on how you use the building and your personal aesthetics you might like to consider ways of trimming the roof. If you are adding side bargeboards it helps to add a block. This is also very useful when mounting guttering which helps greatly the longevity of the log cabin. You can also consider front and rear bargeboards and their aesthetics. Many customer like to introduce scallops or other shapes for decorative purposes. Any timber from your local DIY store will suffice. Often there will be plenty of spares and left over timber which you can make use of.
14:11 Final Roof Material and Finishing
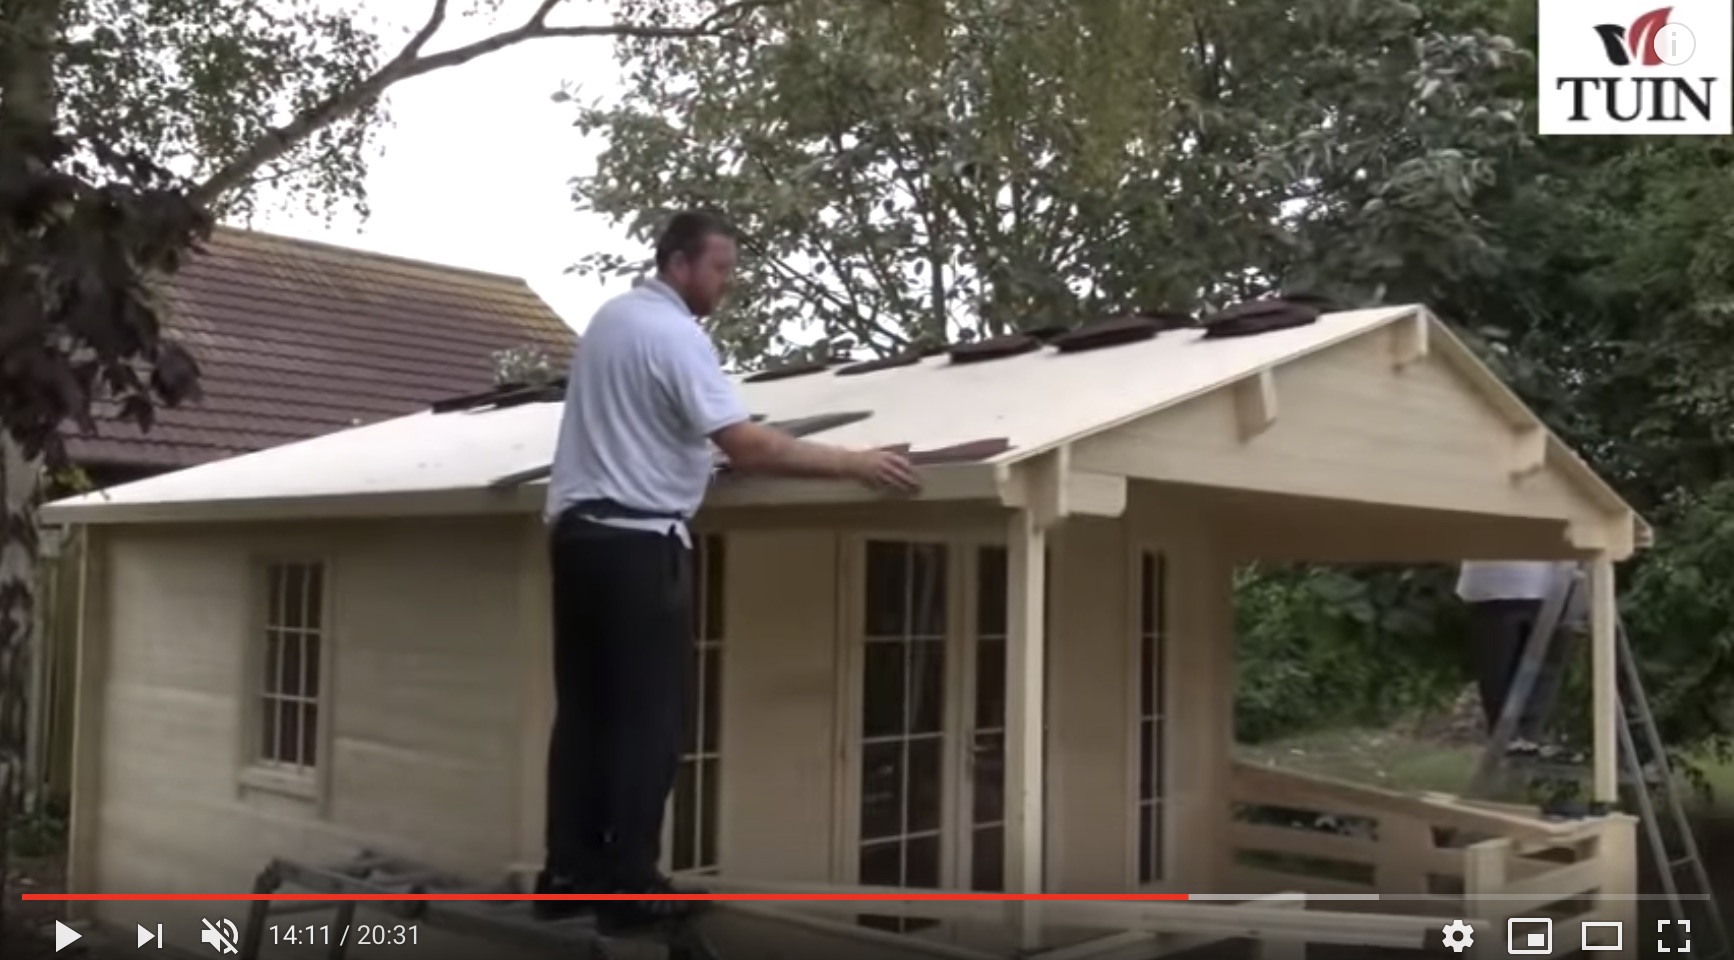
Before adding the final roof material you might like to consider adding insulation which is covered in another article within my blog. Fitting felt is very straightforward and is done the same as any shed, more details can be found in the extended installation advice page. Fitting shingles is also very straightforward but can be time consuming and will often take as long as the actual build itself. This video shows the shingle installation very well, other articles referenced from the above page will also give more help.
The instructions are also found on the shingle packaging. If you are installing in the colder months or you are in a very exposed location, it is a very good idea to use shingle glue. Fitters will also have slightly different methods of finishing the apexes and some will fold the shingles and felt over. Some will apply an underlay, this is up to you and your preferences. The gable ends are finished with a bargeboard and nailed or screwed to the purlins. You can also add a capping piece. As these fitters are doing, but make sure it is heavily treated underneath before fitting to guard against rot from water sitting under it.
Once the main Log Cabin has been completed you are now free to add your own personalisations. Such as shaped bargeboards, guttering, treatment, door stays, fascia fixings etc. In exposed areas it is also a good idea to fit storm kits.
Lots more details, hints and tips and ideas can be found on the main Log Cabin Installation advice page. Reading this will help you greatly in your install. This video and principles apply across all our log cabins no matter the shape, thickness and style.
KENNETT PYRAMID ROOF
regarding the main roof centre beam with the pre fitted shaped blocks at either end, which line up the mitred roof struts. Does the top of the mitre go flush with the top of the block or do you align the strut so the top of the mitre is flush with the top of the main beam and not the block
Hi Stan
Very happy to help with the Kennet log cabin
The roof struts should sit flush with the top of the two Hubs ( not the middle ridge beam ) , when you then get the roof boards added it all then makes sense and finishes flat and level throughout
Ben