


One of our customers was very generous in sending a review of their Lauren Clockhouse Log Cabin (previously known as the Special Ben), with plenty of images to show you guys the installation progress! We do love receiving images here at Tuin, so thank you Mr F for sending this to us!
The Delivery and Materials
We were both extremely impressed with the quality of the material and the thought and precision that had gone into the preparation of the kit of parts.
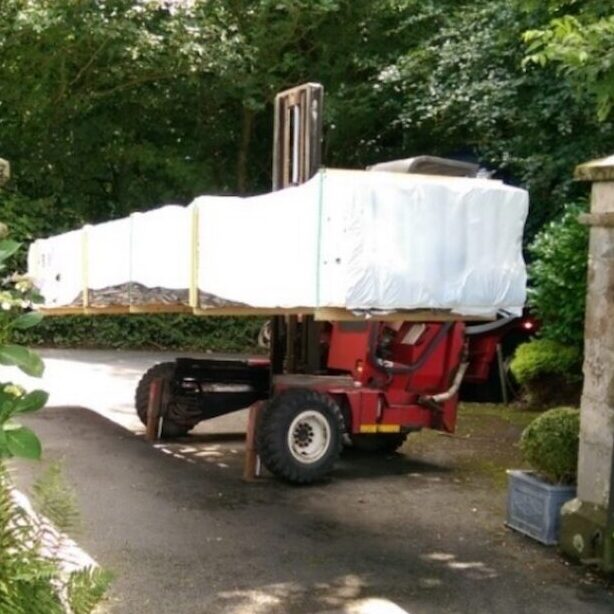
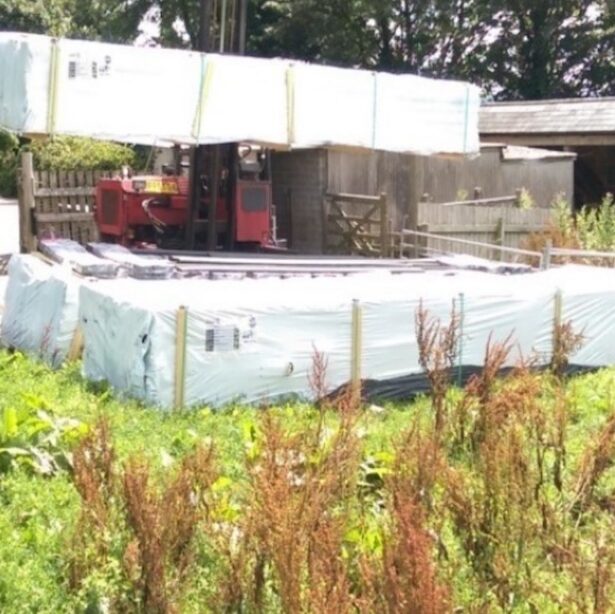
The 1st of 3 packages arrives, expertly manoeuvred by Barry, the truck driver. Each load was 20ft long and weighed about 1.7tons. By the second image there was a total of 5 tons of shed. Due to a lack of planning on my part, they remained unwrapped for about 2 weeks during the groundwork.
Laying the Base Down
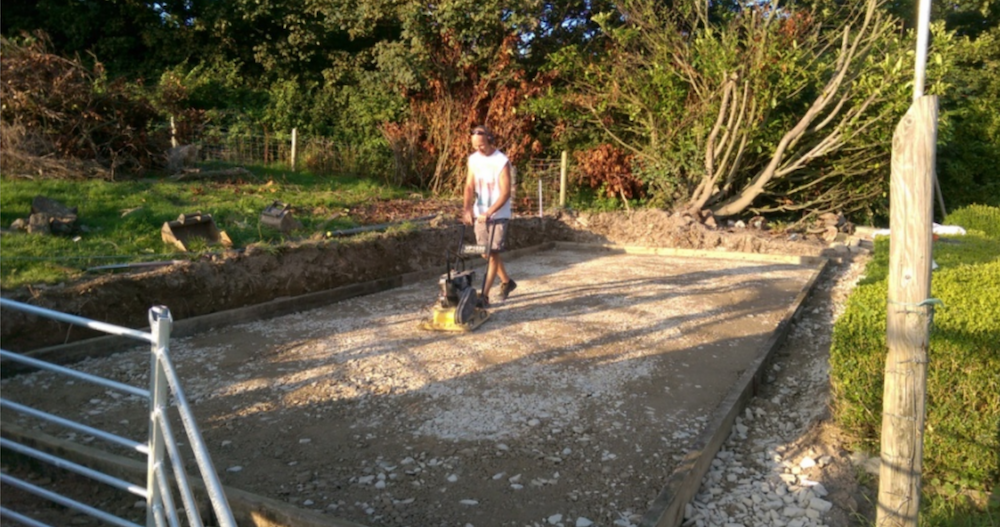
Work starts on the base about 08.00hrs. We removed quite a bit of soil, giving us a level area. A load of scalping is delivered to the pit. In all, we used 12 tons of it, forming a base for the cement.
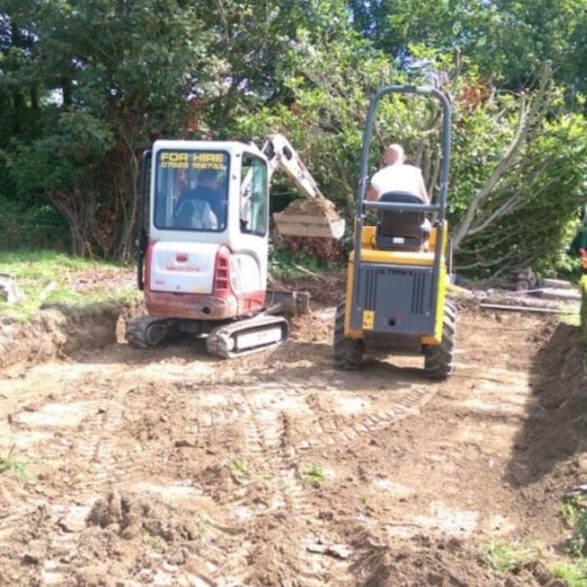
Kharn, the builder, with his whacker plate consolidates the scalping and leveled the sculpting. We finished at 20.30hrs – a long day but the pressure was on as we had booked the ready mix lorry for 08.00hrs the next morning.
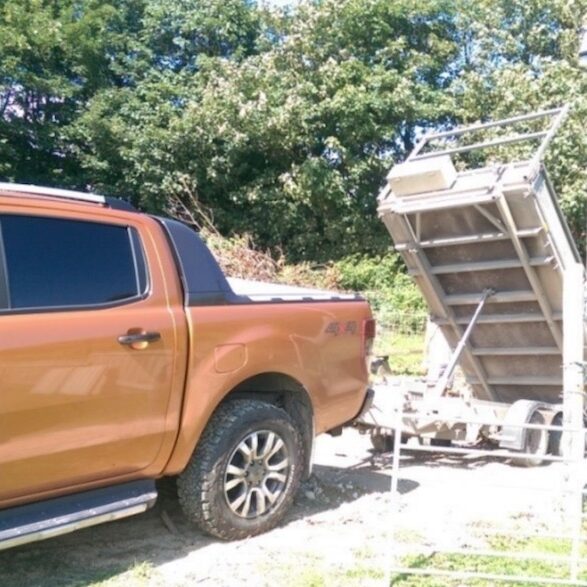
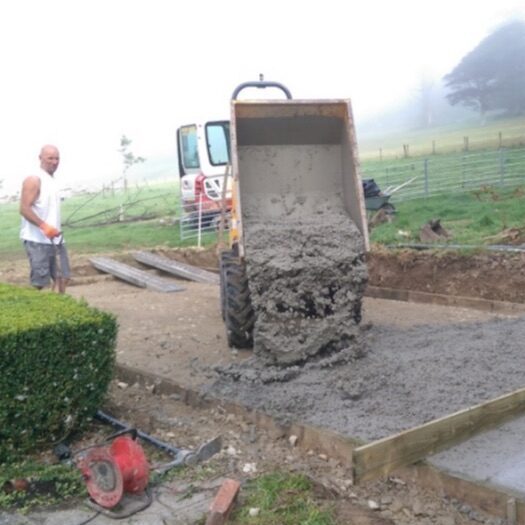
Day 2 at 07.55hrs, 13 tons of cement arrives… A small dumper truck was used to bring the cement to the site and frantic tamping continued for over 2 hours until all appeared level – very hard work!
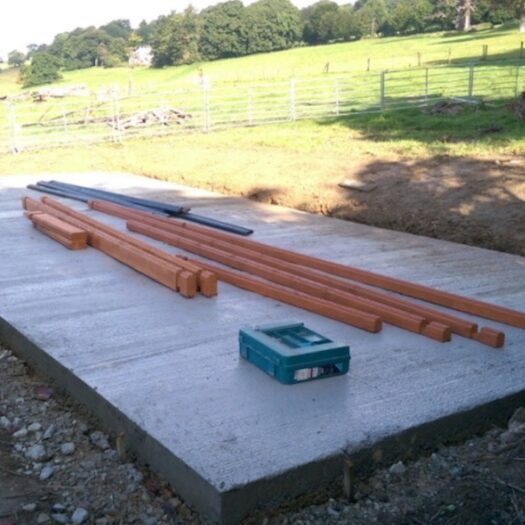
A couple of days later and with the concrete hardened the rear bank was ‘landscaped’ and a trench for gravel dug at the base.

Construction – Day 1
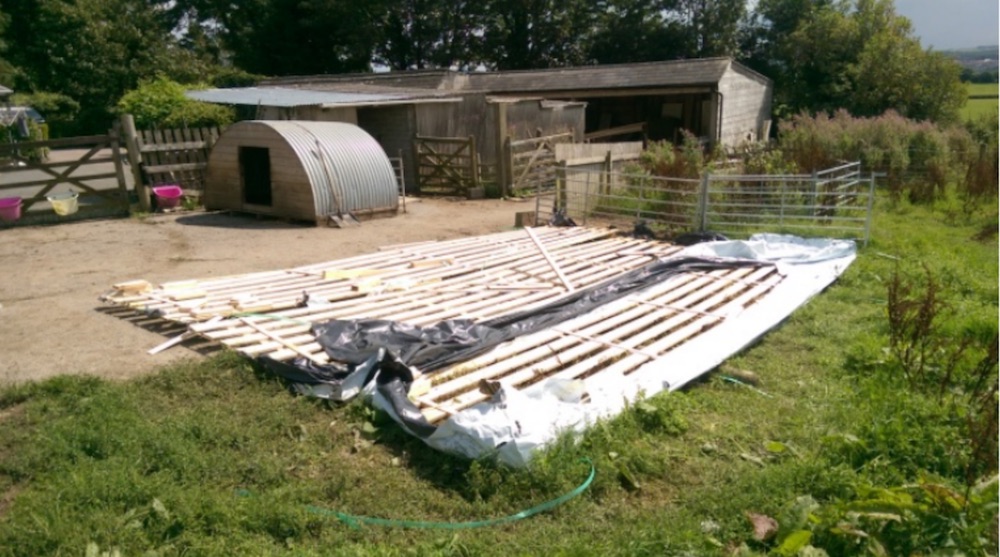
Monday, Day 1 of construction at about 08.00hrs. The lower beams had been treated the day before and the black items are lengths of the plastic base material. The walls progressed nicely and the plastic base strips cut to fit and slide under the lower logs. Note the log which will eventually be fitted above the door, is temporarily positioned to keep things square despite the gap in the front wall.
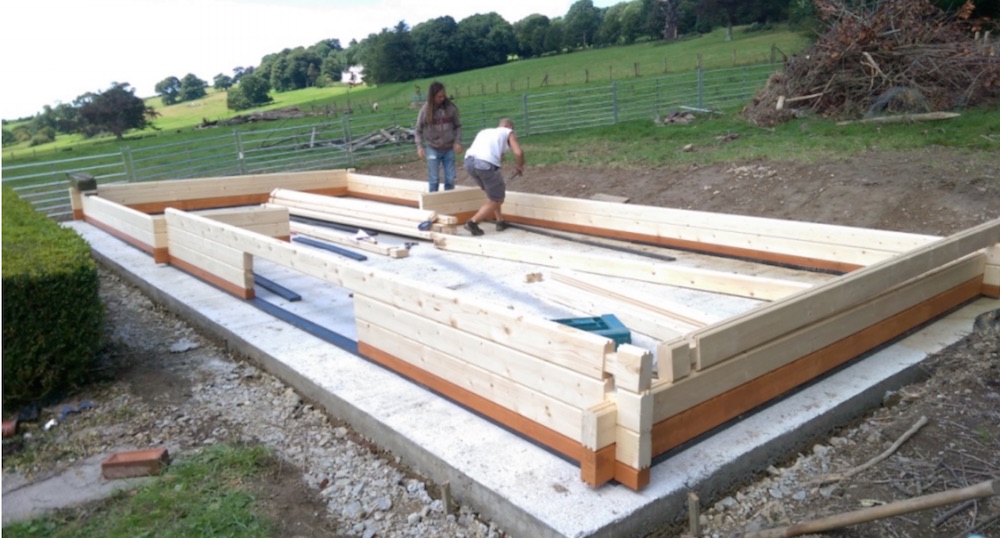
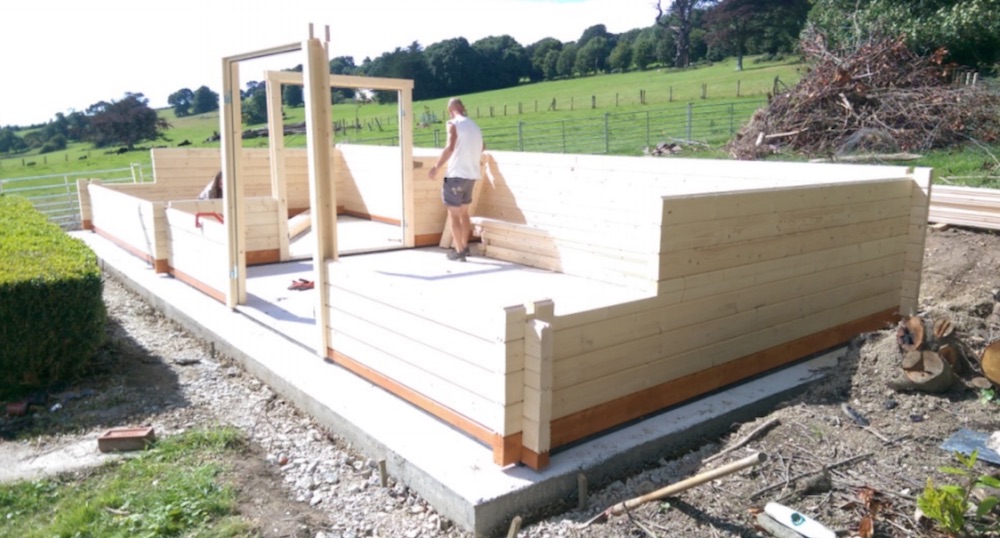
How the joints between the front and rear wall and the middle wall were to be made was a mystery to us but the long logs with vertical holes near the joints gave us a clue and answered the question, ‘what were the square pegs for?’.
The square pegs or ‘wall dowels’ had their corners and ends rounded slightly which still resulted in a satisfying tight fit but with less chance of splitting the logs. The 3 on the left have been treated with a belt sander. About 1 minute per peg and about 60 pegs in total. A pencil mark at the halfway point was useful when banging in.
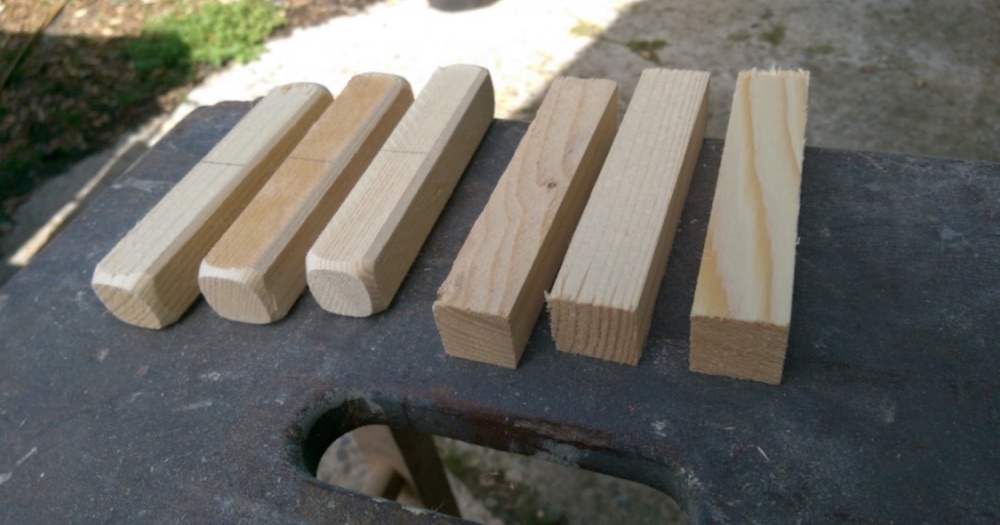
(Don’t worry Mr F, these can confuse most people!)
About 12 hours after we started and we realise that it’s quite a big Log Cabin!
(The Lauren Clockhouse Log Cabin is actually one of out longest products!)
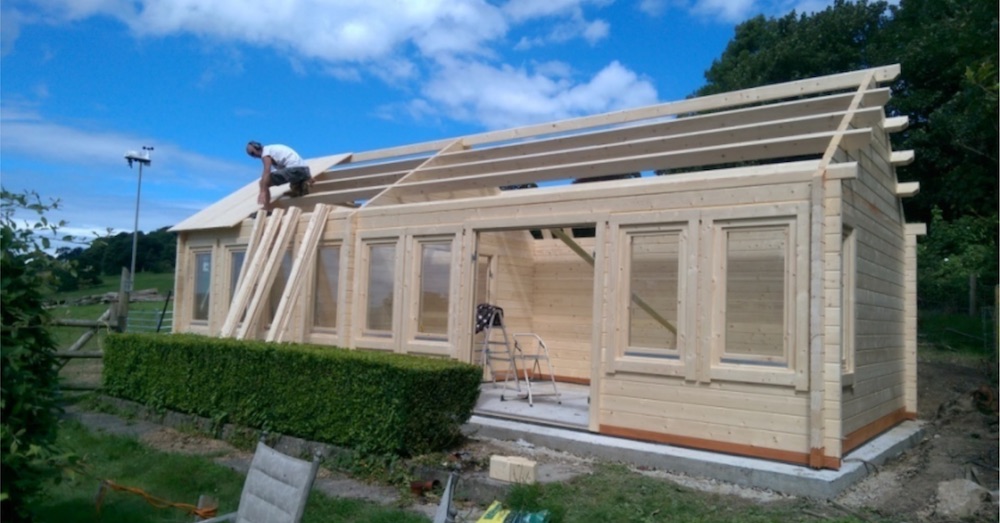
Construction – Day 2
Day 2 and the roof is progressing well. For the first 2 days of construction there were 3 of us working with lots of carrying from storage area to site and quite a bit of head scratching as we searched for various specific logs. Three pairs of hands were useful as we positioned and fixed the heavy purling.
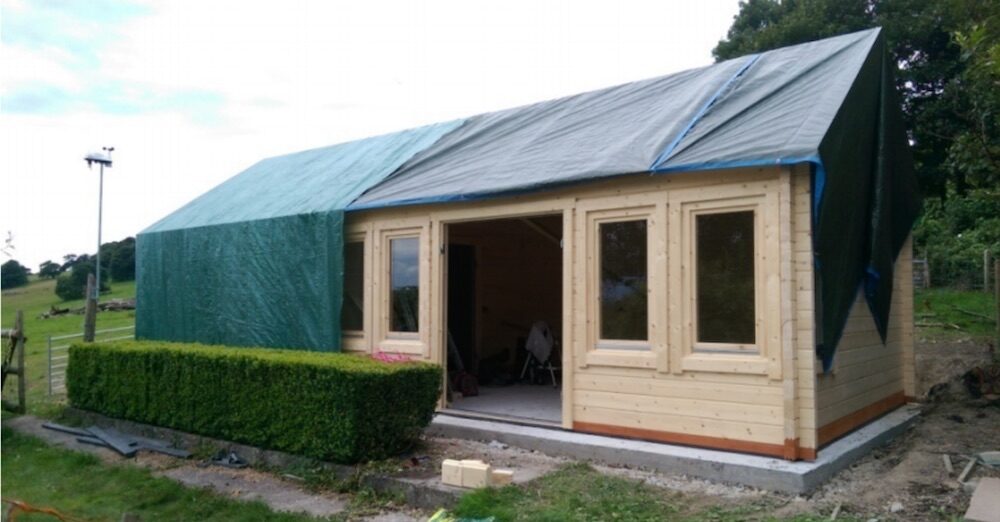
A start is made nailing the tongue & groove roof boards into position. Much later and all of the boards are fixed. Rain was expected so we protected the roof. Probably no need to but it made us feel better.
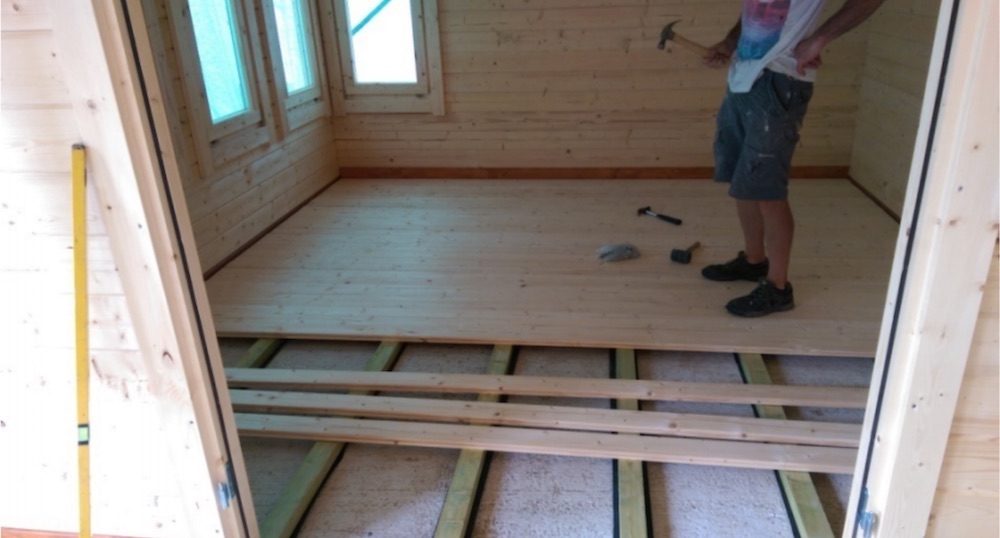
Flooring and Roofing
Day 3 was mainly spent nailing floor boards. The nail gun chose a bad time to fail and resulted in much manual hammering. Day 4 was mainly spent fixing shingles to the rear. A slow job but looked good when done. Ladders R Us.
-
- RIP Nail Gun
-
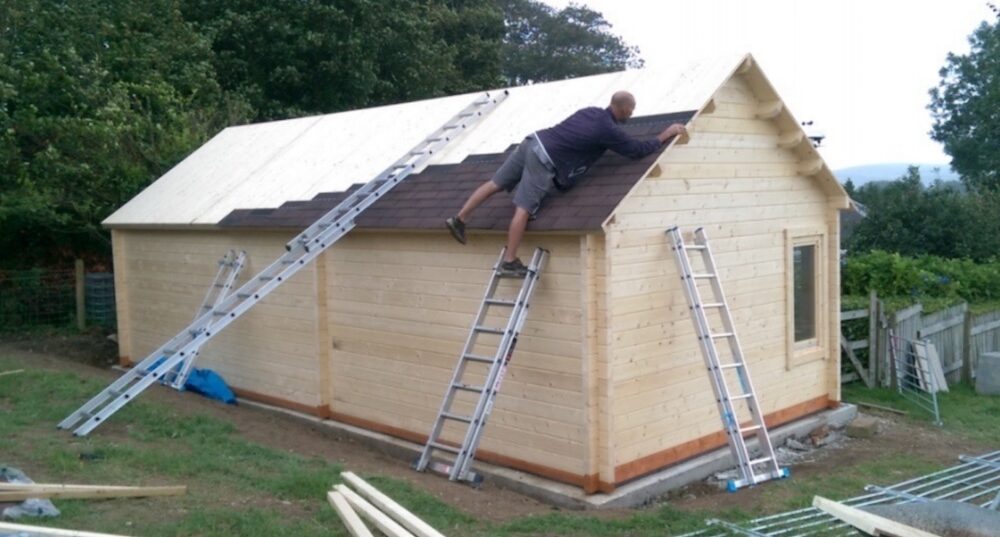
- Please be careful when working on the log cabin roof!
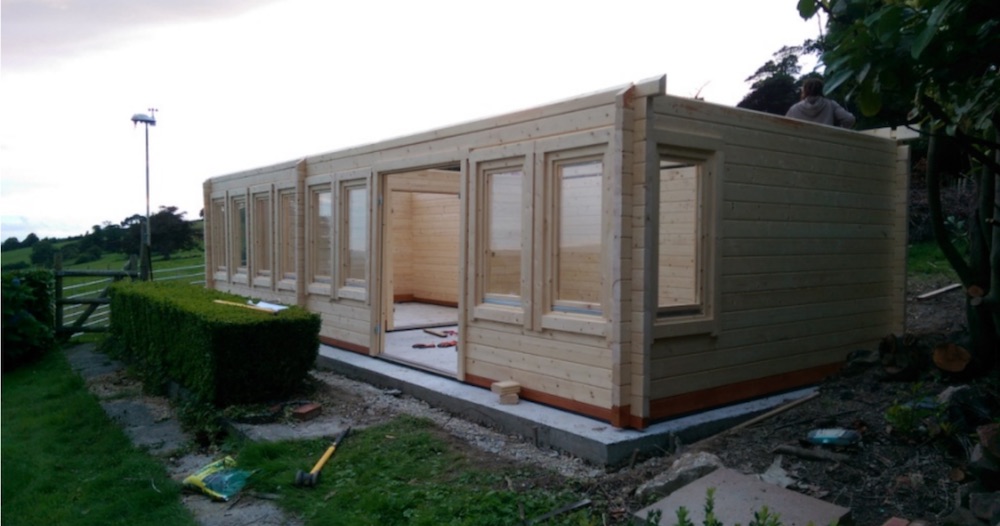
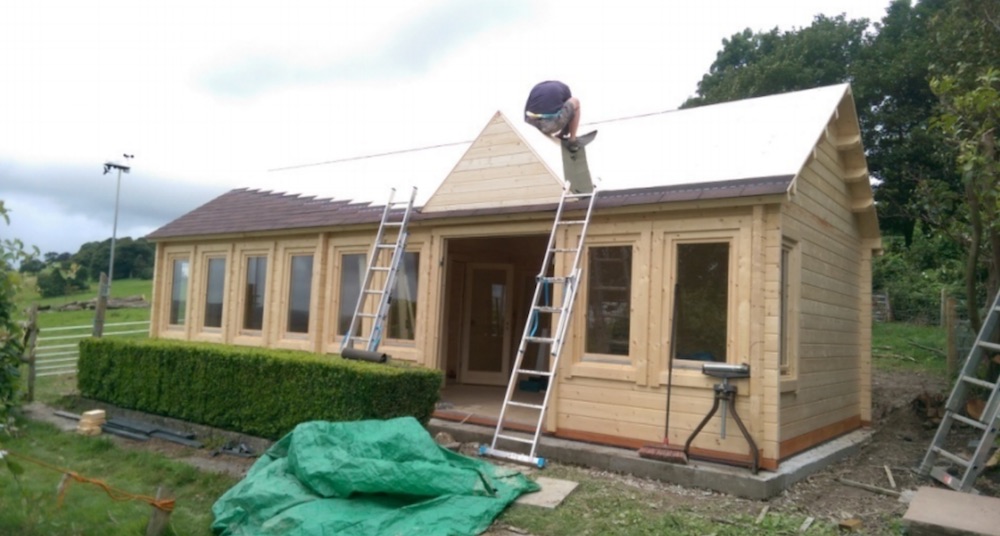
Day 5, the small gable comes in 3 pieces which we screwed together at ground level then lifted into position. Inevitably, it complicated the fixing of shingles on the front and it was quite late on the Friday before we finished. On days 4 & 5, some time was spent hiding from the heavy showers which slowed us down a little.
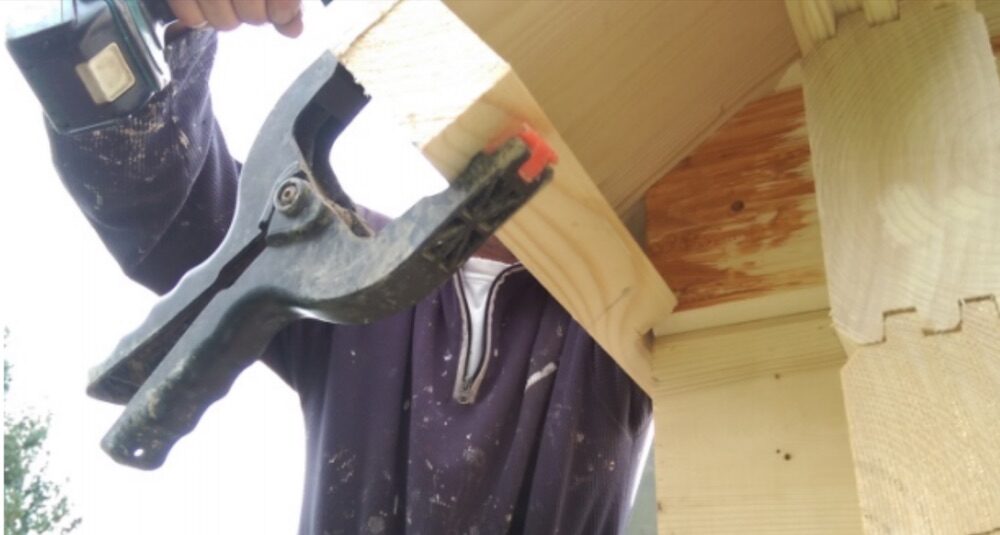
We used some heavier timber to trim the base of the roof to provide a substantial mount for guttering. Note the notches required to fit it around the left, right and middle wall. With a bit more thought I could have cut the timber longitudinally to a better shape for the gutter brackets but now I’ll have to custom make a mounting for each bracket.
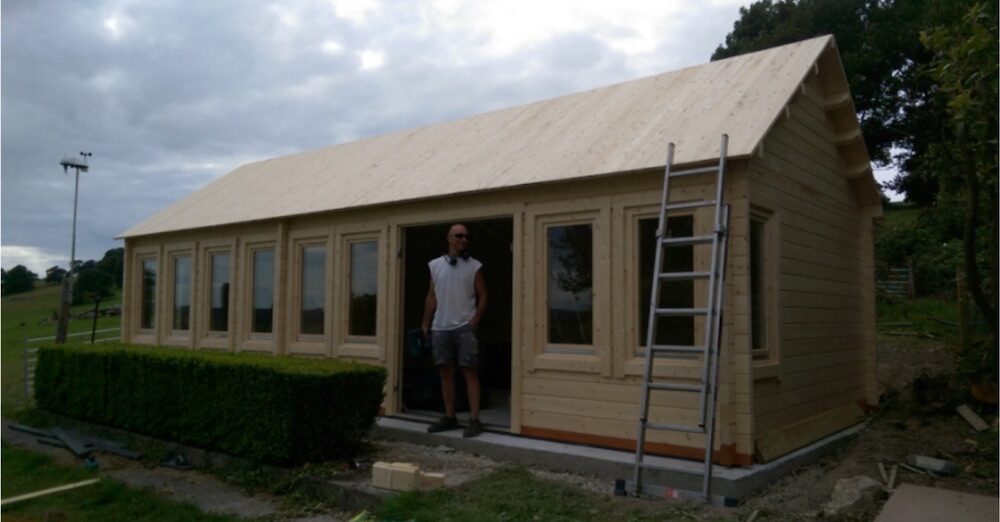
The Finished Log Cabin… For Now
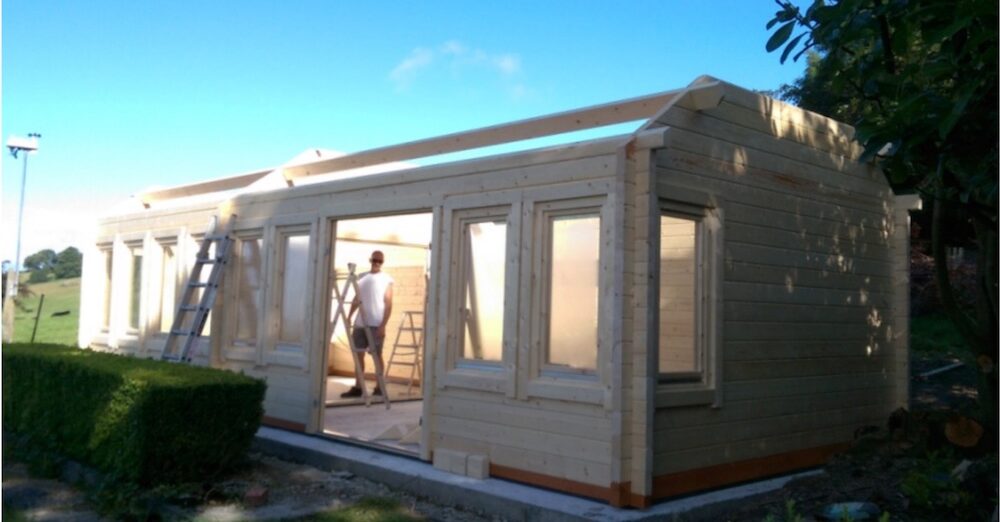
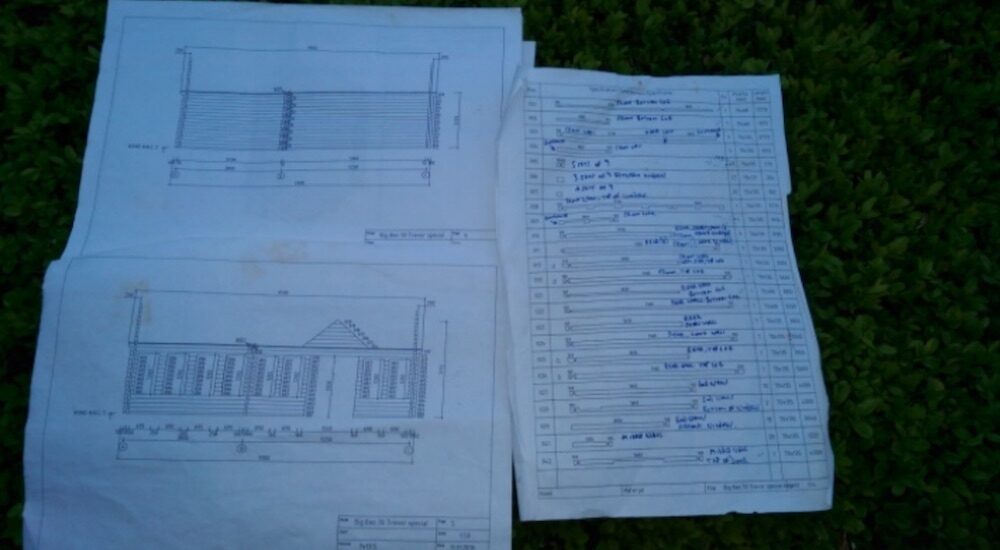
End of day 5. It looks like the finished product but still needs a lot of detail work and much brushwork. The most important pieces of paper. A list of contents annotated by me with the log positions and the detailed diagrams showing each log position.
-
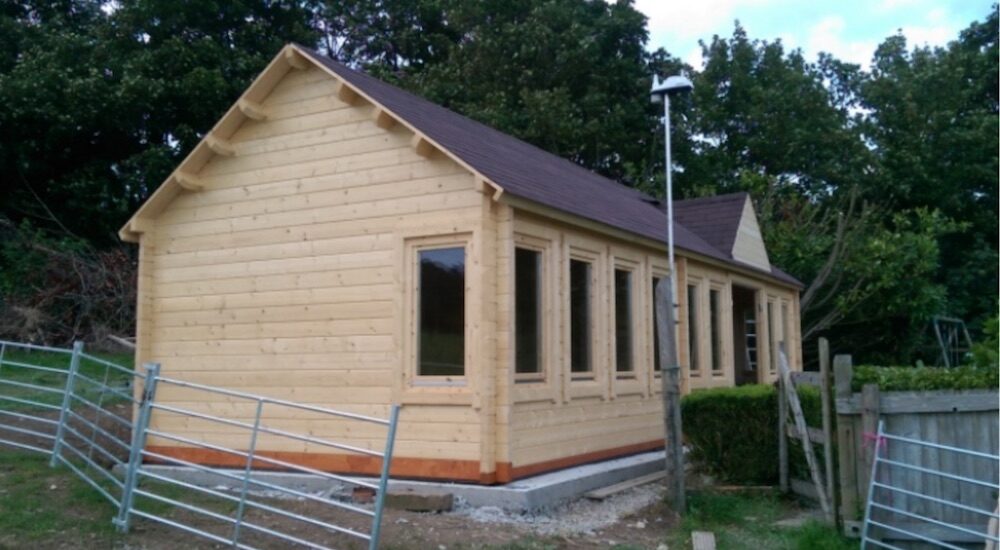
- Looks fantastic!
-
- Plans are essential for installing log cabins!
Happiness is 3 empty pallets. Progress would have been quicker if I were able to unpack and lay out in piles all the various bits of timber. The sheer quantity of wood (and the animals in the field) precluded that, so we spent quite a lot of time rummaging for specific pieces. The timber fit very accurately and we found that the lengths on the plan, accurate to the millimeter, were very useful in identifying the required log.
Wrapping Up
As garden buildings go, this was a big project. As a result, I wasn’t too surprised that the main build took 5 days. Kharn, a professional builder, and I were very impressed with the quality of the material and the accuracy with which it had been prepared. The joints were well thought out and accurately milled although we were dealing with significant lumps of timber and found a club hammer, with protective wood, more useful than a mallet!
Even a sledge hammer found a use, squaring-up the part built walls.
Apart from the nails in the floor and roof boards, and the wall dowels, we used virtually no other fixings. The wall logs and purlins stay in position because of the clever joints while the entire building sits steady on its base because of its weight. The packing had been very well done and, as far as I am aware, no parts were missing. Indeed, the supply of plain wood parts seemed generous. Although there were 450kg of shingles we were a little concerned that we would run out. With 378 shingles we finished the roof with 2 remaining. Very well judged by the manufactures.
Final Thoughts
Overall, I’m a very happy customer and, more importantly, so is my wife! An outstanding product at a bargain price. As the Americans would say, ‘A lot of bang for your buck’. Many thanks for the excellent service. The experience of the build also got my builder friend thinking of buying a smaller version for himself. I hope to have the staining and guttering done soon and will send you a picture of the finished item.
Thank you again Mr F for a detailed and informative overview of your installation process for the Lauren Clockhouse Log Cabin. It looks great and we can’t wait to see your pictures when you’ve fully completed it! I hope you and your wife enjoy your Log Cabin!
Other customer experiences, build articles and tips can be found at: Pictorial Tuin Reviews.