


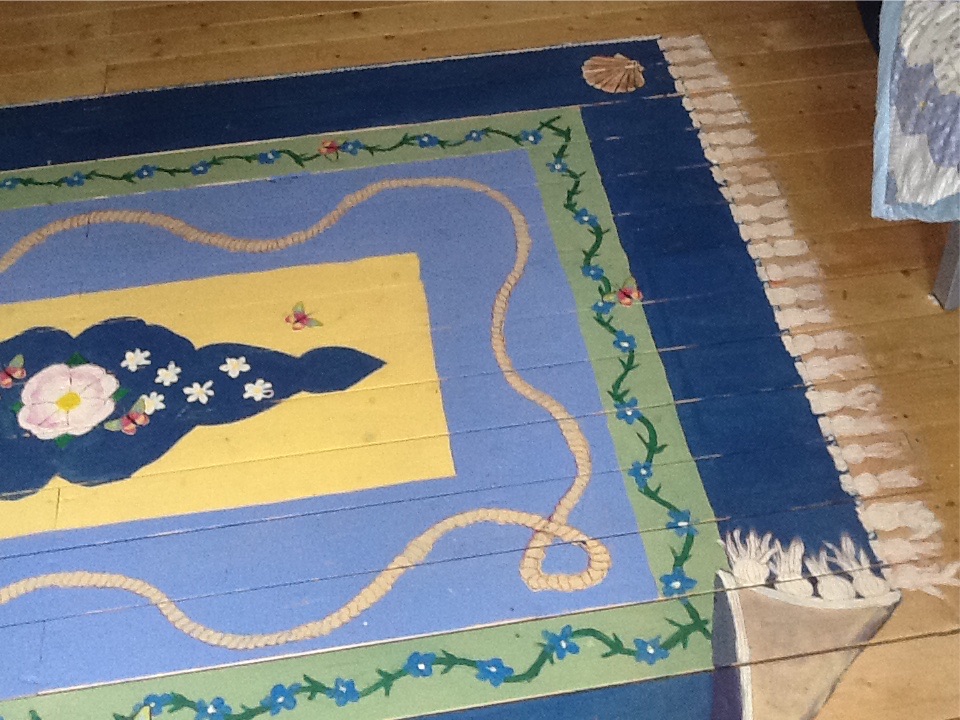
Mrs W has very kindly sent in her story of the build of her Jenny 40mm log cabin and its build. When she sent it to me she entitled it the “Big Jenny Cabin Build”. Mrs W has given a lot of inspiration on how to decorate and fit out the inside of the cabin. The painted on rug is genius!
We received delivery of our Jenny (4.5 X 3.5) Cabin from Tuin in a very efficient curbside delivery previously notified by mobile text. It took a bit of lugging through to the garage and patio to get it off the drive and in the dry. That being said, the sufficient packing kept the rain off the parts until we installed it.
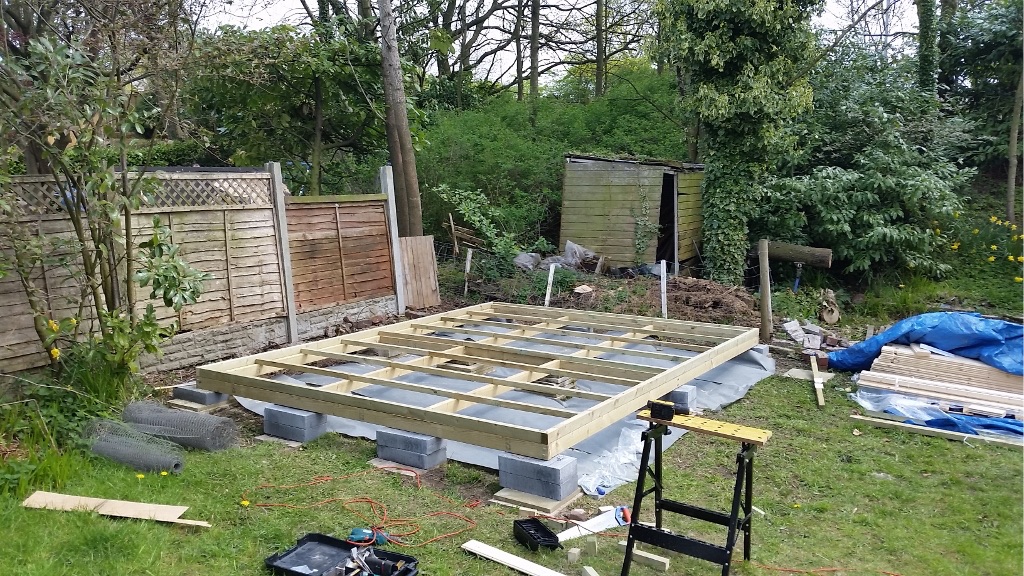
Day One – Log Cabin Build
The base was carefully constructed to be level on a sloping lawn. This was done using tanalised timber and coach bolts supported by concrete blocks. After putting in the joists and insulating using Jablite blocks cut to fit exactly, the underside was protected from rodents and birds using chicken wire fencing.
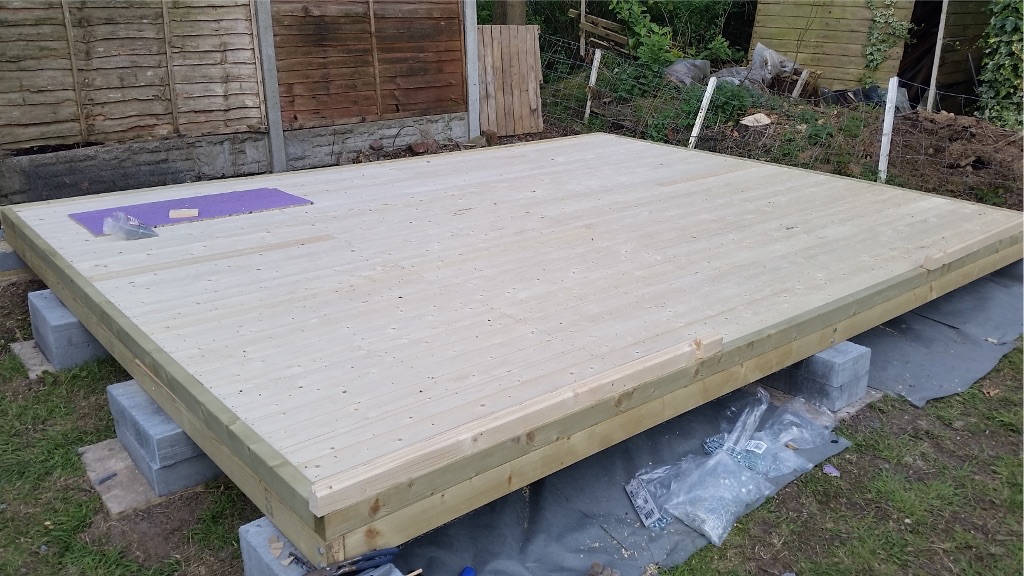
Next the floorboards were sprayed with preservative and the floor pre-installed. We decided on this as a result of the slope on the underside of the cabin which would make using step ladders a necessity from fairly early on in the build. This was a good call and made the rest really simple.
Thankfully no rain overnight.
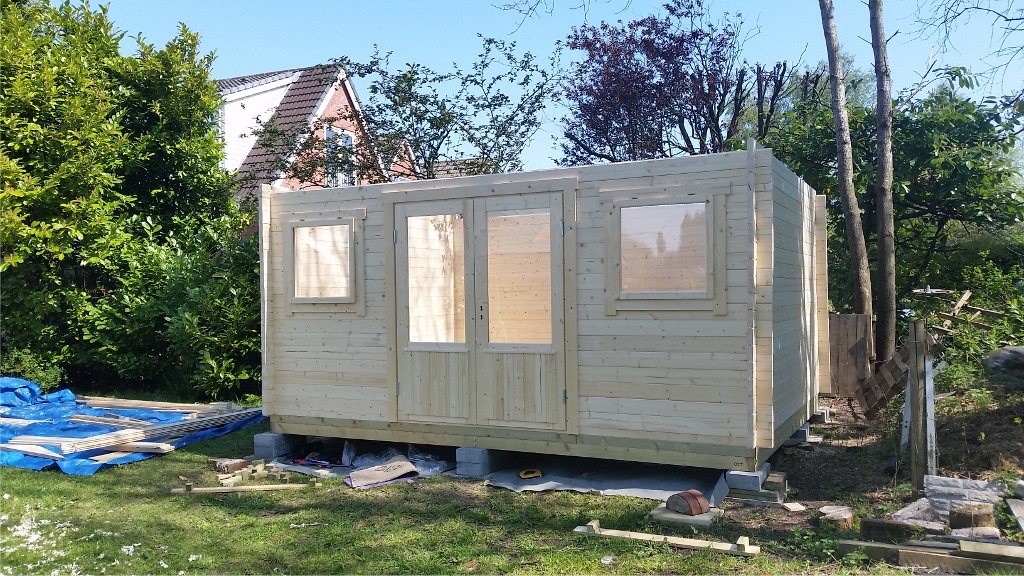
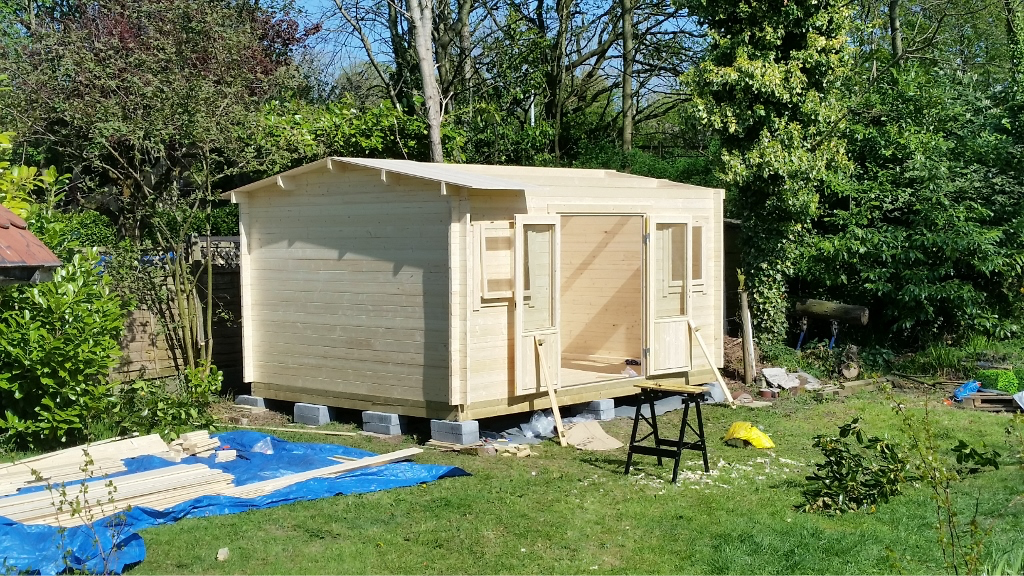
Day Two – Log Cabin Build
Carrying on, we brought the parts of the cabin down to the lawn. After that, we were up to the windows by coffee time!
We could not quite believe how easily the cabin went together. Also, we found the Richard blogs and rewatching videos at intervals helpful during the build. We would advise others to ensure that they follow the guidance re measuring the diagonals every three logs. This is helpful advice! We needed to do a bit of hammer and block ‘fettling’ further up the build as a result of getting a bit blasé on ours!
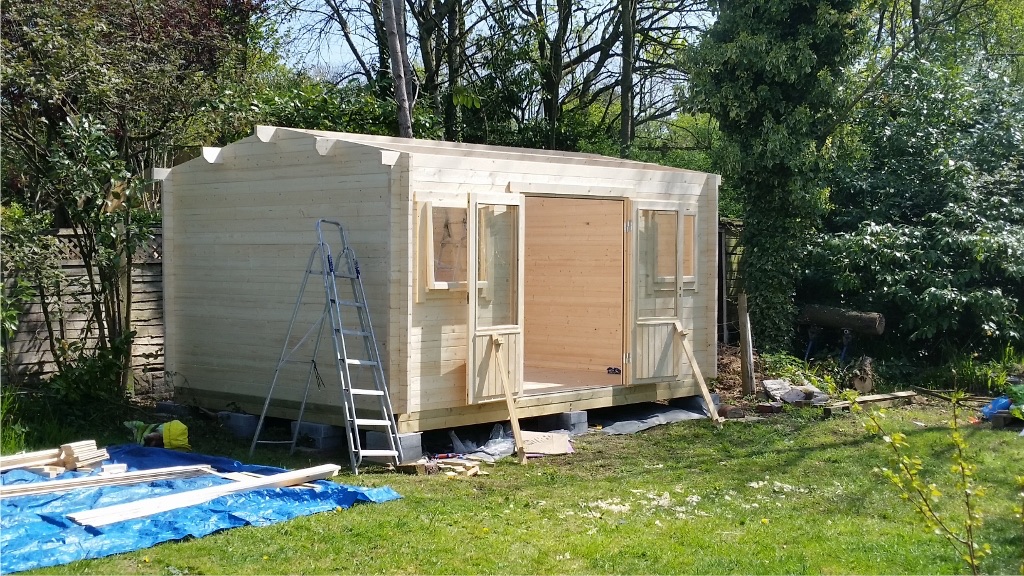
By lunchtime we had reached the stage of installing the purlins. We decided to watch the vid over a sandwich to get this bit right. Two sets of step ladders and some Heave-Ho teamwork had the purlins in. We then installed the roof boards in time for tea.
During the following week the cabin shingles were glued and hammered into position.
Like another reviewer, too much overlap meant we had to purchase an extra pack of shingles. However, we have used the spares to ensure any run off rain water is taken over the edges of the base blocks.
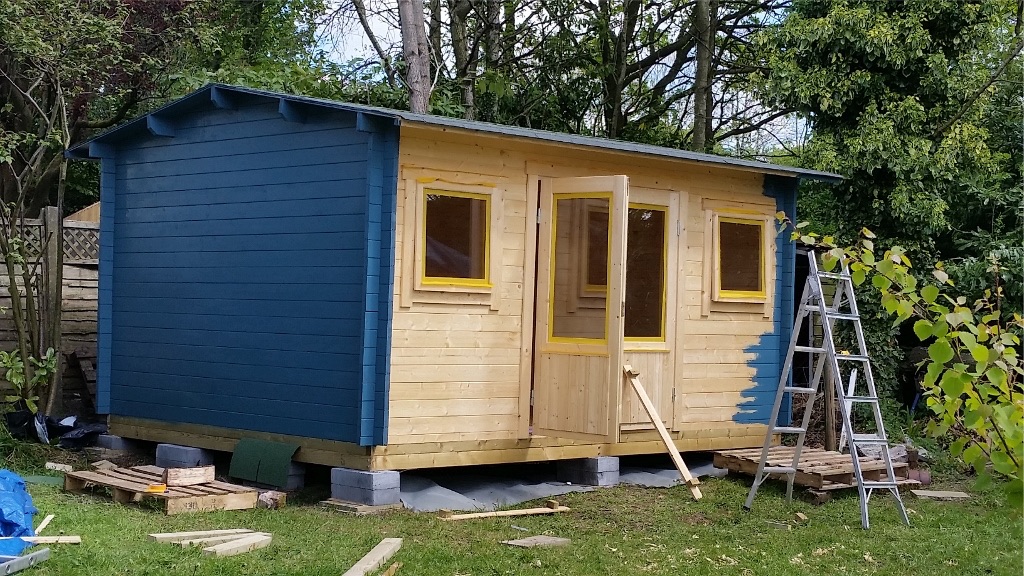
Weekend Two – Paint Job
After treating with preservative it was time to start painting. We have chosen Osmo country colours Labrador blue and white for outside and white for inside.
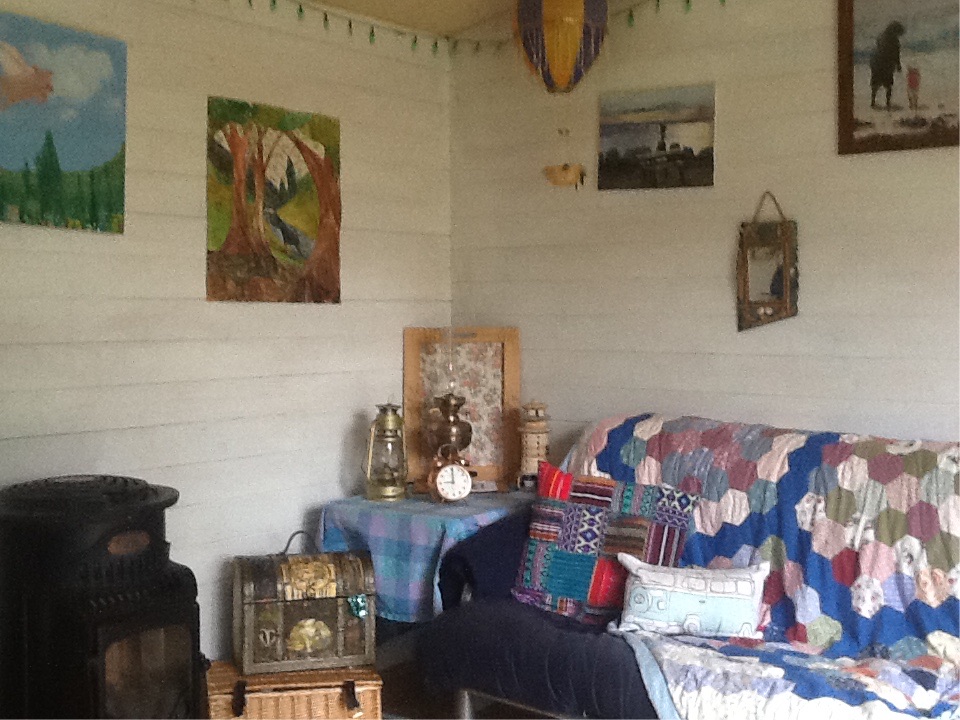
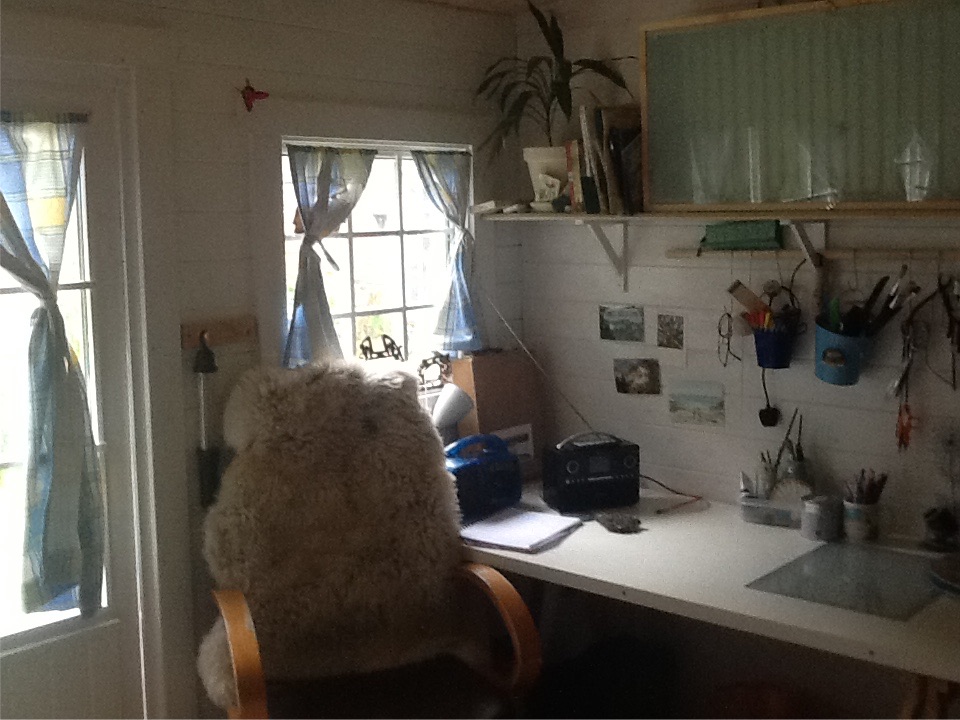
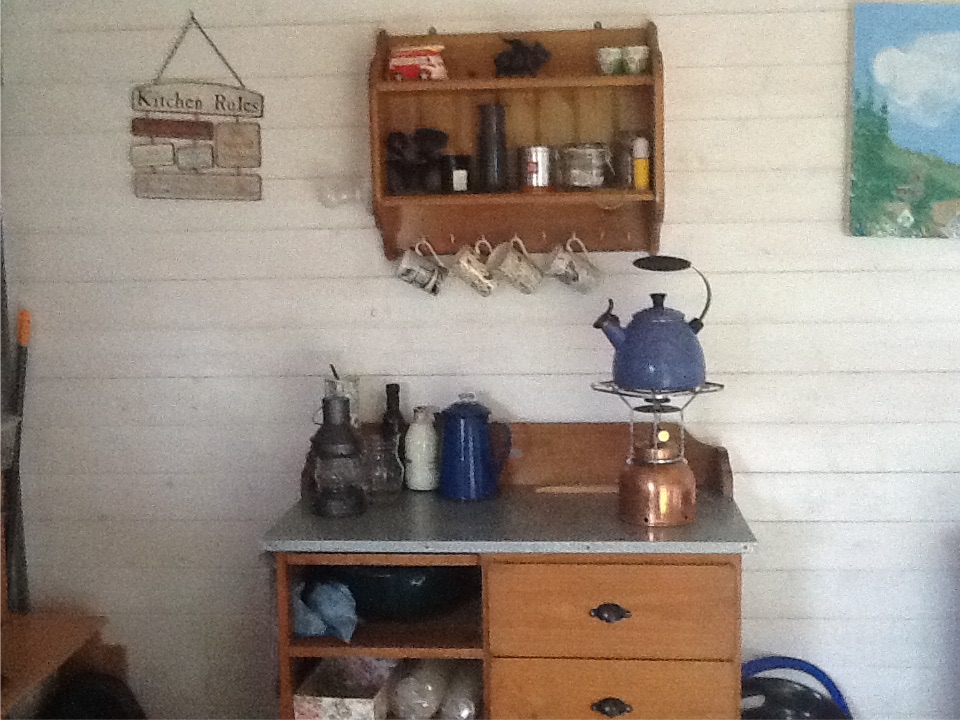
Next part of our Jenny Log Cabin build was the installation of the window boxes. A temporary step meant we could furnish the cabin for its intended purpose. All the furnishings,(except for the tiled trunk which was a present), I bought off eBay, car boot, Preloved or from the hospice shop. This meant we spent little on doing it up. Not to mention, I had fabric in my store of bargain bin purchases all ready to make the curtains and cushion covers.
I have painted a faux rug on the floor to give the appearance of ‘cosy’ whilst preserving the ease of movement for futon bed and calor gas heater ‘wood burner’ which has saved my husband from having to install a real one. I made the corner curl back on the rug to wind up my OCD relatives!
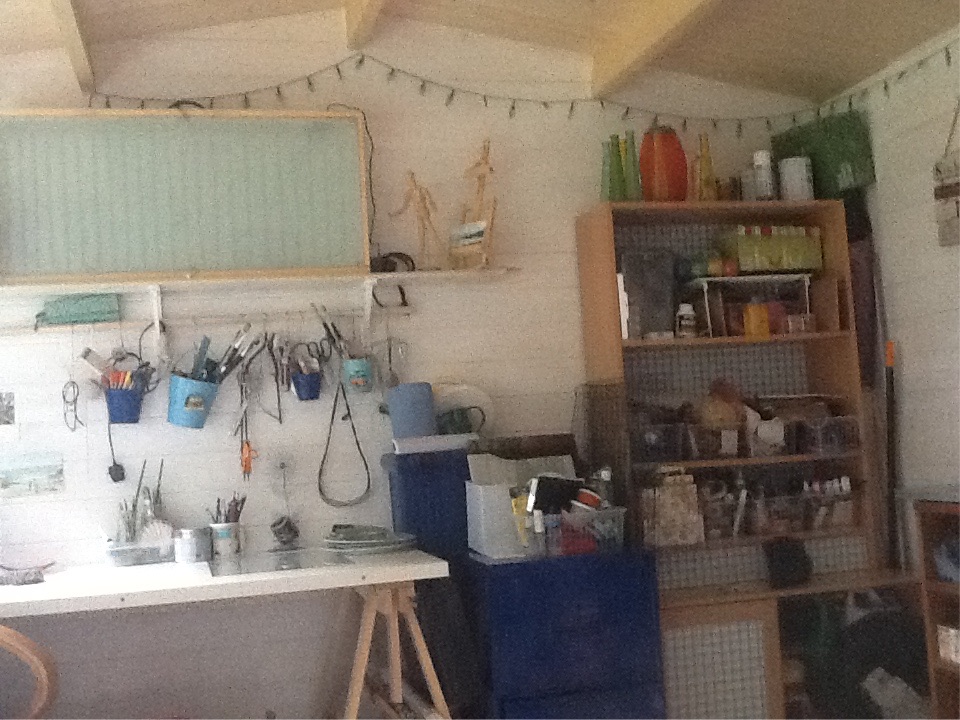
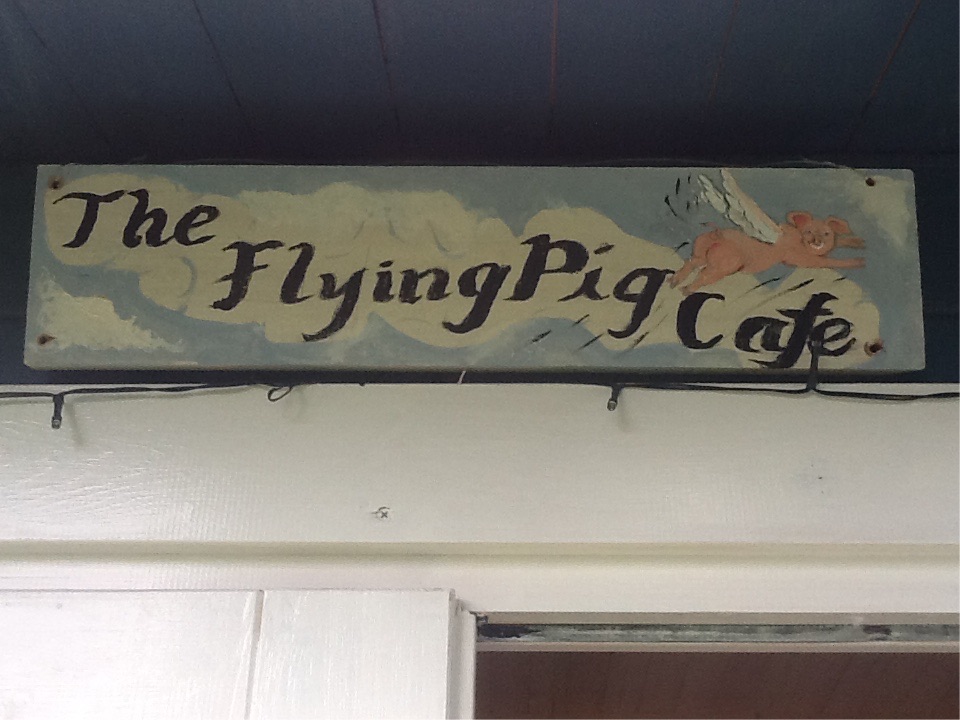
Just permanent steps and an electricity supply to complete the project although we are already enjoying ‘ The Flying Pig Cafe’ as a stained glass craft and art studio, party space and wifi hub!
I intend to use the leftover wood and pallet to make an outdoor work surface for dusty Dremlin wood carving and glass grinding as well as a log store for the firepit next on the list!
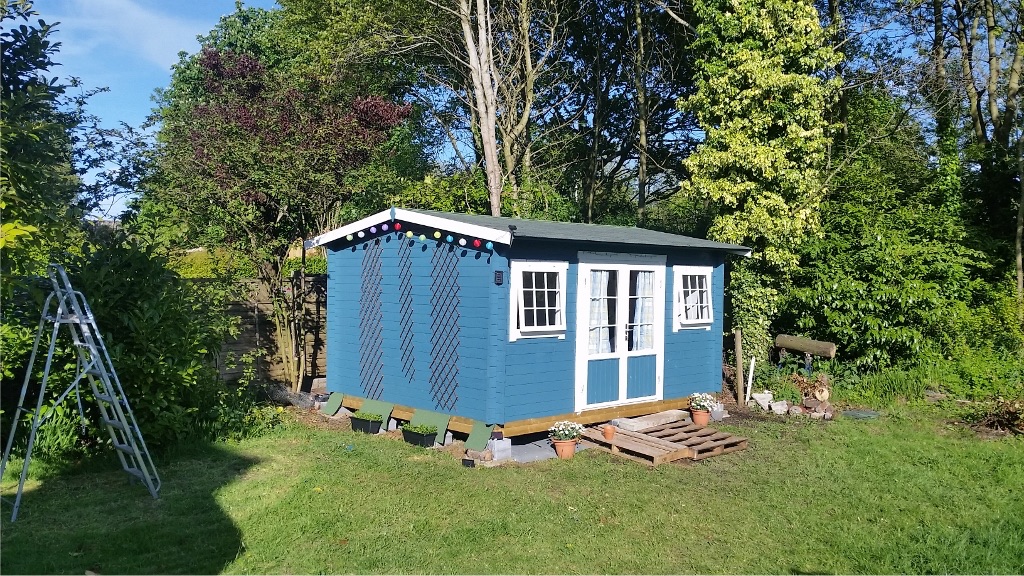
The Finished Jenny Log Cabin

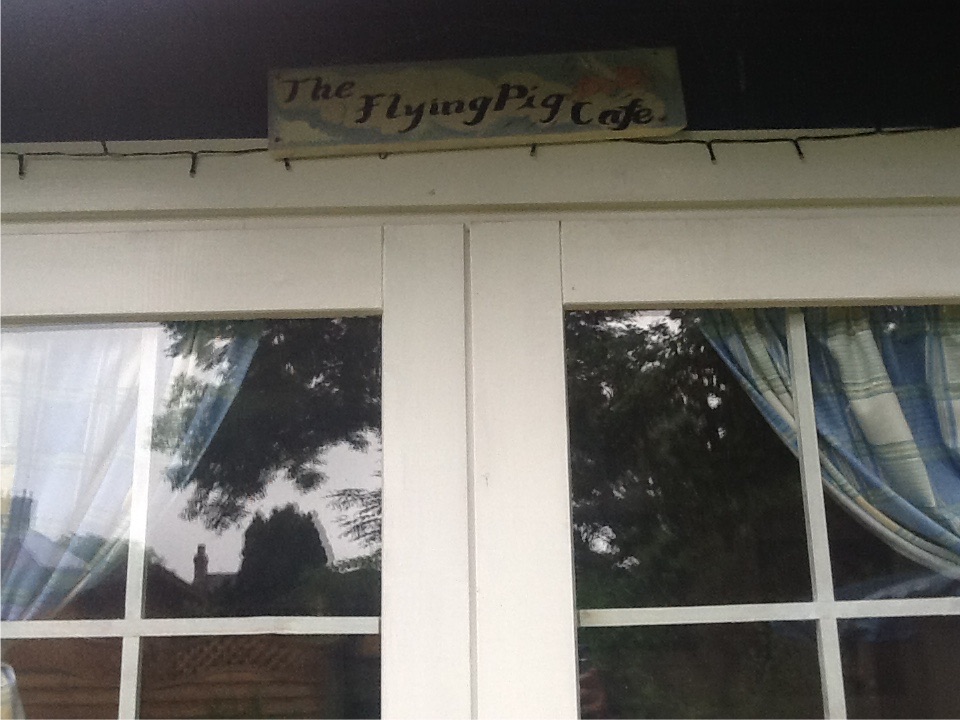
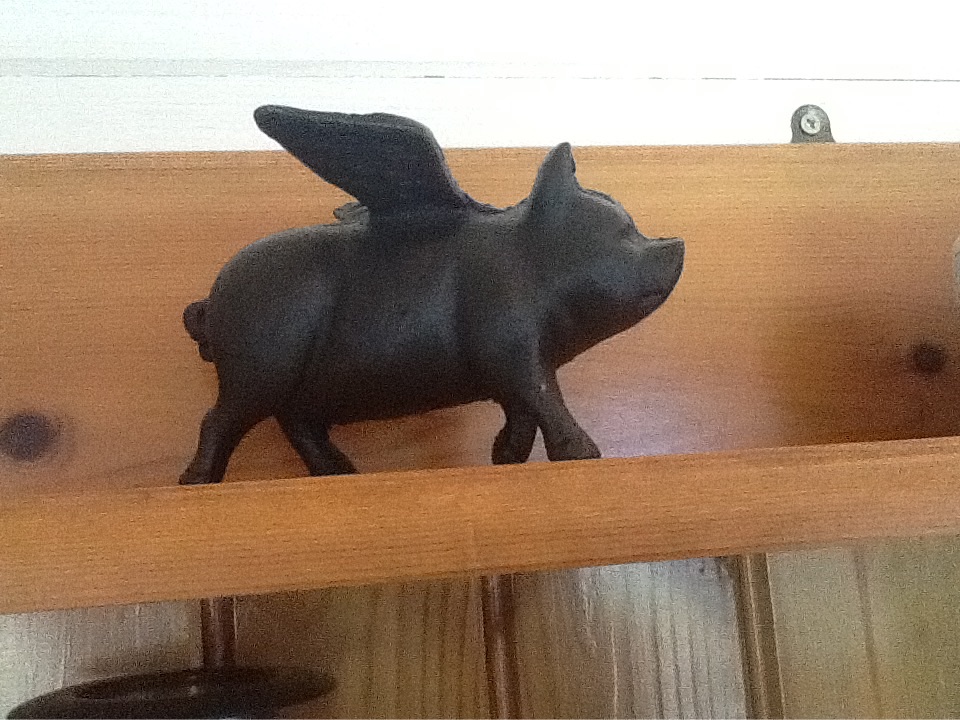
P.S. For those who are wondering- Why The Flying Pig Cafe?
My husband Andrew once said that pigs might fly before I completely indulge myself! Now I have a space to call my own with the she shed of my dreams – thanks Tuin!
Thank you very much Mrs W for your review and great pictures. I’m sure this will be a inspiration for other people who are considering a 40mm Log Cabin. I hope you enjoy your ‘thank you’ that we have sent you.
Other customer experiences, build and ideas are here if you would like to see more: Pictorial Tuin Reviews