


I’ve been meaning to write this post for a little while now and haven’t quite had the time since my family and I bought and built one of the popular Shepherd Hut / Gypsy Wagon we supply. (Update – NEW Version with Doors in the side: Shepherd Hut Deluxe).
The Story Behind It
We’ve got a small field away from our home that, as a family we all like to muck around in. It’s great fun for the kids and you can’t beat cooking sausages on an open fire. I’ve always had a hankering for a slightly different style of home office than is the norm. I work a great deal from home and I have always wanted somewhere different from my usual spot away from the daily bustle of family life.
The field makes for a perfect location but the trouble is I would never get planning permission for a log cabin on it as it is designated ‘agricultural use’. I need something totally portable and truly temporary, the Shepherd hut / Gypsy wagon fits the bill perfectly. I wouldn’t want to move it too far but with the aid of the tractor it will move and that’s good enough for me and is indeed a ‘temporary structure’.
When We Built It
We built this during Easter and still haven’t got around to making my perfect garden office from it. In fact it is still a bare shell but over the winter when work is a little quieter I intend to replace the glass with double glazing and insulate it. I’ll then make some fitted units; a desk, sofa, cupboards etc. With a wood burner installed it should be very cozy.
Electricity will come from solar panels and battery storage back-up. When I do get around to finishing it I’ll update this post. For now though, here’s some pictures and a short video at the end. I hope you find this useful if you are considering one of our Shepherd Huts / Shepherd Hut Deluxe.
Starting the Shepherd Hut
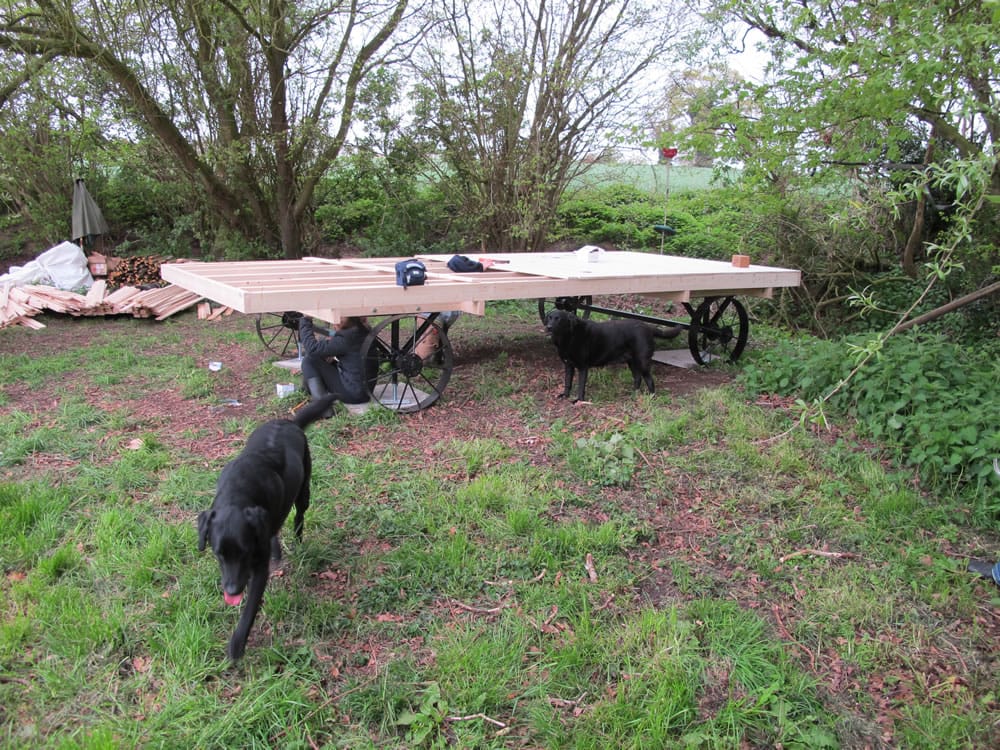
Chassis and base construction takes the most amount of time in the build. First, start with the metal chassis, then the timber frame and then the floor and veranda area. This part of the build took about three hours with my wife and two helpful children.
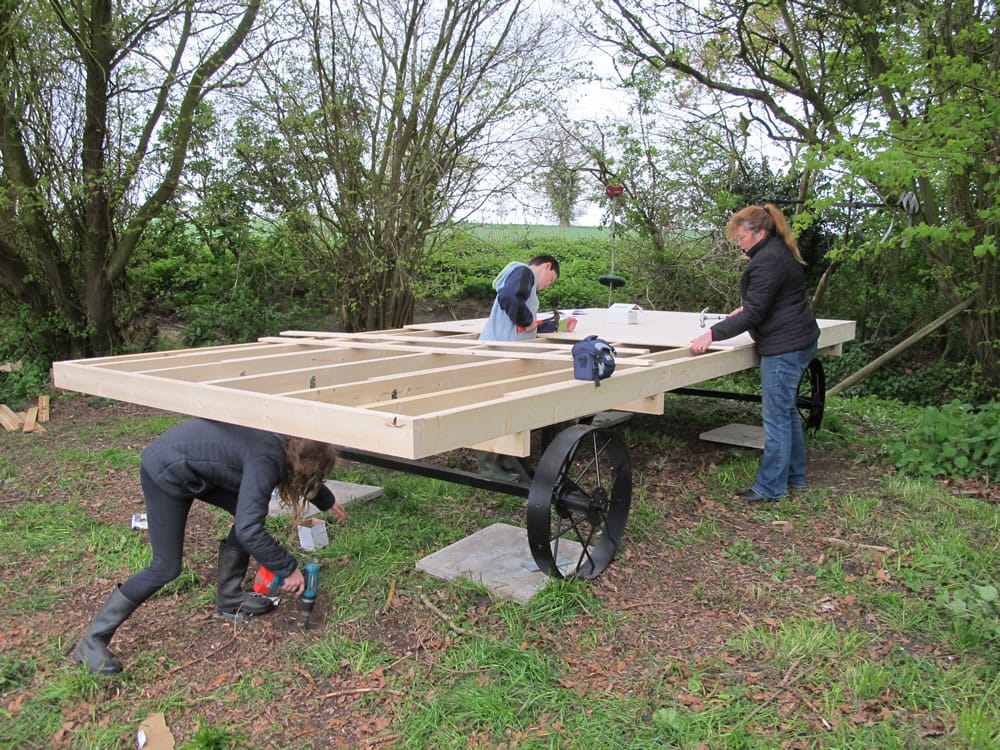
Flooring and Walls
Be careful when you lay the floor as their is a start and a finish floor board. We made the mistake of not identifying it and had to cut the final board. It wasn’t a problem but annoying I hadn’t spotted it sooner (… as I always say … READ the plans … doh!)
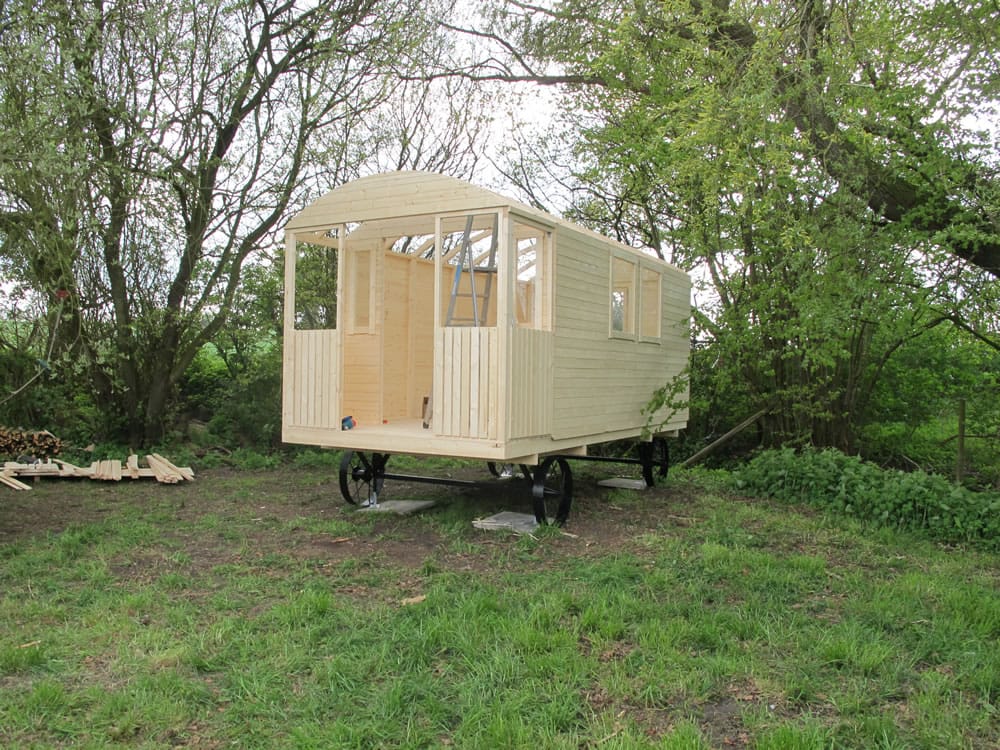
The walls are all made of individual panels and are simply screwed together. It does help to have a couple of G clamps handy to clamp them together before you screw them. Also pilot the holes first. All the screws are Torx and you get a couple of spare bits but don’t drop them!
You’ll notice my slabs supporting the Shepherd hut are just laid directly on the ground. I didn’t want to disturb the ground at all (planning) with the adjustable feet the chassis has though it’s not a problem getting the building level.
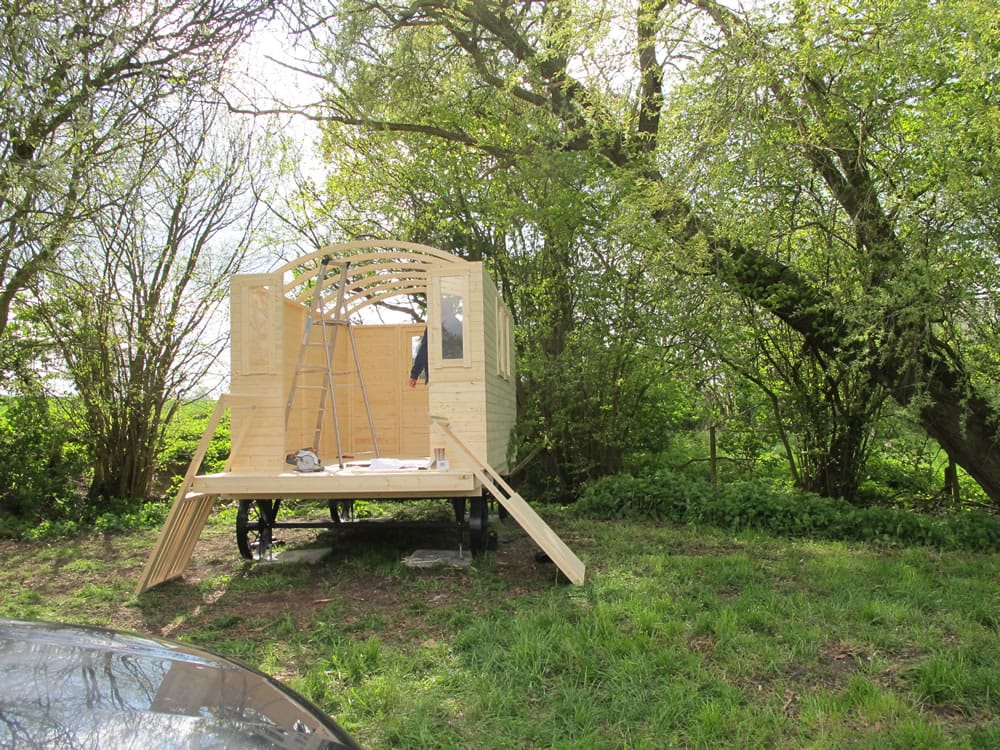
Adding the Roof

The roof is supported on pre-curved trusses. When you fit these don’t rely 100% on the measurements given as at my first attempt I wasn’t exactly in the middle of the roof board sections. I found it easier in the end to use the roof boards for each section as a template.
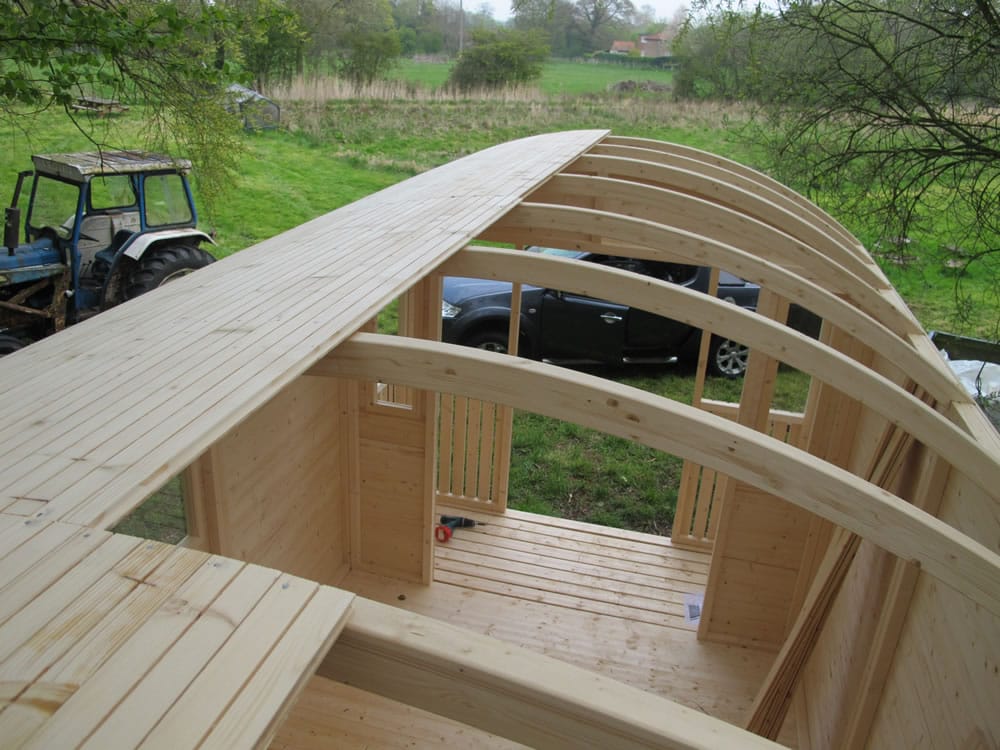
Each of the roof boards are individually nailed on. Like the floor there is a start and an end board, watch out for them and identify them first as they will catch you out. It is also a good idea to measure the boards across the arch to find exactly where to start it. We put the small section on fist and only tacked it to get this part right and exactly even both sides.
Painting the Shepherd Hut
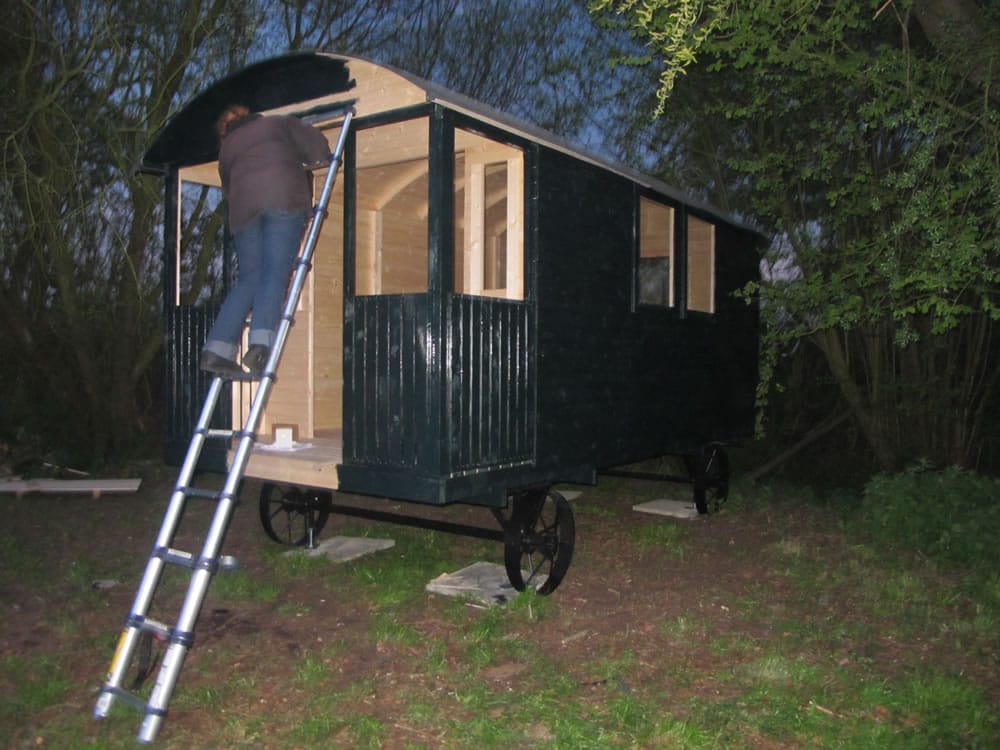
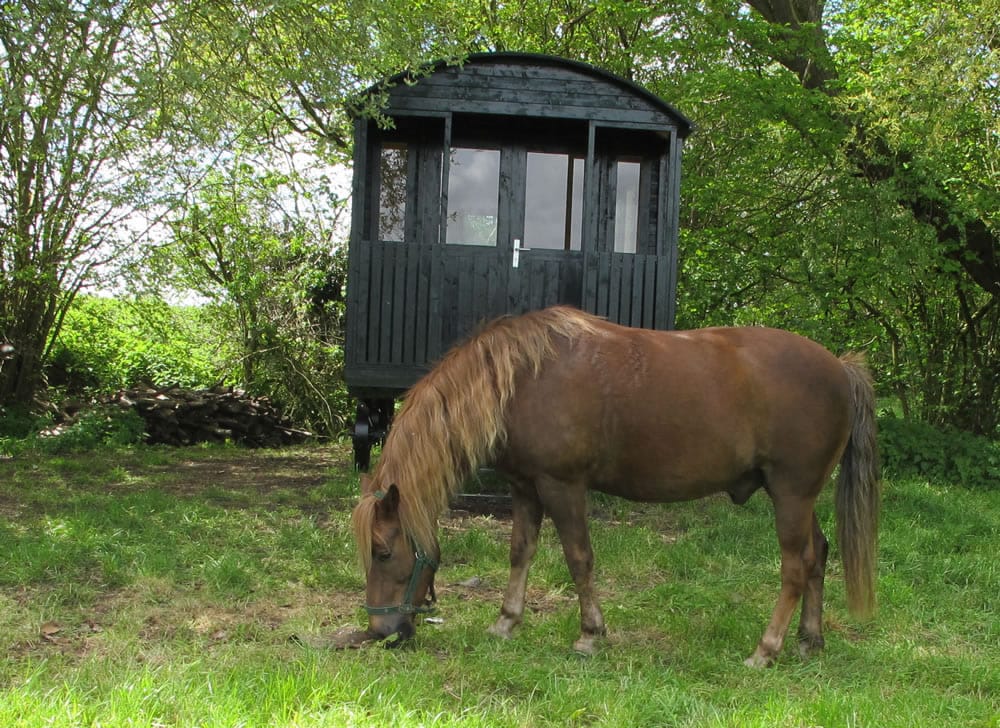
Once up, the painting went on long into the night. When it is first built it is very white and we wanted to hide it amongst the trees quickly hence the camouflage green paint.
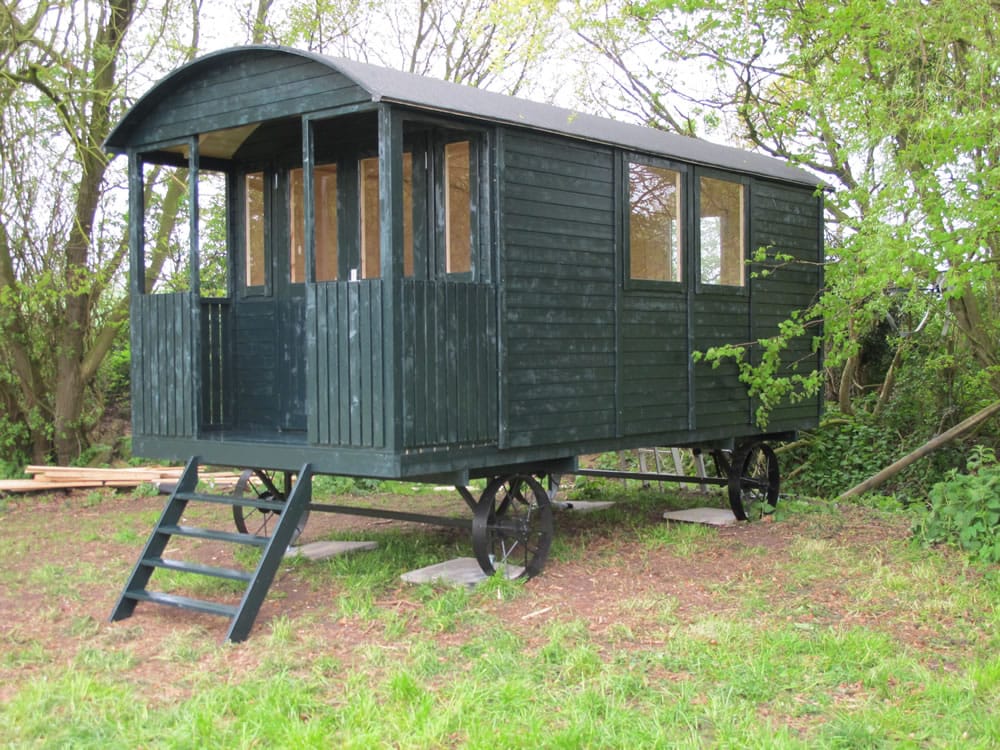
Finished Shepherd Hut
Yes the painting isn’t that great but we wanted to make the shepherd hut as unobtrusive from the road as possible. The window sections on the side can be put in either wall but only in the middle section of the building. As you can see we put both windows in the right hand wall as that will be the final position of my desk with a sofa on the opposite wall.
With a couple of friends to visit it really did look more like a gypsy wagon! Neighbours actually thought we had bought an original wagon, they thought it was an antique and the genuine article!
Video
This is going to be an ongoing project for the family, hopefully we’ll have time over the winter to finish it off and update this post with the details. Here’s a quick video I took of it.
Update – 1 Year Later
A year on and I still haven’t lined the inside as I wanted to. I’ll get there in the end and post here when I do.
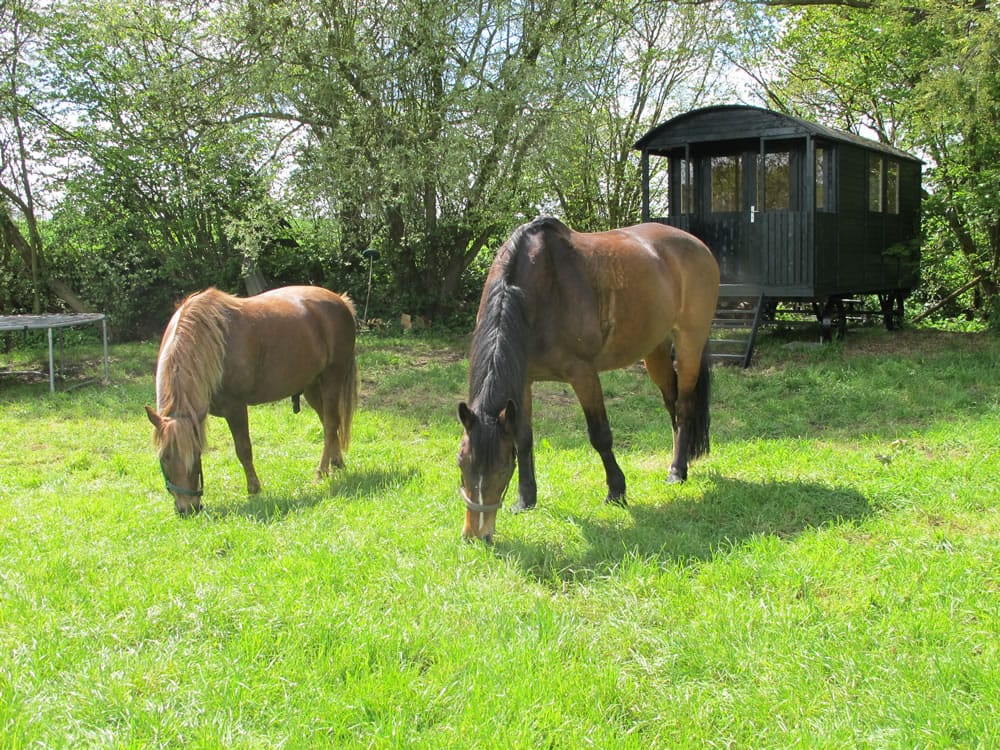
BUT I now have sheep, I’m the very proud owner of eight Hebridean sheep who enjoy sleeping under the shepherd hut at night.
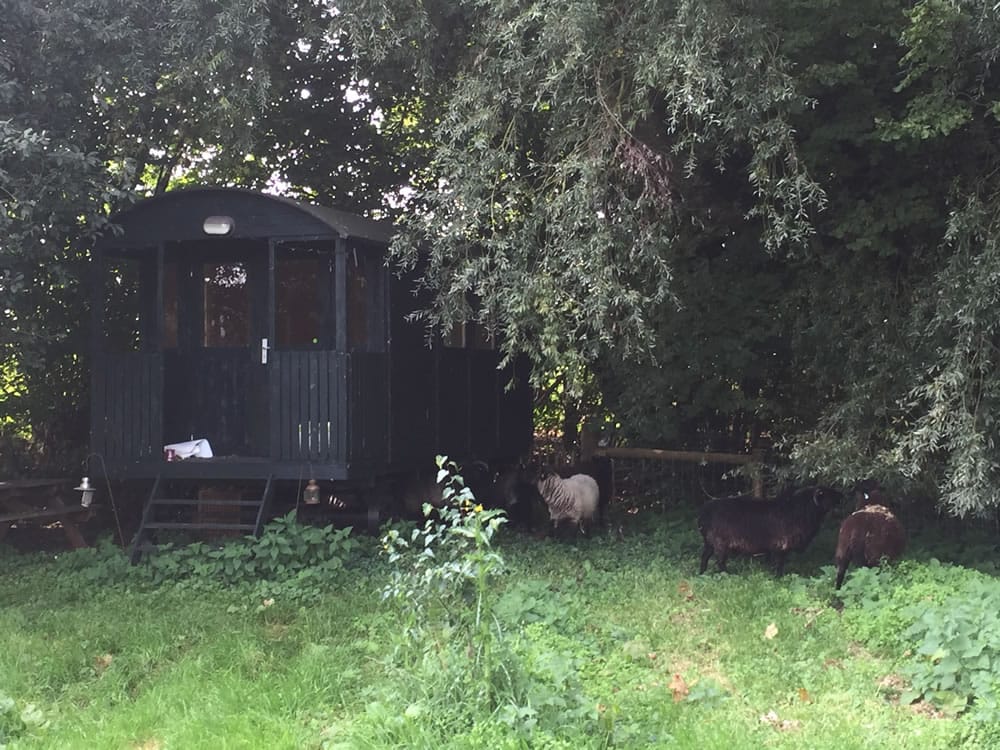
A little dream of mine come true … a shepherd hut complete with sheep!
Richard,
Great blog thanks.
I am about to build one of these. As the ground is a little damp in the field, I was intending to sink some drain pipes and fill them with concrete, to have a slightly more solid base than concrete slabs. I can not work out from the technical spec where I should position the supports and the technical team seem bemused by my question. From your experience do you know where I should sink the supports so the legs of the hut will rest on them?
If you can give me some guidance I would be most grateful.
Ayleen
I’ve asked the support team to revisit you question and offer advice. On each of the shepherd hut pages you should find a dimension referred to as: ‘Center of supporting pins’ this will be the dimension you need for supporting slabs, concrete.
do you insulte the floor?
If you want to you can insulate the floor. It would be best to do this within the chassis frame, you could use something like celotex.